Business Directory Plugin (CMBD) + Community (CMBDC) - Use Case - Creating Directory Where Users Suggest Businesses
Use Case - Creating Directory Where Users Suggest Businesses
Note: This guide covers features from the Pro version of Business Directory Plugin (this document uses version 1.8.5). And requires the Community Add-on
Introduction
The Business Directory Plugin allows you to create business listings. The Community add-on lets other users (logged-in or not) create and manage each business profiles. This way you can create a business directory membership website.
Video
Use Case Front-End

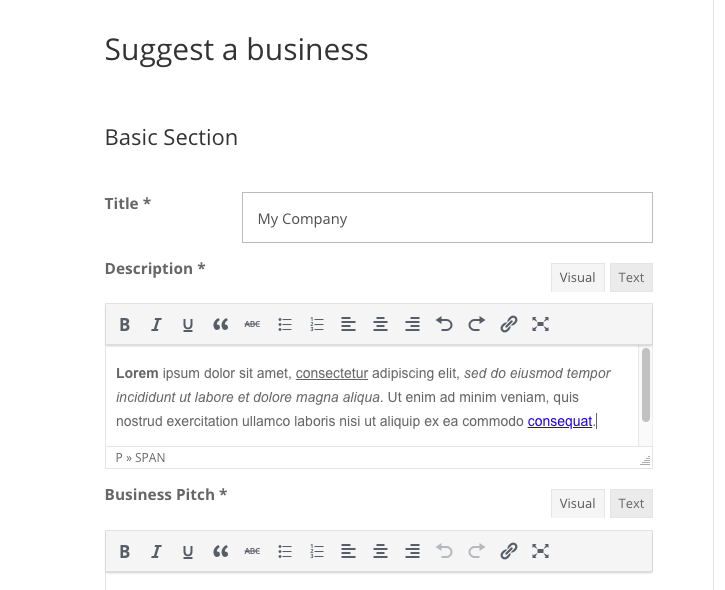
Suggest Form
Quick Read: How It Works
- When a logged-in user creates a business, that business is attached to their account profile. This way, the business will show up on the user dashboard.
- You can let users claim business profiles as their own. If approved, the profile will be attached to the user.
- All business profiles can have login and password. You can enable users (even anonymous) to edit them by inputting these credentials.
Once a non-logged in user submits a new business, their email is saved and a password is sent once the listing is approved.
This process does not create a WP user associated with the listing. However, it still allows users to update their business listing information without having any access to the WP dashboard or having any other privileges related to WP users.
Use Case Assumptions
In this example use case guide, we'll cover how to create a business directory where users can suggest businesses. You can apply the same idea to the topic of your site.
We consider that you have already bought the addon, but not installed it.
It follows:
- Installing the addon
- Setting up a business directory plugin
- Letting users suggest businesses
- Moderating submissions and edits
- Creating and modifying the suggest business form
- User view - How a user can suggest businesses
- User view - The user dashboard
- Updating businesses
- Notifying users and the admin
- Extras
Installing the Addon
The process is the same for all CM plugins and addons.

- Download the plugin from your customer dashboard.
- Log in to WordPress and navigate to the WordPress Admin → Plugins settings.
- Click on Add New.
- Activate it and add the license.
Setting up a Business Directory Plugin
This Guide is Focused on Community
This article is focused on turning the business directory into a community, so we'll focus information on that.
If you still have not set the business directory up, check the plugin's documentation guide: Business Directory (CMBD)
Set Up
First, set up the business directory if you haven't done so.
The settings are under Admin Dashboard → CM Business Directory Pro → Settings.
Learn more: Business Directory Plugin (CMBD) - Business Directory Index Page Settings
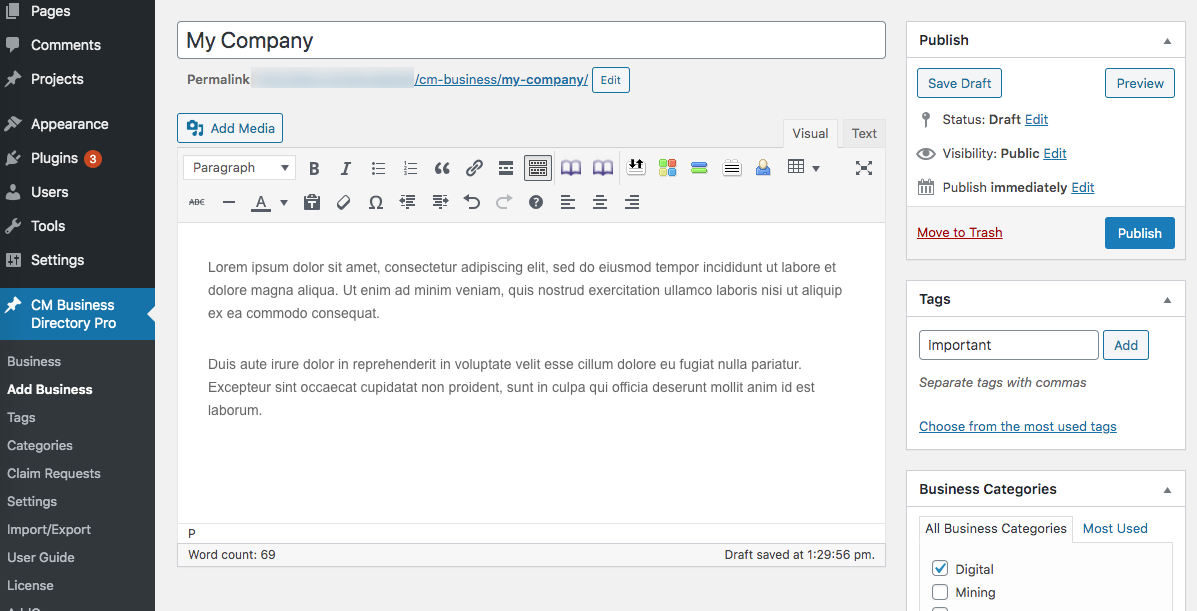
Adding Business
- Go to Admin Dashboard → CM Business Directory Pro and click Business and Add New or simply click the Add Business button.
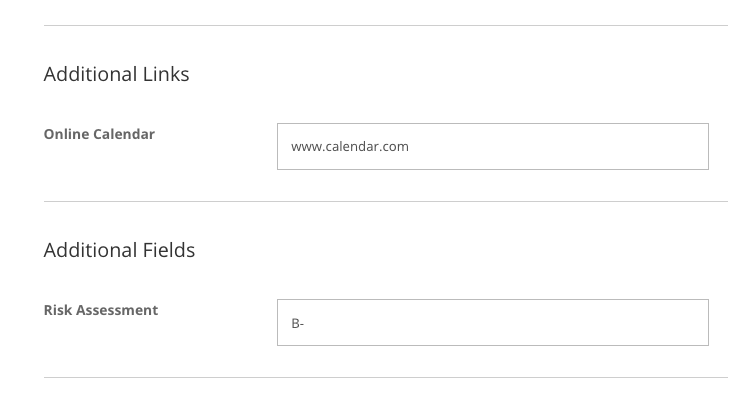
- Fill in all fields, add Tags, Categories and Custom Taxonomy Terms. Optionally you can also add Video and Additional Links and Fields.
- When finished, click the Publish button to save the Business.
Useful Guides
- Install and activate the plugin.
- Go to Admin Dashboard → CM Business Directory Pro → Settings to set plugin options:
- General - Set general options for plugin.
- Business Page - Settings for Business Page. More about Custom Taxonomy, Additional Links/Fields, Star Rating.
- Directory Index Page - General settings for Business Directory Index page and also Filters.
- Directory Appearance - Settings for three different views: Directory, Tiles and List view.
- Custom CSS - Option to apply your own custom CSS styles.
- Labels - Customize plugin labels to your needs.
- See the Shortcodes list to know what you can change to adjust the plugin to your needs.
Letting Users Suggest Businesses
With the business directory ready, let's allow users to suggest businesses.
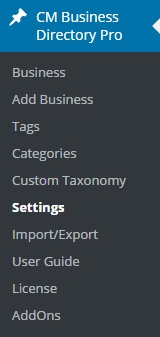
Navigate to the Admin Dashboard → CM Business Directory Pro → Settings → Community Business tab.
TIP: Most Settings Are Located in This Tab
Most settings related to the add-on are in this tab.

Under moderation settings, choose the roles who can add businesses.

Anonymous Users
Letting anonymous users make submissions means visitors who are not logged-in can suggest a business. It's recommended to only allow this in tandem with moderation and reCAPTCHA
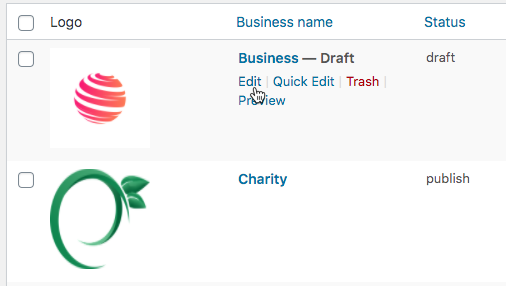
Moderating Submissions
Also here you can enable moderation for submissions and edits. This means that, every time someone suggests and/or edits a business, the status will be Draft until you approve the submission.
There are also notifications related to moderation.
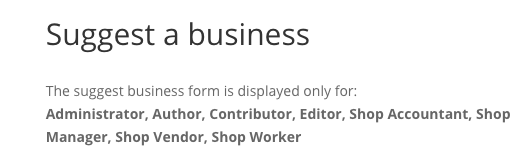
Restricted Access Warning
The field "Choose a text to display" will dictate what users without permission will see when trying to suggest a business. The placeholder [list of roles] can be used to show the allowed roles.
Example:
Creating and Modifying the Suggest Business Form
Adding Form to the Site
Place the [community_business_form] shortcode on the page where you want to display the suggest form.
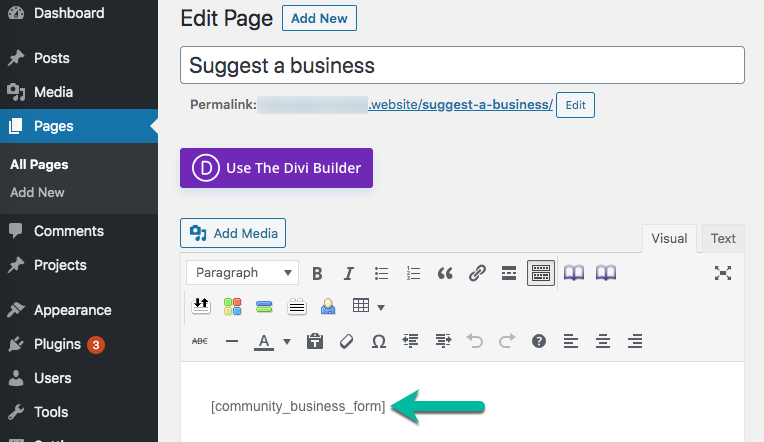
Example
Settings
In the plugin settings Community Business tab, check the Add a business Form section. There are some important settings.
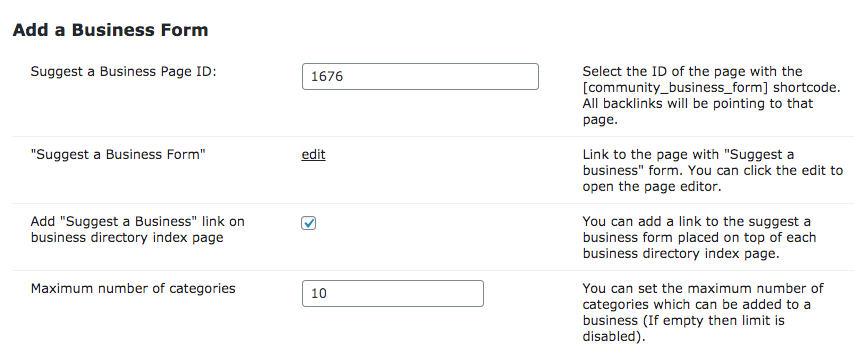
- Suggest a business Page ID - Edit the link to suggest a business form. This should be the page that has the for shortcode.
- "Suggest a business Form" - Link to the page with above.
-
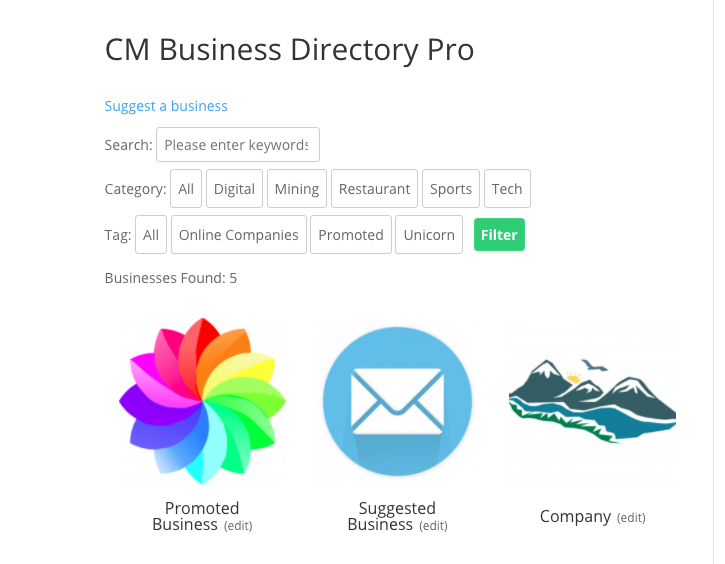
Add "Suggest a business" link on business directory index page - Check the box to add a link to the suggest a business link on the business directory index page.
Example

'Suggest a business' button on the front-end - Maximum number of categories - Set the maximum number of categories that users can assign a business to. The admin can always add more categories.

TIP: Invite Users!
Be sure to link the Suggest business Form in a prominent section of your site so that they easily send submissions.
Editing the Form
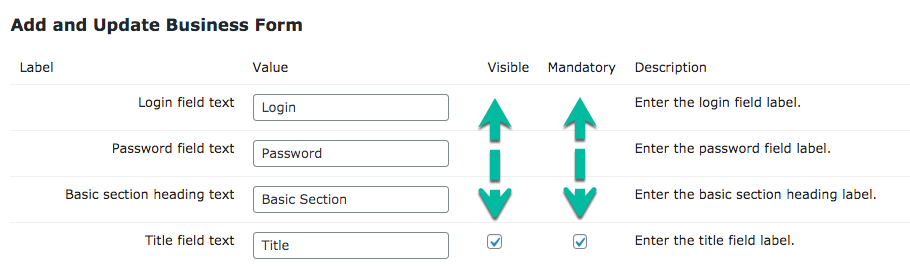
The suggest form is quite flexible. To access which fields are available and required, head to Admin Dashboard → CM Business Directory Pro → Settings → Community Business Labels tab.

Here you can set the label of each field. Some fields have the option to be set as visible and mandatory.
TIP: Translate, Adjust
The add-on has over 40 labels that can be translated.
It's an opportunity to change the interface to your site's language and/or style.
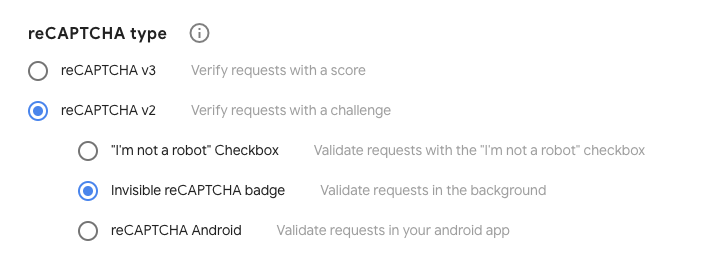
reCAPTCHA For Security
Under Community Business Tab → Form settings, you can enable reCAPTCHA.
It will be used on places where the user can submit information. This happens on the add/update a business and the claim a business functionality.
Relevant settings:
- Show Captcha - Check the box to secure the form with Captcha.
- Captcha key - Enter the Captcha key in the provided box.
- Captcha secret key - Enter the Captcha secret key in the provided box.
Note: You must provide reCaptcha v2 Invisible keys.
Read more General Support - reCAPTCHA - What is It and How to Enable
User View - How a User Can Suggest Businesses
Now, when the user reachers the page with the suggest form, they will be able to send the data.
The fields and if the suggestions are moderated... it all depends on the settings above,
TIP: Taxonomies, Custom Fields and Custom Links
These fields are only enabled if they have been configured. Note that they have specific labels!
Learn more:
User View - The User Dashboard
You can add a dashboard so that the user can edit the businesses assigned to his/her profile.
This is done by using this shortcode on any page [cmbdc_dashboard]
Example
If the user has sufficient permission (i.e. he/she is an editor or an administrator), a column "Edit on backend" will also be displayed.
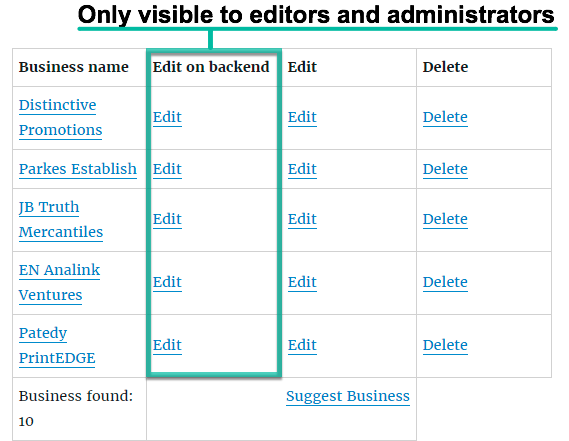
What Happens on Edit?
When a user clicks the Edit button they are redirected to the form containing that business's details.
The interface is identical to the existing suggestion form.
Notifying Users and The Admin
Now, let's make sure you and your users are notified of important events regarding submission status.
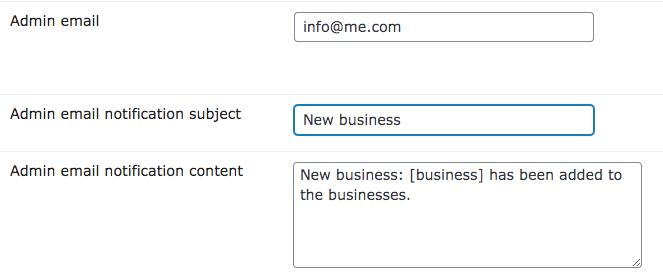
Notifications are used to send an email to the user submitting his business on the status on the business page and also to the admin managing the business directory. In both cases you can customize the email template and decide it should be sent at all.
You can enable/disable and configure these notifications:
- To the Admin
- User suggests a business
- User claims business
- To the User
- Submission was accepted/declined
- Claim rejected
- Information about how to login to a business profile
TIP: Similar Settings
The settings are similar in all cases. You can enable/disable that specific notification and change the content. In some instances, placeholders such as [url] are accepted.
Extra 1 - Granting a User Access to Business Profile
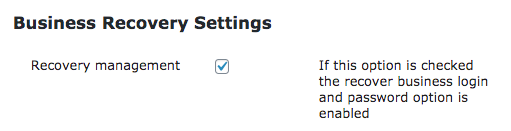
The admin can verify the owner of a business profile in the edit business page. To enable this, turn on the option "Recovery management" in the Community business tab.
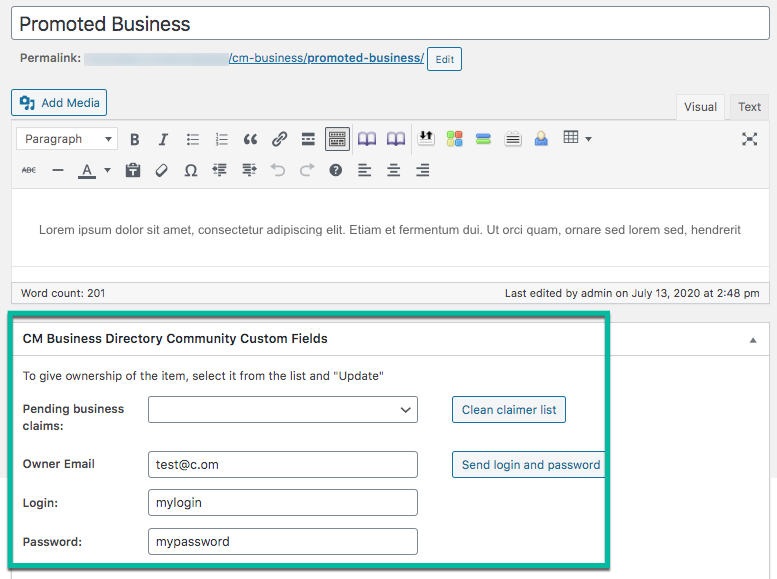
Now you will see a meta-box called "CM Business Directory Community Custom Fields" when editing a profile.
In it, the admin can assign the business to an email and approve claims
If an email address is already set, the admin can view/edit the login and password and also send these credentials to the user.
Business Credentials Metabox
To learn more about, check the specific guide Password Recovery.
Extra 2 - Letting Users Claim Profiles
You can let users or visitors claim business profiles as their own.
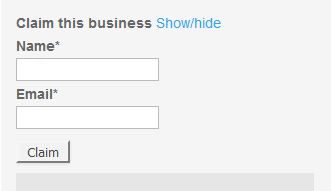
What The User Does (Front-End)
First, the user has to open the business page, toggle Claiming form and send his name and e-mail address to admin.
Enabling Claims
Inside the Business Claim Settings section:
- Claims management - Check the box to allowing businesses to be claimed by site users. if this is checked than users can claims existing business pages which have not been claimed yet. Once claimed an email will be sent to the admin which can accept or reject the claim.
- Login form on business page - Lets user log in to a business profile on that business's page
- Require captcha for claims - Check the box to add reCAPTCHA to secure business claiming form.
- Allow multiple pending claims for one business - Check the box to allow multiple claims by one business. it is advised not to allow multiple claims to prevent human bots.
TIP: How The Admin Manages Claims
From the WordPress dashboard navigate to CM Business Directory Pro → Settings → Claim Requests.
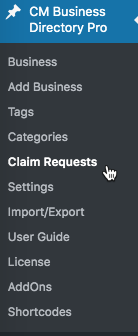
From here, the admin has an overview of all claim requests.
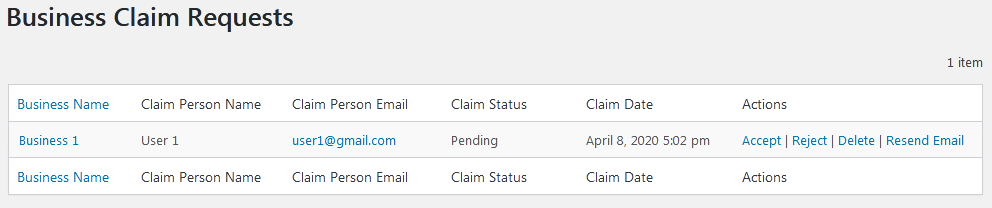
For each, the admin can accept, reject and delete the request. Finally, It's possible to resend the claim confirmation email.
Learn more: How To - Let Users/Visitors Claim Businesses
Recap
With all steps completed, your business directory will accept submissions from users via a customized form.
 |
More information about the WordPress Business Directory Community Add-on Other WordPress products can be found at CreativeMinds WordPress Store |
 |
Let us know how we can Improve this Product Documentation Page To open a Support Ticket visit our support center |