WordPress Invitation Code + WordPress Restricted Site Access (SAR) - Use Case - How to Restrict Content Based On User Roles While Allowing Access via Invitation Codes
Use Case - How to Restrict Content Based On User Roles While Allowing Access via Invitation Codes
Note: This guide requires:
- WordPress Invitation Code - This document uses version 1.7.9.
- WordPress Restricted Site Access - This document uses version 1.8.2.
Introduction
This WordPress Invitation Code plugin allows you to create and sell a series of personalized temporary access codes. Each code grants limited access to a selected page only. When creating a code, you assign it to a post, page, URL, or file. The assigned content will be locked, and visitors will be prompted to enter the code to access it.
WordPress Restricted Site Access is a plugin that allows you to create a membership and content restriction solution. The content restriction is based on user WordPress roles and if they are logged in or not. Choose which post type, category or even specific page should be locked - and to whom.
Use Case Front-End
Example 1: guest users can't access posts, but can access a specific post with the invitation code:

Example 2: logged-in users can access posts, but a specific post can be accessed only with the invitation code:
Use Case Assumptions
In this example use case guide we will consider how to use the integration between 2 plugins to manage access to your content based on user roles while providing selective access via invitation codes.
We consider that you have already bought the plugins, but not installed them yet.
It follows:
- Installing the plugin
- Quick recap
- What it is about
- Restricting access to content based on user roles
- Overriding global restrictions with invitation codes
- End result
Installing the Plugin
The process is the same for all CM plugins and add-ons.

- Download the plugin from your customer dashboard.
- Log in to WordPress and navigate to the WordPress Admin → Plugins settings.
- Click on Add New.
- Activate it and add the license.
Learn more: Getting Started - Plugin Overview
Quick Recap
In this use case guide we will focus only on how 2 plugins interact with each other. If you want to learn more about the settings and functionality of each plugin, then please check the following use case guides:
What It Is About
In some cases, you may want to restrict access to content based on user roles, while also providing an alternative access method through invitation codes. This use case demonstrates how to leverage the integration between two plugins: one for controlling access by user roles and the other for providing exclusive access via invitation codes.
For example, you have a website with multiple posts. You want to allow only logged-in users to access most of the content, but for certain posts, you want to create an even more restrictive access model where only users with a valid invitation code can view the content.
Restricting Access To Content Based On User Roles
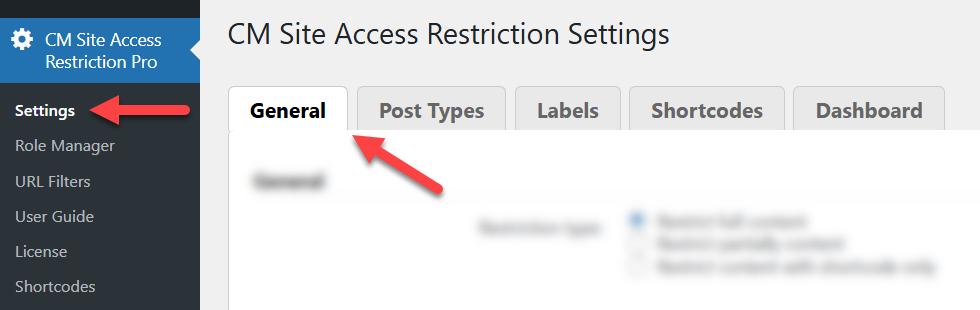
Let's begin by configuring global access restrictions for specific post types. It can be done using the plugin WordPress Restricted Site Access. Navigate to Admin Dashboard → CM Site Access Restriction Pro → Settings → General tab.
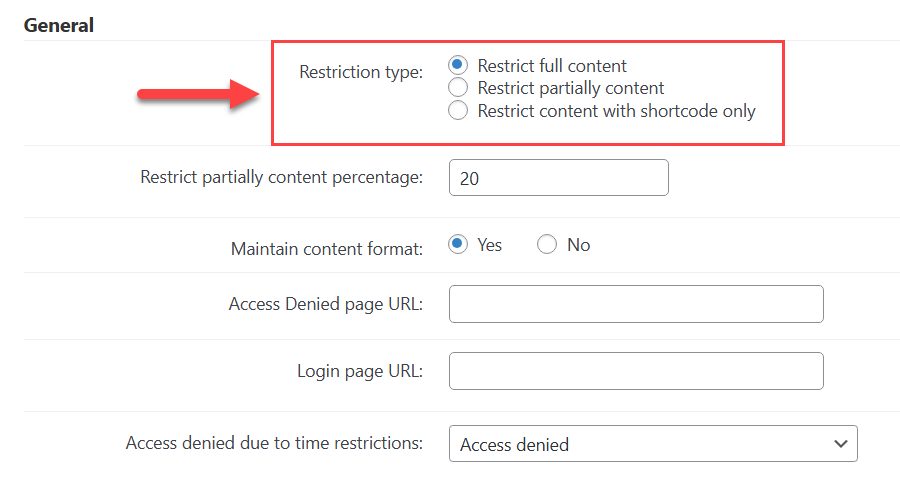
There's a set of options allowing to define the way the content should be restricted. For this use case, we will select the most basic option: Restrict full content under the Restriction type setting. It means that when a user visits the content he is not allowed, he will not see content - only the message that the content is locked for him.
TIP
Learn more about other options in this user guide:
Now head to the Post Types tab:

This tab allows to configure global restriction for all post types available on your site, including custom post types:
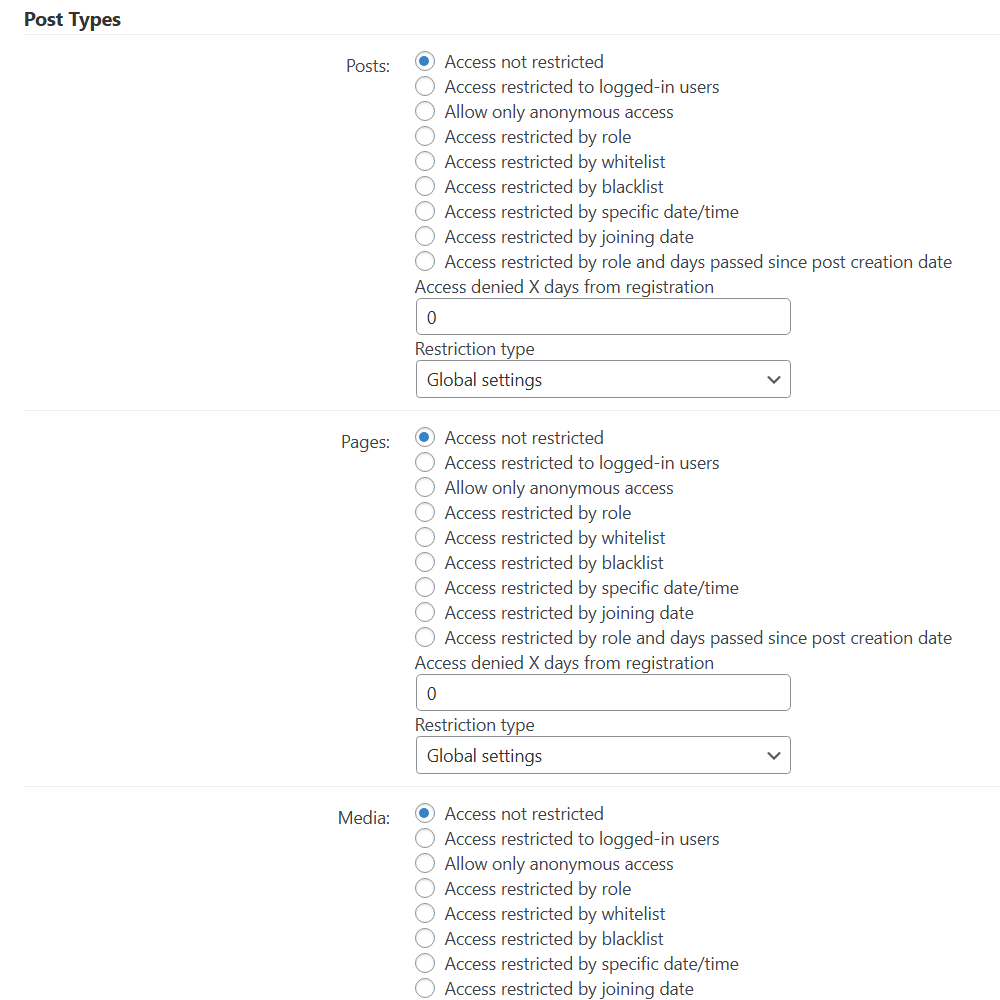
For each post type, you can choose the following restriction:
- Access not restricted - Access is allowed to all roles including non logged-in users.
- Access restricted to logged-in users - This means that all users who logged-in on your site can access the content.
- Access denied X days from user first access - Set the number of days of access expiration. After passing this amount of days the user loses his access to the content after first accessing it.

- Allow only anonymous access - Only non-logged-in users are allowed to view the content.
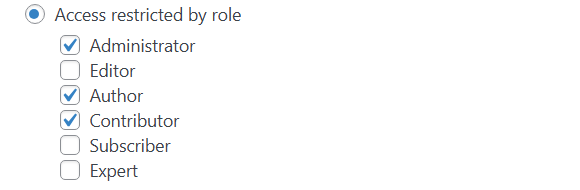
- Access restricted by role - Once selected you can specify which roles can access the content.
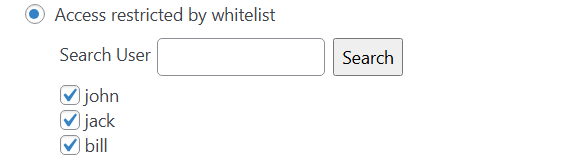
- Access restricted by whitelist - Only users from the whitelist are allowed to view the content.
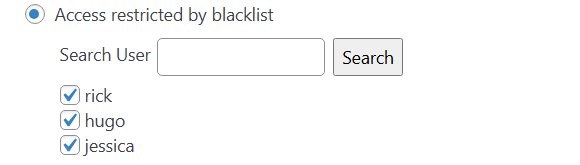
- Access restricted by blacklist - Access is allowed to all users except the ones that are defined in the blacklist.
- Access restricted by specific date/time - Access is allowed only within defined period of time. You need to set start and end dates in the fields From and To.

- Access restricted by joining date - Newly registered users will only be able to see content created on or after the registration date.
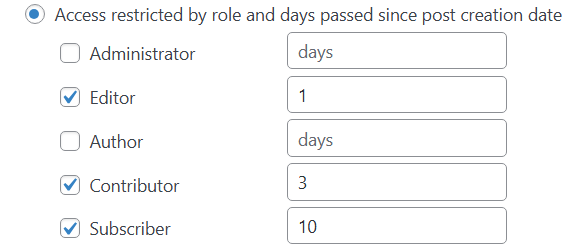
- Access restricted by role and days passed since post creation date - Per each user role you can define the amount of days that should pass after the post is created in order to let the user access its content. Not selected user roles will not be able to access the content. If you don't want to restrict access for specific user roles by the post creation date, you need to select this role and set the value "0". If this option is chosen, then non-logged in users can not access the content of that type. Also, if you don't redirect users to the specific "access denied" page, you can show them a message with the date when they can access the content. You can customize the message: Learn more.
- Access denied X days from registration - Access is restricted for users that registered less than X days ago.
- Restriction type - This option overrides global settings. Choose the view of the message that the user will see when he tries to get access to restricted page:
- Global settings - This is a default value. You can change it in the General tab of Settings.
- Restrict full content - Works the same as in global settings.
- Restrict partially content - Works the same as in global settings.
- Restrict content with shortcode only - Works the same as an option in global plugin settings.
For our use case we are going to limit the access to all posts on our site - we will allow the access to them only to logged-in users, while non logged-in users (guests) will not have access to posts. So we choose the options Access restricted to logged-in users for Posts post type:

Front-end result: a guest user can not access posts, while the logged-in user can:
Learn More
The plugin allows to override global plugin restrictions by setting up a restriction for a specific post or page using a metabox, or create URL filters to add restrictions based on URLs.
Learn more about these methods:
Overriding Global Restrictions With Invitation Codes
Now let's limit access to a certain post by invitation codes using the WordPress Invitation Code plugin.
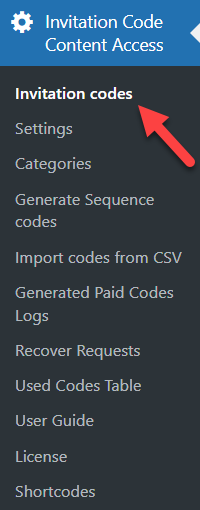
To create an invitation code, navigate to Admin Dashboard → Invitation Code Content Access → Invitation Codes.
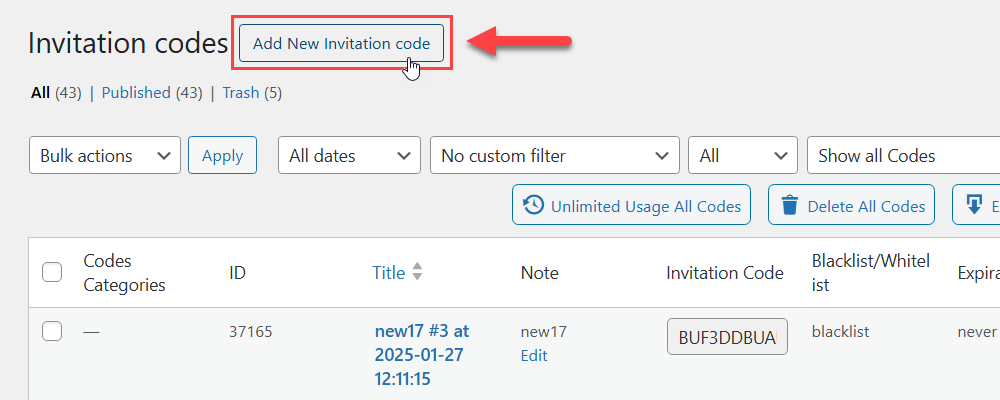
Next, click the button Add New Invitation code at the top:
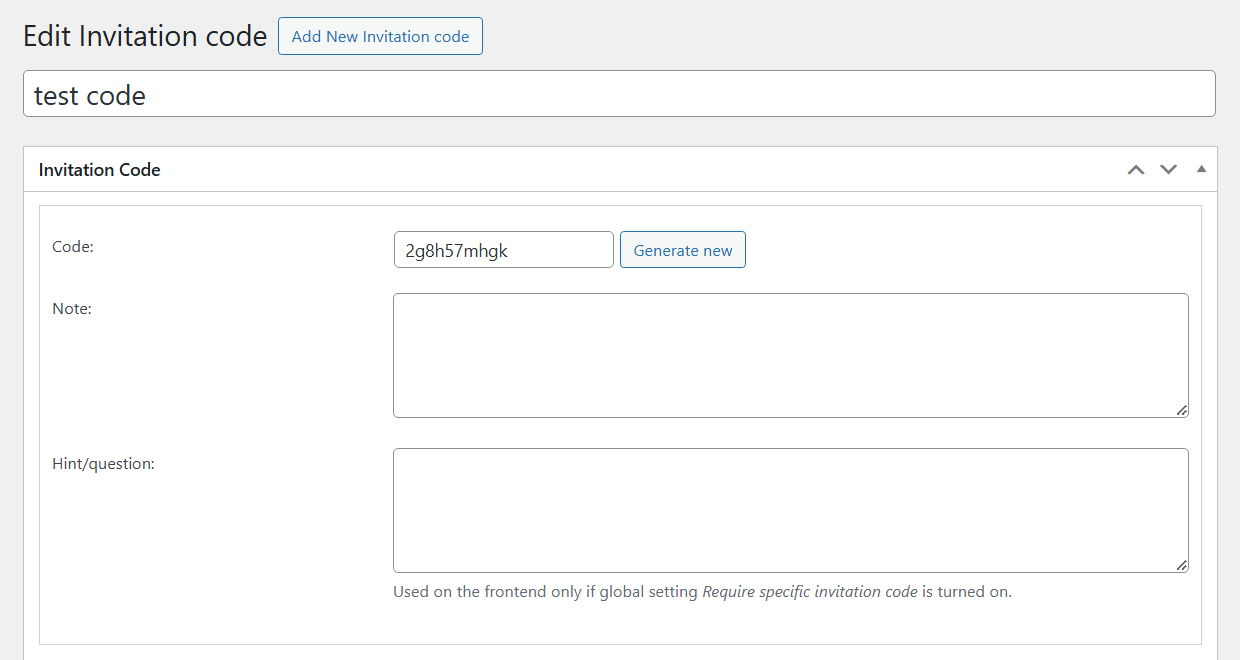
First, you need to add a code name (it's just for internal usage) and define the code itself. You can either type your own code or generate a random one by clicking the button Generate new:
Then you need to define the restricted content.
You can either choose URL/Page as Blocked Content and specify a URL of the needed page or post:
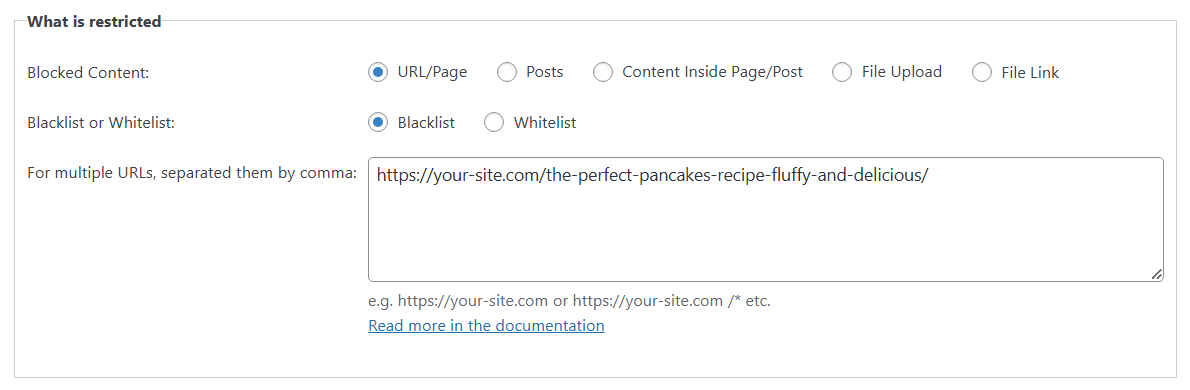
Or choose Posts as Blocked Content and choose the needed post from the list:

In both cases you can define multiple URLs or Posts.
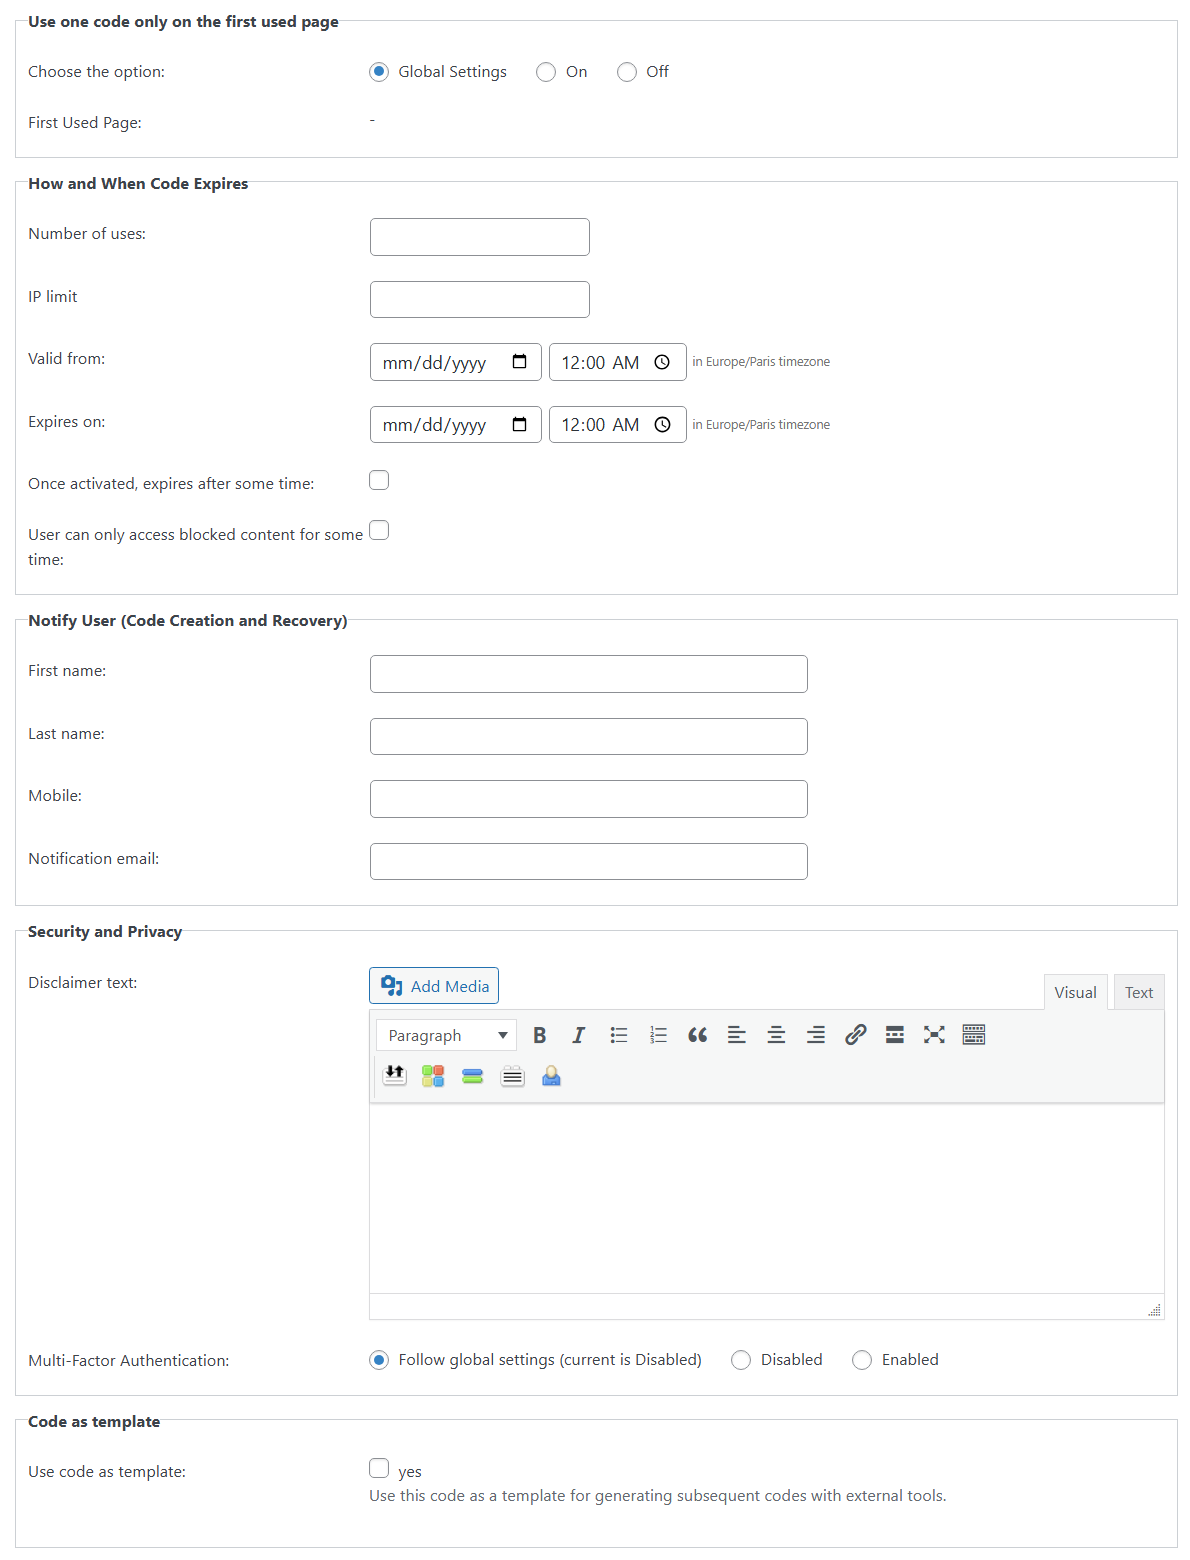
More Options
The form also includes additional restriction options, such as usage limits, IP restrictions, activation period, expiration time, and more. We will not consider all these options in this use case guide. You can learn more about all of them in this user guide: WordPress Invitation Code - Creating Codes - Single Code
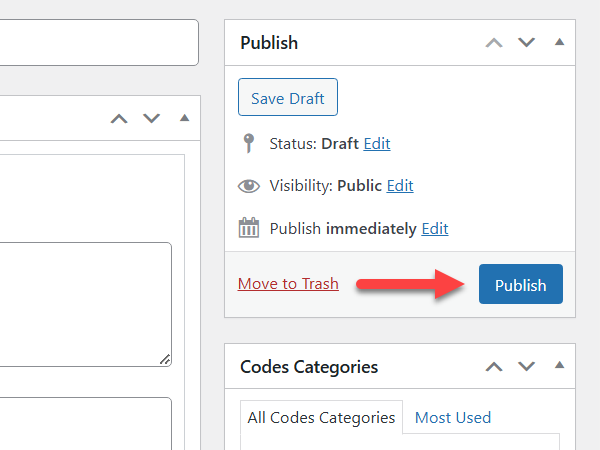
Once you configured the invitation code, click the button Publish to create it:
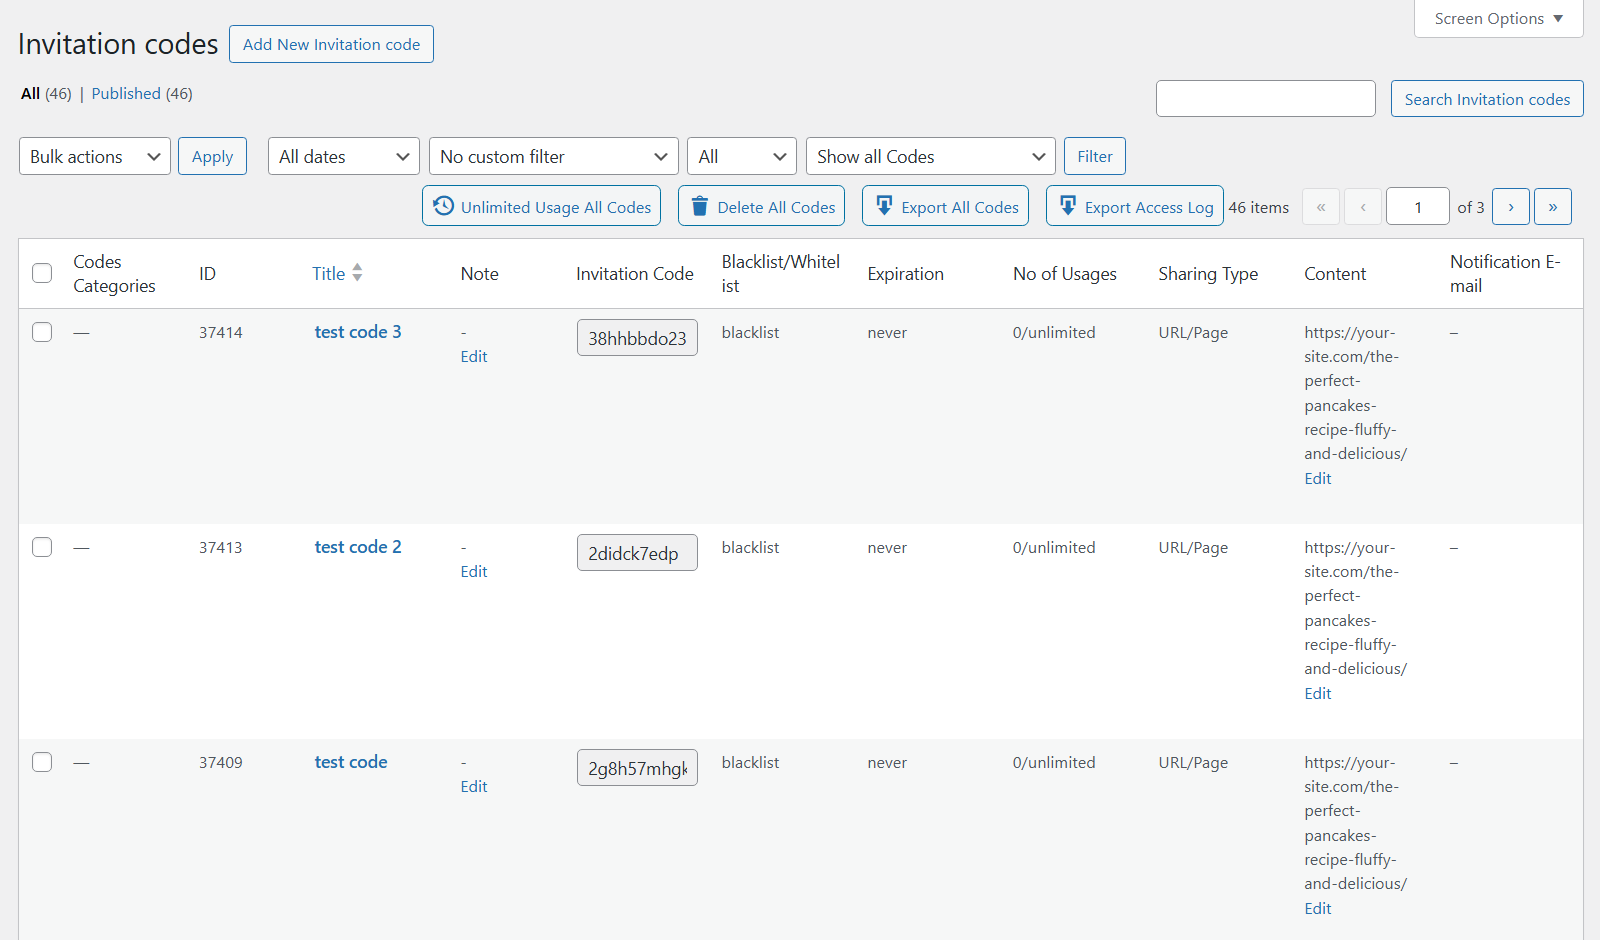
The same way we can create multiple codes:
When editing a post or page, you can see a list of all invitation codes related to it in the metabox Matching Invitation Codes:
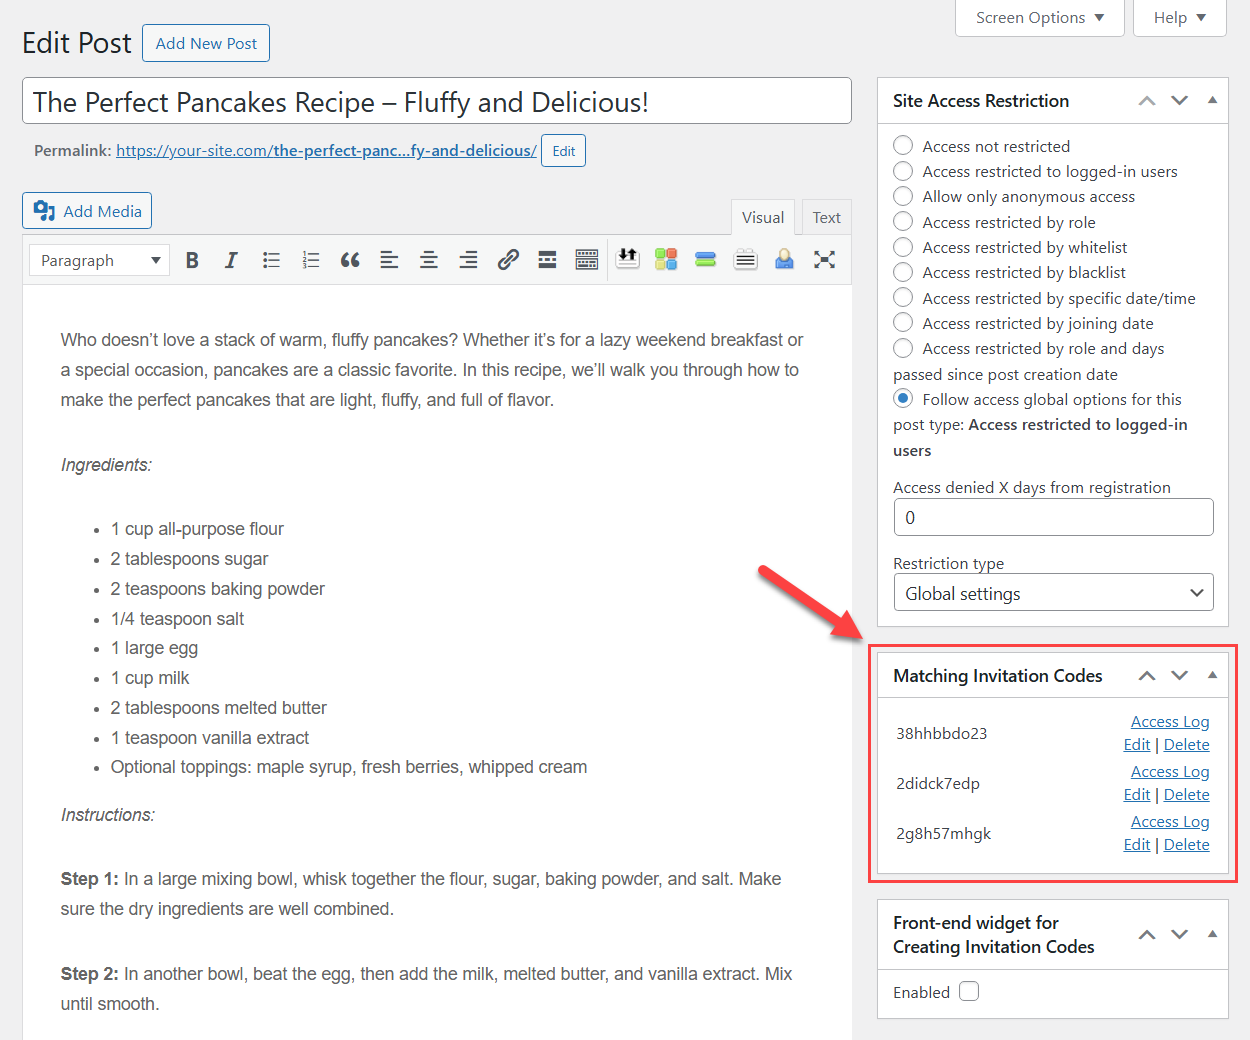
Once at least one invitation code is created for a post by the WordPress Invitation Code plugin, all restrictions that are set up for this post by the WordPress Restricted Site Access plugin will be ignored. So the post will be accessible only by users that have invitation codes no matter which user roles they have, while other posts will still be restricted based on the user role.
Front-end result 1: guest users can't access posts, but can access a specific post with the invitation code:
Front-end result 2: logged-in users can access posts, but a specific post can be accessed only with the invitation code:
End Result
Following instructions found in the plugin and guides, you should be able to use the integration between 2 plugins to manage access to your content based on user roles while providing selective access via invitation codes.
Use Case Front-End
Example 1: guest users can't access posts, but can access a specific post with the invitation code:
Example 2: logged-in users can access posts, but a specific post can be accessed only with the invitation code:
 |
More information about the WordPress Invitation Code Plugin Other WordPress products can be found at CreativeMinds WordPress Store |
 |
Let us know how we can Improve this Product Documentation Page To open a Support Ticket visit our support center |