WordPress Restricted Site Access (SAR) - Use Case - Blocking Site Access to Certain User Roles or to Guest Users Only
Use Case – Blocking site access to certain user roles or to guest users only.
Video Use-Case
Note: This guide requires:
- WordPress Restricted Site Access – This document uses version 1.5.0
Introduction
WordPress Restricted Site Access is a plugin that allows you to create a membership and content restriction solution. The content restriction is based on user WordPress roles and if they are logged in or not. Choose which post type, category or even specific page should be locked – and to whom.
Use Case Front-End
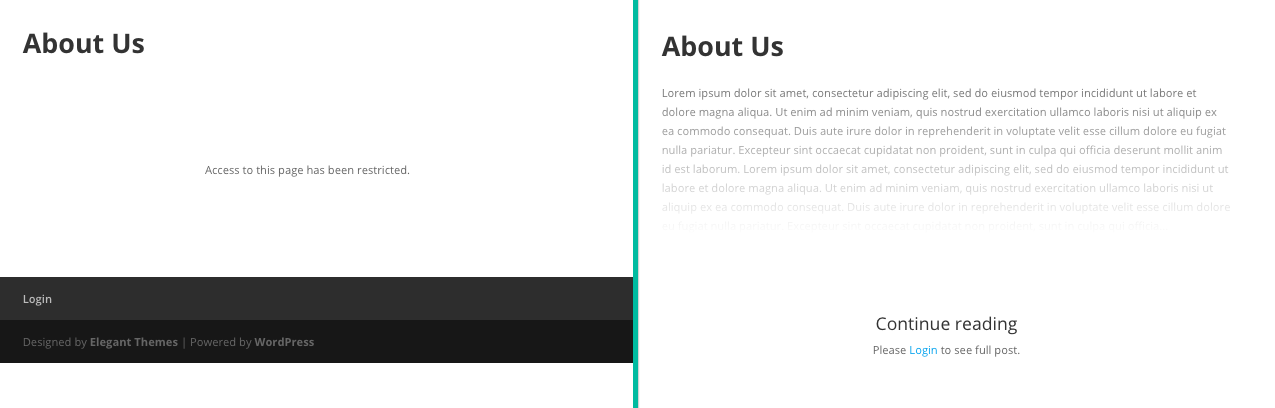
The access is restricted for not logged in users:
The user is not allowed to see the content according to his WP role:
Use Case Assumptions
In this example we will consider how to block site access to certain user roles or to guest users only.
It follows:
- Installing the plugin
- How content restriction works
- Setting up
- Restricting posts, pages and more
- Translating the labels
- Restrict specific page (post metabox)
- Restrict part of the content using shortcode
- Restrict by URL
- End result
Installing the Plugin
The process is the same for all CM plugins and add-ons.

- Download the plugin from your customer dashboard.
- Log in to WordPress and navigate to the WordPress Admin → Plugins settings.
- Click on Add New.
- Activate it and add the license.
Learn more: Getting Started - Plugin Overview
How Content Restriction Works
The WordPress Restricted Site Access plugin allows users to create a membership and content restriction solution. The content restriction is based on user WordPress roles and if they are logged in or not.
Front-End Examples
The content restriction can be set by the following options:
- Specific URL - You can restrict access to specific posts. This can also include URL parameters.
- Specific Post / Page - You can restrict access to a post, page or any custom post type by editing the post and using the post metabox to restrict access.
-
Specific Permalink - Some plugins create fly pages which are only represented by permalink. In such case you can use the admin bar edit option to define content restriction.

Editing the page - To all posts by type - Using the plugin setting, you can restrict content across all post from a specific type.
- To part of the content - Using a shortcode, you can limit access to part of the content in a post or page only to specific roles user id or user action.
Let's start first with the general setting up the plugin and then consider content restrictions methods step by step.
Setting up
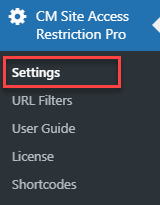
Navigate to Admin Dashboard → CM Site Access Restriction Pro → Settings.
Head to the General tab. The first thing to set up after installation are the pages that users will be redirected to when trying to access restricted content. There are two types of access restriction. So here are two options that define these two types:
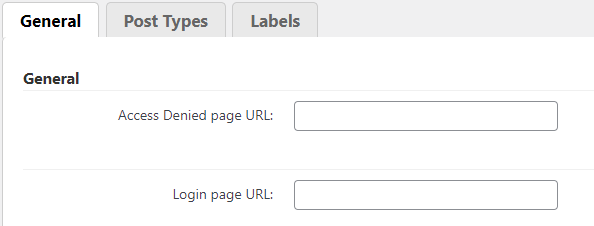
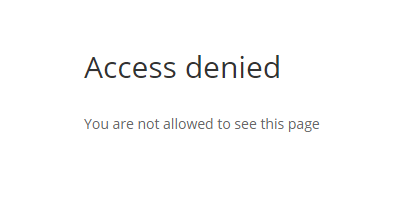
- Access Denied page URL - The page, where the user will be redirected if he tries to access the page which is restricted.
- Login page URL - The page, where the user will be redirected if he is not logged-in and tries to access the page which is restricted. If the user logged-in, but his user role is not allowed to access the page, he will be redirected to the page defined in the previous option.
Example, how we can fill these fields:
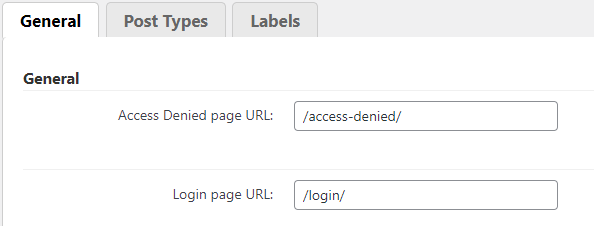
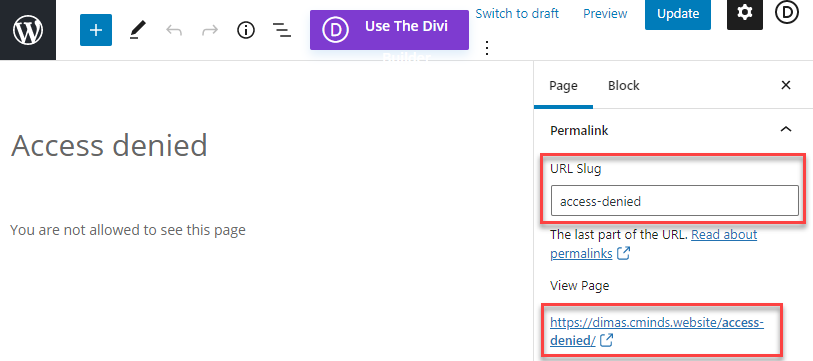
TIP 1: Create "Access Denied" Page
You can create your own "Access Denied" page, and use it's slug or URL in the Access Denied page URL field:
TIP 2: Using Backlink
You can also use the optional parameter %backlink% which will be replaced with the target website's URL address. The parameter ?cmreg_redirect_url= will work only with the WordPress Registration Form Plugin (as shown below). To use the default WP login, apply ?redirect_to=

Learn more about Using Together with WordPress Registration Form Plugin (Invitation Codes, Login Redirect)
Time Restriction
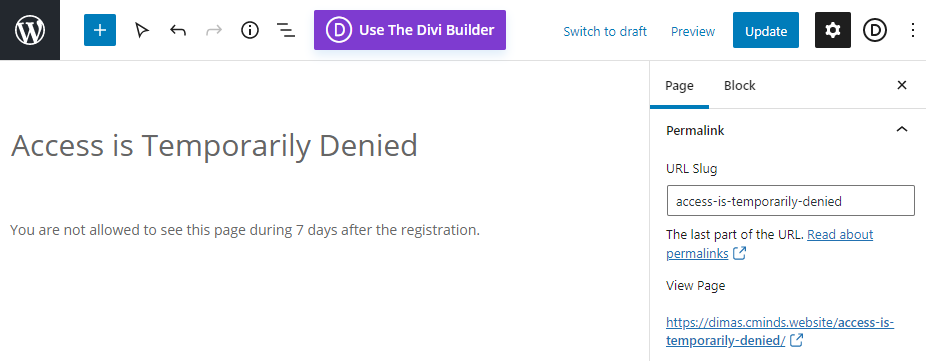
Access denied due to time restrictions - You can select the page where the user will be redirected after they try to visit a restricted page outside of an approved time. Approved time is defined on the next tab of the Settings → Post Types, in the field Access denied X days from registration.

The same as in the previous case - you can create the page for it, where the user can see the information that the access is temporarily denied for some period of time.
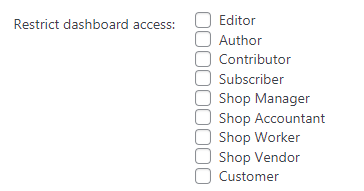
Role Restriction
Restrict Dashboard Access - Dashboard access can be restricted to users of certain roles only or users with a specific capability. Administrator users have full access.
How Much Content is Restricted
Choose how much of the content is restricted:

- Restricting the full content
-
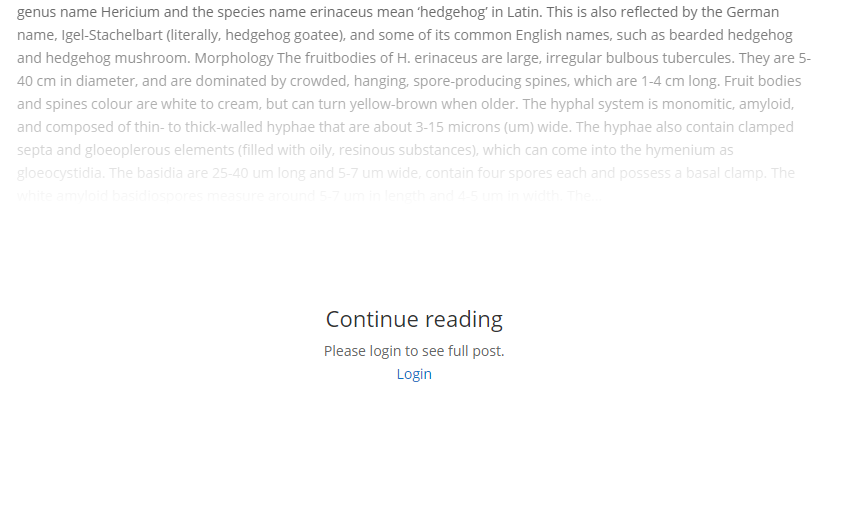
Showing 20% of the content with a fade effect and the message (configurable in the labels section)
Example

Example of the partial content restriction with the fade effect Note: The setting Restriction Message View can be overriden for every post type in the next tab Post Types, and it can also be overridden for every specific post or page in the metabox.
Creating Exception for Homepage
If you use the latest posts as the homepage, you can make the homepage an exception. So choose Yes, to exclude the homepage from restricting.

Learn more: How To - Exclude Homepage When It Shows Latest Blog Posts
Display "Restricted Label" On The Archive Page
Archive pages are those that list items, such as your blog posts. To identify restricted posts, select Yes.

Restricting Posts, Pages and More
Now we can go to the next tab - Post Types.
In this section you can restrict all posts which belong to a custom post type, as well as restrict access to the general pages and posts.
Here are the items you can restrict:
- Posts
- Pages
- Media
- Revisions
- Navigation Menu Items
- Custom CSS
- Changesets
- oEmbed Responses
- User Requests
- Reusable Blocks
- Projects
- Logs
- Downloads
- Payments
- Discounts
- Products
- Variations
- Orders
- Refunds
- Coupons
- Theme Builders
- Templates
- Header Templates
- Body Templates
- Footer Templates
The available options for each item are:
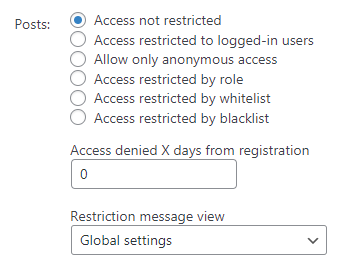
- Access not restricted - Access is allowed to all roles including non authorized users.
- Access restricted to logged-in users - This means that access is allowed for all roles that are authorized.
- Allow only anonymous access - Only non-authorized users are allowed to view the content.
-
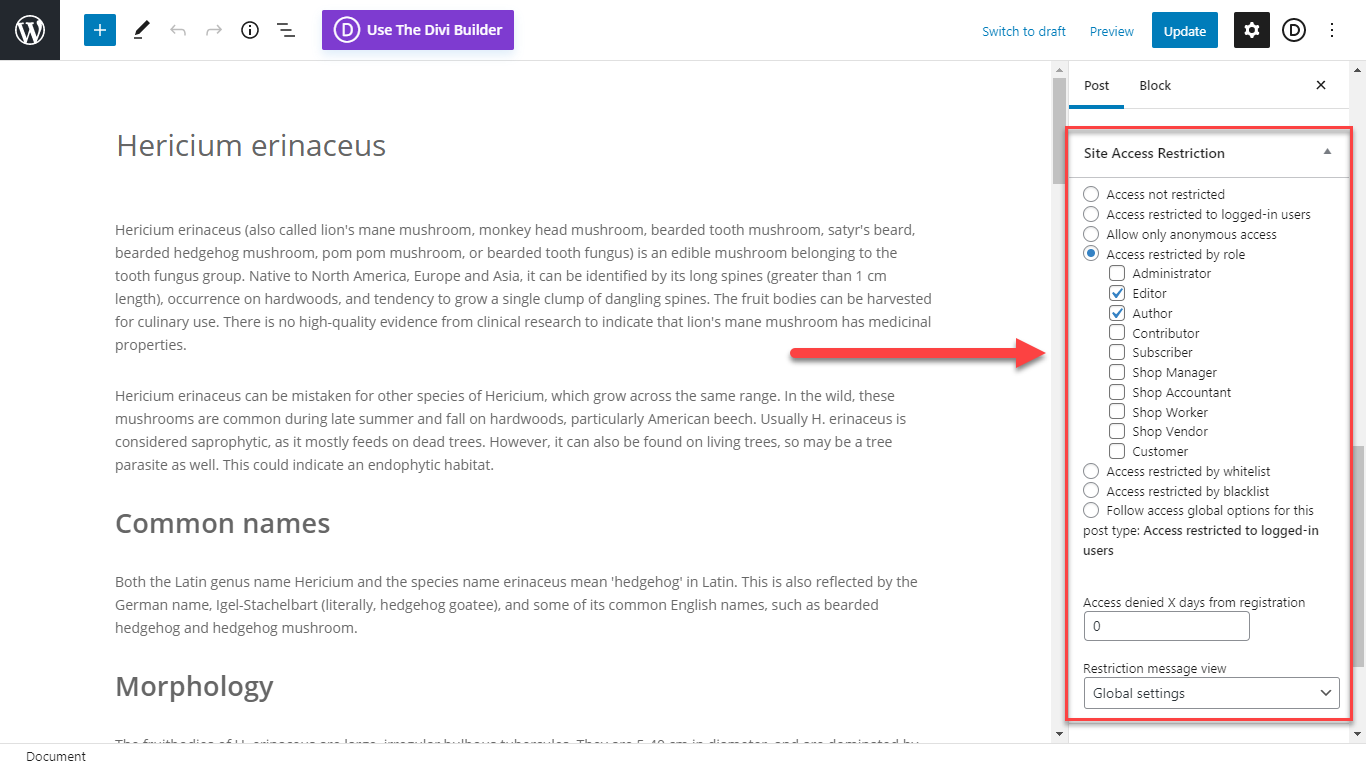
Access restricted by role - Once selected you can specify which roles can access content.

Restricting posts based on the user role - Access restricted by whitelist - Only users from the whitelist are allowed to view the content. Choose the users you want to add to the list and check them.
- Access restricted by blacklist - Access is restricted only for users from the blacklist. Choose the users you want to add to the list and check them.
- Access denied X days from registration - Access is restricted for users that registered less than X days ago.
- Restriction message view - Choose the view of the message that the user will see when he tries to get access to restricted page:
- Global settings - This is a default value. You can change it in the General tab of Settings.
- Restrict full content - The user will not see any content - just an invitation to log-in.
- Restrict with excerpt and fade effect - The user will see only little part of the content and an invitation to log-in.

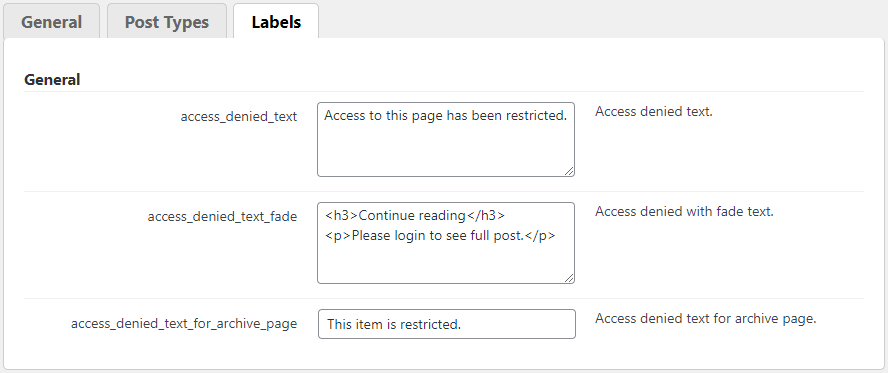
Translating the Labels
The next tab in settings is Labels. Here you can find a few options, where you can translate or customize the messages that users see when their access has been denied.
You can customize the following messages:
- Access denied text
- Access denied with fade text
- Access denied text for archive page
At the end of configuring the settings click the Save button to save the changes.
Restrict Specific Page (Post Metabox)
You can control access to specific pages or posts using a metabox located in each page or post once editing the post.
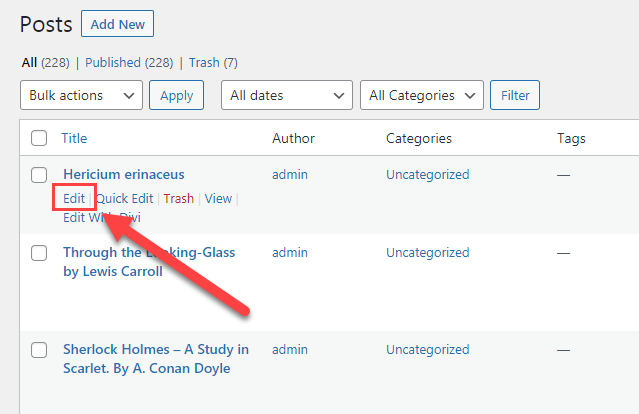
You can edit the posts or pages in two ways.
1) Open the list with posts, for example, and click the Edit button by hovering on the needed post:
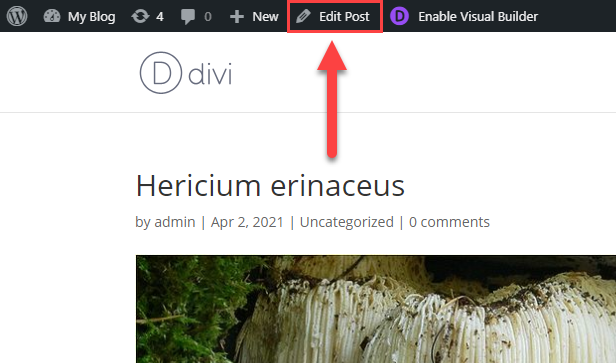
2) Another way can be useful, when some plugins create fly pages which are only represented by permalink. In such case you can use the admin bar edit option to define content restriction:
In both cases you can find the metabox Site Access Restriction. It looks the same as in Settings → Post Types tab, and it works the same. The difference is - in Settings you define global settings for all posts of chosen type, and in metabox you can configure Access Restriction for specific post that overrides global settings. And here you can also choose the option Follow global options for this post type.
When you change the settings don't forget to click the button Update or Publish at the top right to save the changes.
Restrict Part of the Content Using Shortcode
TIP: What Are Shortcodes
Shortcodes add dynamic content to your site via a small piece of code. Learn more: Shortcodes - How To Use
The WordPress Restricted Site Access plugin uses a shortcode which supports restricting content only to part of the content within the post / page. This means that the entire post can be visible and only part of it will be visible to specific users.
Basic Shortcode
The basic shortcode looks like this:
[access] Put the restricted content here [/access]
The shortcode needs some extra information about who should have access to the content.
Choosing Restrictions
To define who gets restricted, you can include parameters to the shortcode. All parameters are optional. This is a list of the parameters with explanations.
- role - Only affects logged-in users. Remember to use only lowercase. Only accepts one value. By default, WordPress has the following roles (Learn more in the WordPress codex).
- super-admin
- administrator
- editor
- author
- contributor
- subscriber
- cap - The capabilities the logged-in user has (for instance, to edit pages). Only accepts one value. Check the list of capabilities the WordPress codex.
- userid - Identify users by ID. Only accepts one value.
- guests - use guests="1" to show content only for guests (non logged-in) users.
- login - use login="1" to show content only for logged-in users.
- deniedtext - Text which will see users that cannot see the content.
- reverse - Use reverse="1" to reverse the conditions (check the examples below for more information).
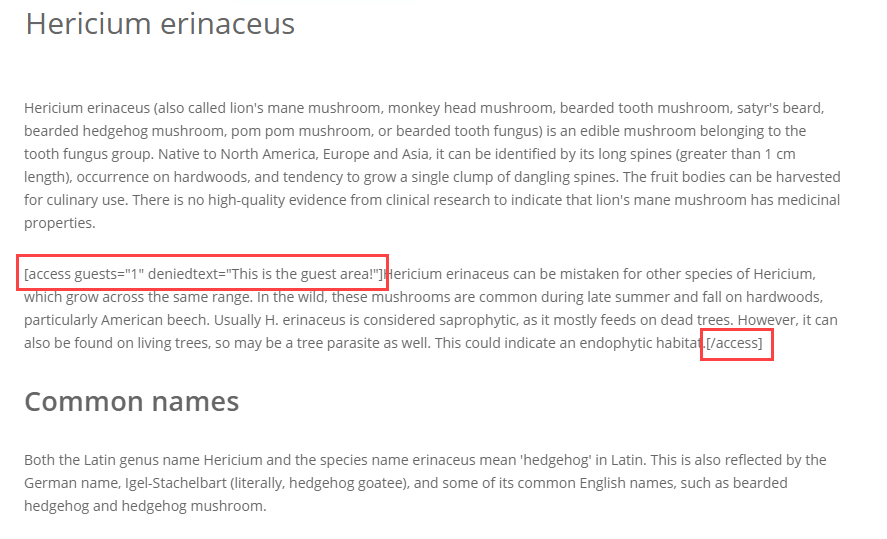
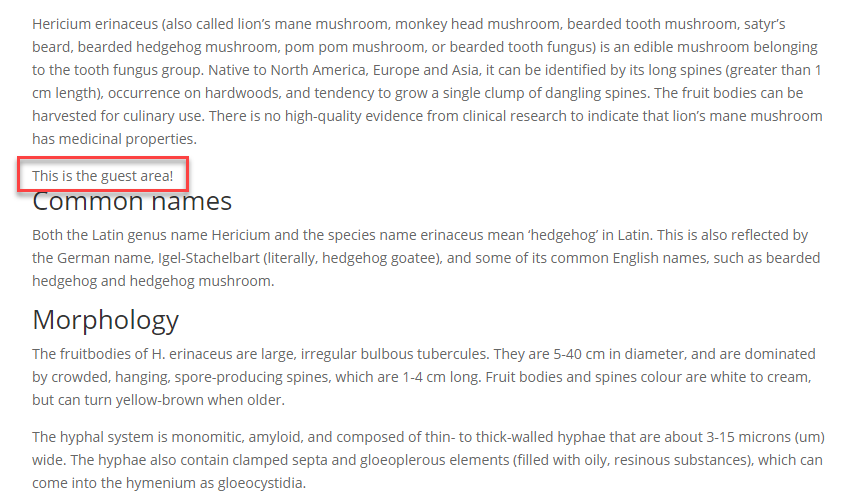
For example, we want to show content only for guest users and logged-in users will see the message "This is the guest area!".
The shortcode will look like this:
[access guests="1" deniedtext="This is the guest area!"]
Back-end example:
Front-end example:
Learn more about this shortcode and how you can use it in our detailed guide: WordPress Restricted Site Access (SAR) - Shortcodes
Restrict by URL
The plugin also support restriction access to specific URL's on your site. This is very useful when you want to prevent access to specific section of plugins which use get params or you want to define only specific pages or post.
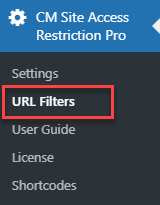
To add URL filter navigate to Admin Dashboard → CM Site Access Restriction Pro → URL Filters.
Click the Add new filter button.
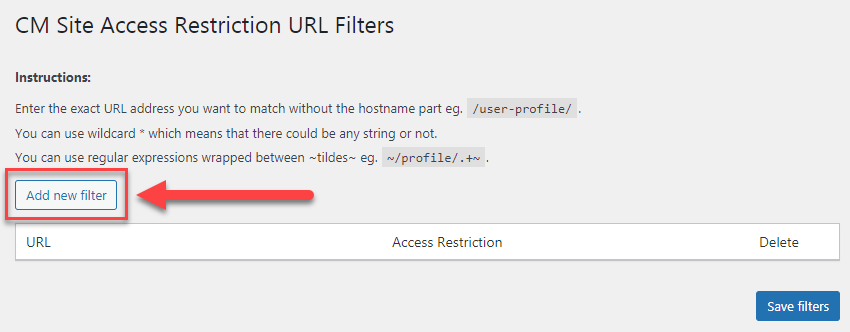
There you can see the field where you can put needed URL. You need to enter the exact URL address you want to match without the hostname part, like you can see on the screenshot below.
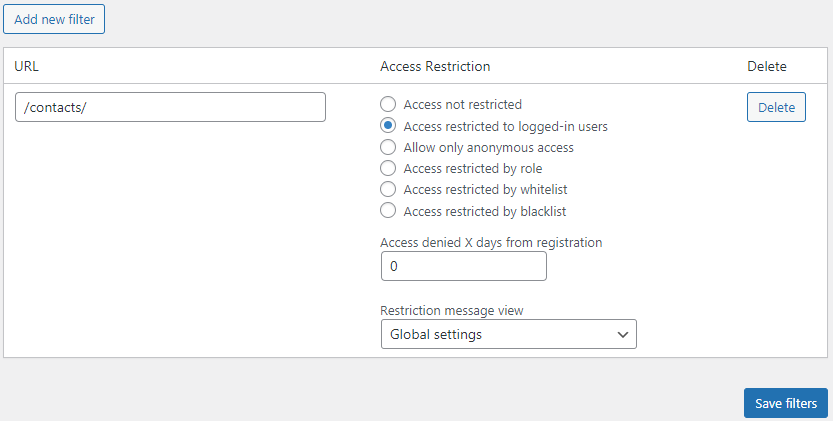
The Access Restriction settings for URLs are the same as in the previous cases and they override global settings. You can add as many URLs for restricting as you need using the Add new filter button, and don't forget to click the Save filters button to save them. You can also remove not needed filters using the button Delete.
You can also prevent access to specific section of plugins which use get params. For example, you can restrict access to the URL which looks like this:
http://yoursite.com/categories?param=1
While the generic URL http://yoursite.com/categories will not have any restriction.
End Result
Following instruction found in the plugin and guides, you should be able to restrict the access to your site and your content by chosen role.
Use Case Front-End
The access is restricted for not logged in users:
The user is not allowed to see the content according to his WP role:
 |
More information about the WordPress Restricted Site Access plugin Other WordPress products can be found at CreativeMinds WordPress Store |
 |
Let us know how we can Improve this Product Documentation Page To open a Support Ticket visit our support center |