WordPress Travel Map Plugin (CMMRM) - Creating/Editing a Route
Creating a New Route
Editing the Route Form
The admin can change which fields are visible and necessary to add a form.
Learn more: Settings - Location Form (Hiding Fields, Setting as Obligatory)
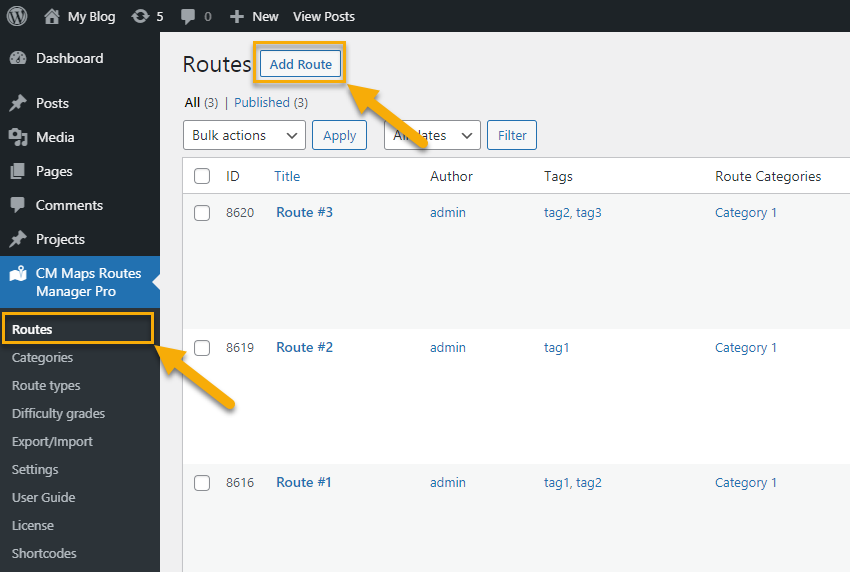
To manage routes in the WordPress Travel Map plugin, navigate to Admin Dashboard → CM Maps Routes Manager Pro → Routes. Click Add Route at the top.
TIP
Here are some actions you can do with the routes when you hover on them in the list of routes:
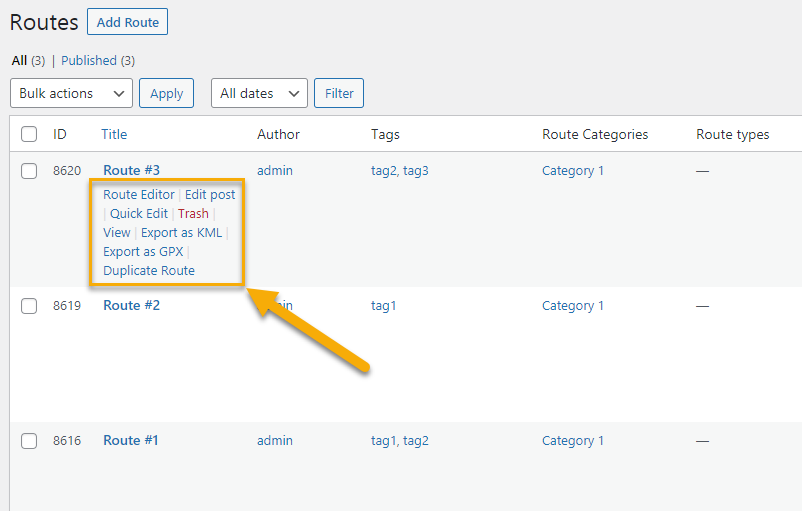
- Route Editor - Edit the route.
- Edit post - Editing the information about the route as a post.
- Quick Edit - Quick edit of some things like Title, Slug, Date, Author, Categories tags and some more basic options.
- Trash - Delete the route
- View - Open the post with the route to view it.
- Export as KML - Export the route to KML file.
- Export as GPX - Export the route to GPX file.
- Duplicate Route - Create a copy of the route (the copy will be created as Draft). Note: this feature was introduced in version 4.6.2.
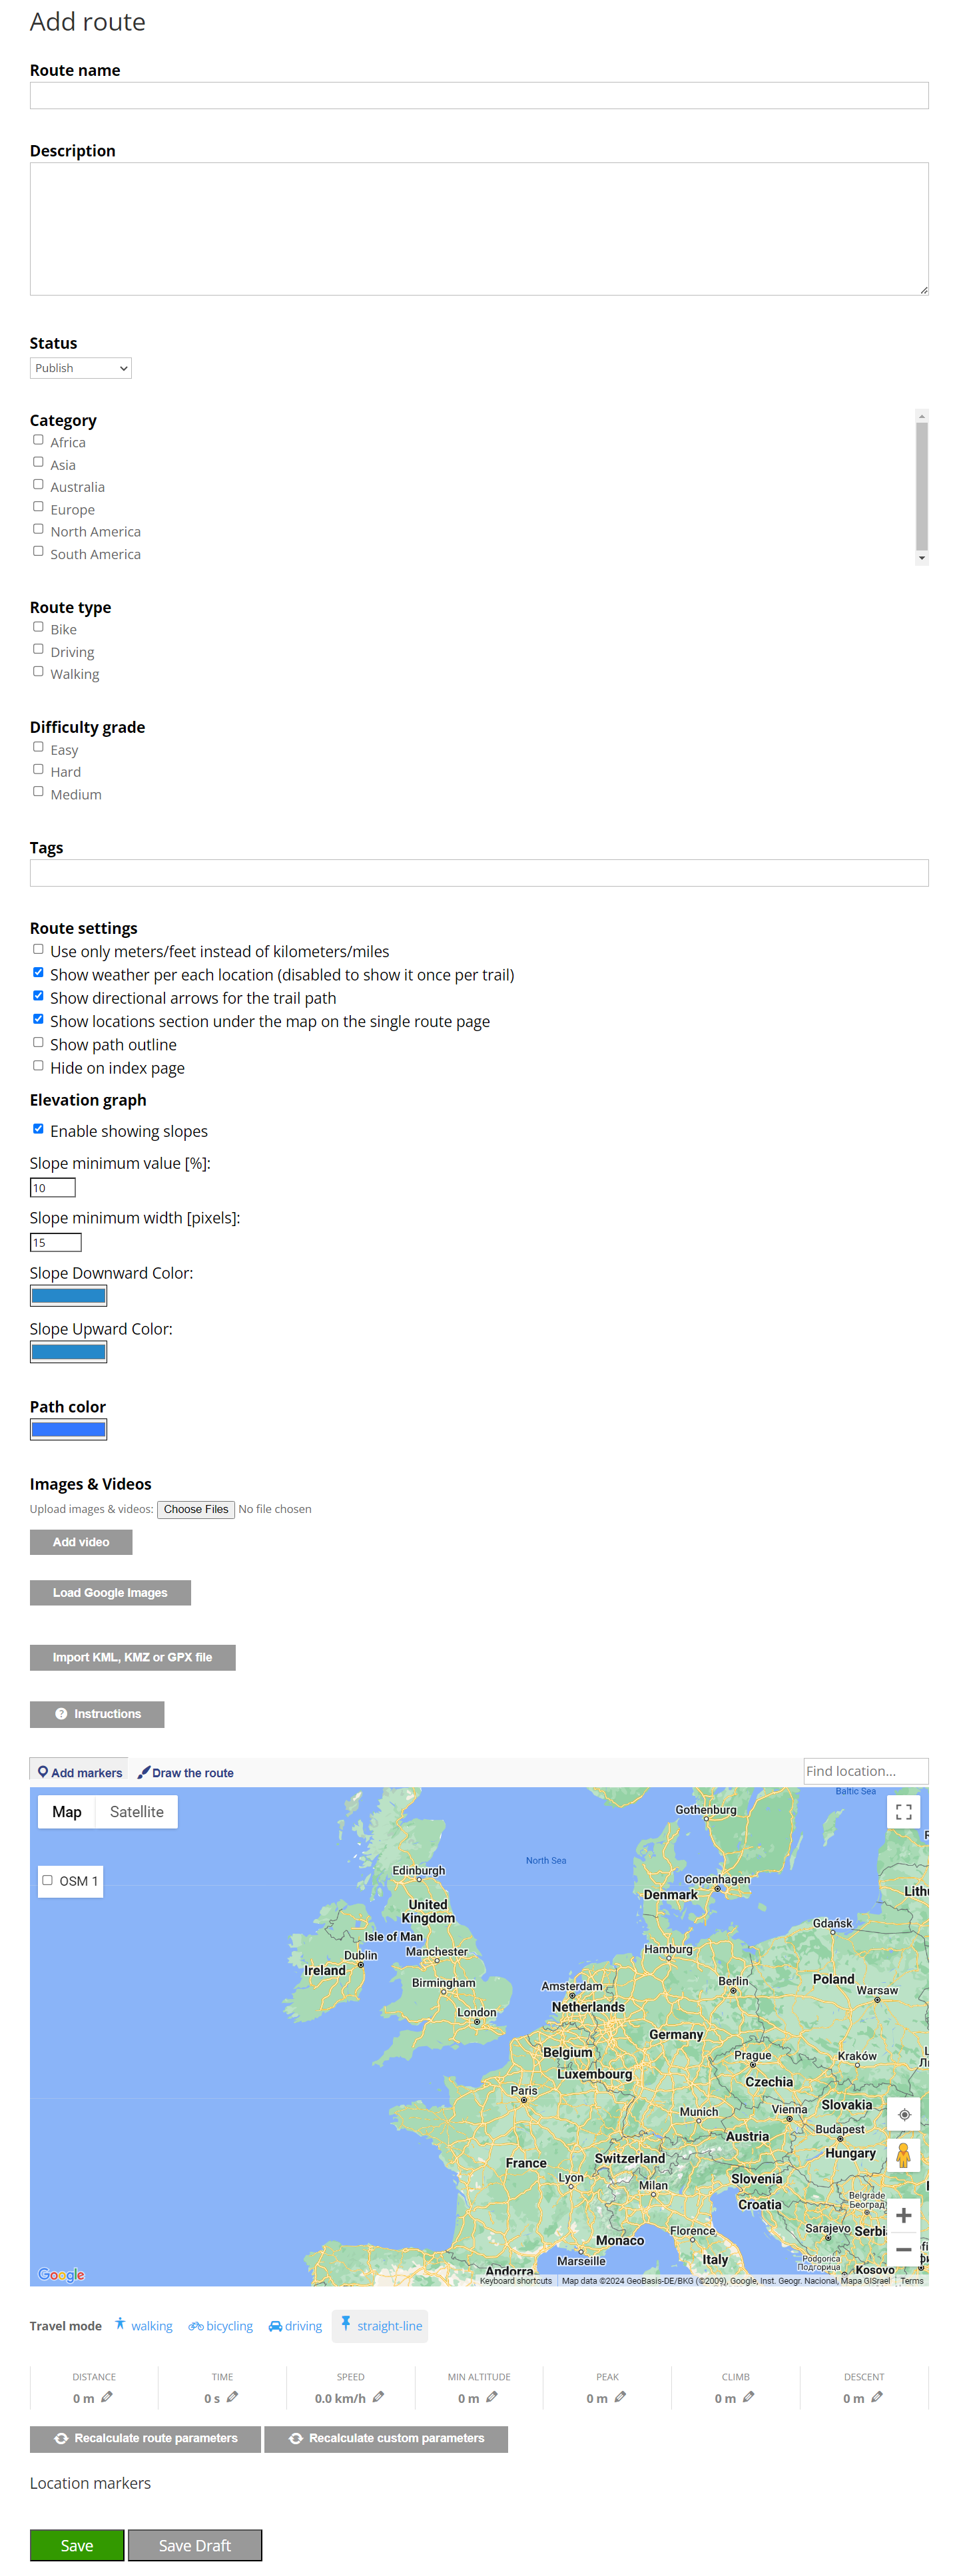
Adding the Route Details
Upon clicking on Add Route a form for creating a route will appear. Enter all of the key information about your route.
Route name
The name that you want to display the route as.

Description
A detailed description of the route that you want to be visible in the routes index for your visitors to read.
Status
Determines what stage the route is at in terms of being live on the site. Options are "Publish" meaning the route is online and can be viewed by website visitors, "Draft" meaning that the route is not ready yet and progress on it has been saved but it's not online, "Pending review" meaning the route needs to be checked first by the site Admin.
Category
This is a filtering category that can be set in the Plugin Settings.
See Taxonomy - Categories for creating and editing these.
Route type
This is another taxonomy that can be used for filtering your Routes. The difference between this and Category is that you can only assign one "Route type".
See Taxonomy - Route Types for creating and editing these.
Difficulty grade
The Difficulty grade is a place where the site admin can inform the visitor of how challenging or easy the route is. The different levels of difficulty must be created by the site admin in the Settings.
See Taxonomy - Difficulty Grade for how to create and edit these.
Tags
Tags can be created for the route to help with SEO and for giving the user search terms which can be used to filter results.
Route settings
Allows some modifying of basic details that appear on the frontend of the site for the route. Distance units, weather, directional arrows and showing locations section under the map.
-
Use only meters/feet instead of kilometers/miles.

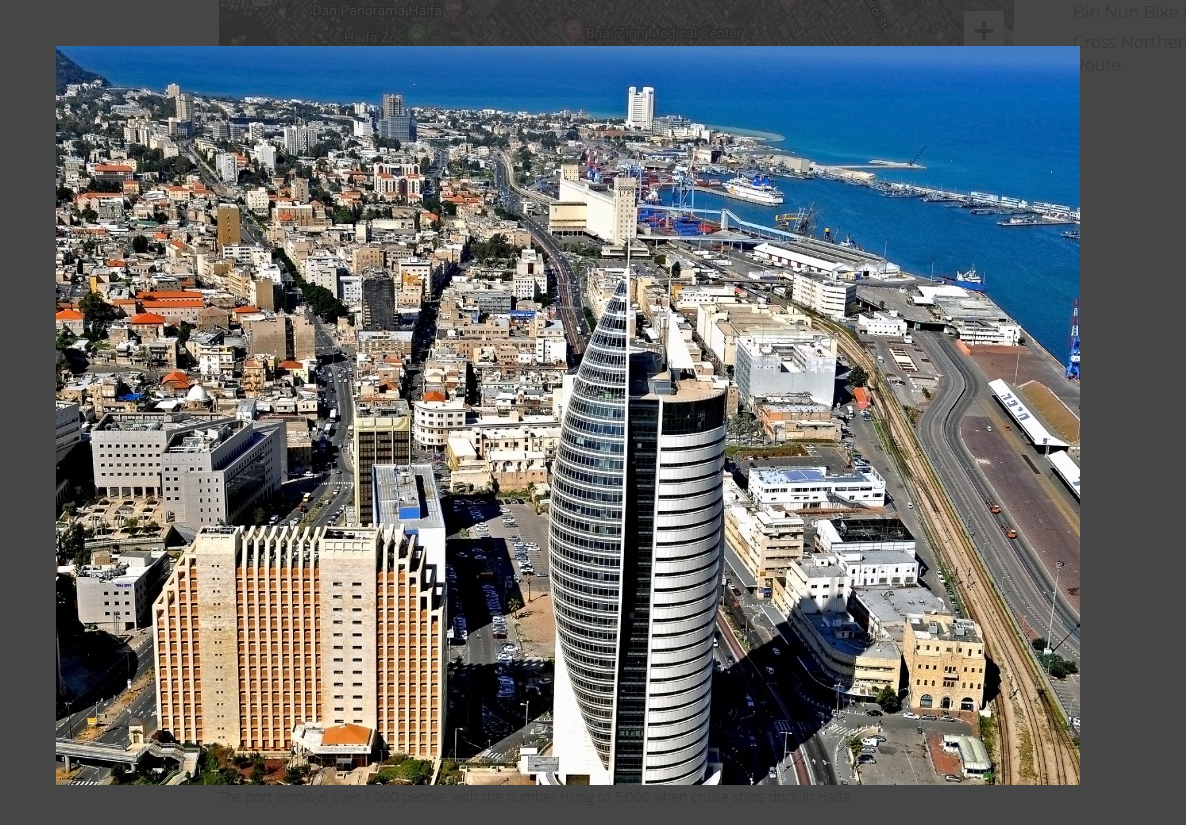
Example of the route parameters - Show weather per each location
- IMG
-
Show directional arrows for the trail path

Example of directional arrows -
Show locations section under the map on the single route page

Example of the locations section - Show path outline


Path color
Allows the user to set the color of the route using a color circle and some other methods. This can be beneficial when several routes are beside one another on the same map or may be overlapping.
Images and videos
The admin can upload images or directly link YouTube videos.
Added media can be dragged to the admin's preferred arrangement. When uploading files, a loader will indicate when the file is ready for use.
Since the version 5.1.2 you can also select external images by using the option Load Google Images. The images are searched according to the Route name that you define at the top of the form. This feature requires using Search Engine ID - Learn more how to configure it in this guide.
Import KML, KMZ or GPX file
Clicking on this will open up a small drop-down into which you can drag or click and select a KML, KMZ or GPX file for importing your map. Some other websites and programs will be able to make these files meaning the route can be generated by using a GPS, phone or Satnav device or external map/route making software.
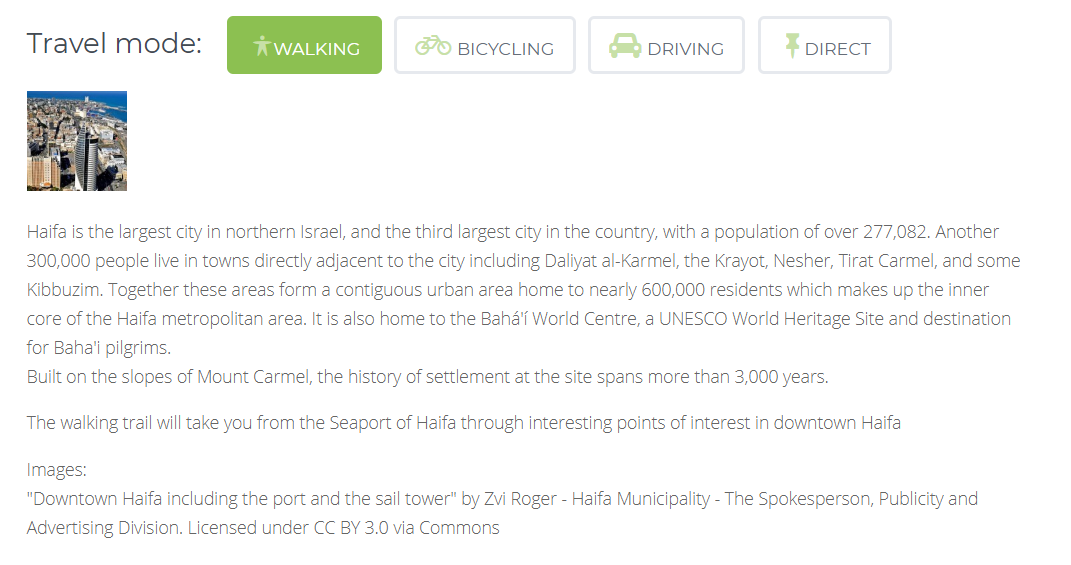
Map
This is where the admin creates the route and adds Markers to the map.
See the documentation for Drawing a Route for more information.
OSM Tiles
Users can add up to four custom tiles.
Learn more: How To - Add Tiles/Layers To Map
Save!
Don't forget to save your route by clicking "Save" at the bottom.
You can also save the route as draft using the button "Save Draft" (this feature was introduced in version 4.6.3).
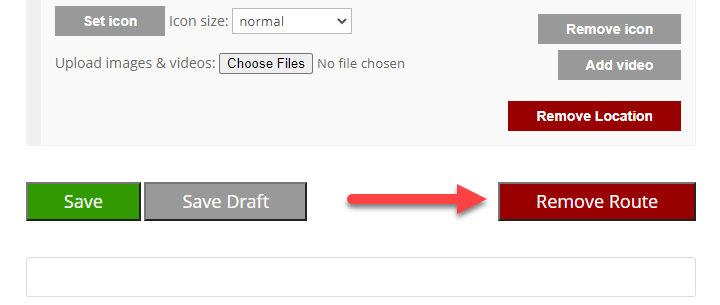
Removing Route
You may delete an existing route by clicking the Remove Route button at the bottom of the page.
 |
More information about the WordPress Travel Map Plugin Other WordPress products can be found at CreativeMinds WordPress Store |
 |
Let us know how we can Improve this Product Documentation Page To open a Support Ticket visit our support center |