WordPress Glossary Plugin (CMTG) - Use Case - How to Create Multiple Separate Glossaries On the Same Site
Use Case - How to Create Multiple Separate Glossaries On the Same Site
Note: This guide covers features from:
- WordPress Glossary plugin (Pro+/Ecommerce editions) - This document uses Ecommerce version 4.4.0.
Introduction
The WordPress Glossary plugin allows you to create a site with a complete glossary of terms. Each term's definition can appear on mouse hover across the whole site.
Use Case Front-End
Creating separate glossary index pages:

Setting up different tooltip styles per category:
Use Case Assumptions
In this example use case guide we will consider how to create a few different glossaries within one site. This can be useful if your site covers different topics and requires separate glossaries for each one.
We consider that you have already bought the plugin, but not installed it yet.
It follows:
- Installing the plugin
- Quick recap
- Creating categories
- Creating separate index pages
- Disabling main index page
- Disabling categories filter
- Associating terms with relevant categories
- Different glossary index pages - front-end example
- Use black and whitelist
- Category style
- End result
Installing the Plugin
The process is the same for all CM plugins and add-ons.

- Download the plugin from your customer dashboard.
- Log in to WordPress and navigate to the WordPress Admin → Plugins settings.
- Click on Add New.
- Activate it and add the license.
Learn more: Getting Started - Installation And First Steps
Quick Recap
In this use case we will cover only how to have a few separate glossaries on the same site. If you want to learn the basics of using the plugin, please check this use case guide first:
Creating Categories
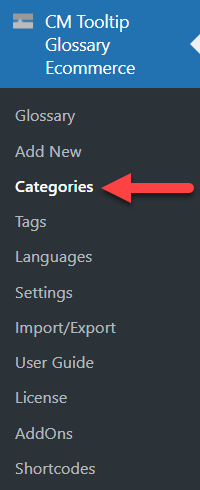
Different glossaries will be based on different categories. So, first thing we need to do is to create categories. Navigate to Admin Dashboard → CM Tooltip Glossary → Categories.
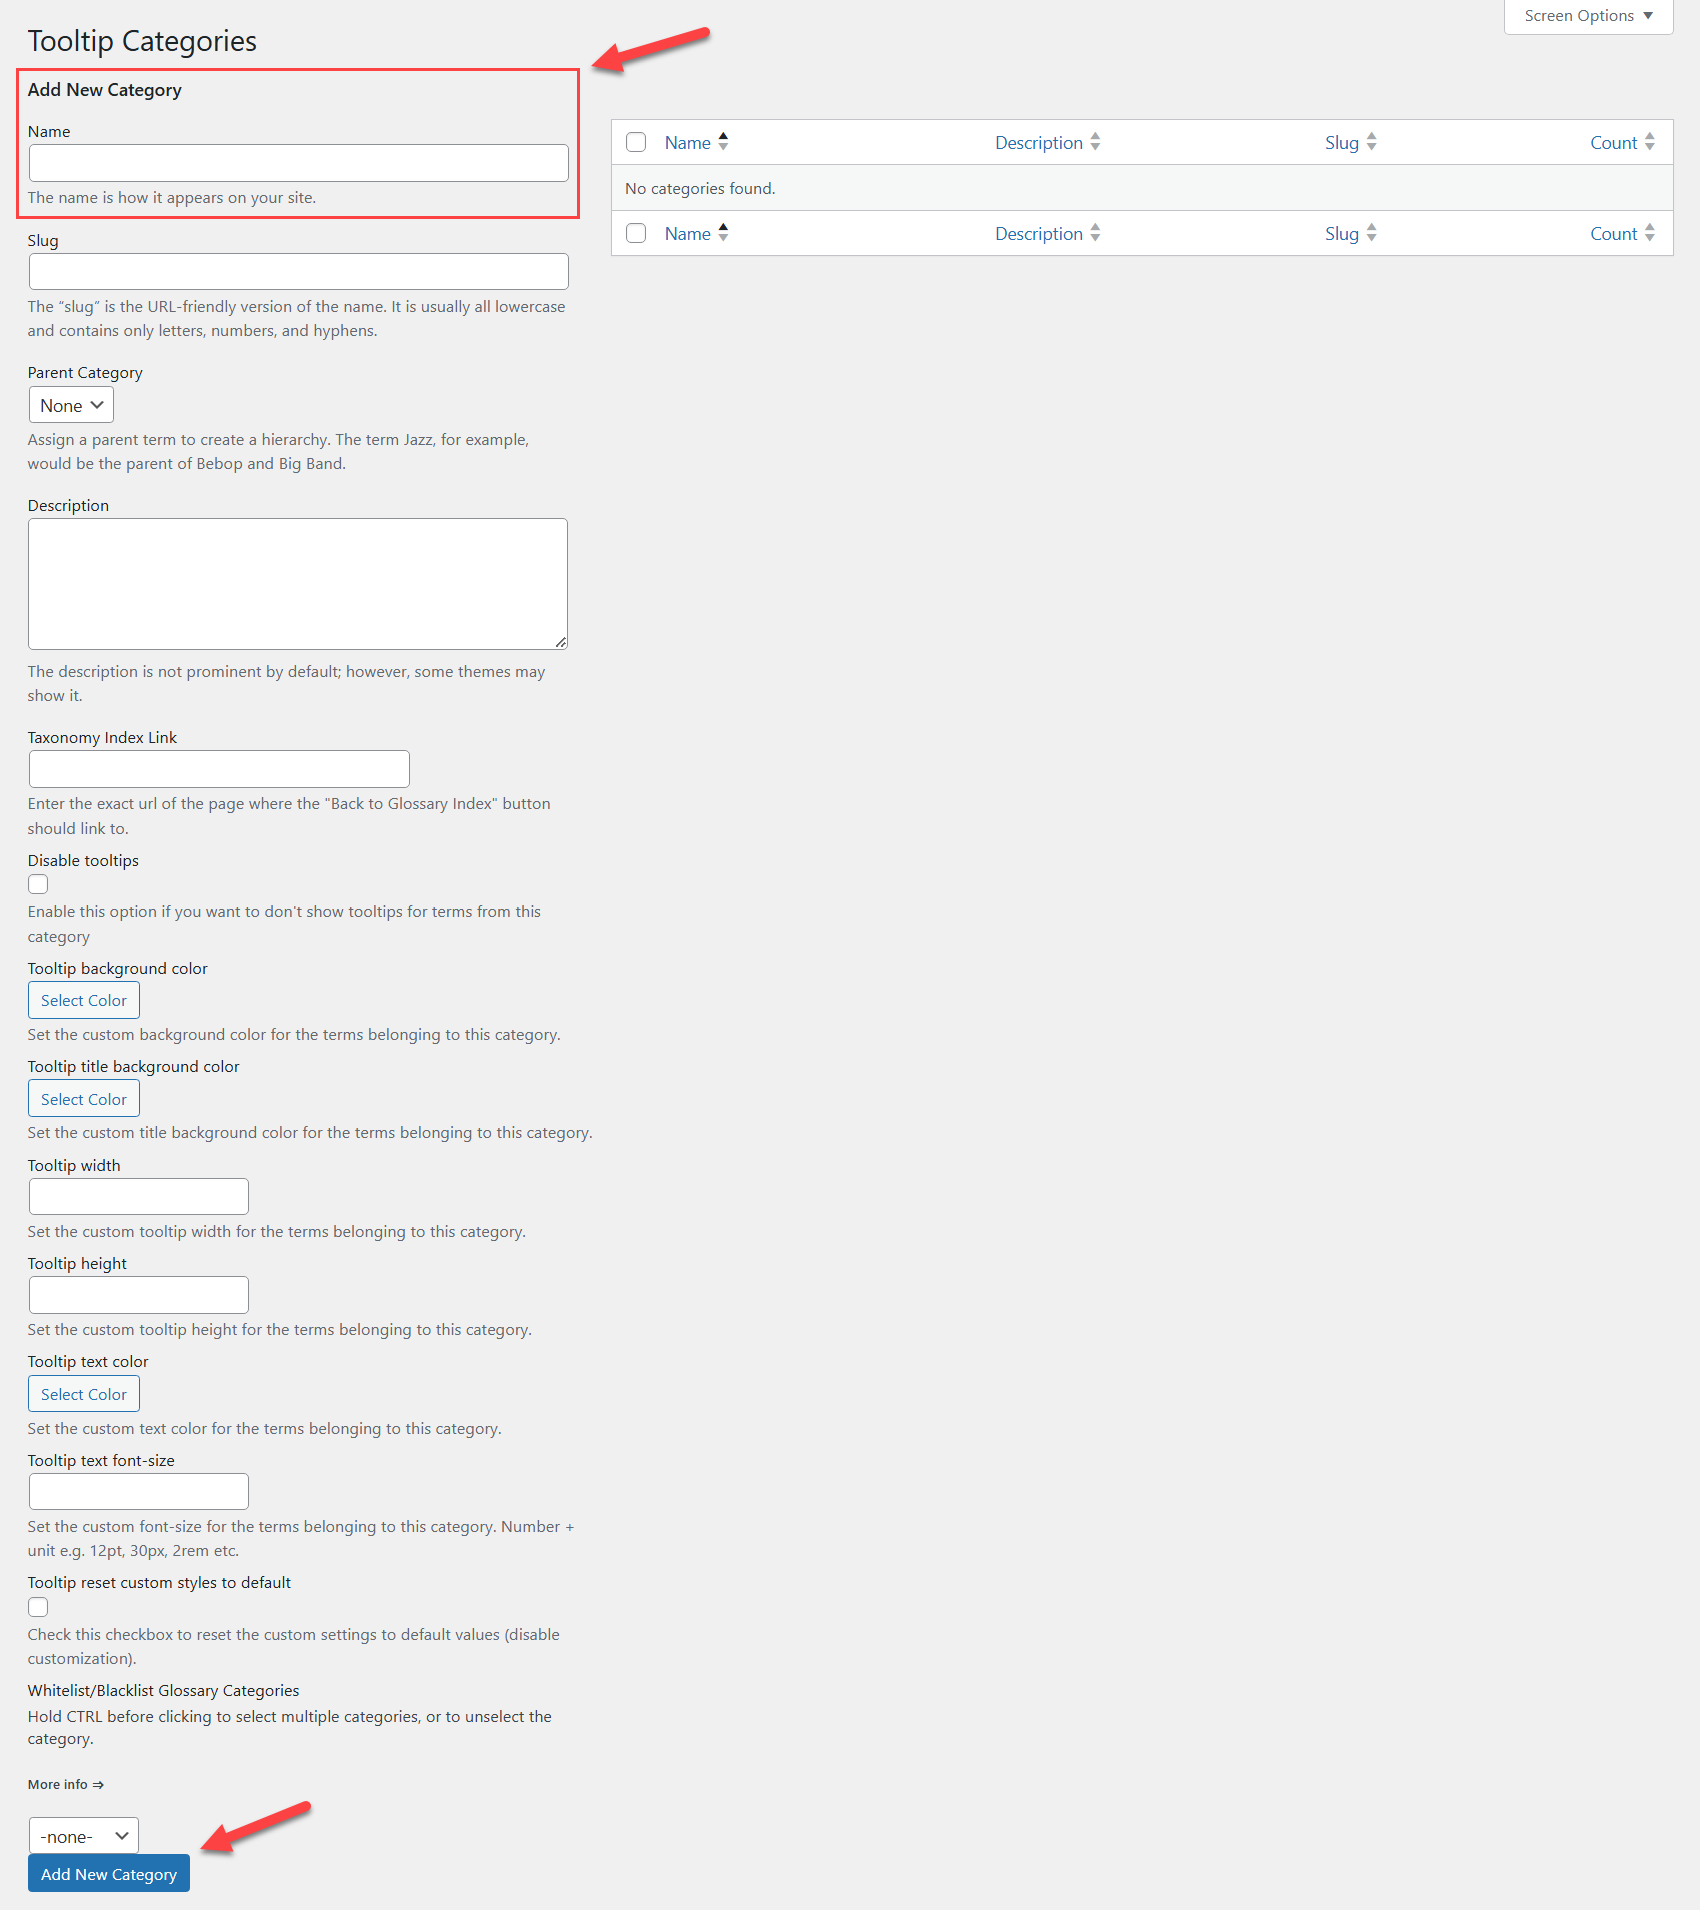
On the left side you can see a form for adding new categories, and on the right side a table which shows existing categories (it's empty now). To create a new category it's enough to fill the Name field and click Add New Category. Optionally, you can define the category description and override the tooltip style settings.
So let's create a few categories:

Creating Separate Index Pages
Now we need to create 3 separate index pages per each category.
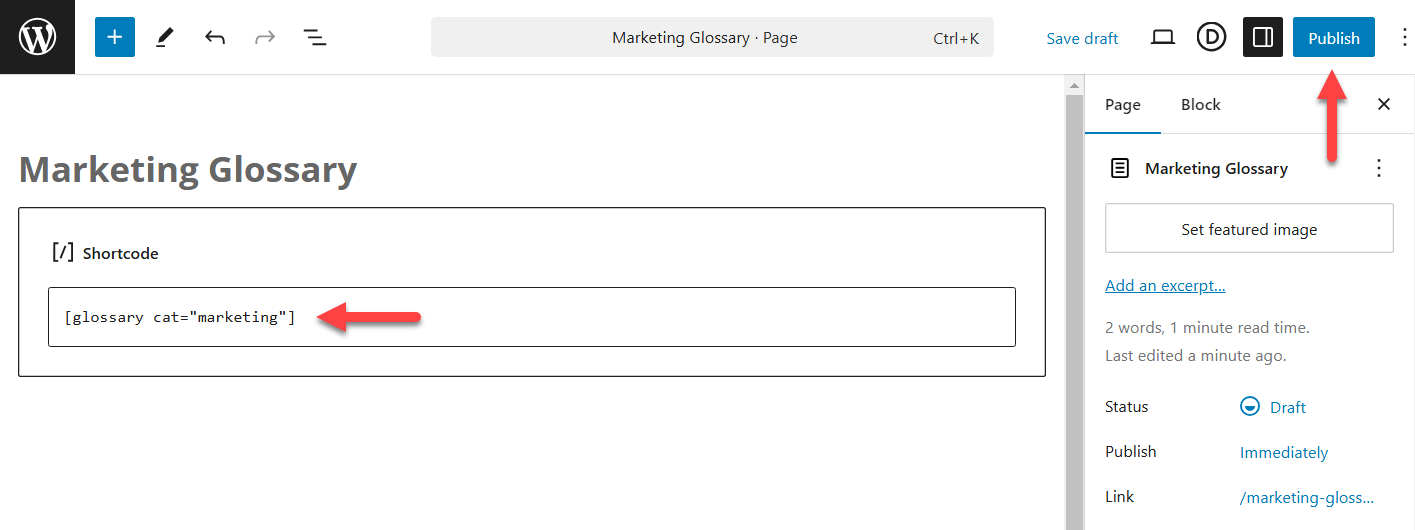
For that, we need to use a shortcode [glossary] with the parameter "cat" that allows to display terms from the specific category. The parameter "cat" accepts the category slug.
Example:
[glossary cat="marketing"]
TIP
You can display multiple categories by just separating them with comma. Example:
[glossary cat="category_1,category_2,category_3"]
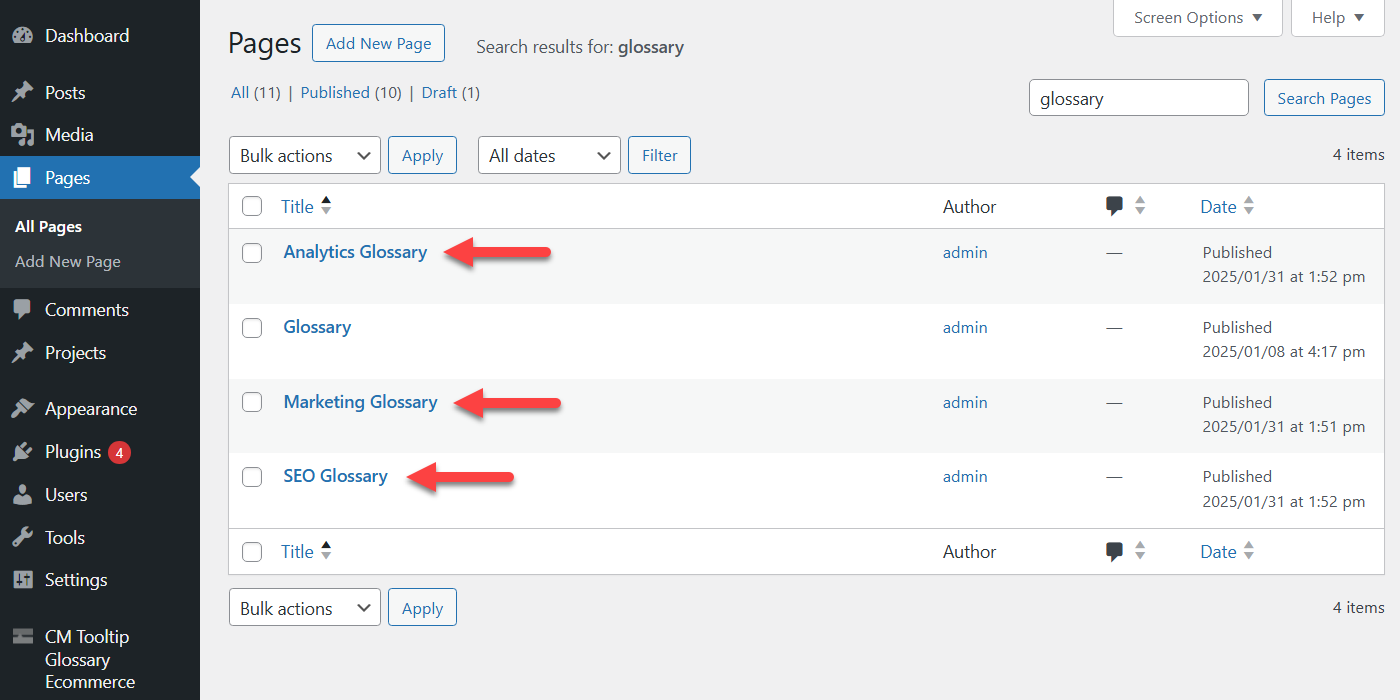
So let's create 3 pages with shortcodes that should display relevant categories:
Now we have 3 pages and we are going to use each of them as an index page for a relevant glossary topic. And we need to define each this page as a backlink for relevant glossary categories.
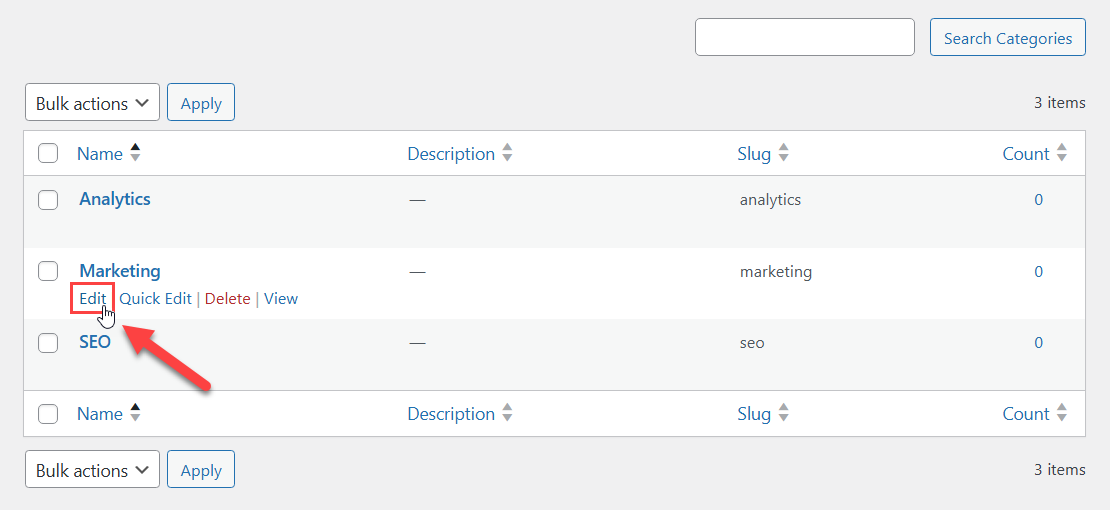
To do this, get back to the Categories dashboard:
Hover on the category and click Edit:
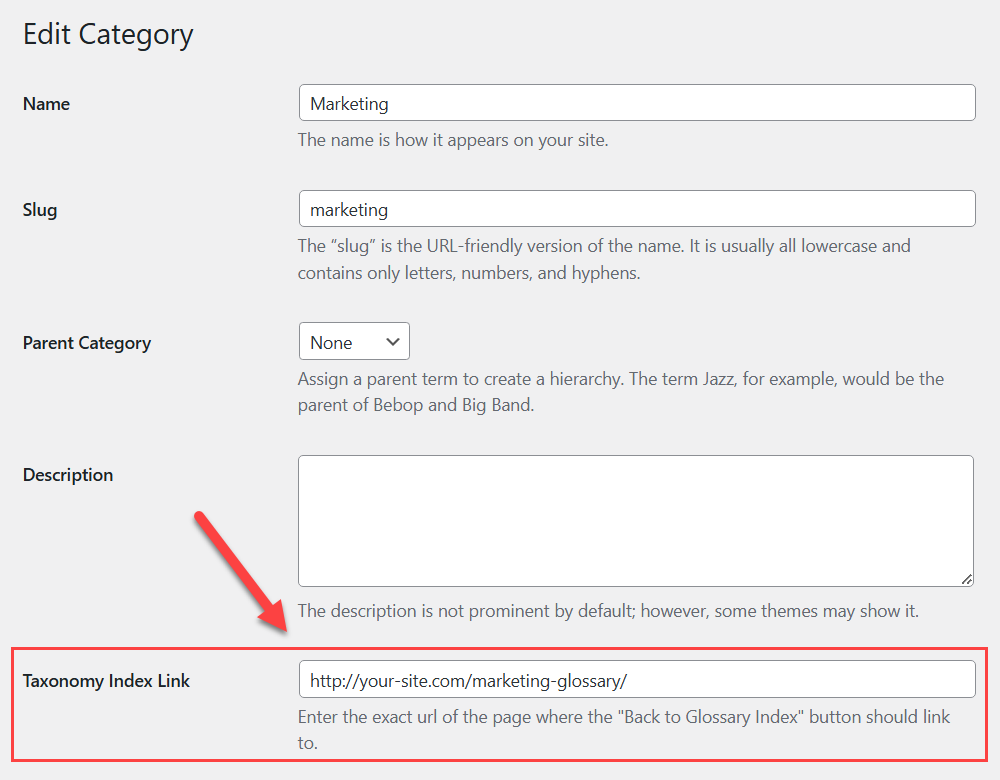
There's a field Taxonomy Index Link where you can place a link to the category index page. This will support the back to index links found in the term page. So terms related to a specific category will point to the category index page instead of the general index page which includes all terms from all categories:
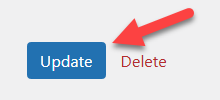
Save the changes by clicking the button Update at the bottom:
TIP
You can find the link to the page while creating or editing it:

The same way we need to specify backlinks for other categories.
Disabling Main Index Page
As we have separate index pages for each category, we need to disable the main index page that shows all glossary terms (if this page is enabled).
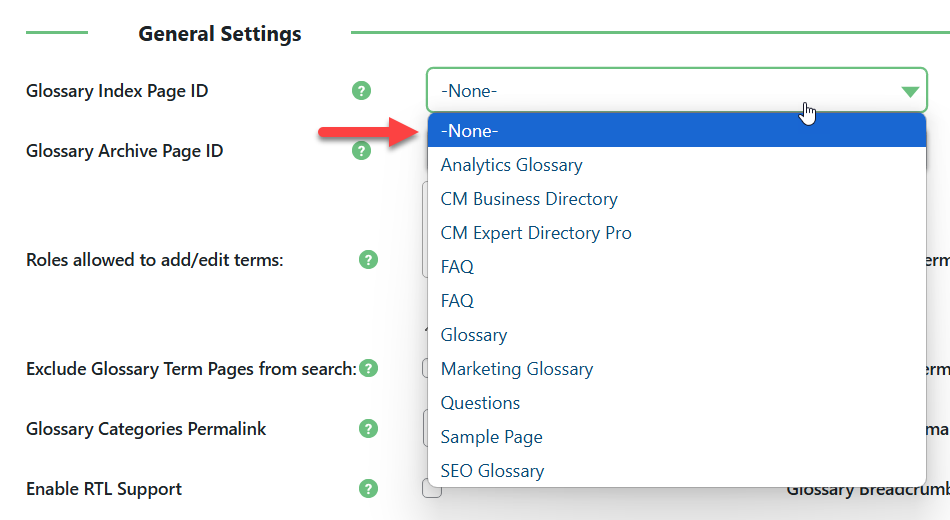
Head to Admin Dashboard → CM Tooltip Glossary → Settings → General Settings tab and find the option Glossary Index Page ID.

Just choose -None- in the dropdown and save the settings.
Disabling Categories Filter
One more thing you need to do in the plugin settings is to disable the categories filter.
In the plugin settings, head to the Glossary Index Page tab.

Find the section Search, Categories & Tags and disable the option Hide the Categories on the Glossary Index page, then save the settings.
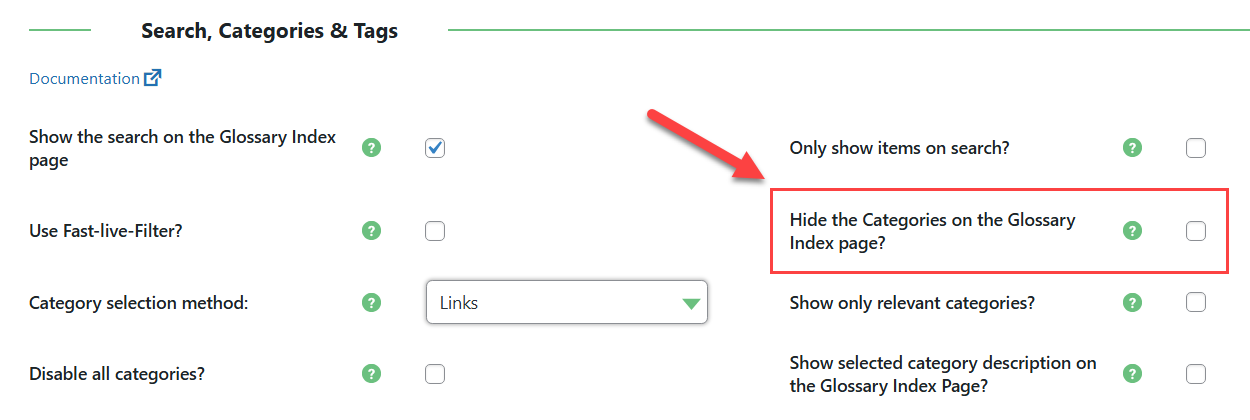
This way, users will not see filters on the index pages that allows switching between glossary categories.
TIP
As an alternative to global plugin settings, you can disable category filter for specific glossary page using a shortcode parameter hide_categories. Set "1" to hide filters, or "0" to enable.
Example:
[glossary cat="marketing" hide_categories="1"]
Associating Terms With Relevant Categories
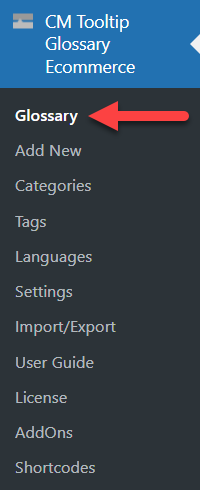
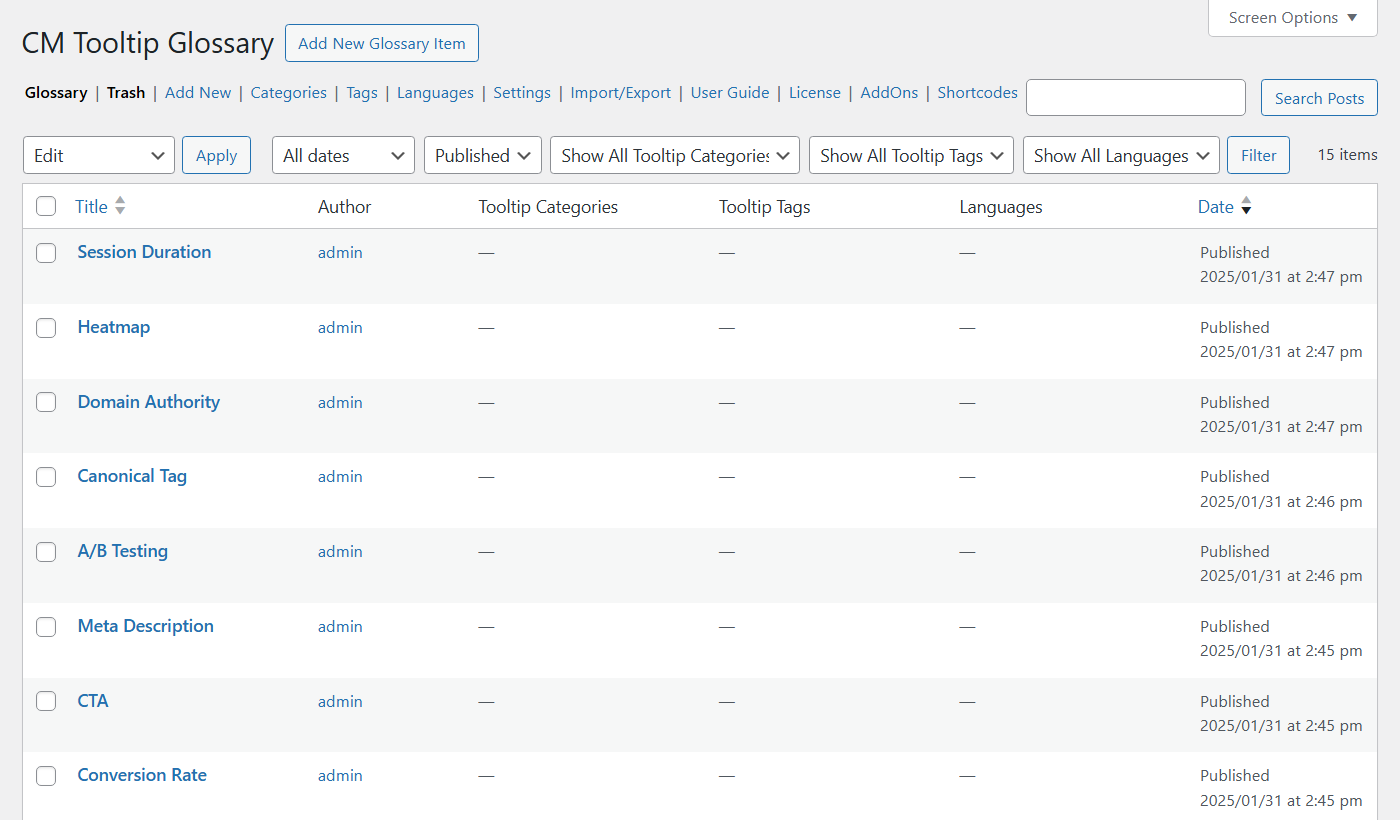
Now we need to assign our terms to created categories. To do this, navigate to Admin Dashboard → CM Tooltip Glossary → Glossary.
We have here a set of terms which we created in advance.
You can assign terms to categoris in two ways.
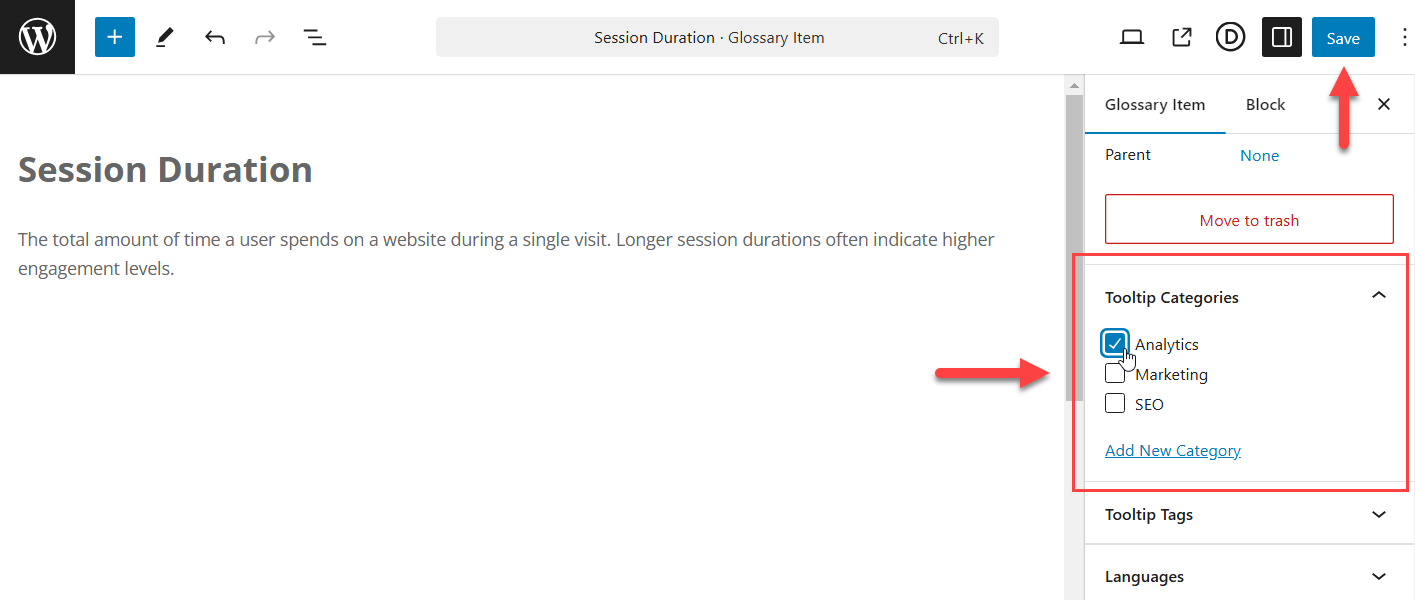
First, just hover on the needed term and click Edit. On the term editing page, find the metabox Tooltip Categories and select needed categories, then save the changes.
Another way, you can select one or multiple terms, then choose Edit in the dropdown for bulk action, and click Apply:
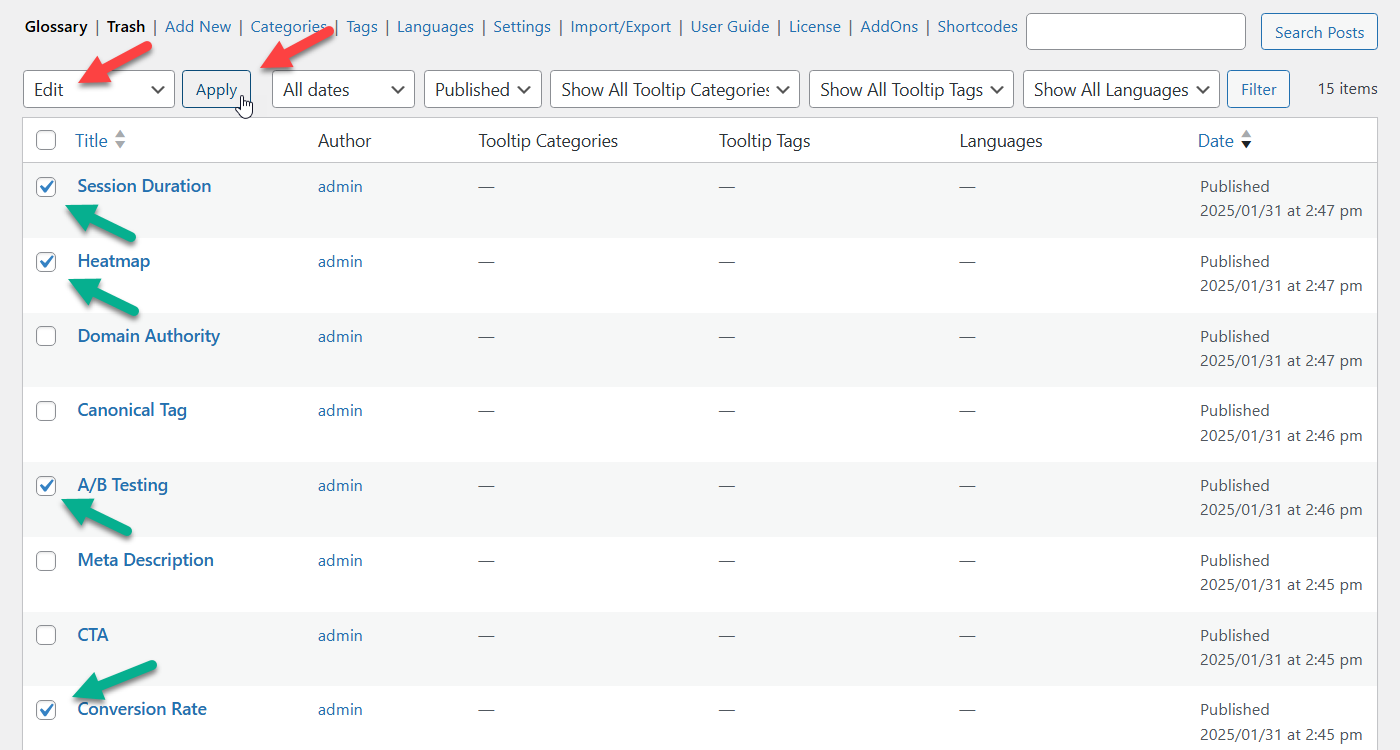
There you can choose the needed categories and click Update.

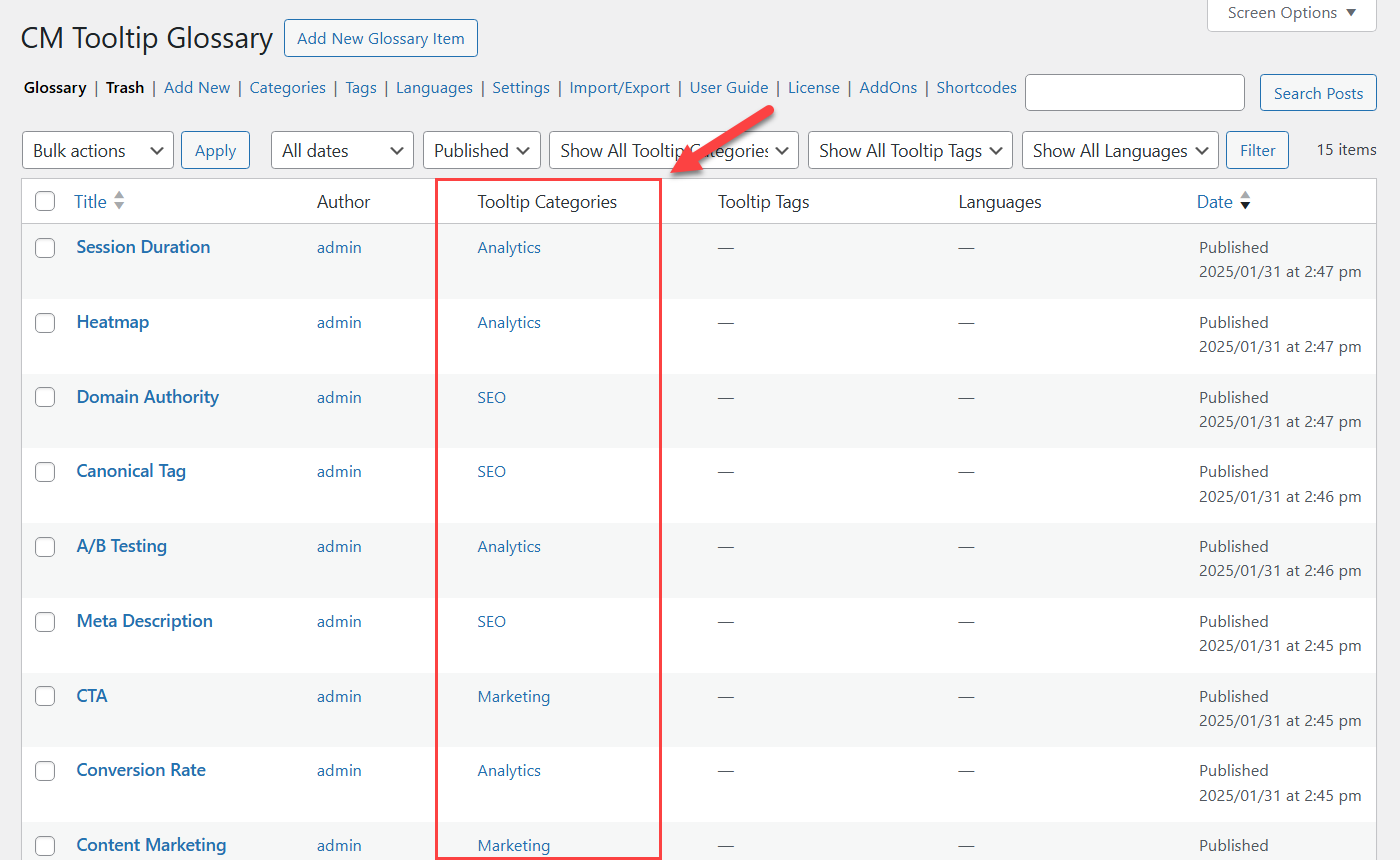
The same way we can categorize all our terms:
Different Glossary Index Pages - Front-end Example
Now we have 3 different pages with 3 different glossaries:
Use Black and Whitelist
One more useful feature allows you to exclude or only show the terms from a given category on the page or post.
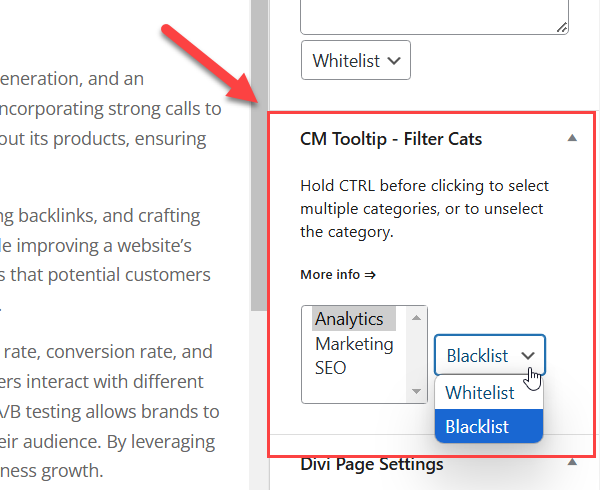
To achieve this, start editing needed post or page and find the metabox CM Tooltip - Filter Cats. There you can select some categories and decide if to blacklist or whitelist them.
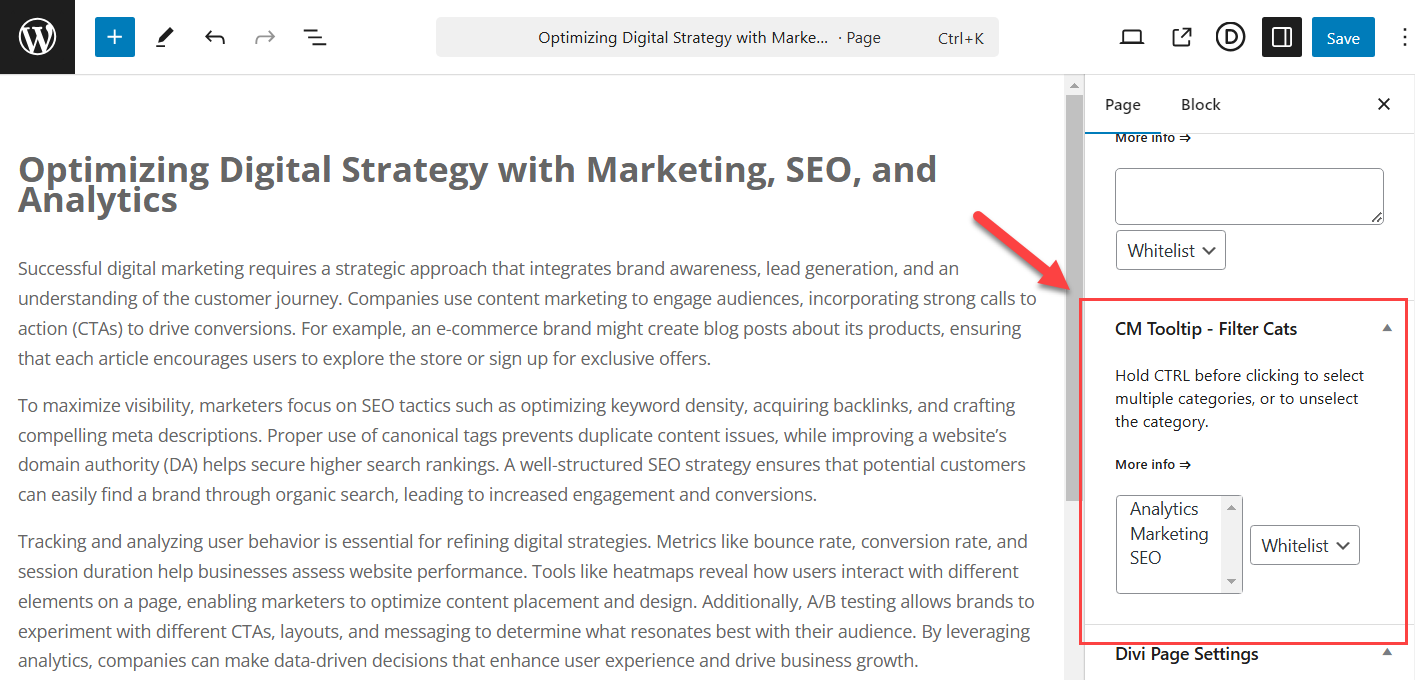
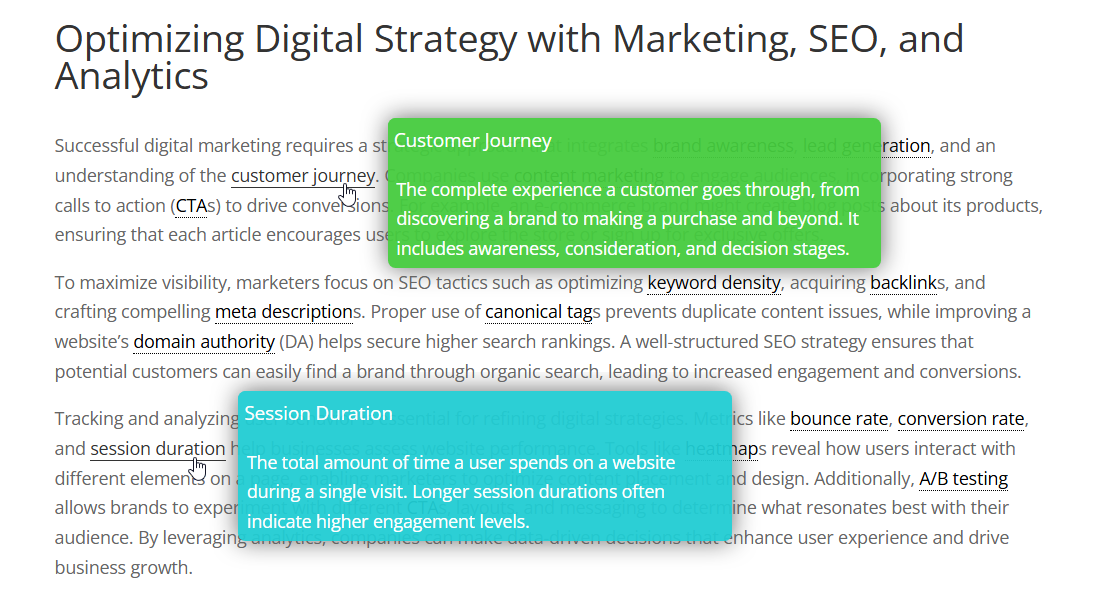
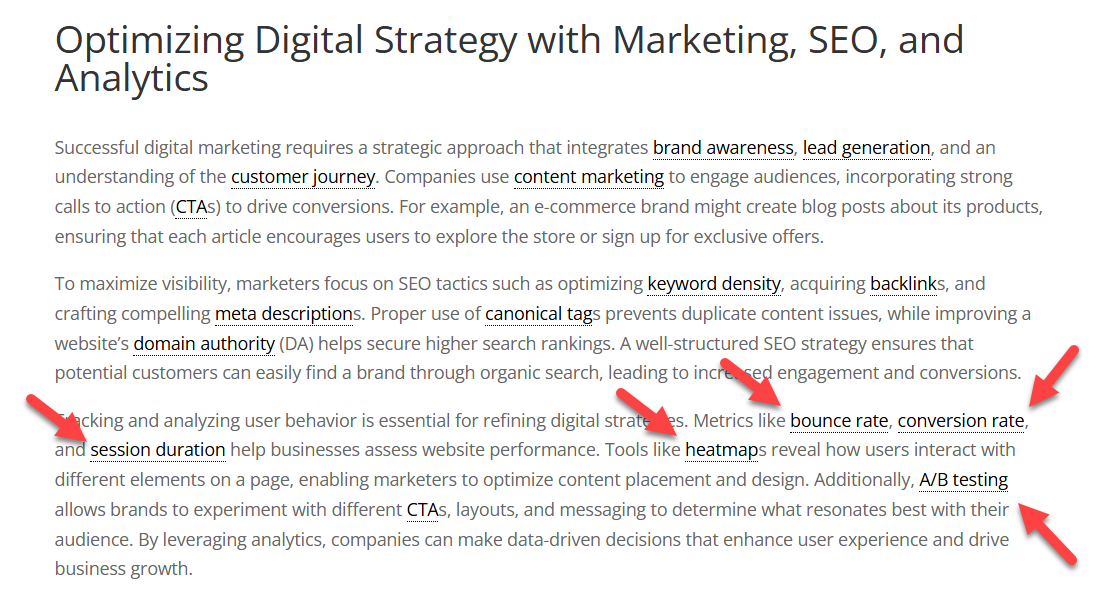
Here's an example of the article that contains terms from all 3 categories that we have. Pay attention to the marked terms - they belong to the category "Analytics" which we are going to blacklist, then whitelist.
On the back-end, let's select the "Analytics" category and choose to Blacklist it:
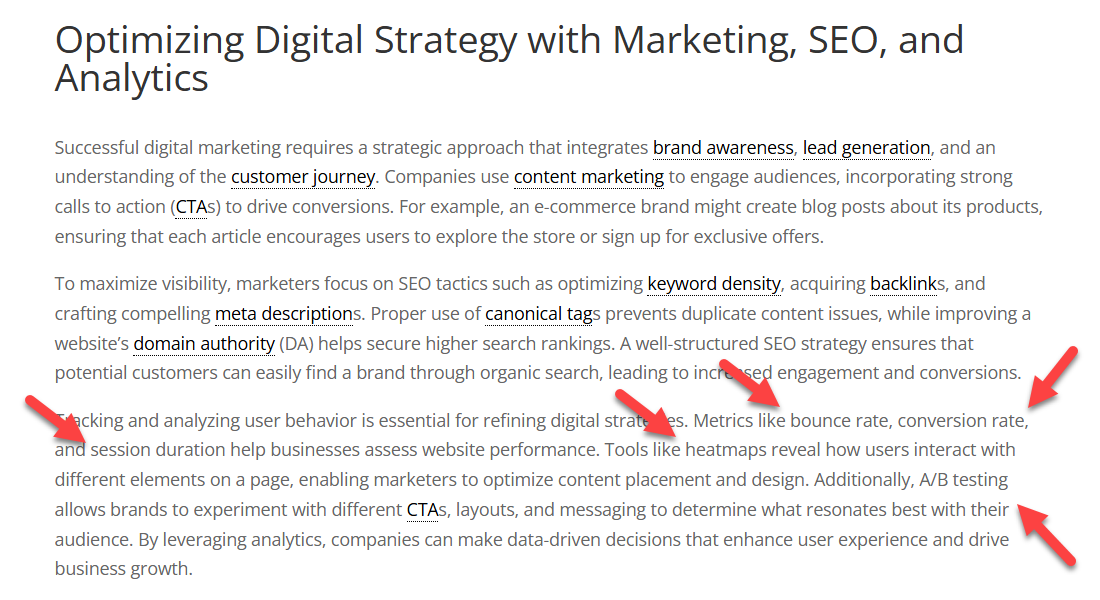
As a result, terms from 2 other categories are highlighted, while terms from the "Analytics" category are ignored:
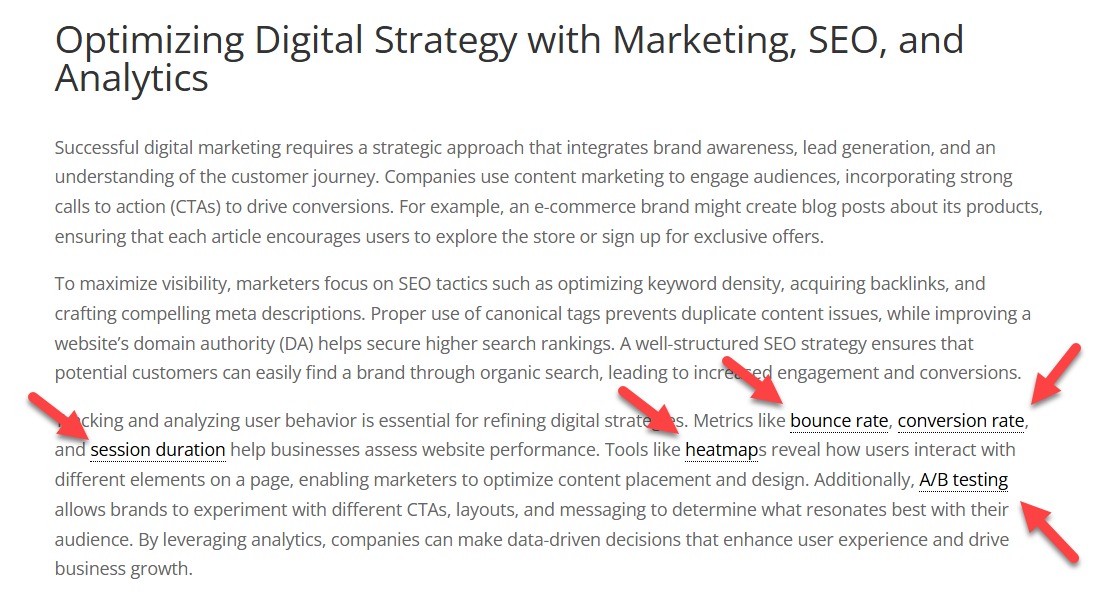
Now vice versa: we choose to Whitelist the "Analytics" category.

Now only terms from the selected category are highlighted, while terms from other categories are ignored:
Category Style
There is a set of options you can use while creating/editing a category, which allow you to override global plugin settings and configure its style and behavior. This way you can diversify tooltip appearance for each category and it will help your site visitors to easily distinguish terms from different categories. The options are:
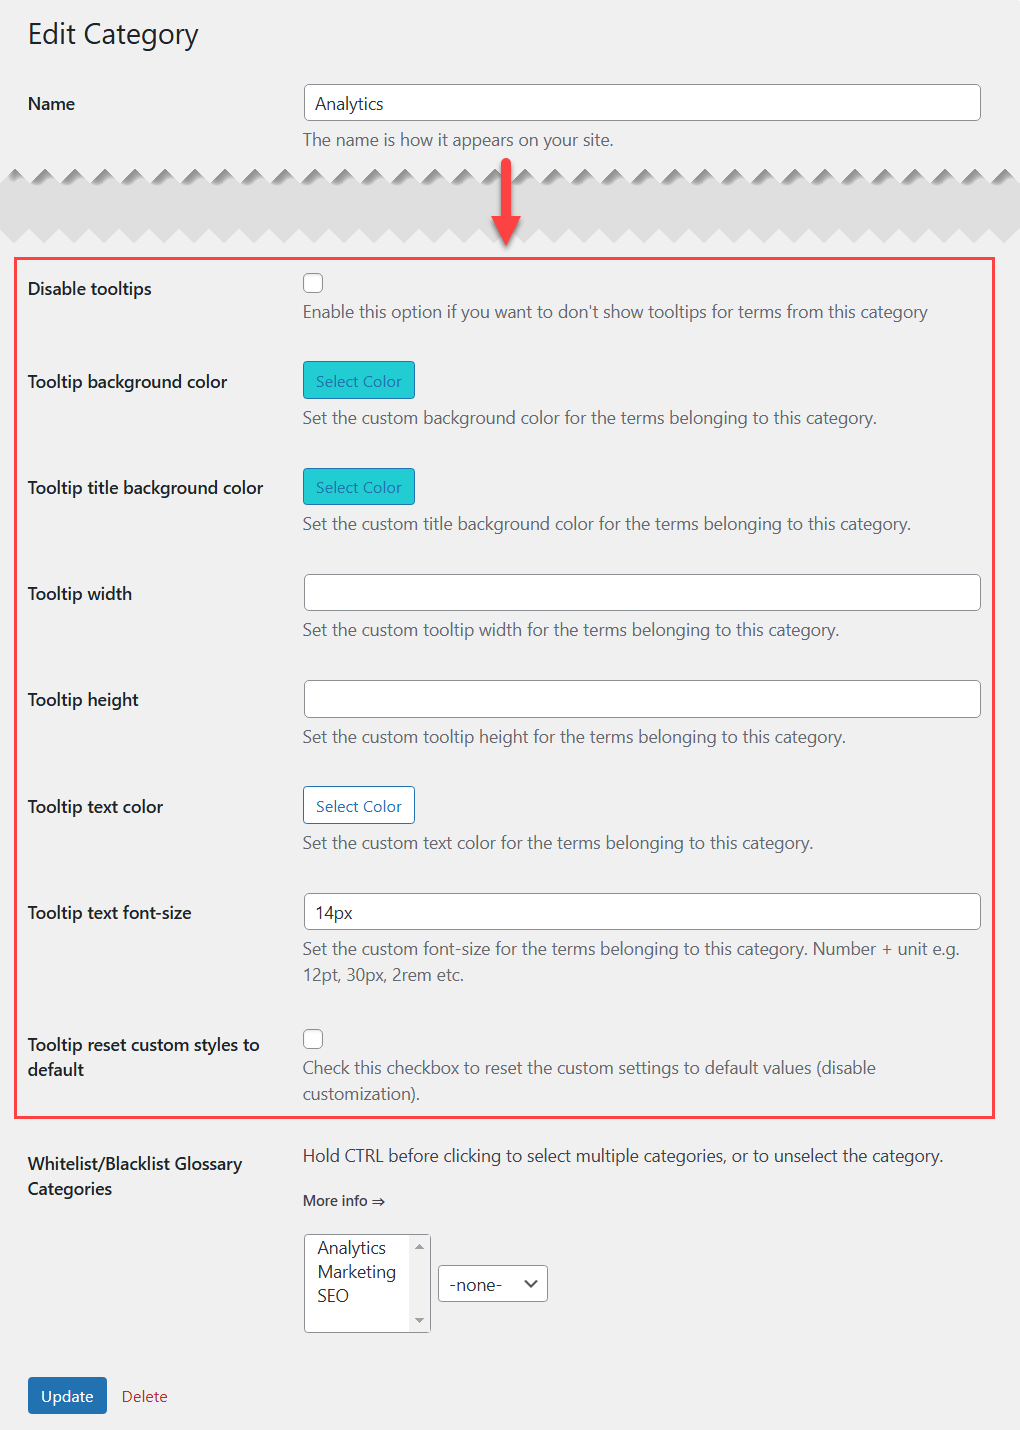
- Disable tooltips - Check it, if you want to disable displaying tooltips for terms of a certain category.
- Tooltip background color - Choose custom background color for a tooltip.
- Tooltip title background color - Choose custom background color for a tooltip title.
- Tooltip width - Define a custom width for a tooltip.
- Tooltip height - Define a custom height for a tooltip.
- Tooltip text color - Choose custom text color inside of a tooltip.
- Tooltip text font-size - Define the custom size of the text inside of a tooltip.
- Tooltip reset custom styles to default - Check it, if you want to reset custom styles to default (according to global plugin settings). Changes will be applied after updating the category.
Front-end Example:
Displaying tooltips for terms from differect categories:
End Result
Following instructions found in the plugin and guides you should be able to create a few different glossaries within one site.
Use Case Front-End
Creating separate glossary index pages:
Setting up different tooltip styles per category:
 |
More information about the WordPress Glossary Plugin Other WordPress products can be found at CreativeMinds WordPress Store |
 |
Let us know how we can Improve this Product Documentation Page To open a Support Ticket visit our support center |