WordPress Glossary Plugin (CMTG) - Terms - Building Multiple Glossaries
Supporting Multiple Glossaries
This feature is only available in the Pro+ and eCommerce editions of the WordPress Glossary plugin.
Multiple Glossaries
Glossaries of Different Categories | Glossaries of Different Languages
Video Tutorial
Creating Multiple Glossaries - Step by Step
1) Define the Glossary Index for each Category
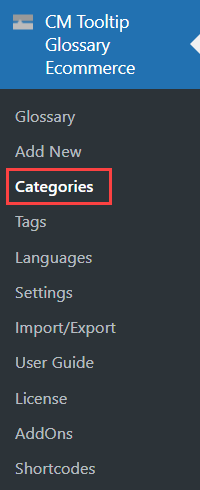
Navigate to Admin Dashboard → CM Tooltip Glossary → Categories:
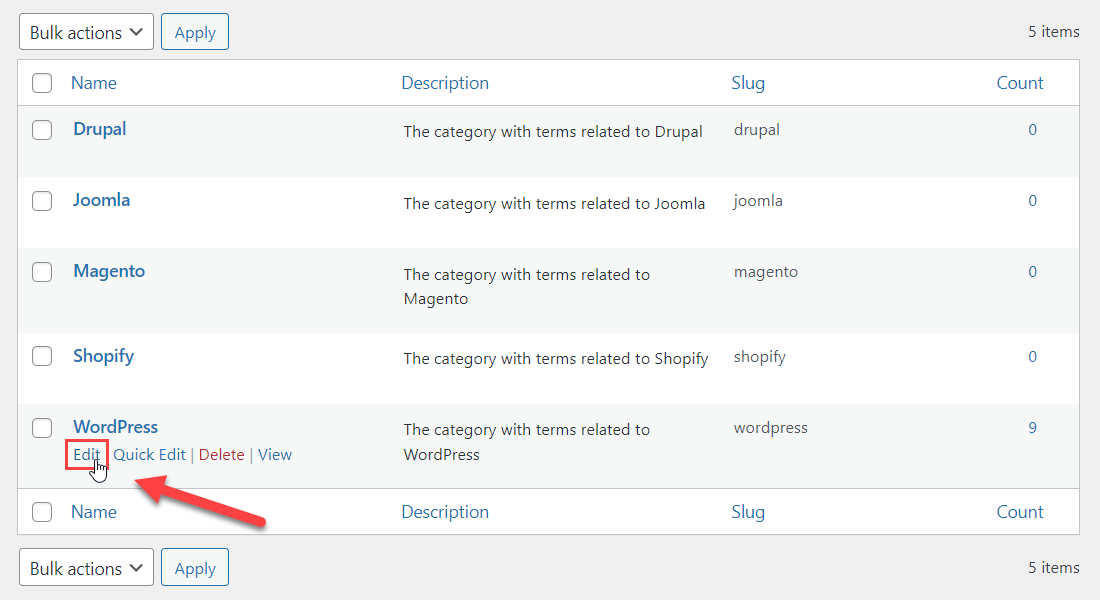
Click on the Edit link for the category that you want to update.
There's a field Taxonomy Index Link where you can place a link to the category index page. This will support the Back to index links found in the term page. So terms related to a specific category will point to the category index page instead of the general index page which includes all terms from all categories:
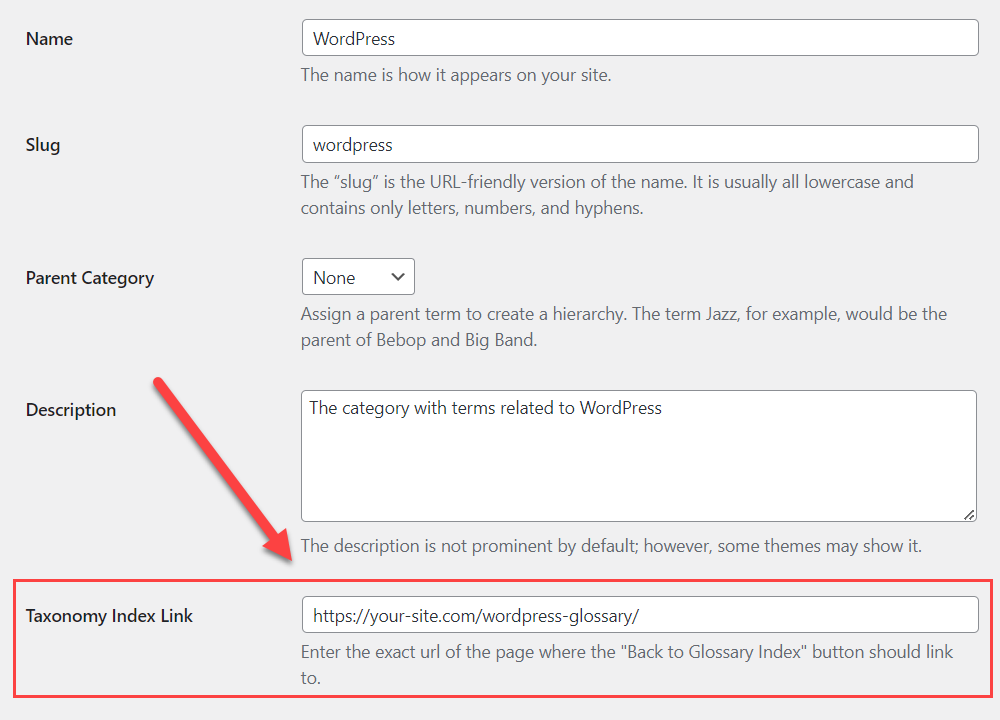
The permalink of the term page will include the slug a category page:

2) Associate desired terms with their categories
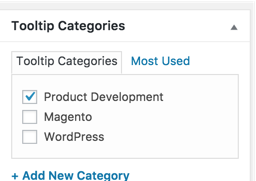
When adding a term to the glossary plugin you can associate the term with a category. You can create several categories and assign the first term to category A and the second one to category B. Under each category you can add as many terms as you want.
3) Build an Index Page for each Category
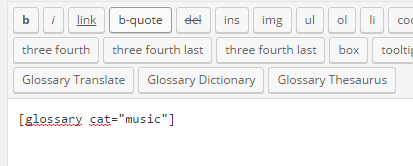
To create a category index page, you must first create and save a new page. On this page, you need to use the following shortcode:
[glossary cat="category_slug"]
Where slug is the exact slug that the category uses. To find the slug, select Categories from the plugin menu, then open the Quick Edit option:
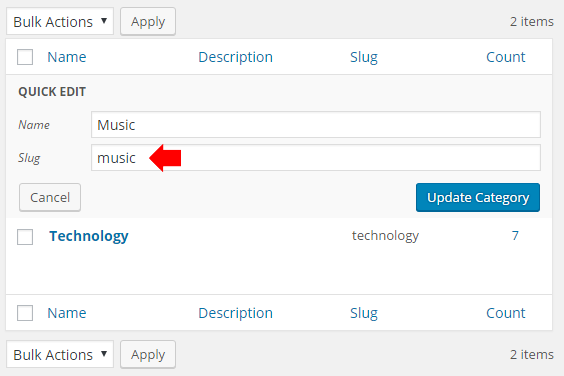
Admin Panel/Categories Page:
4) Use Black and Whitelist
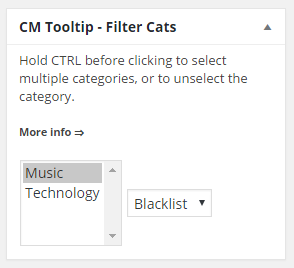
To exclude or only show the terms from a given category on the page or post, open the editor and select the CM Tooltip - Filter Cats metabox on the right side.
Select Whitelist or Blacklist to include/exclude terms, and update the post/page.
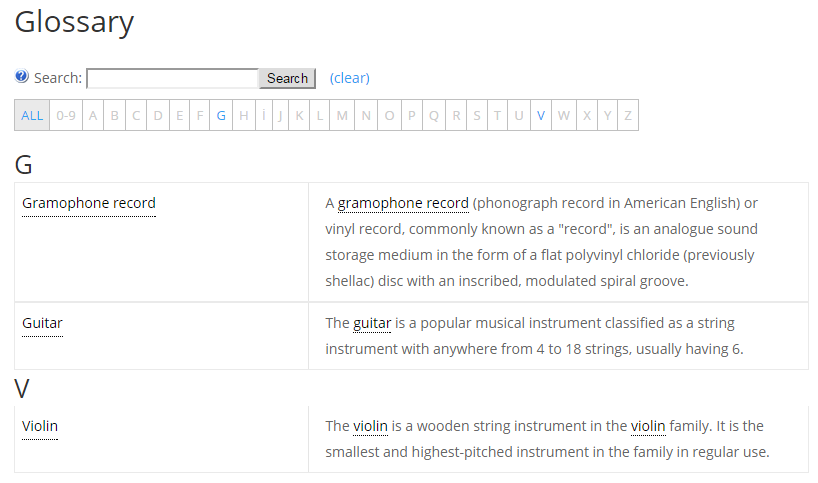
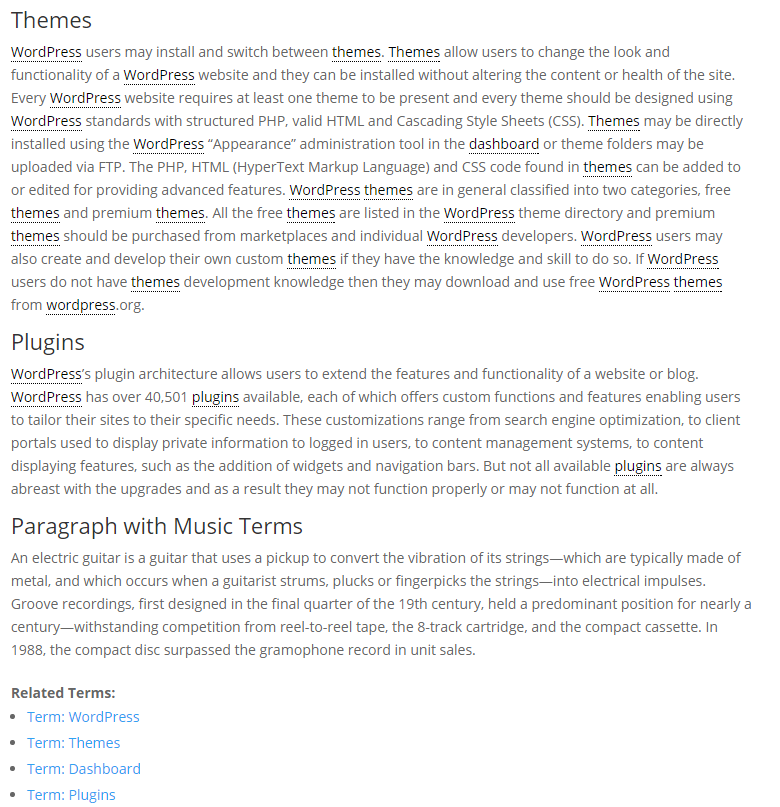
Below is an example of what the page looks like before adding Music to the Blacklist:

Below is an example of what the page looks like after adding Music to the Blacklist:
Disabling the Main Glossary Index
If you want to avoid having a global glossary index which shows all terms from all categories together, you can edit this page and make it private so that visitors will not be able to view it and search engine will not index it.
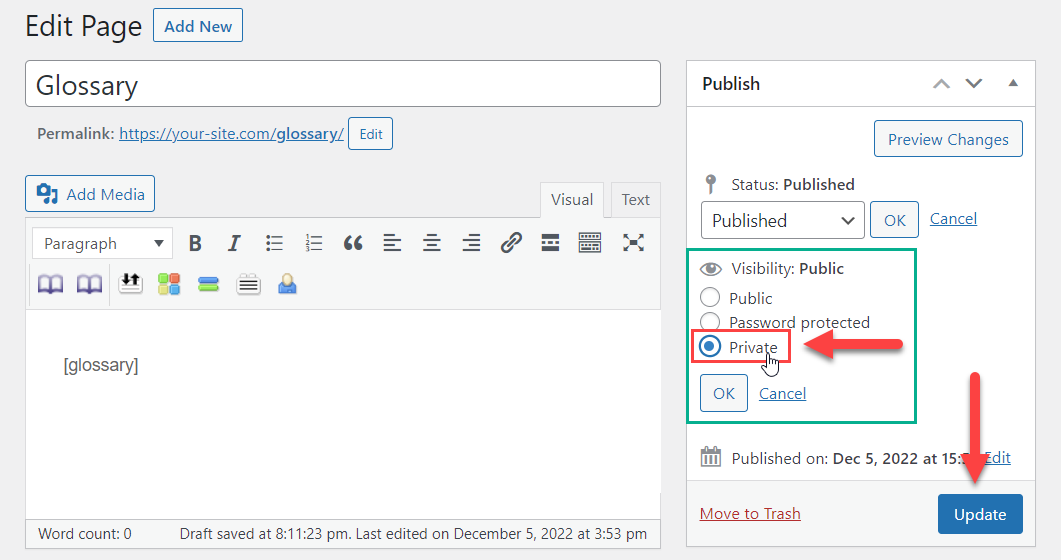
If you do this, remember to add a Back to index link to each individual category - it can be configured in the category settings.
Category Style
There is a set of options you can use while creating/editing a category, which allow you to override global plugin settings and configure its style and behavior. This way you can diversify tooltip appearance for each category and it will help your site visitors to easily distinguish terms from different categories. The options are:
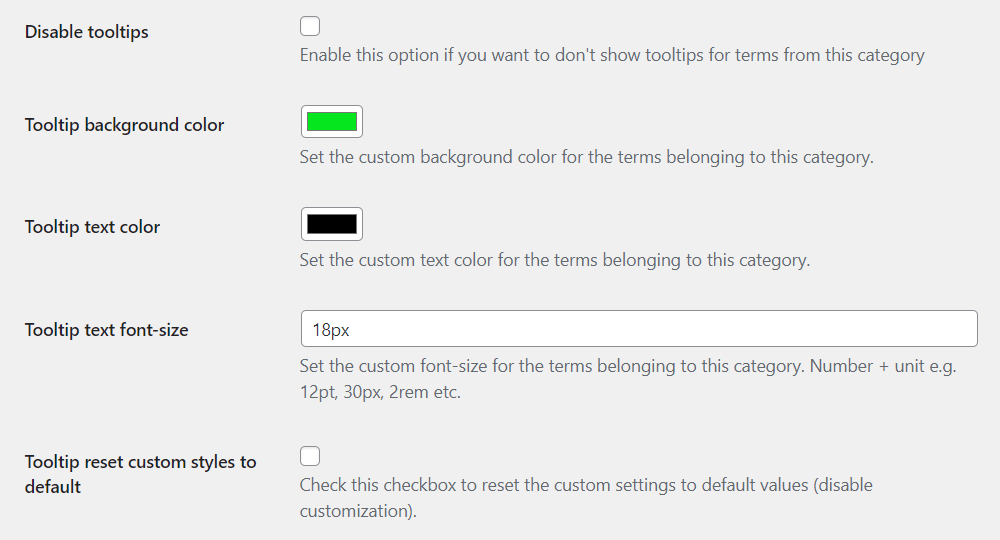
- Disable tooltips - Check it, if you want to disable displaying tooltips for terms of a certain category. Note: available in Pro+ and eCommerce versions only.
- Tooltip background color - Choose custom background color for a tooltip. Note: this option was introduced in version 4.2.0.
- Tooltip text color - Choose custom text color inside of a tooltip. Note: this option was introduced in version 4.2.0.
- Tooltip text font-size - Define the custom size of the text inside of a tooltip. Note: this option was introduced in version 4.2.0.
-
Tooltip reset custom styles to default - Check it, if you want to reset custom styles to default (according to global plugin settings). Changes will be applied after updating the category. Note: this option was introduced in version 4.2.0.
Front-end Example
- Default tooltip style defined in plugin settings.
- Custom tooltip style defined in a category.

Example of the regular and custom category tooltip styles

 |
More information about the WordPress Glossary Plugin Other WordPress products can be found at CreativeMinds WordPress Store |
 |
Let us know how we can Improve this Product Documentation Page To open a Support Ticket visit our support center |