This will help to prevent common 404 errors. Take these simple steps:
Log in to your WordPress website as the admin.
Visit Admin Dashboard → Settings → Permalinks.
Click on Save Changes.
Refreshing permalinks
2. Add Glossary Terms
Your WordPress Glossary Terms can be created and edited using the WordPress editor, just like any other post on your site. They can include images, videos, and generally any HTML content.
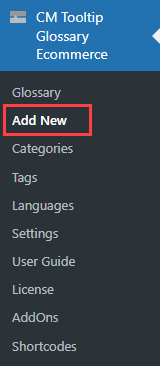
You can add them from Admin Dashboard → CM Tooltip Glossary → Add new.
Adding new term
The term title is the word or phrase which, when found on the post/page, would display the tooltip with the definition, and link to the Term Page or any other custom links according to the settings that you define.
Term descriptions can be long or short. If you want to limit the amount of the description which shows inside the tooltip you can set this in the plugin settings.
Creating new term
3. Configure the Glossary Index
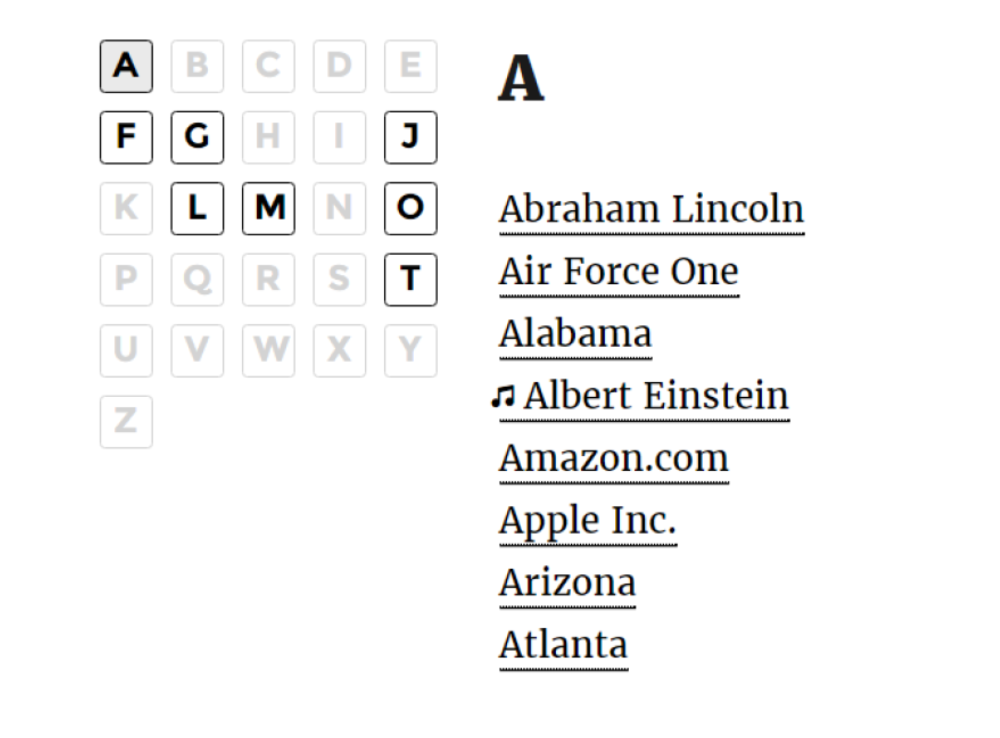
The Glossary Index Page is automatically created upon plugin installation in the address www.yoursite.com/glossary.
It's a normal page with the shortcode [glossary] , which outputs your terms in alphabetical order:
Example of the glossary index page
As you add more terms, the Glossary Index Page will be automatically updated to present all of your glossary items.
You can configure it by heading to Admin Dashboard → CM Tooltip Glossary → Glossary Index Page tab.
Glossary index page settings tab
Some particularly interesting options:
Display style.
Show featured image thumbnail.
Limit the definition length.
Remove the tooltips on the Glossary Index Page.
Glossary index page settingsDefinition settings
4. Customize the Tooltip
Tooltips are an essential part of the plugin.
Example of the tooltip
Head to Admin Dashboard → CM Tooltip Glossary → Settings → Tooltip tab. Here you will find plenty of options to customize the tooltip.
Tooltip settings
Some interesting options:
Content - Enable tooltip, make terms case-sensitive, and add content before and after the tooltips.
Animation - Choose which animation that will trigger when displaying and hiding the tooltip.
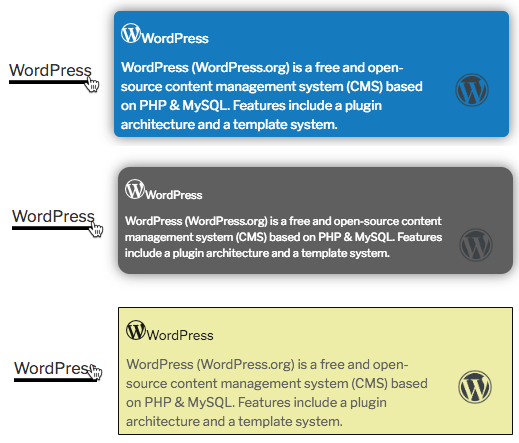
Styling - Choose the colors, placement, size, font and more. Examples of what you can achieve:
Examples of customizing tooltips
To learn more about an option, you can also hover over the blue icon with the question mark in the plugin itself.
This concludes the First Steps guide. For more information, check the Tutorials Roadmap.
Starting Guides
This is a guide designed to help you get started with the WordPress Glossary plugin. All starting guides: