WordPress Glossary Plugin (CMTG) - Getting Started - Adding Terms
Adding Glossary Terms
Video Tutorial
Instructions
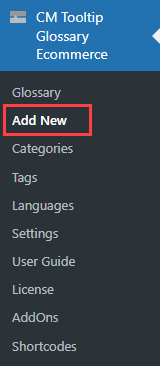
The initial step after installing the plugin should be to add terms to your new Glossary. Add terms by clicking on the Add New link in the left side admin menu of the WordPress Glossary plugin:
Your glossary terms can be created and edited using the WordPress editor, just like any other post on your site. They can include images, videos, and generally any HTML content.
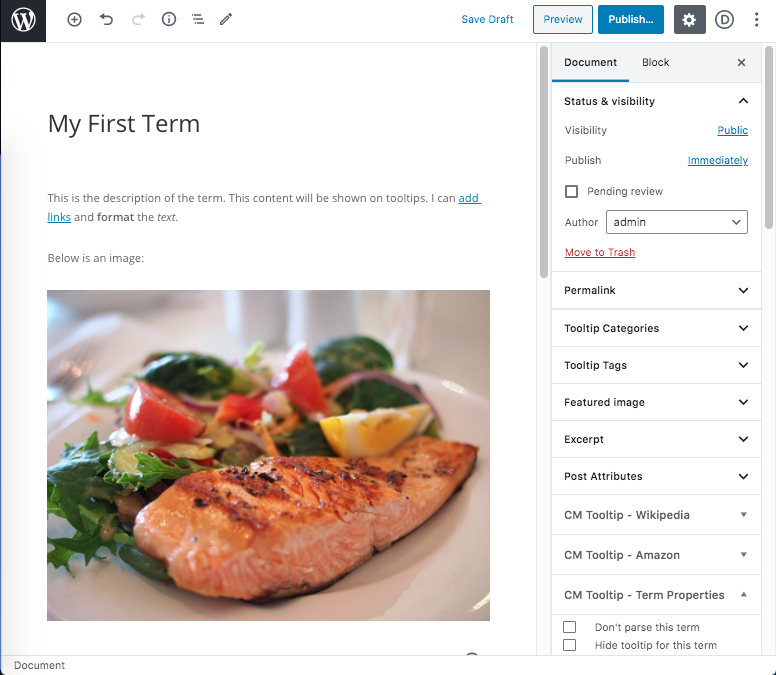
The term title is the word or phrase which, when found on the post/page, would display the tooltip with the definition and link to the Term Page or any other custom links according to the settings that you define.
Term descriptions can be long or short. If you want to limit the amount of the description which shows inside the tooltip you can set this in Settings → Tooltip:
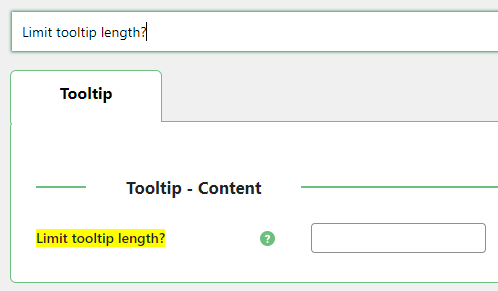
Example of one of the settings regarding the Glossary Terms
TIP: Glossary
Once you add a term, it will be shown in the glossary automatically.
Learn more: WordPress Glossary Plugin (CMTG) - Getting Started - Glossary Index
Term Excerpt
Each term has an excerpt field which can be used to create a short description of the term.
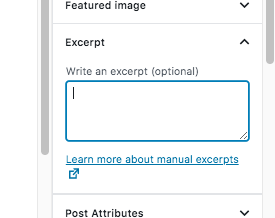
In the plugin setting you may choose to use the excerpt instead of the term description inside the tooltip or on the index page:

On the settings page Glossary Term tab, we’ve placed the options for the look & feel of the Glossary Term pages, such as link colors. You might be interested in the following link:
WordPress Glossary Plugin (CMTG) - Terms - Link Style
 |
More information about the WordPress Glossary Plugin Other WordPress products can be found at CreativeMinds WordPress Store |
 |
Let us know how we can Improve this Product Documentation Page To open a Support Ticket visit our support center |