Business Directory Plugin (CMBD) + Appointment Booking Calendar - Use Case - How To Integrate a Calendar Booking System to Business Pages
Use Case - How To Integrate a Calendar Booking System to Business Pages
This guide requires:
- Business Directory Plugin - Pro version 1.9.8
- Business Directory Community Add-On - version 1.8.10
- Appointment Booking Calendar - Pro version 1.6.1
- Booking User Calendar Add-On - version 1.0.5
Video Use-Case
Introduction
It is possible to integrate Appointment Booking Calendar with Business Directory Plugin. It means that every business page can have its own calendar for accepting bookings from their clients. Business owner can edit the schedule of his calendar and manage the bookings without access to the back-end. It's also possible to define which user roles are allowed to make bookings.
Use Case Front-End
Calendar integrated to the business page:

Editing the calendar schedule:

Managing current bookings:
Use Case Assumptions
In this example use case guide, we'll cover how to integrate a booking calendar to business directory to let the clients book appointments and let your users manage their calendars and bookings.
We consider that you have already bought all of the listed plugins and add-ons, but not installed them yet.
It follows:
- Installing the plugin
- Creating calendars for businesses
- Editing calendar on the front-end
- Who is allowed to book
- Forms
- End result
Installing the Plugin
The process is the same for all CM plugins and add-ons.
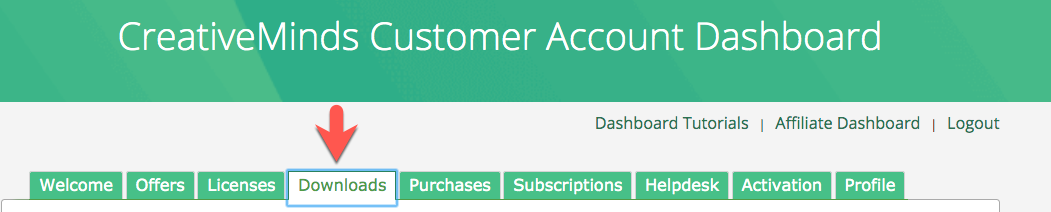
- Download the plugin from your customer dashboard.
- Log in to WordPress and navigate to the WordPress Admin → Plugins settings.
- Click on Add New.
- Activate it and add the license.
Learn more: Getting Started - Plugin Overview
Quick Recap
If you still have questions about creating business directory and calendar booking system on your site, please, head back to these use cases:
- Business Directory Plugin (CMBD) - Use Case - Creating a Business Directory From Scratch
- Business Directory Plugin (CMBD) + Community (CMBDC) - Use Case - Creating Directory Where Users Suggest Businesses
- Appointment Booking Calendar - Use Case - How to Create a Calendar Booking System in WordPress
- Appointment Booking Calendar + User Calendar - Use Case - How to Let Users Manage Booking Calendars
In this use case guide we will focus on the integration of these systems between each other.
Creating Calendars for Businesses
There are two ways how you can create a calendar for each existing business:
- Create calendars manually
- Create calendars automatically
Manual Creation
You can create a calendar associated with the business while creating or editing it. In this guide we will not go through the whole process of adding business, you can learn more about adding and editing business in this guide: Business Directory Plugin (CMBD) - Add Business
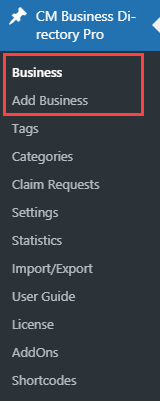
1) Navigate to Admin Dashboard → CM Business Directory Pro → Add Business to add new business, or navigate to Admin Dashboard → CM Business Directory Pro → Business to choose and edit already existing business.
2) Find the section CM Business Directory Community Custom Fields. Here you need to write an email of business owner in the field Owner Email.
A few things about it:
- If you add an email, and there is a user registered with this email on your site, then that user will be the owner of the generated calendar.
- If there're no registered users with the email that you add, you can check the box Create user if not exists. Then there will be created a user with this email, and that user will be the owner of the generated calendar.
- In all other cases the admin will be the owner of the generated calendar.

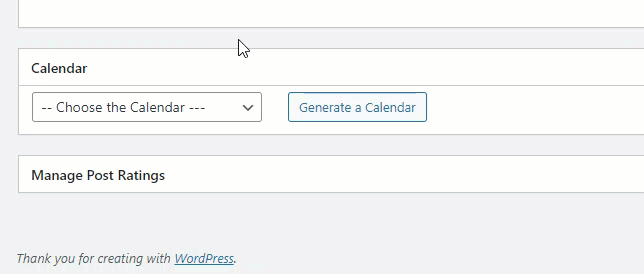
3) Find the section Calendar.
There you can see a dropdown, where you can choose one of the already existing calendars. If there's no suitable calendar, just click the button Generate a Calendar, and the calendar for that business will be created. The name of it will be "Calendar for <name of the business>". Then choose it in dropdown list.
You can also Edit selected Calendar by using the corresponding button.
When you finish creating/editing business, click the button Publish / Update to save the changes.
TIP: Another Way to Create a Calendar
You can also create a calendar manually and configure it using the options in the Appointment Booking Calendar plugin. Learn more how to create and edit calendars in this guide: Appointment Booking Calendar - Create a Calendar
Autocreation
You can automatically generate calendars for all existing businesses at once. To do this navigate to Admin Dashboard → CM Business Directory Pro → Settings → Business Calendar tab.
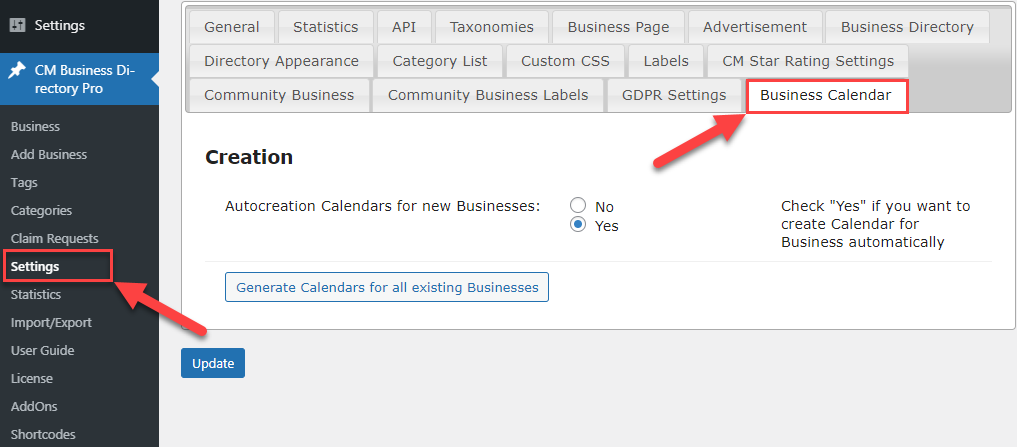
There are two options:
- Autocreation Calendars for new Businesses - If enabled, then every time new business is created, a new calendar will be created for this business.
- Generate Calendars for all existing Businesses - Click this button to create calendars for all existing businesses which don't have their own calendars.
Result on the Front-end
Now when the calendar is created, the clients can book the dates on the business page. The calendar is located right under the business page.
Editing Calendar on the Front-end
Business owner can configure the schedule of his calendar and manage the booked dates without accessing the back-end.
He just needs to be logged-in and then visit his business page.
Right under the calendar, the business owner can find the section Schedule:
There are three tabs:
- Week Template - Configuring the schedule grid.
- Days On - Setting up days on.
- Days Off - Setting up days off.
The schedule can be configured in the same way as on the admin side. You can learn more about it in this detailed guide: Appointment Booking Calendar - Calendars - Calendar Availability
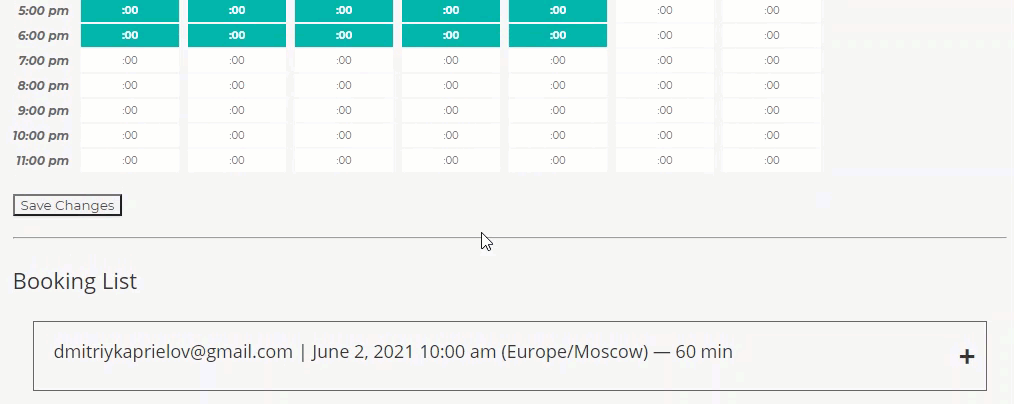
Under the Schedule section there is a section Booking List. The business owner can see there the list of booking requests with detailed information and decide if to accept or reject the request.
Who Is Allowed to Book
You can configure who is allowed to make bookings. The users that are not allowed to make bookings will not be able to see the calendar. To define it, navigate to Admin Dashboard → CM Appointments Booking Pro → Options → User calendar tab.
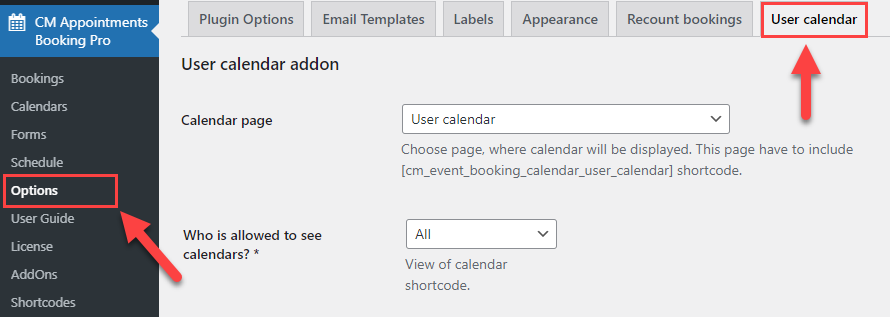
There is an option Who is allowed to see calendars. You can choose who is allowed to make bookings between:
- All
- Logged-in users
- Only selected roles
When you choose Only selected roles, you can select needed roles in the appearing dropdown Allow access to chosen users roles.
Note: when the Booking User Calendar Add-on is installed, a new user role is created - Do Booking. This user role is done specially for users who will be allowed to make bookings.

After configuring this option don't forget to click the button Save Changes.
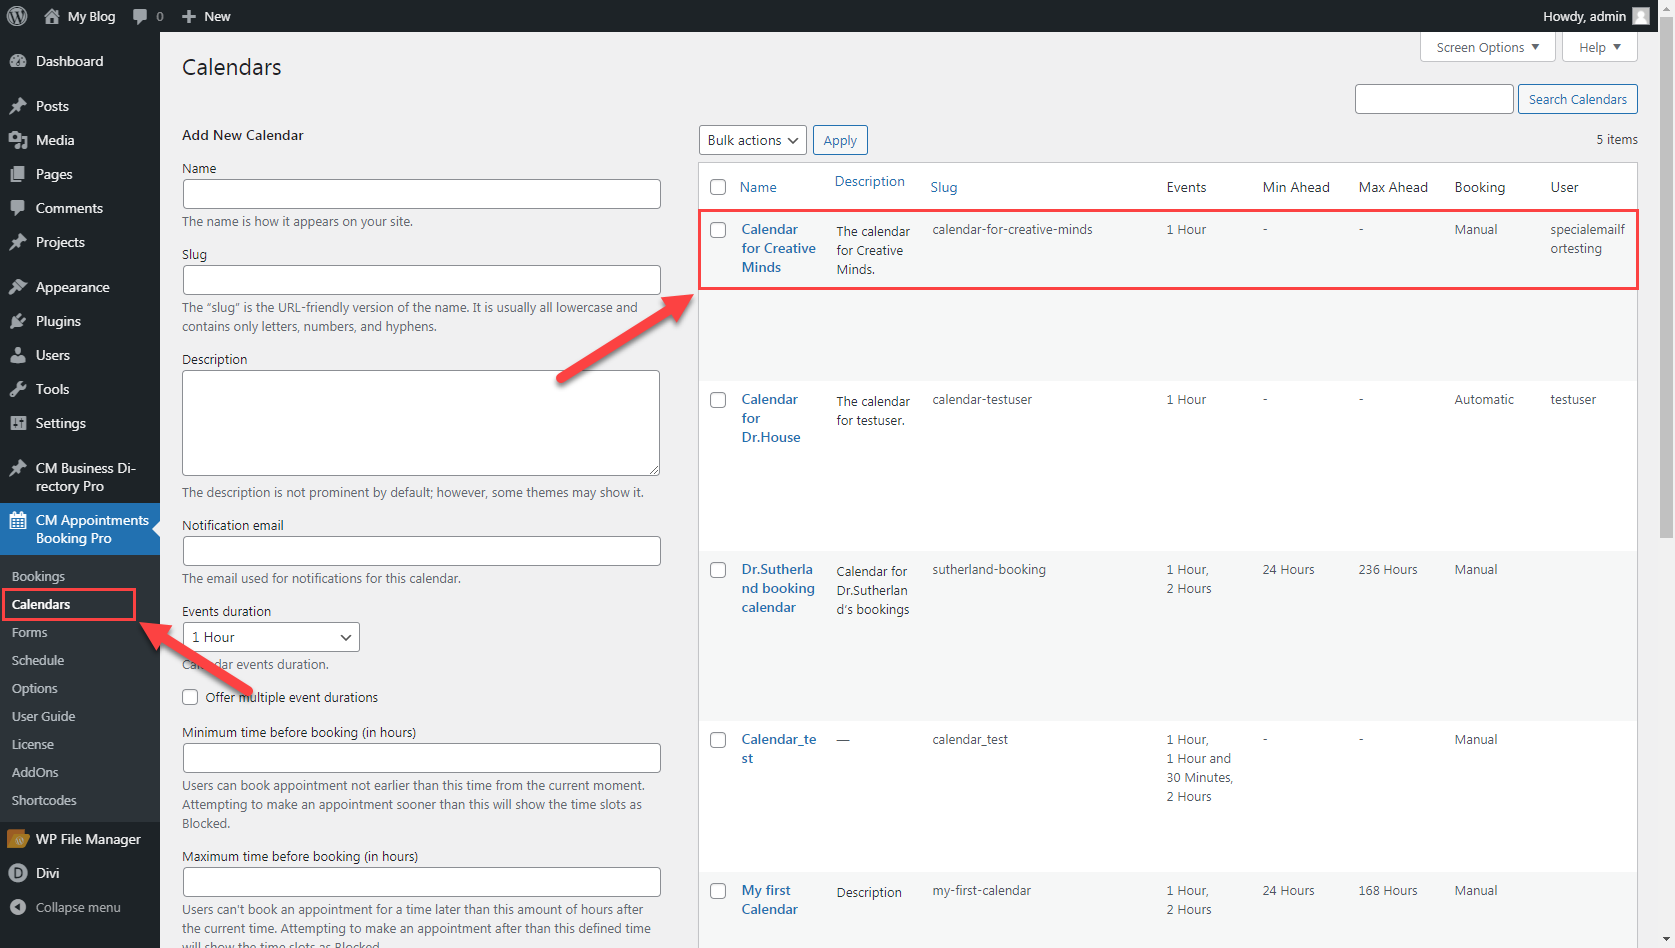
These settings are the default for all calendars. You can also define separately for each calendar who is allowed to make bookings and override default settings. To do this navigate to Admin Dashboard → CM Appointments Booking Pro → Calendars, and click on the needed calendar to edit it.
While editing the calendar scroll down to the end of the page and find the option Who is allowed to see calendar. It works the same as in plugin options, but here you can choose one more option - Default (as set in Options).
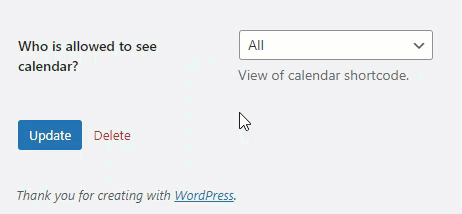
Choose needed user roles and click the Update button.
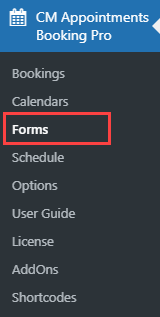
Forms
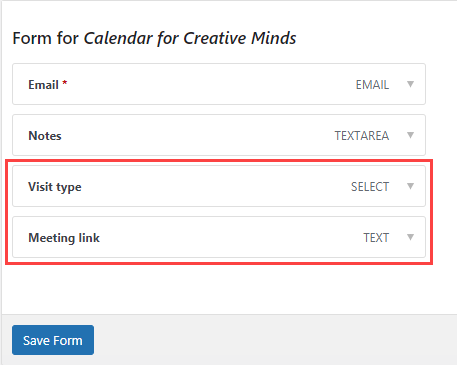
One more useful feature is two additional fields for the form that you can add in bulk to all calendars. By default there, are only two fields in the calendar form - Email and Notes. Two new fields are Visit type and Meeting link. To configure them, navigate to Admin Dashboard → CM Appointments Booking Pro → Forms.
On the right part of the screen you can see a section Calendar form options with two expandable options.
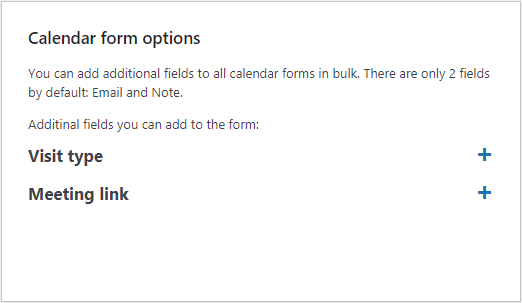
Click the "+" icon to expand any of these options to configure them or the "-" icon to collapse them.
Visit type
The option Visit type is needed to let the user choose the type of the visit.
You can configure the following options:
- Name - Name of the field.
- Description - Description of the field.
- Required - Define if this field should be required or not.
-
Options - Here you need to write possible options that users can choose from. On the front-end it is displayed as a radio-button list. The options must be separated by comma.

'Visit type' field

When you filled it all click the button Add - and this field will appear in all calendars. To delete this field from all calendars, click the button Remove.
Meeting link
You can add the option Meeting link when you have a type of meeting that is supposed to be online. So, in this field the user can add a URL-link with the invitation to Zoom or Google meeting for instance. This field has a URL validation.
You can configure the following options:
- Name - Name of the field.
- Description - Description of the field.
-
Required - Define if this field should be required or not.

'Meeting link' field

When you filled it all click the button Add - and this field will appear in all calendars. To delete this field from all calendars, click the button Remove.
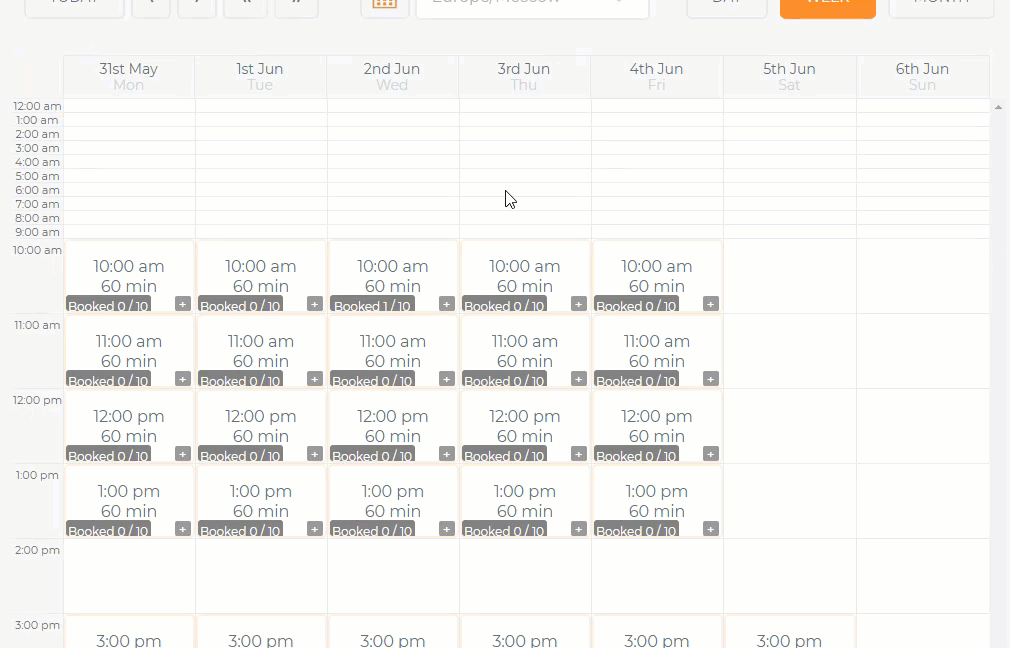
Now you can check any of your calendars and see added fields:
Result on the Front-end:
End Result
Following instructions found in the plugin and guides, you should be able to integrate a booking calendar to business pages to let the clients book appointments and let your users manage their calendars and bookings.
Use Case Front-End
Calendar integrated to the business page:
Editing the calendar schedule:
Managing current bookings:
 |
More information about the WordPress Business Directory Plugin Other WordPress products can be found at CreativeMinds WordPress Store |
 |
Let us know how we can Improve this Product Documentation Page To open a Support Ticket visit our support center |