WordPress Course Catalog Plugin - Use Case - How to Build a University Catalog
Use Case - How to build a university catalog
Note: This guide covers features from
- WordPress Course Catalog plugin - This document uses version 1.2.1
- CM Course Catalog Payments - It’s built to seamlessly integrate with Easy Digital Downloads for course payments
- Easy Digital Downloads (EDD) - To connect payment gateways such as PayPal or Stripe
- Optional:
- CM Course Catalog Dashboard add-on - For viewing all your courses, students and their registration on the easy-to-use dashboard in the Backend.
- CM Course Catalog Form Builder add-on - Creating forms for gathering the information about the students.
- Course Catalog Waiting List add-on - Creating waiting list forms for courses and letting users leave their contact information and register them once the course is available.
Video Use-Case
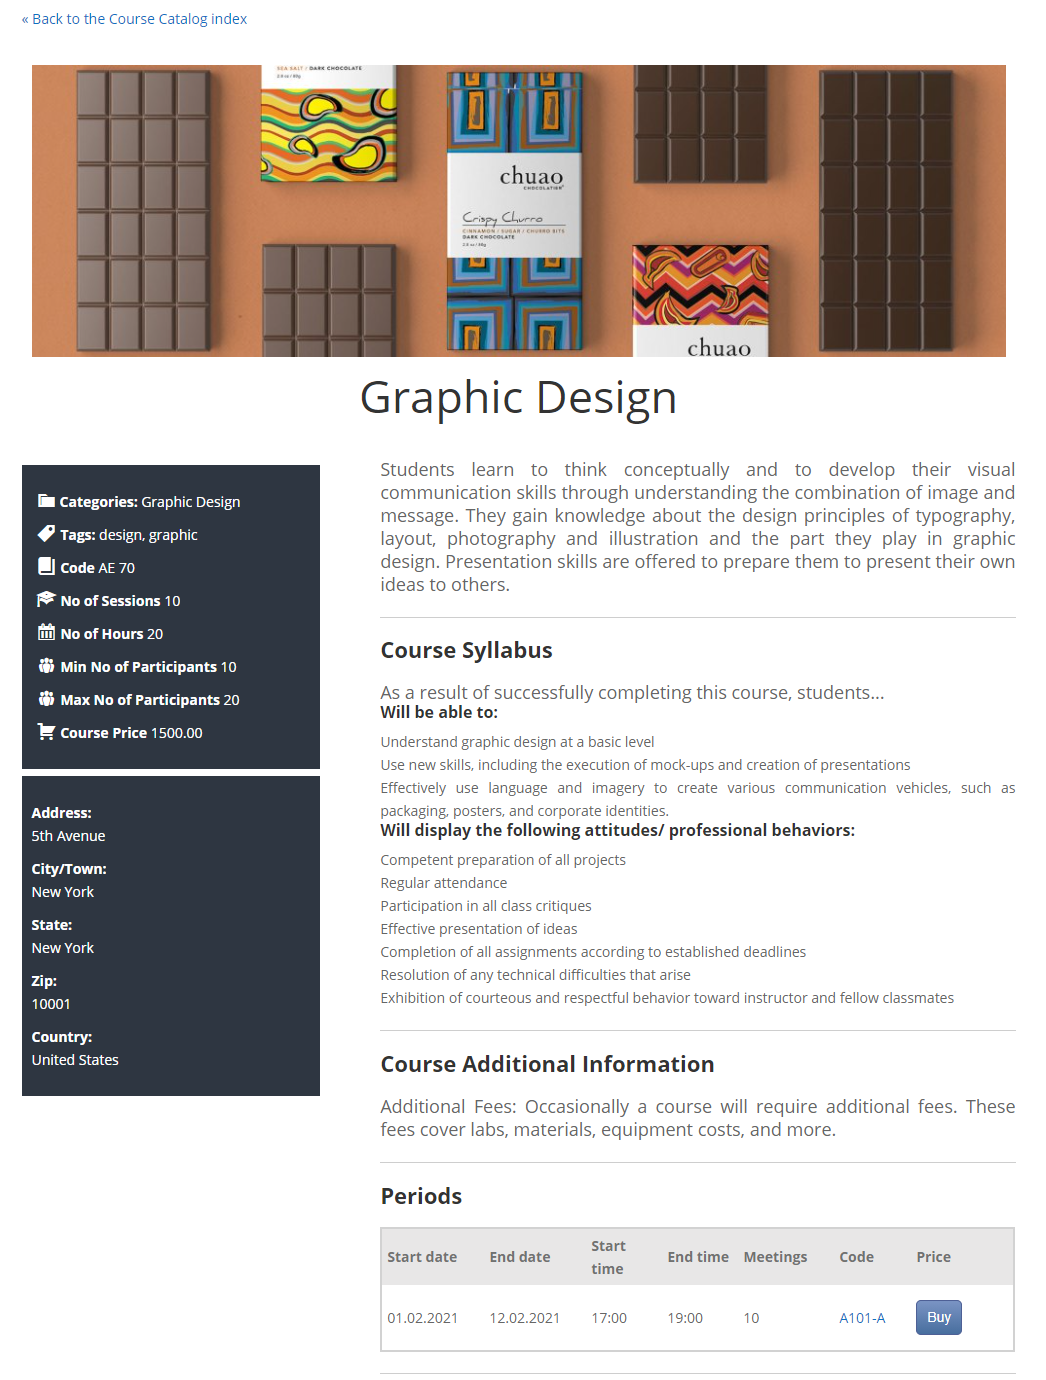
The WordPress Course Catalog plugin allows you to create a directory of courses, each with their page.
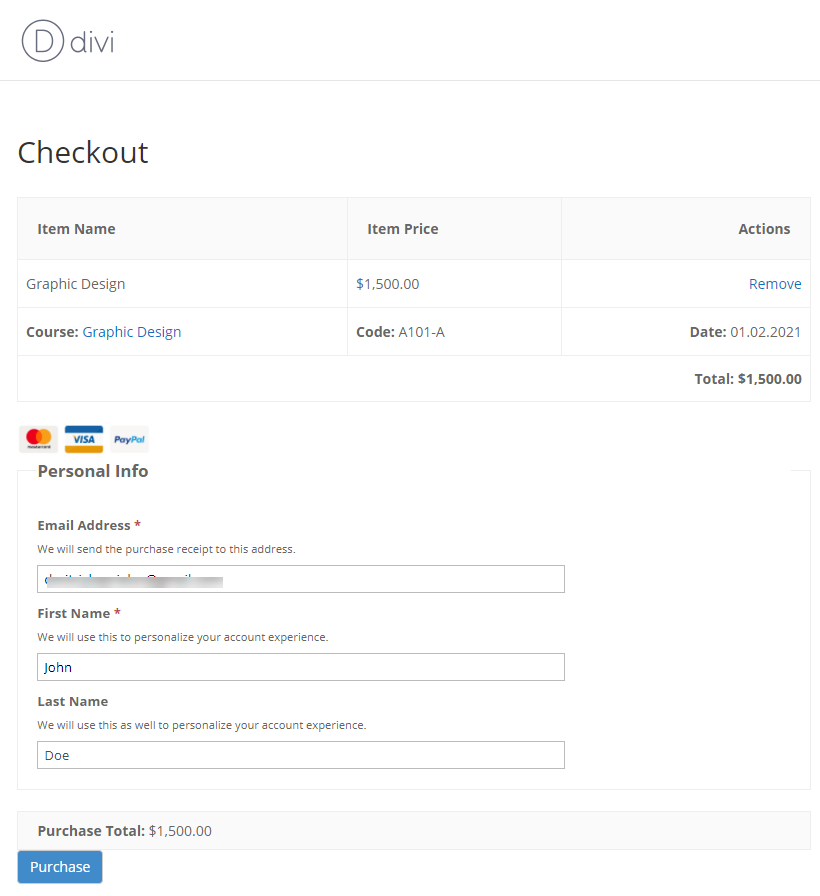
By combining the add-ons Payments, Dashboard, Form Builder, Waiting List and EDD, you can charge users for register for the courses, organise the waiting lists, gather the information about the students and manage all your courses.
Use Case Assumptions
In this example we'll consider how to build a university catalog with your courses.
We consider that you have already bought the WordPress Course Catalog plugin, but not installed it.
This documentation follows:
Installing the Plugin
The process is the same for all CM plugins and addons.

- Download the plugin from your customer dashboard.
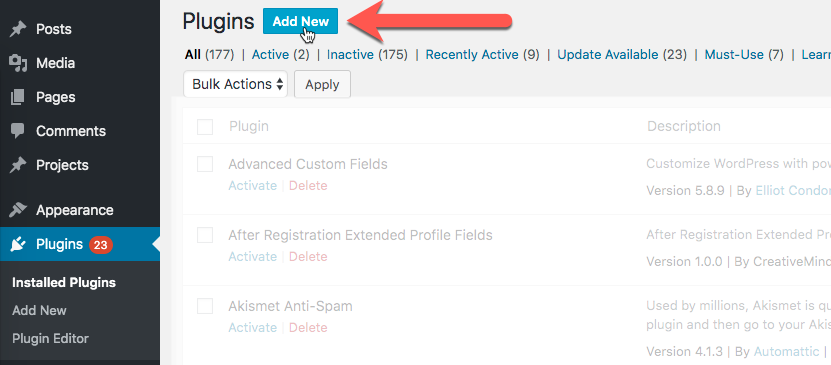
- Log in to WordPress and navigate to the WordPress Admin → Plugins settings.
- Click Add New.
- Activate it and add the license.
Learn more: Getting Started - Plugin Overview
Installing Payment Plugin (EDD)
To install Easy Digital Downloads head to Admin Dashboard → Plugins → Installed Plugins and click Add New.
Search for Easy Digital Downloads and install it.
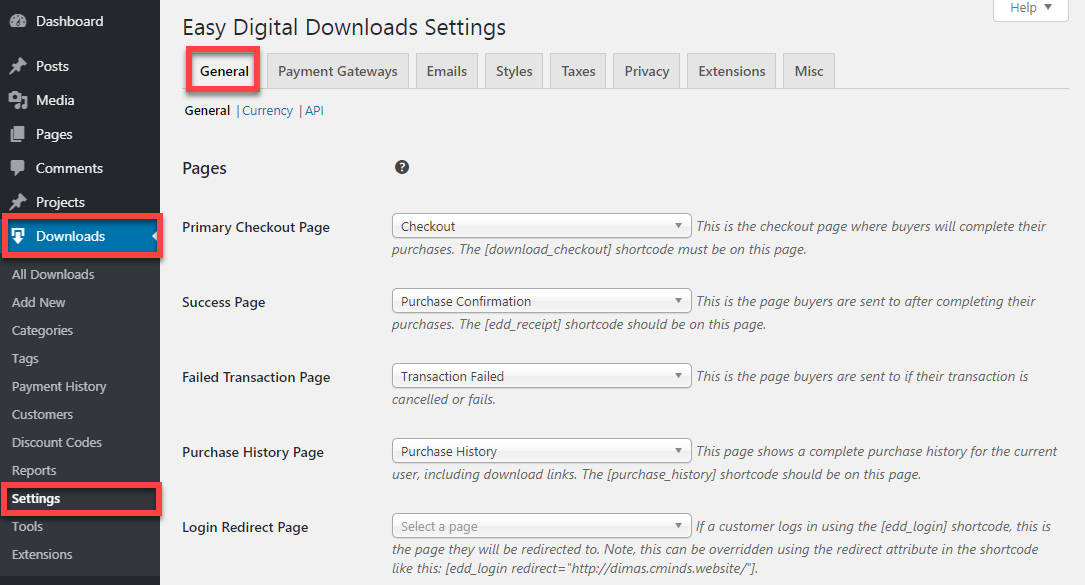
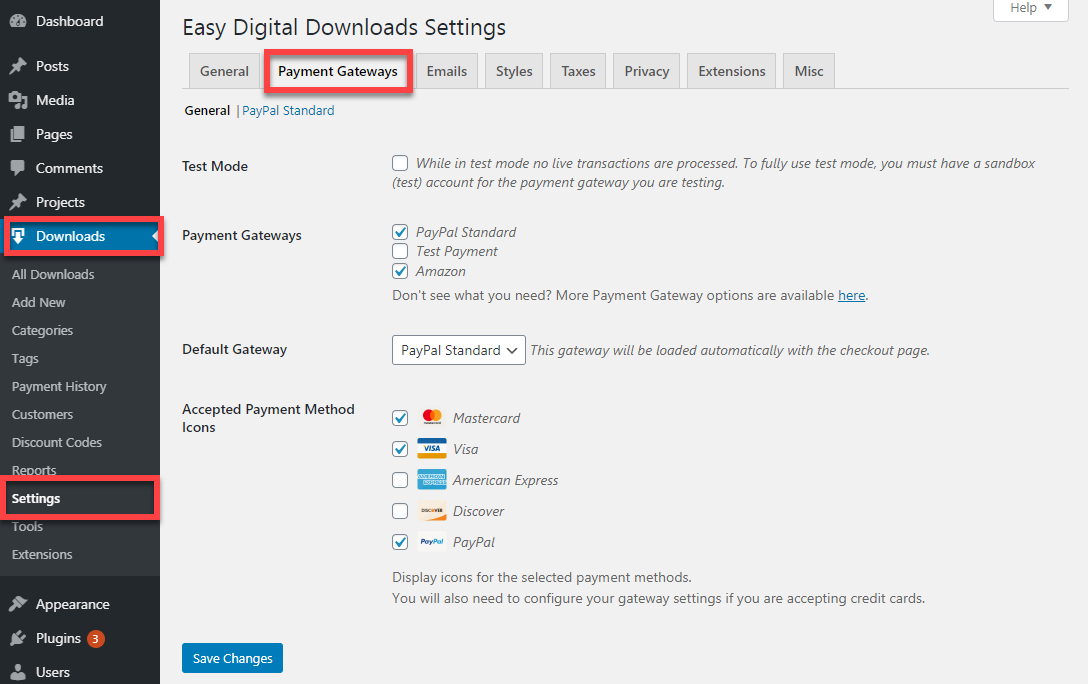
Configure Payment Plugins
Don't forget to configure the payment plugin! This way you can connect it to payment providers such as PayPal or credit card companies.
External Resource
Use Case Front-End


Creating categories
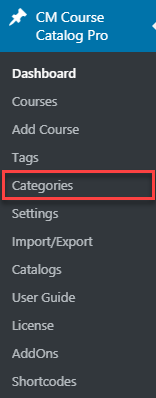
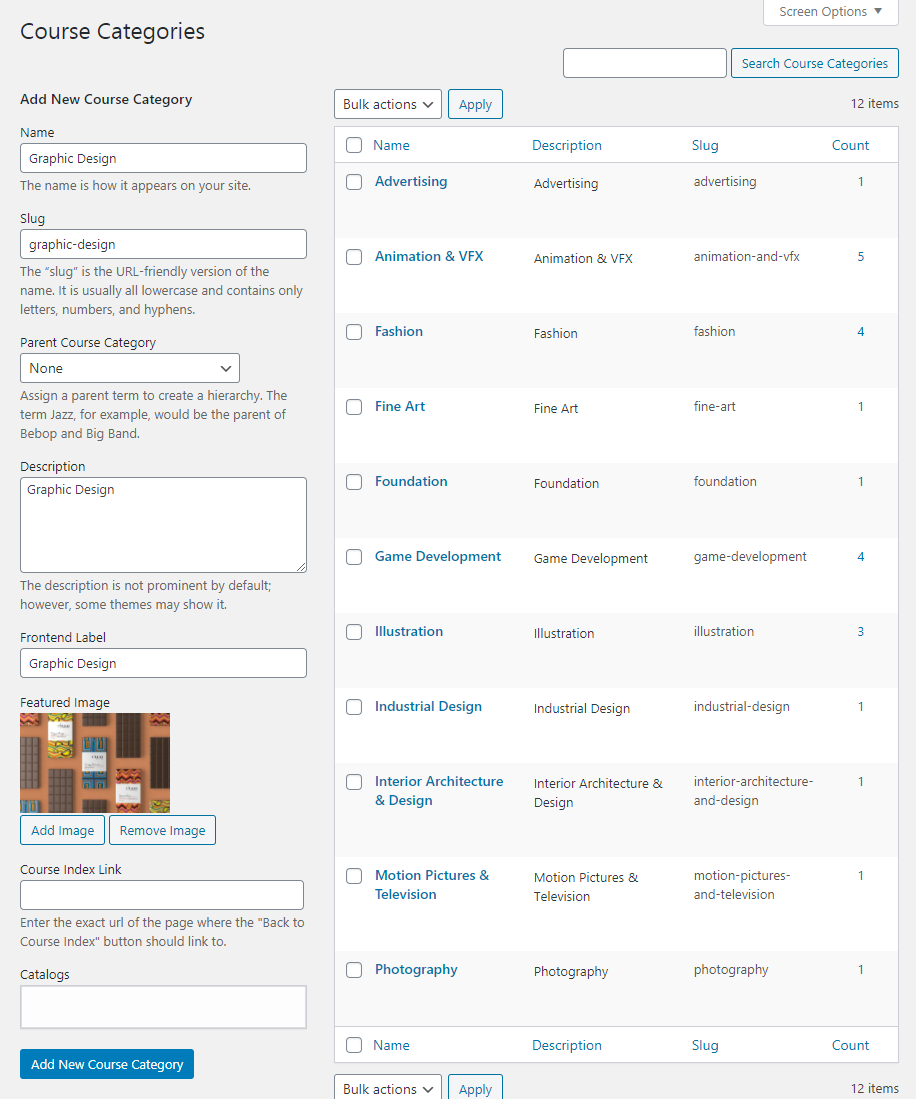
First thing you need to do is to create categories to separate your courses by different topics. Doing this is useful for organizing the work with your courses. To add and manage categories, navigate to Admin Dashboard → CM Course Catalog Pro → Categories.
On the right part of the screen you can see the list of the categories that you've created, and on the left side there is a form for adding a new category. Here you need to fill these fields:
- Name - Title of the course category visible for the admin.
- Slug - Part of a URL identifying the course category page on your website. For example, the friendly URL for the category can be https://mywordpresscourses/languages, and the slug simply is ‘languages’.
- Parent Course Category - Make this course a child of another one.
- Description - Add a description for the category. The description is not visible on the Frontend, but some themes can show it.
- Frontend Label - Add a title of the category visible on the Frontend.
- Featured Image - Upload the image from the Library or your Computer to display with the course category. To delete the image click on the Remove Image button.
- Course Index Link - Add the page URL where the Back to Course Index button should link to.
Learn more about Adding and managing categories.
Managing the courses
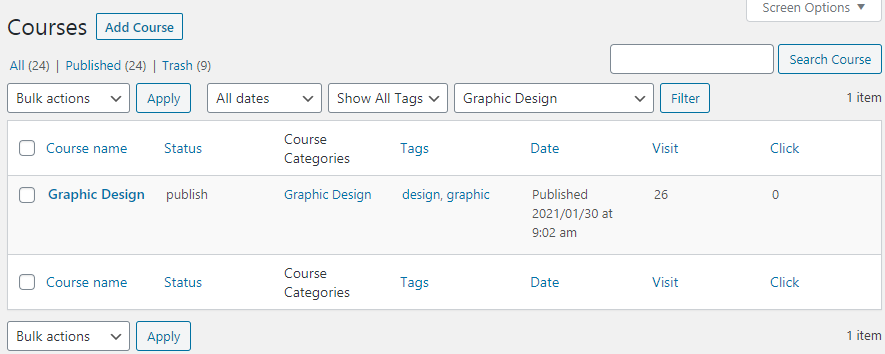
To manage your current courses, head to Admin Dashboard → CM Course Catalog Pro → Course.

This screen offers an overview of all courses. You can filter and edit them.
To edit a particular course, hover the mouse over it's name so the edit button appears, like so:

Creating the course
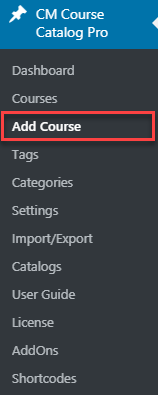
Now you can start creating your courses. Navigate to Admin Dashboard → CM Course Catalog Pro → Add course.
Here you need to fill the information about your course. Let's do it step-by-step.
1) Course details
Add title - How the course will be identified. This will appear on the Front-End.
Course Long Description - This information will be displayed prominently on the course page. Accepts images, embeds, and formatting.
Template - This template adds a different layout to your course page. Learn more about Creating and Applying Custom Templates.

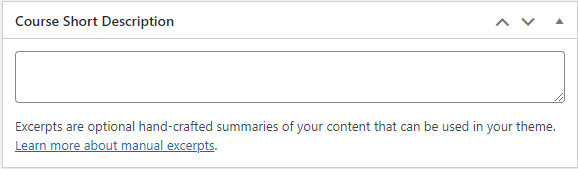
Course Short Description - A smaller version of the description. This field is not obligatory and may not appear on your site depending on the theme.
Author - Choose the author of the course.

Who is allowed to register? - Choose who is allowed to register for the course.

Price of the course (EDD Download) - Every course must have it's own EDD product. You can manually create the product for the course in advance and then choose it in dropdown list, or you can set the Course price and click Create new download button right here, to create relevant product. Important: when you set the Course price here after clicking Create new download you need to reload the page, so the relevant product appears in dropdown list.
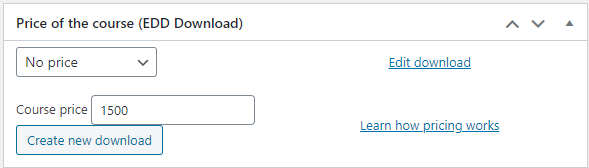
After clicking the Create new download button, a new product related to the course will be created in EDD and chosen in dropdown list.

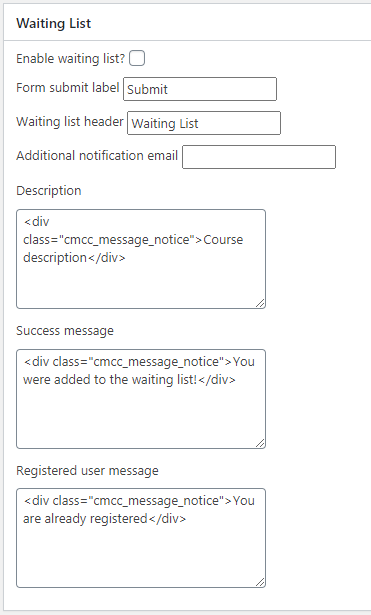
TIP: Waiting list
If you use the CM Course Catalog Waiting List add-on, you will also have this form while creating the course. It is useful so you don't lose students who can't participate in the course but want to in the future. Learn more about Managing the Waiting list.
CM Course Catalog Custom Fields
Syllabus - Detailed description of the syllabus. Accepts images, embeds, and formatting.

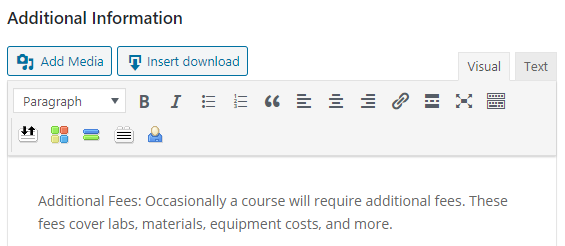
Additional information - you can write here some additional information that might be useful.
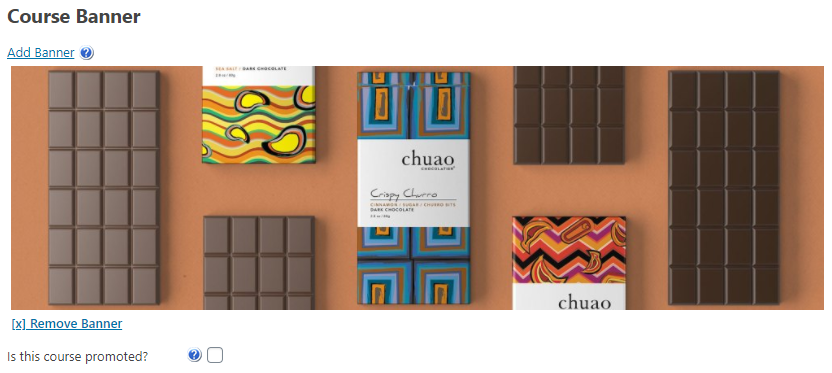
Course Banner - Used to decorate your course page. Best size for the banner is 1000px by 3000px.
Is this course promoted? - If checked, the course will be on the top of search results.
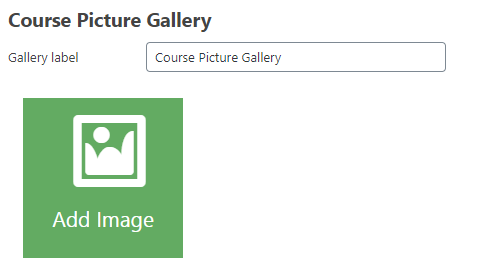
Course Picture Gallery - Add one or more relevant images.
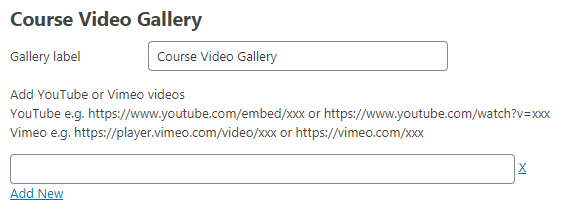
Course Video Gallery
Add YouTube or Vimeo links. Make sure the links follow either of these standards:
- YouTube
- Vimeo
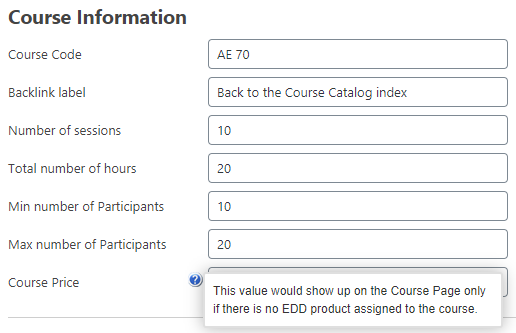
Course Information - This is an important field, where you can specify:
- Course code
- Backlink label
- Number of sessions
- Total number of hours
- Minimum number of participants
- Maximum number of participants
- Course Price. Note: This value would show up on the Course Page only if there is no EDD product assigned to the course. But for selling the course anyway you will need to set the EDD price.
Course Periods - Add any number of periods. You can apply taxonomies here. Learn more: WordPress Course Catalog Plugin - Taxonomies
- Code - Code of the course.
- Code Link - Link for the course. Note: format of the link must be "https://" or "http://"
- Start date / End date - Start and end date of the course.
- Start time / End time - Start and end time of the course.
- Meetings - Number of meetings on this course.
- Expired - If checked, then the course will disappear from the Frontend. Note: to make this work, you need to turn Hide expired periods function in settings. Navigate to Admin Dashboad → CM Course Catalog Pro → Settings → Course Page → Course Page Defaults section, and enable Hide expired periods.
TIP: Editing the Course Periods Table
Reorder, show or hide different columns of the periods table by dragging the field. You can set different viewing options for desktop and mobile devices.
You can edit it by navigating to Admin Dashboard → CM Course Catalog Pro → Settings → Course Page and scroll to Periods section.

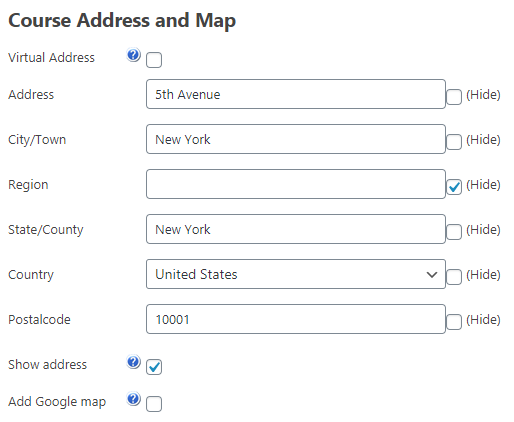
Course Address and Map
- Virtual Address - If checked ,all address fields will be not displayed.
- Show address - If not checked, the address will not appear on course page.
- Add Google map - If checked, Google map will be displayed on your course page.
You can also hide some address fields if you don't need them.
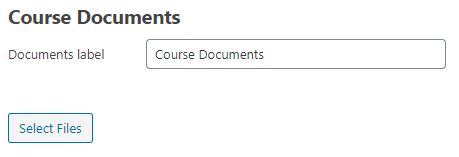
Course Documents
2) Useful metaboxes
On the right side of the page, you will find metaboxes. Editing them is optional, but it will help you group this course with other relevant ones.
Tags - Add tags separating them with commas to make easier searching of the courses using keywords.

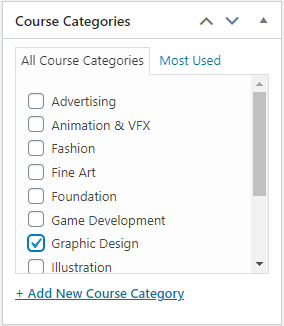
Course Categories - You can choose relevant categories from already created or create a new one right here.
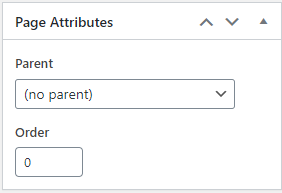
Page Attributes - Optionally, make this course a child of another one.
If you have existing courses, you can set them as a parent for new courses.
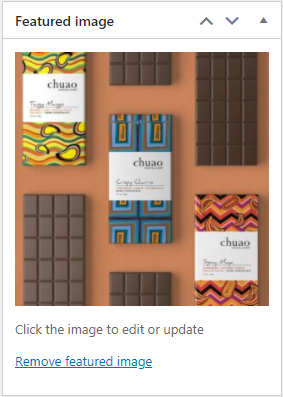
Featured image - Add a featured image, which is usually shown when sharing the link.
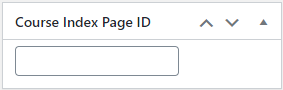
Course Index Page ID - Select the ID of the page with the [cmcc_course] shortcode. All backlinks will be pointing to that page. Once the plugin is installed, it automatically creates a page with the shortcode in it so you don't have to set it manually.
At the end, when everything is filled, don't forget to press the big blue Publish button!
Result
Now you can see the created course in the list by going to Admin Dashboard → CM Course Catalog Pro → Courses.
You can view the courses and information about registered students on a special dashboard if you installed CM Course Catalog Dashboard add-on. Navigate to Admin Dashboard → CM Course Catalog Pro → Dashboard.

Let's see how the course looks in the Front-end.
Use Case Front-End
 |
More information about the WordPress Course Catalog Plugin Other WordPress products can be found at CreativeMinds WordPress Store |
 |
Let us know how we can Improve this Product Documentation Page To open a Support Ticket visit our support center |