WordPress MicroPayments (CMMP) - Use Case - How to Create Wallets for Non-Registered Users
Use Case - How to Create Wallets for Non-Registered Users
Note: This use case requires this to be installed and activated:
- WordPress MicroPayments - This document uses version 2.1.3
- WooCommerce - This document uses version 6.2.0
Video Use-Case
Introduction
The WordPress MicroPayments is a payment system for WordPress that allows you to create digital wallets for your users, reward them with points, and let them pay for them using real money.
Use Case Front-End
Creating a wallet for non-registered user:
Changing the Wallet Nickname:
Transaction History:
Wallets: What is a Wallet?
The Wallets are the "accounts" to which the points have to be connected to. They work very similar to bank accounts, or real life wallets.
Use Case Assumptions
In this example use case guide, we'll cover how to create and manage wallets for non-registered users.
We consider that you have already bought the plugin, but not installed it yet.
It follows:
- Installing the plugin
- Setting up WordPress MicroPayments - recap
- Creating wallets for non-registered users
- Checking wallet transactions on the front-end
- Granting non-registered users with points for purchases in WooCommerce
- Labels - translating the interface
- End result
Installing the Plugin
The process is the same for all CM plugins.

- Download the add-on from your customer dashboard.
- Log in to WordPress and navigate to the WordPress Admin → Plugins settings.
- Click on Add New.
- Activate it and add the license.
Learn more: Getting Started - Installation And First Steps
Setting Up WordPress MicroPayments - Recap
If you still have question with these steps:
- Setting up WordPress MicroPayments
- How users can obtain points
- Grant points for purchase
- Use points for discounts
- Translating the interface
- Shortcodes
- Reports
- Exporting wallets to CSV
- Adding or subtracting points periodically
- Troubleshooting
Then check the guide WordPress MicroPayments (CMMP) - Use Case - How to Allow Users to Buy Points Using Real Money
Creating Wallets for Non-Registered Users
Each created wallet has its own Wallet ID - a string of numbers and letters that identify the wallet.
Example of the Wallet ID: 34df14b3754388f04f448e3d5ab1d36a
It is possible to assign a nickname to each wallet. This way, users don't have to use Wallet IDs that are long and difficult for remembering, they can use a Wallet Nickname instead of it.
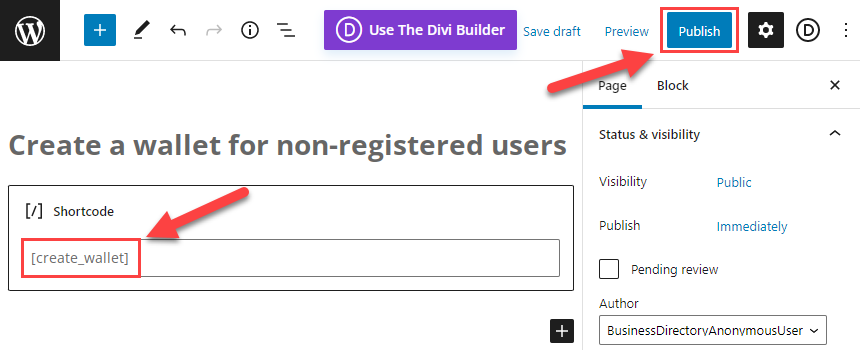
You need to use a Wallet Nickname for creating a wallet for non-registered user. Creating that kind of wallet can be done using a shortcode [create_wallet]
Just create a page or edit the existing one, put a shortcode and click Publish or Update.
Now let's go the front-end and create a wallet. There you can see a form. This form is available only for the users with roles Administrator and Editor. There you need to write a nickname that does not exist yet into the field Wallet Name. Optionally, in the field Points you can set the amount of points that should be on the wallet at once after it's created. The value must be bigger or equal "0". Then click the button Create Wallet.
Now let's head to the back-end and see how to find and manage wallets for non-registered users.
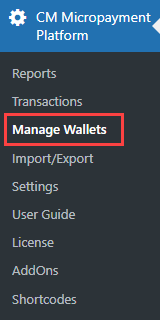
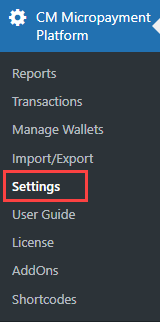
Navigate to Admin Dashboard → CM Micropayment Platform → Manage Wallets.
All wallets for non-registered users have the relevant marker in the column User login.
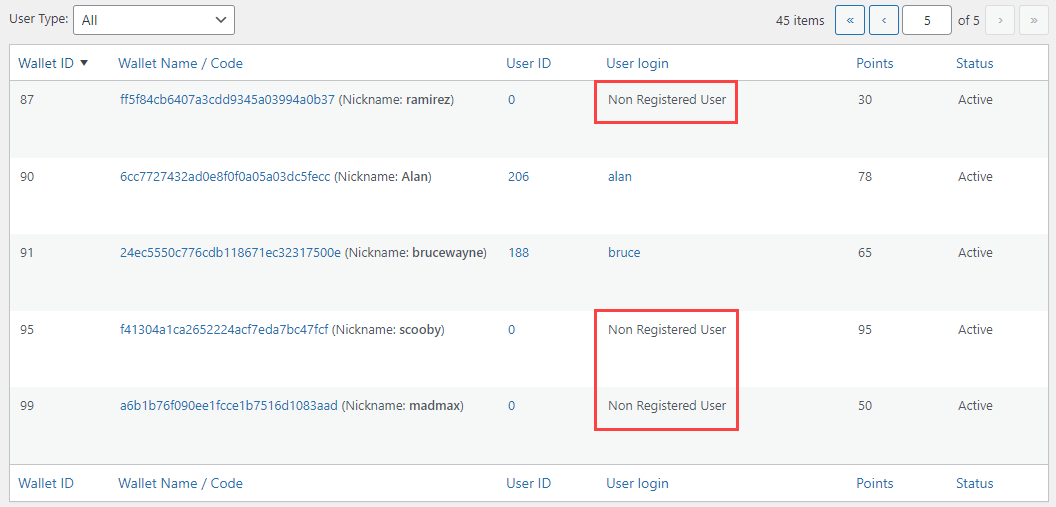
You can also filter users by their type, using the dropdown User Type above the table. You can choose between:
- All
- Registered User
- Non Registered User

The admin can change the wallet nickname of any user at any moment. Just hover on the needed wallet and click Change Nickname. Enter new nickname, then click the button Save.
You can change the amount of points for every user by hovering on the needed wallet and clicking the button Add/Subtract Points. Set the amount of points, choose the operation - Add or Subtract, and add the comment. Then click the button Save.

To see the transaction history of any wallet, click on the Wallet ID or on the Transactions button.

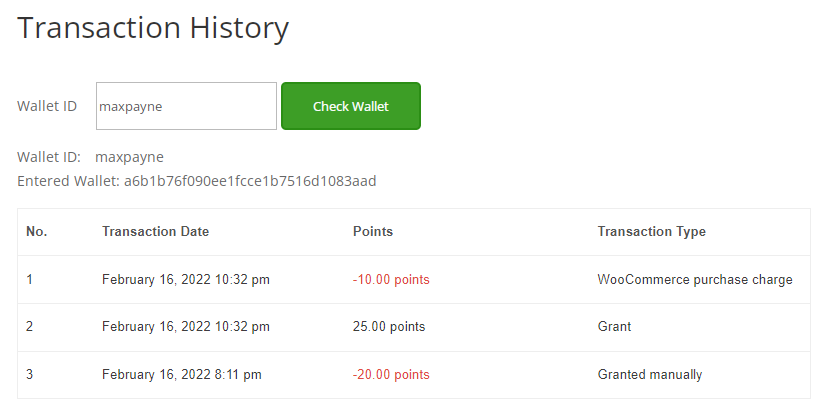
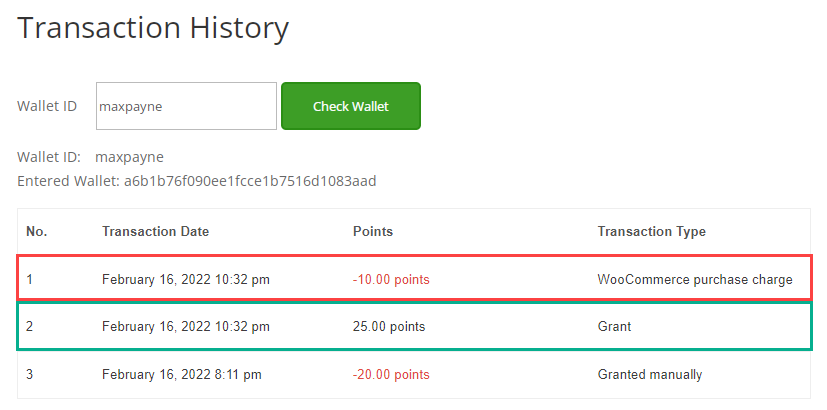
Checking Wallet Transactions On the Front-end
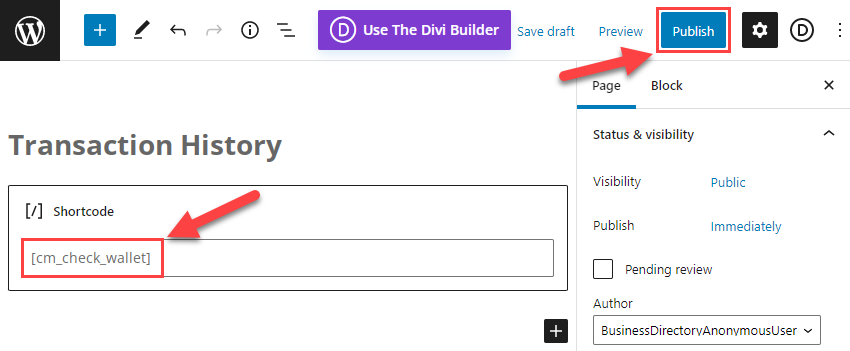
Non-registered users can also check the transaction history of their wallets. You need to create a page that contains the shortcode [cm_check_wallet] .
Just put the shortcode on the page and click Publish / Update.
Now let's see how it works on the front-end. The user needs to put his Wallet ID or Wallet Nickname to the field Wallet ID, then click the button Check Wallet. The transaction history will appear below.
Granting Non-Registered Users With Points For Purchases in WooCommerce
Users can buy products in WooCommerce and Easy Digital Downloads using points on their wallets. You can reward users by adding points to their wallets for each purchase. The plugin supports rewarding not only registered users, but non-registered users either for purchasing products in WooCommerce.
TIP
Learn more about how to configure WooCommerce and EDD for purchasing products with points:
To configure it, navigate to Admin Dashboard → CM Micropayment Platform → Settings.
On the General tab, enable these two options:
- Use WooCommerce for checkout
- Grant MicropaymentPoints per purchase
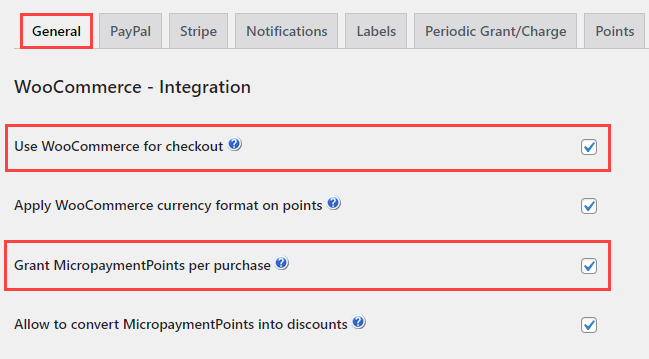
Then scroll down to the bottom of the page and click Save.

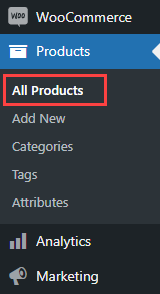
Each product that you want to reward for demands some configuring. So, next step, navigate to Admin Dashboard → Products → All Products.
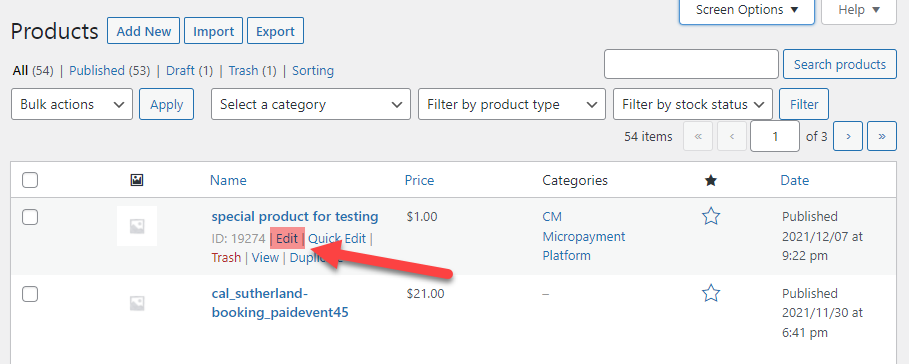
Hover on the needed product and click Edit.
To grant for purchasing the product, it must belong to the category CM Micropayment Platform. Find the metabox Product categories on the right side of the page and check the corresponding category.
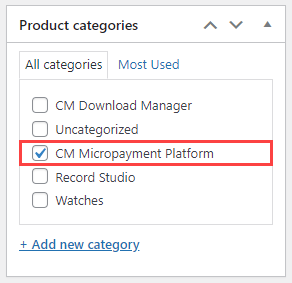
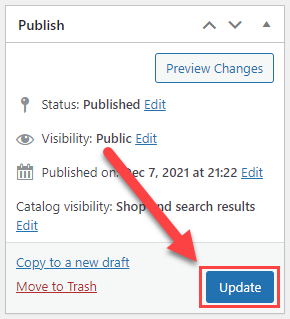
Then click the button Update.
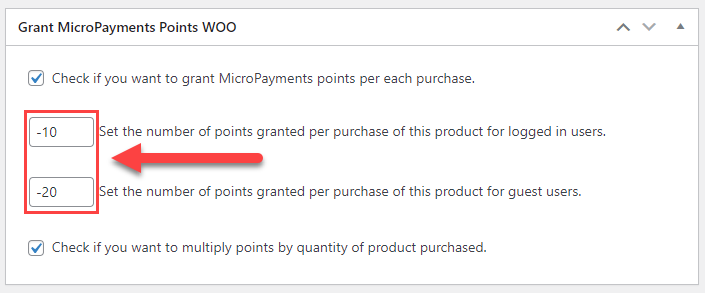
After that there will appear a box called Grant MicroPayments Points WOO. There you need to configure the following options:
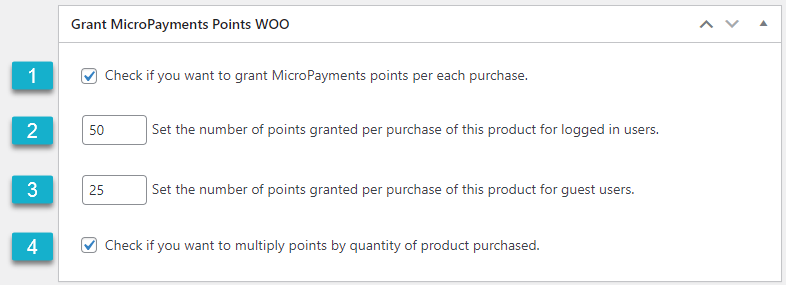
- Enable this checkbox to grant users for each purchase.
- Set the number of points granted per purchase of this product for logged in users.
- Set the number of points granted per purchase of this product for guest users - this option is crucial for our example.
- Enable it, if you want to multiply points by quantity of product purchased. Example, when the option is enabled: grant for the purchase is equal 10. If the quantity of the purchased product equals 5, the user will be granted for 50 points for this purchase. If the option is disabled, then for the same 5 products the user will get only 10 points.
Then click the button Update to save the changes.

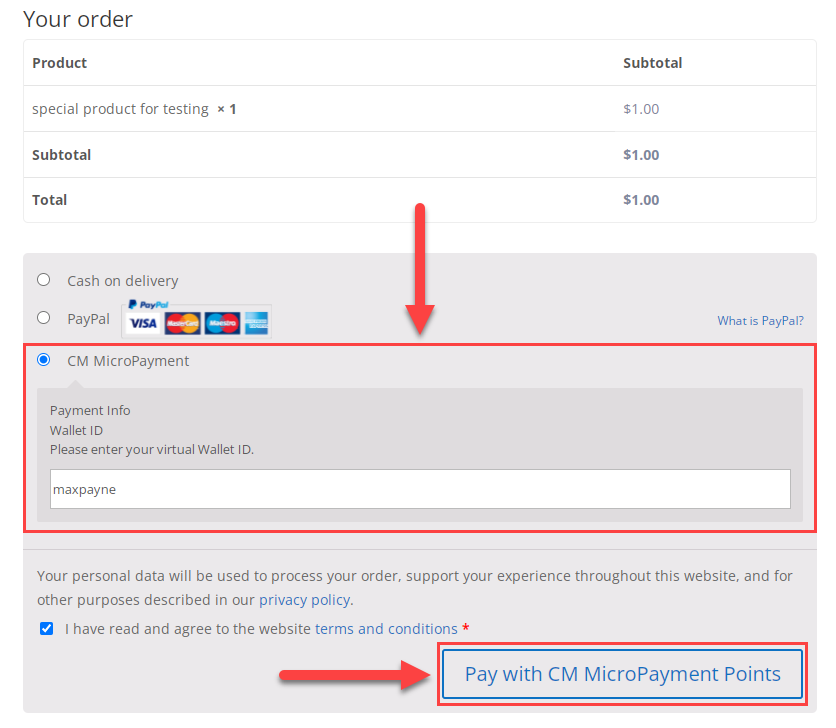
When non-registered user buys the product, he needs to choose the payment option CM MicroPayment and enter his Wallet Nickname or Wallet ID. Then click Pay with CM MicroPayment Points.
Now after purchasing this product, users will be granted with points:
TIP
You can not only grant for purchasing products, but you can also charge fee for the purchases. You just need to enter negative number in fields for setting number of points.
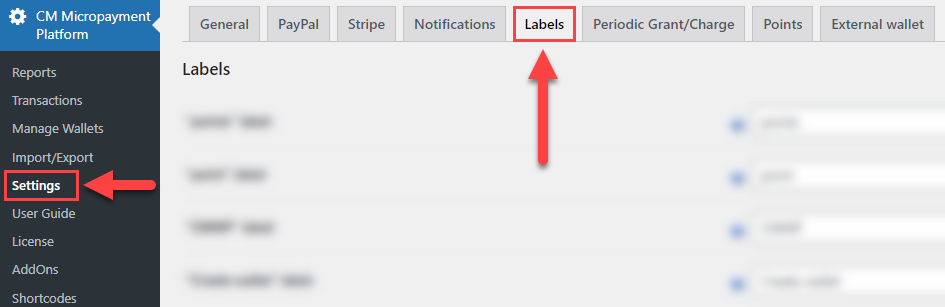
Labels - Translating the Interface
The WordPress MicroPayments allows you to change or translate the labels that are displayed on the front-end. To find them, navigate to Admin Dashboard → CM Micropayment Platform → Settings → Labels tab.
The following labels are related to the dropdown for filtering users by type and to the form for creating wallets for non-registered users.
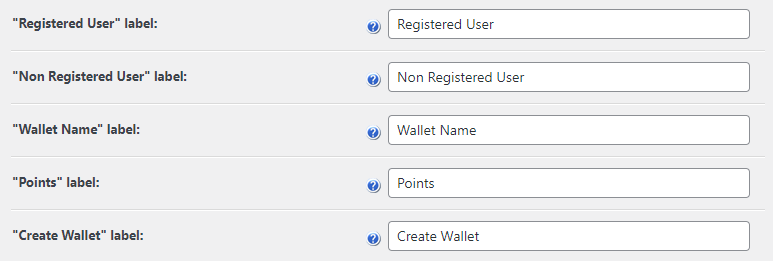
Don't forget to click the button Save after editing labels.
End Result
Following instructions found in the plugin and guides, you should be able to create and manage wallets for non-registered users.
Use Case Front-End
Creating a wallet for non-registered user:
Changing the Wallet Nickname:
Transaction History:
 |
More information about the WordPress MicroPayments plugin Other WordPress products can be found at CreativeMinds WordPress Store |
 |
Let us know how we can Improve this Product Documentation Page To open a Support Ticket visit our support center |