WordPress Review Plugin - Use Case - How to Customize the Review Form
Use Case - How to Customize the Review Form
Note: this guide requires:
- WordPress Review plugin - This document uses version 2.9.1
Video Use-Case
Introduction
WordPress Review plugin allows your users to leave reviews and rate posts, pages and products on your site. The plugin is highly customizable and flexible, so you can configure it according to your needs and manage all reviews.
Use Case Front-End
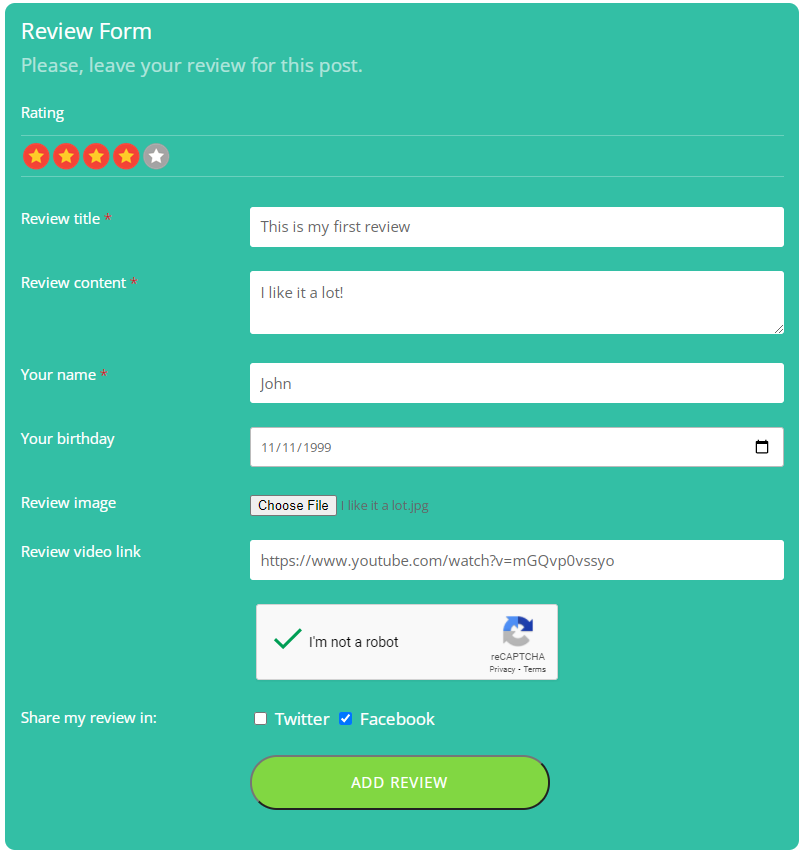
Filled review form:
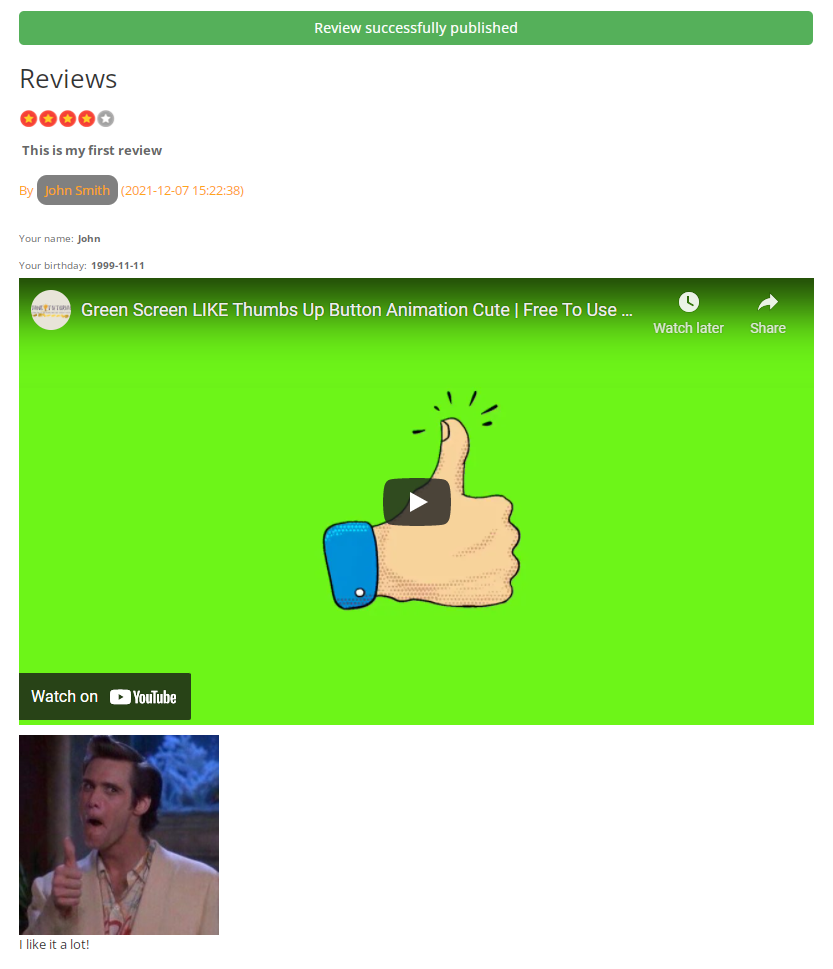
Published review:
Use Case Assumptions
In this example use case guide, we'll cover how to customize the review form. We consider that you have already bought the WordPress Review plugin, but not installed it yet.
It follows:
Installing the Plugin
The process is the same for all CM plugins and add-ons.

- Download the plugin from your customer dashboard.
- Log in to WordPress and navigate to the WordPress Admin → Plugins settings.
- Click on Add New.
- Activate it and add the license.
Learn more: Getting Started - Plugin Overview
Displaying the Review Form
Before customizing the review form itself, let's shortly consider how to display the review form under posts, pages and other custom post types. There are two ways to do this - automatically and manually.
Automatic Method
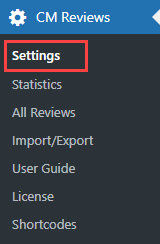
To display the review form with all reviews and ratings related to each post navigate to Admin Dashboard → CM Reviews → Settings.
A few options that we need are located under the General tab.
- Auto add shortcode - By default, this setting is set to Yes. This automatically adds the Reviews and Ratings functionality to any chosen post type you wish. This saves you the hassle of adding the shortcode to each post manually.
-
Choose post types - In this option you need to select post types (standard and custom) where the Reviews and Ratings plugin functionality will work automatically. Just select needed types by checking the relevant boxes.

General plugin settings

When you finished configuring, don't forget to save the changes by clicking the button Update under the plugin settings.

Manual Method
The manual way of displaying the Reviews and Ratings module demands placing the shortcode [cmr_general] in the chosen by you posts in any place you want. This shortcode displays the review form according to the plugin settings with all reviews and ratings related to this post.
You can use this shortcode even if the option Auto add shortcode is enabled - using this shortcode you can change the position of the Reviews and Ratings module in the post.
TIP
The plugin has some more shortcodes that gives you more freedom about what to display in any post - only the review form, only reviews or only ratings, and some more. Learn more about it in this guide: WordPress Review Plugin - Getting Started - Shortcodes
Customizing the Review Form
Now when we know how to enable the Reviews and Ratings module in our posts, it's time to customize the review form. Navigate to Admin Dashboard → CM Reviews → Settings.
Review Form
First tab we need is called Review Form. It allows you to configure what will be displayed in the form for posting a review. It has 3 sections with options, let's consider them one-by-one. You can find the following options in first section:
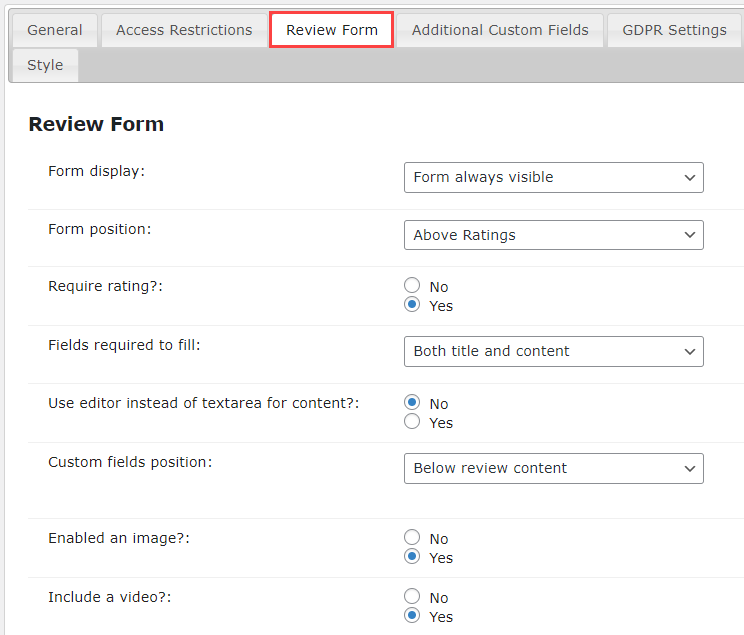
- Form display - You have the following options for how to display the Review form to your users:
- Form always visible - The review form will be visible in the post all the time.
- Form appears on click - The review form can be shown or hidden by clicking on the relevant button.
- Form appears on click inside a Popup - The review form will appear inside a modal window by clicking the relevant button.
- Form position - Choose where the review form will be displayed - either above or below the Reviews and Ratings list in the post.
- Require rating? - Decide if the rating should be required when adding a review.
- Fields required to fill - This is where you can set which fields on your front-end review form should be displayed and required - title, content or both of them.
-
Use editor instead of textarea for content? - Enables a rich editor that supports formatting and HTML instead of the default simple one. Example:

Switching to the text editor - Custom fields position - Define where Custom Fields should be located:
- Above the review title
- Below the review title
- Below the review content
- Enabled an image? - If this option is enabled the user can attach an image in the review.
- Include a video? - If this option is enabled the user can share a video in the review.

ReCaptcha
This section allows you to enable reCaptcha for leaving reviews and ratings.

ReCaptcha helps you to improve the security and protect your site from undesirable bots, spam and flooding.
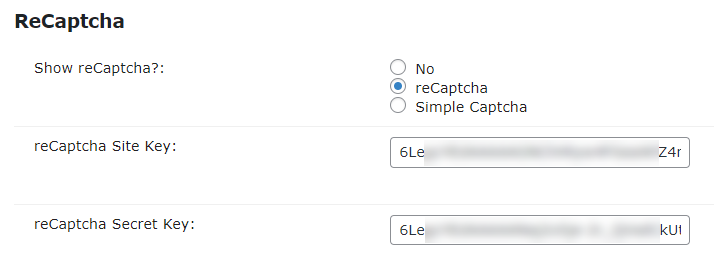
-
Show ReCaptcha? - Enable it to display reCaptcha on your Review form. You can choose between regular reCaptcha and Simple Captcha. Example of Simple Captcha:

Example of the simple captcha - reCaptcha Site Key / reCaptcha Secret Key - To make reCaptcha work, you need to enter site and secret keys. You can easily get them by following this link and following the instructions by Google. Note: the plugin is compatible with reCaptcha v2, so choose this option when creating API keys.

Share
Last section contains only one option:
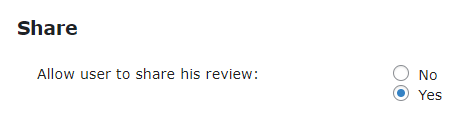
- Allow user to share his review - Enable it to let users to share their reviews in Twitter and Facebook.
When you finish configuring the Review Form settings, click the button Update under the settings.

Additional Custom Fields
Next tab is Additional Custom Fields. This tab has great Form Builder, so you can add lots of custom fields to your review form. The editor is very flexible and allows you configuring custom fields according to your needs.

The editor provides the drag-and-drop area and the default fields next to the area. These fields are:
- Text Input
- Text Area
- Number
- Select
- Radio Group
- Checkbox Group
- Date Field
Let's add here two additional fields that will request for the user's name and date of birth:

The admin can make each field required or not, add tooltips per field with more detailed information, edit CSS class, default values and more.
You can change the order of the custom fields by dragging and dropping them. Just click on needed item with the left button of the mouse, hold the button and drag it to needed place, then drop it.

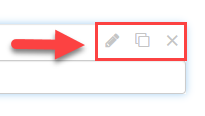
Edit, Copy, Remove
Apply the actions to each chosen field:
- Edit - click on the Edit icon and the field will be open.
- Copy - click on the Copy icon to add the same options.
- Remove - click on the Delete icon to remove a whole field.
Don't forget to save the changes by clicking the button Update under the form.
Ratings
Users can rate the post in the review form. Standard icons for rating the post look like stars. You can customize them in the Ratings tab.

The options that we need can be found under the Rating Selection section:
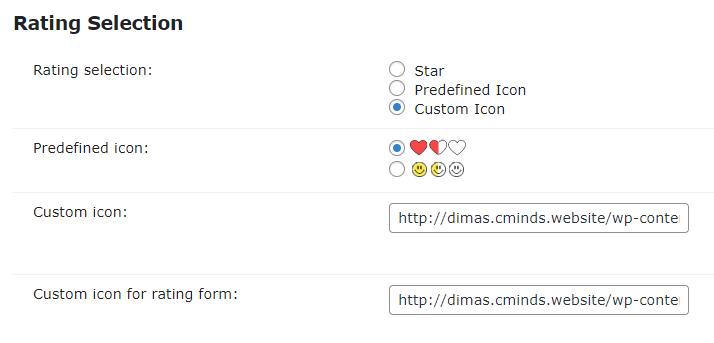
- Rating selection - Here you can choose between 3 options:
- Star - Will be displayed standard stars-icons. Example:

- Predefined Icon - Will be displayed one of two predefined icons. Choosing predefined icons happens in one of further options. Example:

- Custom Icon - Will be displayed custom icons that you upload and put a URL to these images. Fields for URLs are located a bit lower. Let's choose this option for our use case guide. Example:

- Predefined icon - Here you can choose one of two predefined icons in case if you chose the relevant option in previous setting.
- Custom icon - Add a custom icon set for the ratings. You need to upload the image with icons to your Media Library and put a URL to that image in this field. Custom icon instructions:
- First icon must be full, second - half full, third - empty.
- All 3 icons must be placed on one image.
- Image format must be png.
- Image width must be 58px.
-
Image height must be 17px.
Example of image with icons:

- Custom icon for rating form - Add a custom icon set for the ratings in the review form. You need to upload the image with icons to your Media Library and put a URL to that image in this field. Custom Icon instructions:
- First icon must be empty, second and third - full.
- All 3 icons must be placed on one image
- Image format must be png.
- Image width must be 30px.
-
Image height must be 90px.
Example of image with icons:

Click the button Update under the settings.

Labels
Next tab is Labels.

Labels are words and text that are displayed on the front-end. You have full control over these text and can edit or translate any of them according to your needs. The plugin has lots of labels. Labels that are needed for customizing the form adding a new review are located under the section Add New Review Form.

Click the button Update at the bottom of the page to save the changes.
Style
Last tab that we need for customizing the review form is Style.

There are lots of options for customizing front-end styles. A few options are relevant for customizing the review form.
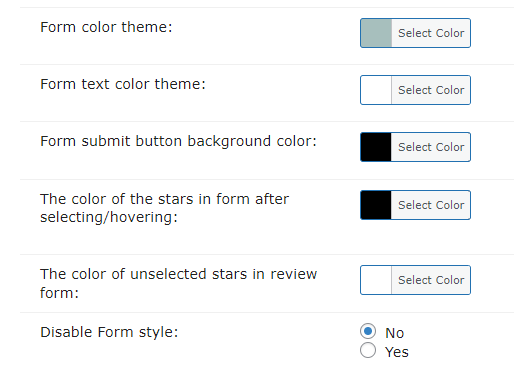
You have full control over the color theme for your front-end review form. The color text field will accept any valid RGB/HSL/HEX color code, and of course, you have the option to switch back to the default color by clicking the Clear button.

- Form color - Here you can change the color of the review form background.
- Form text color theme - Here you can change the color of the font in the review form.
- Form submit button background color - Here you can change the background color of the submit button in the review form.
- The color of the stars in form after selecting/hovering - This option allows you to pick the color of the stars when they are highlighted in the review form. Note: this option is actual, if you chose Star in the option Rating selection.
- The color of unselected stars in review form - This option allows you to pick the color of the stars when they are unselected in the review form. Note: this option is actual, if you chose Star in the option Rating selection.

- Disable Form style - Although we have created a standard and generic design for the form to try and cater to every website look, we're aware that some users might want to change this form design. Disabling our form style will remove all CSS properties from the review form and will leave you with a skeleton form which you can leave as is (to inherit your theme's form styles), or style yourself using the CSS class .cmr_form_custom (which is automatically added to the <form> element so you can easily target it and its child elements when styling the form).
When you finished styling the review form, click the button Update under the settings.
Customizing the review form is finished. Now let's see the result on the front-end.
End Result
Following instructions found in the plugin and guides, you should be able to customize the review form according to your needs.
Use Case Front-End
Filled review form:
Published review:
 |
More information about the WordPress Review Plugin Other WordPress products can be found at CreativeMinds WordPress Store |
 |
Let us know how we can Improve this Product Documentation Page To open a Support Ticket visit our support center |