WordPress Glossary Plugin (CMTG) - Use Case - How to Make a Bilingual Site (RTL Support)
Use Case – How to make a a bilingual site with RTL support
Note: This guide covers features presented in Pro+ and eCommerce editions of the WordPress Glossary plugin. This document uses eCommerce version 3.9.14.
Introduction
The WordPress Glossary plugin allows you to create a site with a complete glossary of terms. Each term's definition can appear on mouse hover across the whole site. Pro+ and eCommerce editions support adding a Google Translate API to tooltips and term pages, to help translate their content from one language to another. This feature is particularly useful in cases where a website is meant to serve a bilingual community.
Use Case Front-End

Use Case Assumptions
In this example we will consider how to make a bilingual site with support of Right-to-Left text.
We consider that you have already bought the plugin, but not installed it.
It follows:
- Installing the plugin
- Recap
- Requirement
- Google Translate API integration
- Configuring Google integration
- Disabling terms from using Google Translation
- Shortcode
- RTL support
- End Result
Installing the Plugin
The process is the same for all CM plugins and add-ons.

- Download the plugin from your customer dashboard.
- Log in to WordPress and navigate to the WordPress Admin → Plugins settings.
- Click on Add New.
- Activate it and add the license.
Learn more: Getting Started - Installation And First Steps
Recap
In this use case we will cover only converting your Glossary to bilingual mode. So, we suppose that you've already configured the plugin and know how to add terms to your Glossary. If not, it's better to get through this use case first:
Requirement
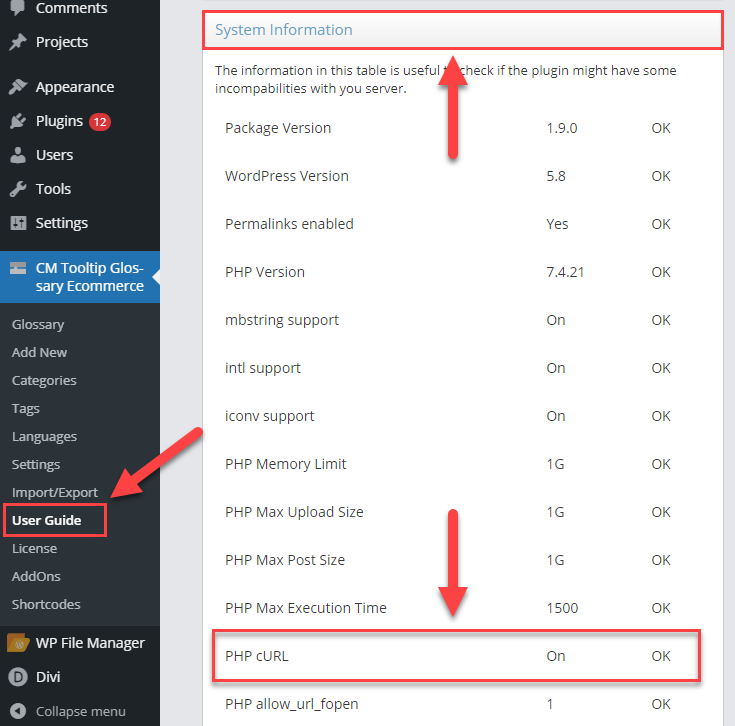
In order for the Google Translate API integration and functionality to work, the server must have a PHP cURL library installed.
You can see whether or not it is installed by navigating to Admin Dashboard → CM Tooltip Glossary Ecommerce → User Guide. Scroll down to the System Information section, and look for PHP cURL - it must be ON.
Google Translate API Integration
To integrate a Google Translate API, you need to get a Google API key, which can be easily obtained from Google (the price for using their service depends on the usage).
To obtain an API key for translation please follow the Instructions from Google.
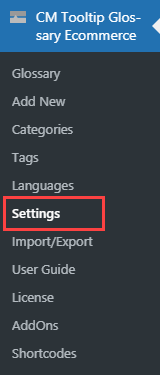
Next, navigate to Admin Dashboard → CM Tooltip Glossary Ecommerce → Settings.
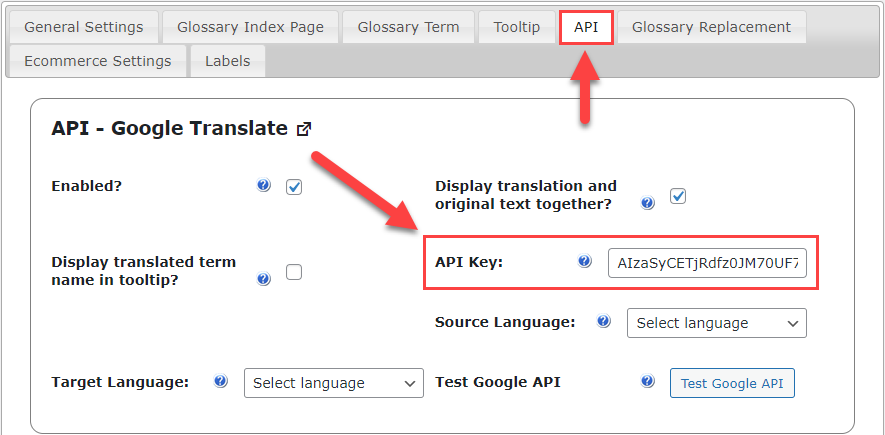
In the API section you need to put the key that you got in the API Key field:
Configuring Google Integration
Then you need to turn on the option Enabled? to make this feature work.
Two more important options are Source Language and Target Language. You need to choose the language in which the original text is written on your site and the language that you want to translate it to.

Optional settings:
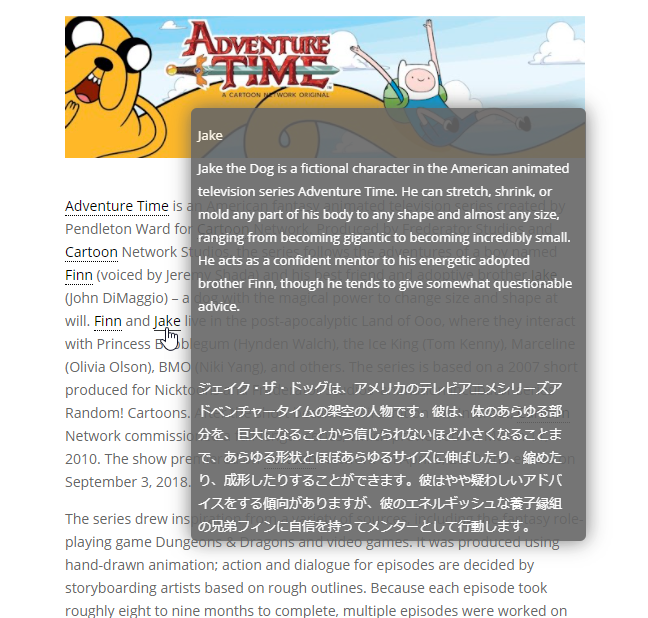
- Display translation and original text together - Enable this option to display translated text under the original one in the tooltip. Let's enable it for our use case.
- Display translated term name in tooltip - If enabled, only the translated term name will be displayed under the original term name in the tooltip (overwriting the term definition). Let's disable this option for our use case.
Let's choose English as a source language and French as a target language for our use case.
Now click the button Save Changes at the bottom of the page.

To check if you the feature works well with the connected API, you can click the button Test Google API.
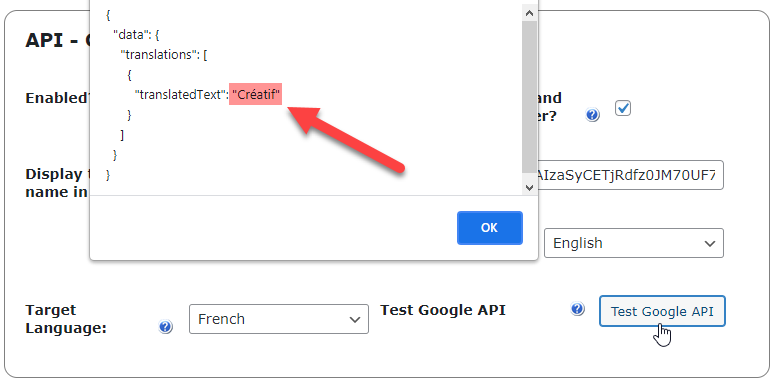
If you configure everything properly, you will see a pop-up message, where the test-word "Creative" will be translated to the chosen language.
Let's see the result on the front-end:

Disabling Terms From Using Google Translation
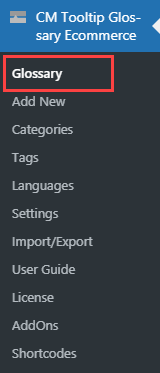
You can disable specific terms from using Google Translation. To do this, navigate to Admin Dashboard → CM Tooltip Glossary Ecommerce → Glossary.
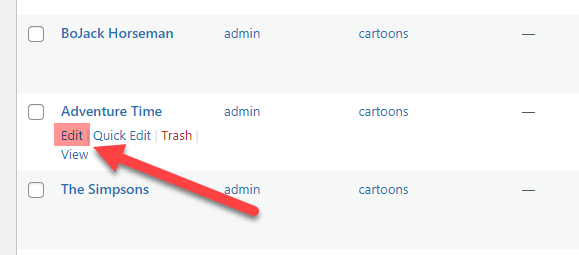
Hover on needed term and click the button Edit.
In the term editor on the right side of the page find the metabox CM Tooltip - Term Properties, check the box Disable Google API for this term and then click the button Update on the top right of the page.
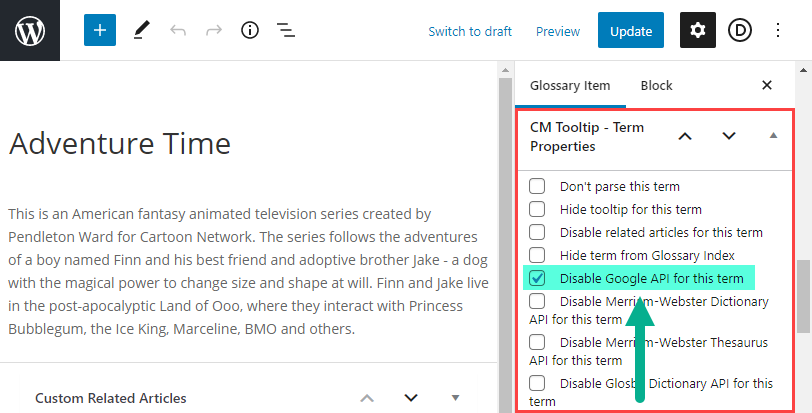
As a result, the term definition on the front-end will not be translated:
Shortcode
TIP: What Are Shortcodes
Shortcodes add dynamic content to your site via a small piece of code.
Learn more: Shortcodes - How To Use | Finding ID of Post/Page/Other Content
Google translate is also supported using the shortcode [glossary_translate] .
Using this this shortcode you can override default language settings for a specific post or page - for all terms of one language or only for a specific term.
The shortcode has the following parameters:
- term - The term for which the Dictionary definition should be displayed.
- source - The language in which the Dictionary definition is displayed.
- target - The language into which the Dictionary definition should be translated.
Example
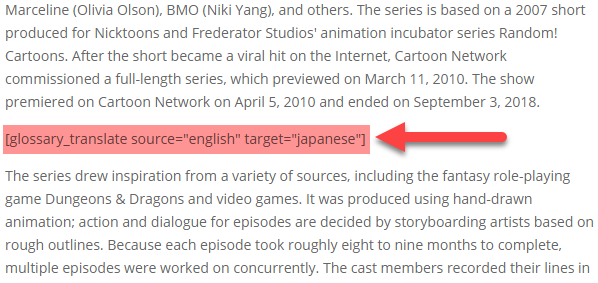
We want to redefine the target language for our post to Japanese language. The shortcode will look like this:
[glossary_translate source="english" target="japanese"]
We can put it in any place of our post:
Result
RTL Support
WordPress Glossary plugin supports Right-to-Left (RTL) languages, such as Hebrew.
There are two ways to enable RTL in Tooltip Glossaries.
1) Automatic
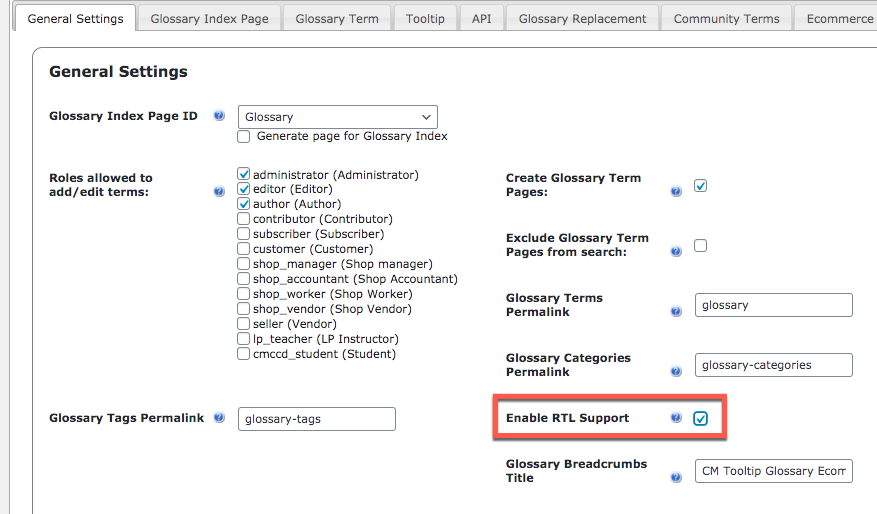
You can enable RTL (Right to Left text) support simply by checking Enable RTL Support in the path Admin Dashboard → CM Tooltip Glossary → Settings → General Settings, as shown below:
2) Manually
It's also possible to enable this function manually, but there are limitations. Two steps are needed.
a) For the Alphabetical List on Glossary Index Page:
Add this custom CSS to your theme or in the Additional CSS option in the customizer.
.ln-letters a { float: right !important; }
b) For Items on Glossary Index Page, Tooltip Content and Glossary page:
They will be displayed correctly when you set your whole site to RTL.
Learn more: WordPress Glossary Plugin (CMTG) - Extras - RTL Support - CreativeMinds Products Documentation
Example
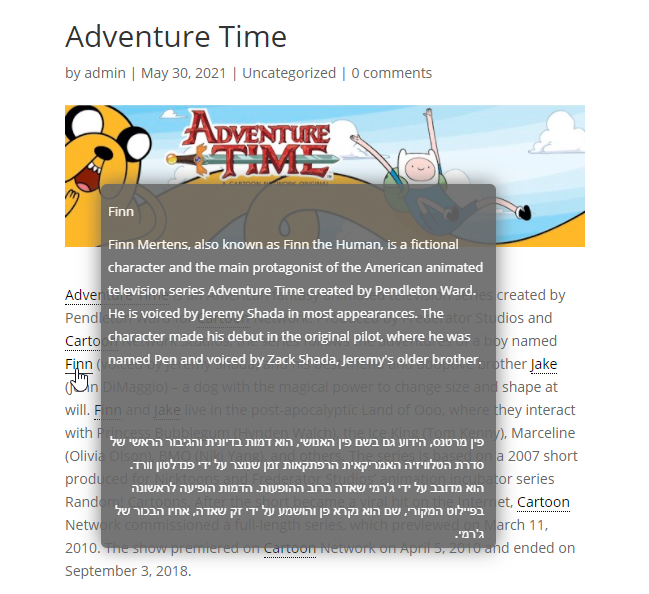
Let's translate our post to the Hebrew language:
End Result
Following instructions found in the plugin and guides you should be able to make a bilingual site with support of Right-to-Left text.
Use Case Front-End
 |
More information about the WordPress Glossary Plugin Other WordPress products can be found at CreativeMinds WordPress Store |
 |
Let us know how we can Improve this Product Documentation Page To open a Support Ticket visit our support center |