WordPress Interactive Map Plugin (CMML) - Getting Started - Adding/Editing Locations - From Map
Adding Locations From a Map
Adding Locations
From Map | From Current Location | Importing From File
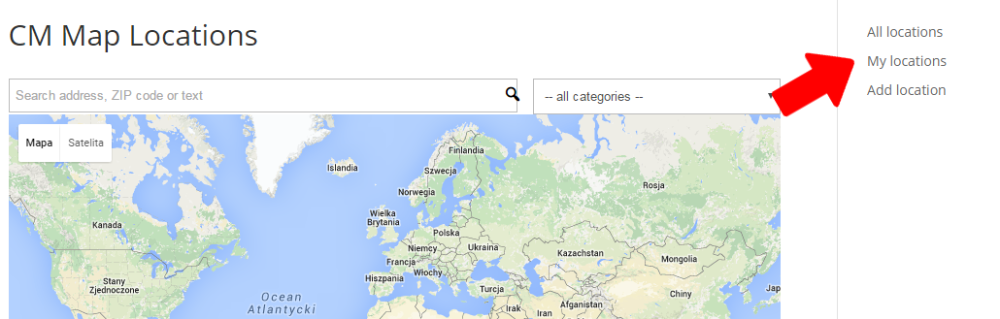
Users can find the Add location link on the CM Map Locations Menu widget which you can add to your sidebar (it will be visible only on the locations pages):
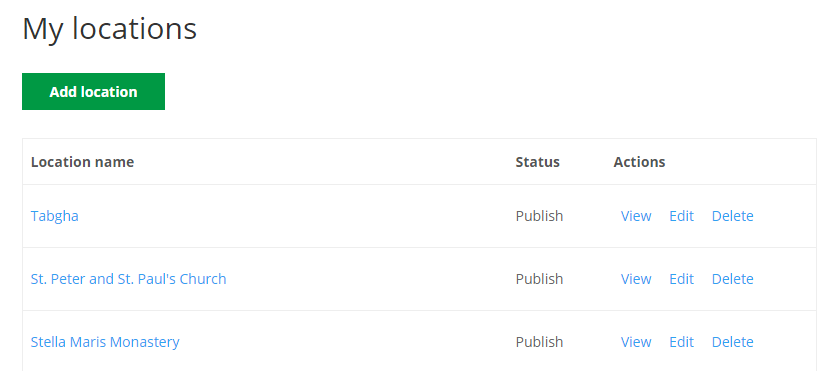
It is also on the User Dashboard page:
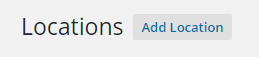
For Administrators only, the Add location is available also in the wp-admin plugin's page, on the Locations page:
Location Form
TIP: Editing The Form
With the WordPress Interactive Map plugin, the admin can edit the form to enable and disable a series of fields. Learn more:
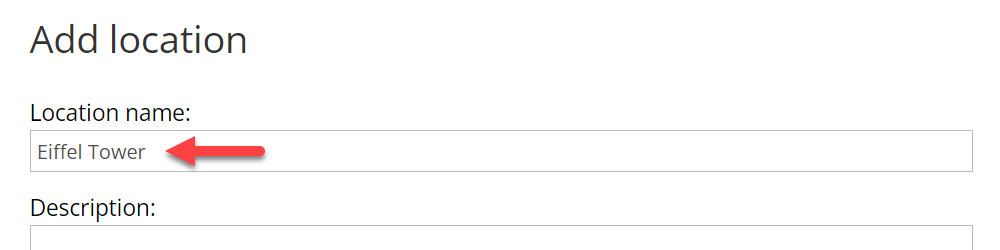
Name and Description
You can then enter the location name and description.
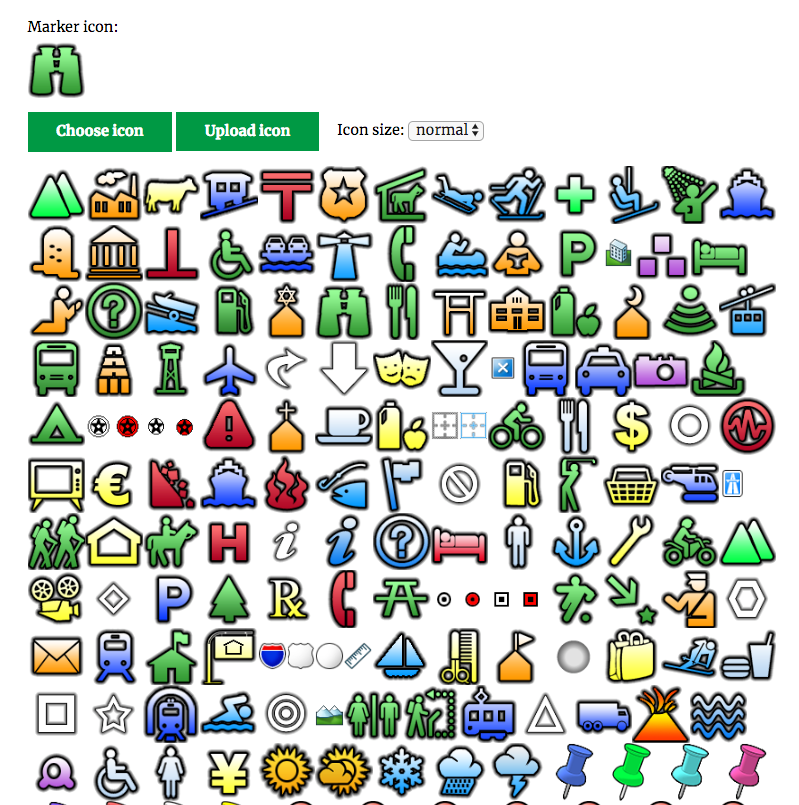
Icon
You will also be asked to choose an icon for the location from a catalog. If you specify a category, the icon will default to the icon named for the category. If you specify a category and also choose a specific icon for the location, the icon displayed will be the one you specify. You can also upload your own icon from a computer.
Categories
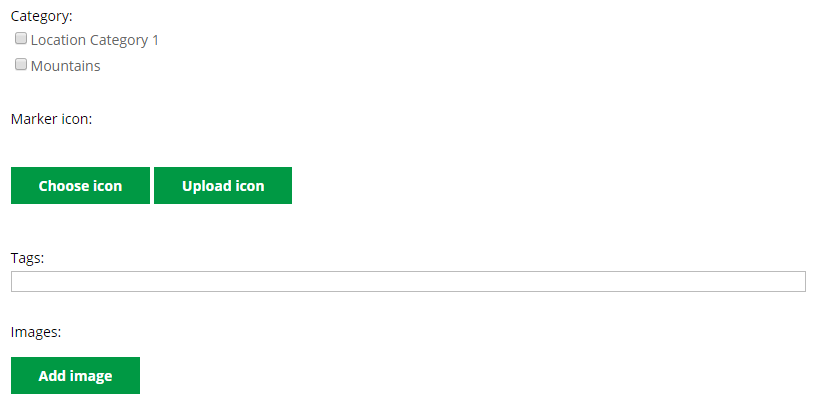
Media Files
When adding an image/video, you can select a media file from your computer.
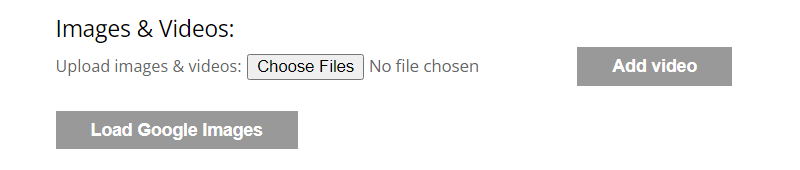
Since the version 3.3.5 you can also select external images by using the option Load Google Images. The images are searched according to the Location name that you define at the top of the form. This feature requires using Search Engine ID - Learn more how to configure it in this guide.
Load Google Images
First, you need to add a location name, as it is used as search request for loading relevant images.
Now after clicking Load Google Images, the images will appear. The ones that click on will be added to the location, and will be stored in the Media Library of your site.
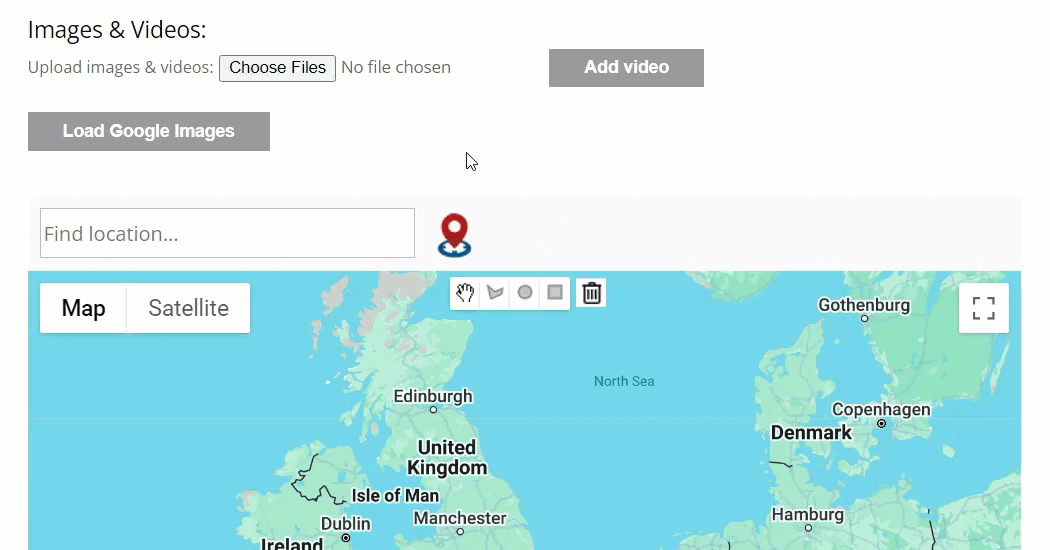
Map Location
To mark a location on the map, click on the part of the map you want to mark. Once you add a location, you cannot add another location to this map. To change the location of the marker, you can simply drag it to a different part of the map. To add another location, you will need to repeat the process documented here on a new location.
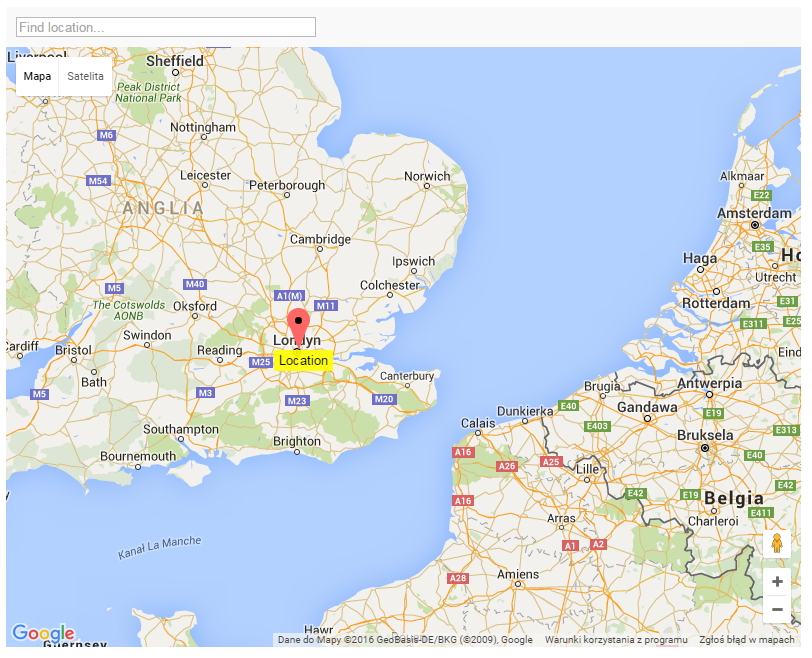
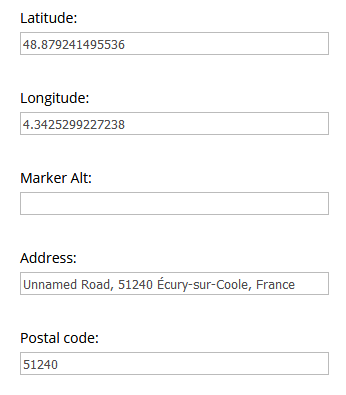
When adding a location, you can also edit the latitude/longitude, address, and postal code to specify a location. The "Marker Alt" is an alt attribute applied to the icon - if the icon fails to load, it will be displayed instead.
This information will be automatically prompted once picking the location on the map but it is possible to change it later
Information Fields
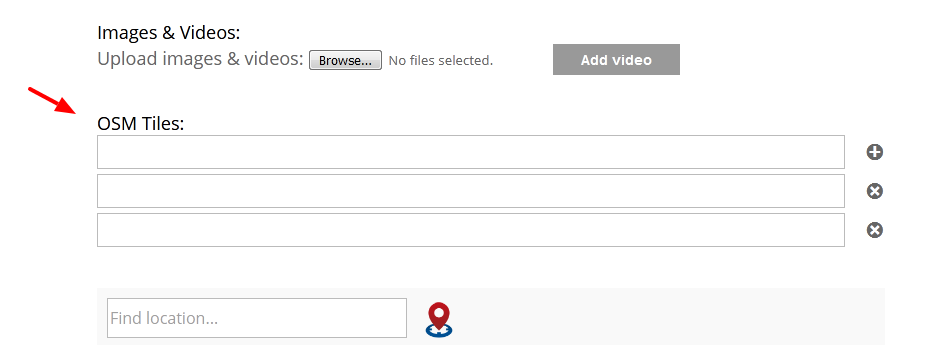
OSM Tiles
Learn more: WordPress Interactive Map Plugin (CMML) - How To - Add Tiles/Layers To Maps
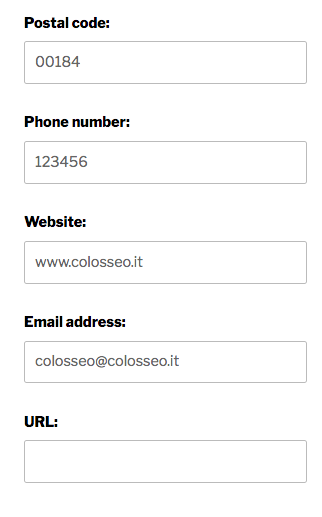
Other Fields
You can also add information to the fields Postal code, Phone number, Website, Email address, and URL.
Note about the URL field: You can configure the map to direct users to this page when they click the location. Learn more.
Custom Fields
You can add unlimited custom fields with the Custom Fields add-on. Learn more: Location Manager Custom Fields Add-on.
Editing Locations
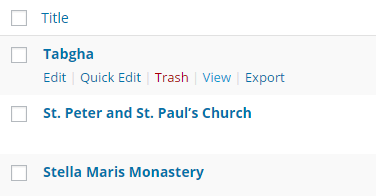
To edit your own locations, go to My Locations and click on the Edit link:
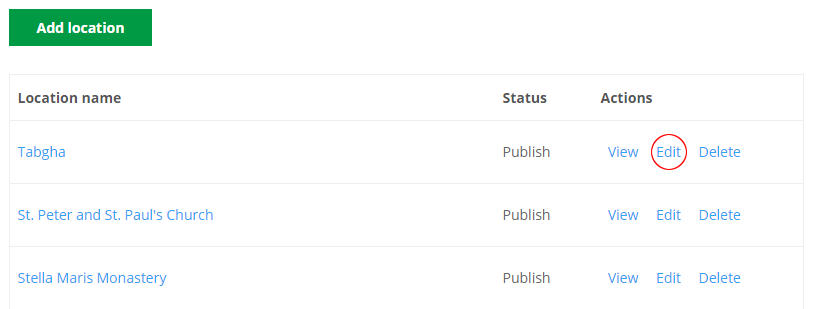
The Administrator can edit any location by going to the Locations page under the plugin admin menu. You will see a directory of all the locations you added. Hover over a location and click edit. Here you will be able to edit the location.
Removing Locations
You may delete an existing location by clicking the Remove Location button at the bottom of the edit page.

 |
More information about the WordPress Interactive Map Plugin Other WordPress products can be found at CreativeMinds WordPress Store |
 |
Let us know how we can Improve this Product Documentation Page To open a Support Ticket visit our support center |