WordPress Interactive Map Plugin (CMML) - Settings - Appearance (Index Page, Location Page, Dashboard)
Editing Appearance Settings
To edit WordPress Interactive Map plugin settings, go to Settings under the plugin menu.
The appearance settings are distributed among different tabs.
- General - Applies to all maps.
- Index Page - Applies to the index of locations.
- Location Page - Applies to pages of each location.
- Dashboard / Editor - Applies to the location editor page.
General section

Choose whether distances are shown in meters or feet. If you are adding weather details, you can also choose whether temperature is in Celsius or Fahrenheit.
Template
-
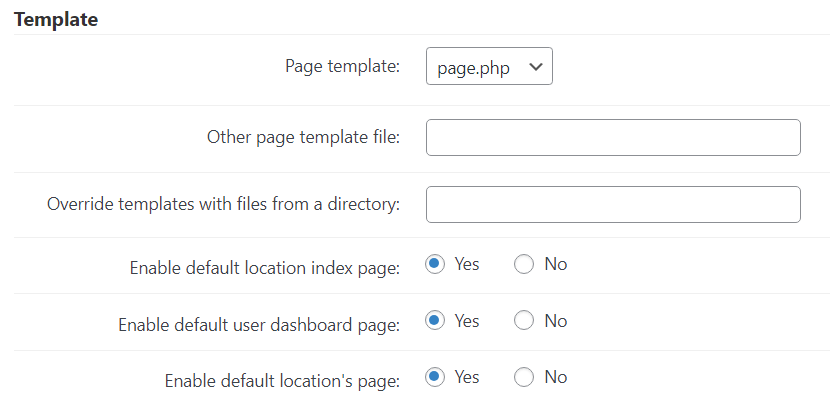
Page template - Choose the page template of the current theme or set default. The page template will be used to display the location added to your map.
Please choose template "index.php" if you are using Hello Elementor theme.
- Other page template file - Enter the other name of the page template if your template is not on the list above. This option have priority over the selected page template. Leave blank to ignore.
- Override templates files from a directory - Enter the directory path if it applies
- Enable default... - If enabled, the default pages will be used despite the theme. You can enable:
- location index page
- user dashboard page
- location page
Map
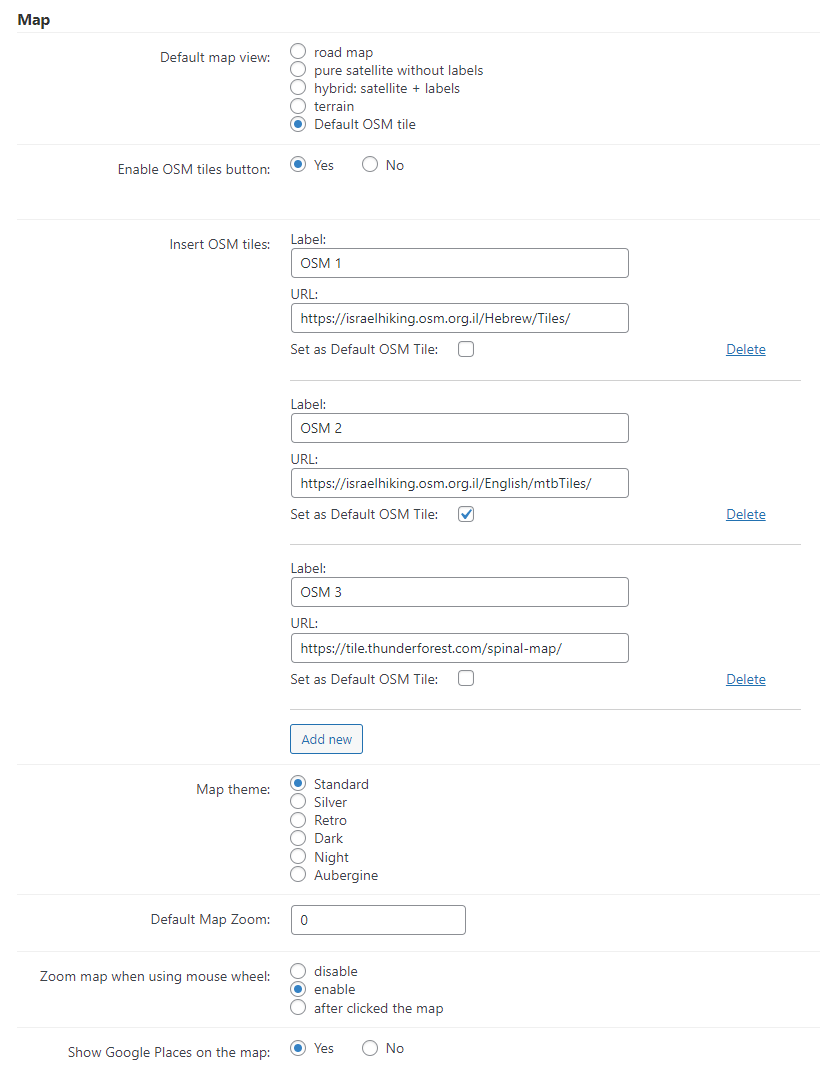
- Default map view - Choose Google Maps default view once the map is loaded. Visitors can change the view after map is loaded. Learn more: How To - Add Tiles/Layers To Maps
- Enable OSM tiles button - If enabled, the OSM tiles buttons will be displayed on the map and user will be able to switch the tiles on the front-end. Note: this option was introduced in version 3.1.4. Learn more: How To - Add Tiles/Layers To Maps
- Insert tile URL - You can add up to 6 OSM tiles. The plugin uses https://tile.openstreetmap.org by default. Note: this option was renewed in version 3.1.4. Learn more: How To - Add Tiles/Layers To Maps
- Map theme - Choose between Standard, Silver, Retro, Dark, Night and Aubergine. Learn more: How To - Change Map Theme
- Default Map Zoom - 0 means automatic.
- Zoom map using mouse wheel - Choose how to deal with mouse scrolling.
- Show Google Places on the map - If enabled, the map will display places such as gas stations and stores fetched from the Google API.
Units
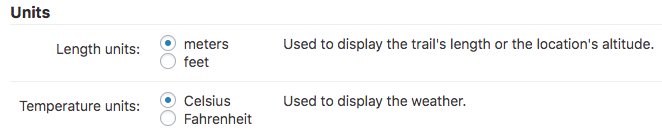
- Length units - Used to display the trail's length or the location's altitude.
- Temperature units - Used to display the weather.
Icons
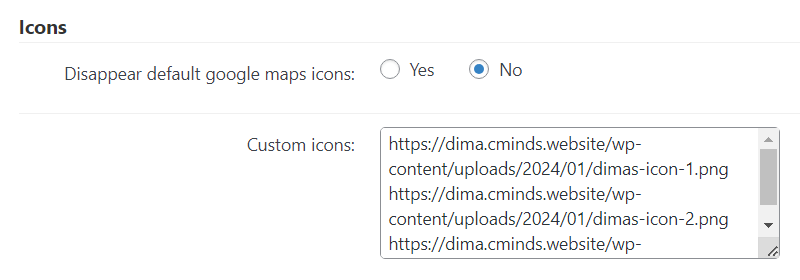
- Disappear default google maps icons - Enable this option to hide standard Google Maps icons from the set of icons when creating a location. Note: this option was introduced in version 3.3.1.
- Custom icons - You can add custom icons. These icons will be available for choosing as location marker icons. Each icon should be placed on a new line. Note: this option was introduced in version 3.2.5.
Custom CSS
You can enter a custom CSS which will be embedded on every page that contains a WordPress Interactive Map plugin interface.
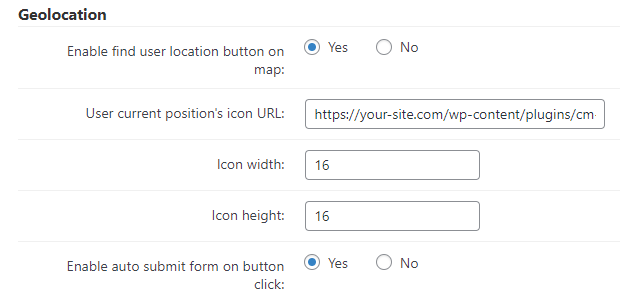
Geolocation
-
Enable find user location button on map - When the user clicks or presses the button, the map will center on the user's current location.

Button for detecting user location - User current position's icon URL - Enter a URL with a custom icon for the user current position. Note: this option was introduced in version 3.1.6.
- Icon width / height - Define the width and height for a user current position's icon. Note: these options were introduced in version 3.1.6.
- Enable auto submit form on button click - If enabled, the filters form will automatically submit on the button click. Note: this option was introduced in version 3.1.6.

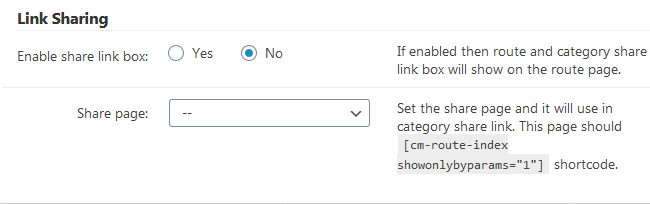
Link Sharing
-
Enable share link box - Maps will have a box with specific URLs ready to be copied and shared

Box for sharing links - Share page - Choose the page which has the
[cmloc-locations-map]shortcode with theshowonlybyparams="1"parameter. Learn more

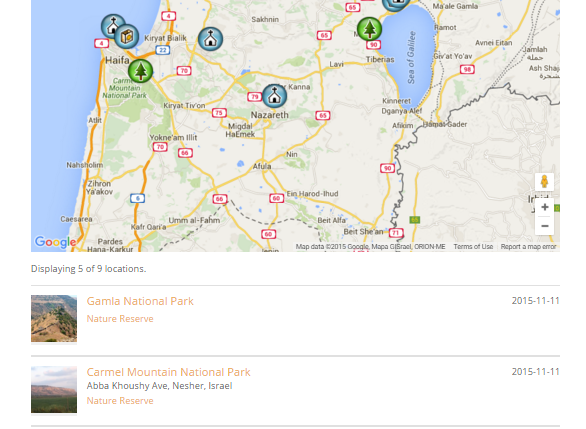
Index Page

The index page is divided between settings which controls how the list of locations which is shown beside the map looks and how the map itself showing the location behave.
Layout
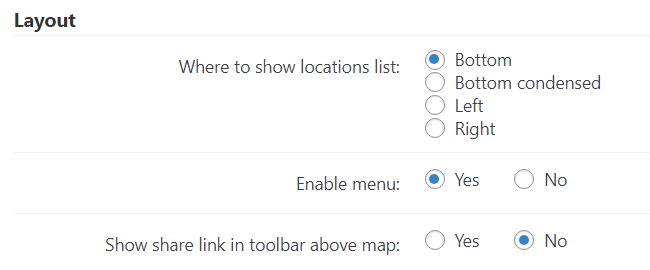
- Where to show locations list
- Bottom
- Bottom condensed
- Left
- Right
- Enable menu - If enabled, it will be shown above the map. Includes the buttons All locations, Add Locations and My Locations.
Pagination, order, search
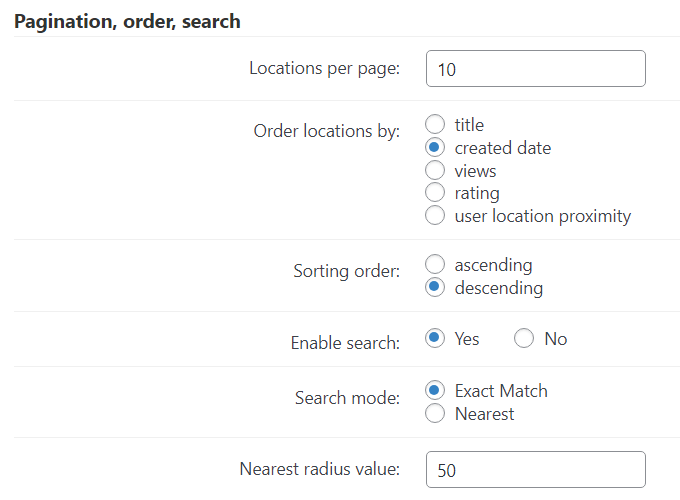
- Locations per page - Limit the locations visible on the index page below the map. If more locations are available than pagination will be displayed
- Order locations by
- Title (alphabetical order).
- Created date.
- Amount of views.
- Ratings.
- User location proximity - This option requires HTTPS to work. It uses the browser's geolocation API and will ask him/her to share the current location. After checking the location successfully, the plugin will ask to reload the page to reorder by proximity.
- Sorting order - Choose sorting order for the list of locations ascending|descending showing beside the map. This has no effect on the map itself.
- Enable search - Choose Yes to turn on the search bar on the default index page. Note: this option was introduced in version 3.2.8.
- Search mode - Choose search mode between:
- Exact match
-
Nearest
Note: this option was introduced in version 3.2.8.
- Nearest radius value - Define the nearest radius value in case, if you chose Nearest search mode in the previous option. Note: this option was introduced in version 3.2.8.
Map
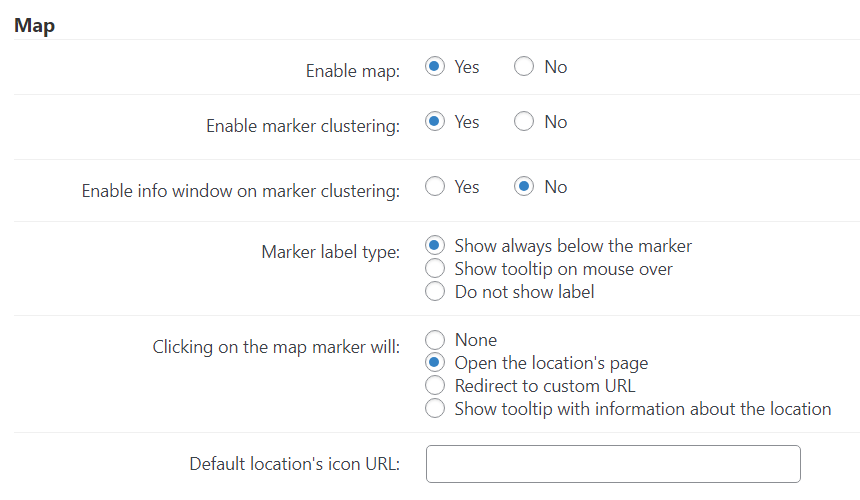
- Enable map - Display or hide the map on the index page.
- Enable marker clustering - If enabled, multiple markers will be combined as a single when overlapping due to the zoom.
-
Enable info window on marker - Shows a tooltip when clicking on a clustered marker, listing each location

Example of marker clustering - Marker label type
- Show always below the marker
- Show tooltip on mouse over
- Show only label as a numbers (note: this option was introduced in version 3.4.2)
- Do not show label

Note: Show Labels as Numbers
When the option Show only label as a numbers is enabled, the option below Clicking on the map marker will won't work. Clicking on location markers will scroll down to the location in the list next to the map:

- Clicking on the map marker will
- Open the location's page - Directs to the location page
- Redirect to custom URL - Directs to the address in the "URL" field of the location entry.
-
Show tooltip with information about location - Displays part of the description without directing the user to another page. This feature has extra settings.

Location tooltip example
- Number of characters from the location's description to display on the tooltip - Set number of characters from the location's description to display on the tooltip.
- Default location's icon URL - Used when no icon is set.

Appearance
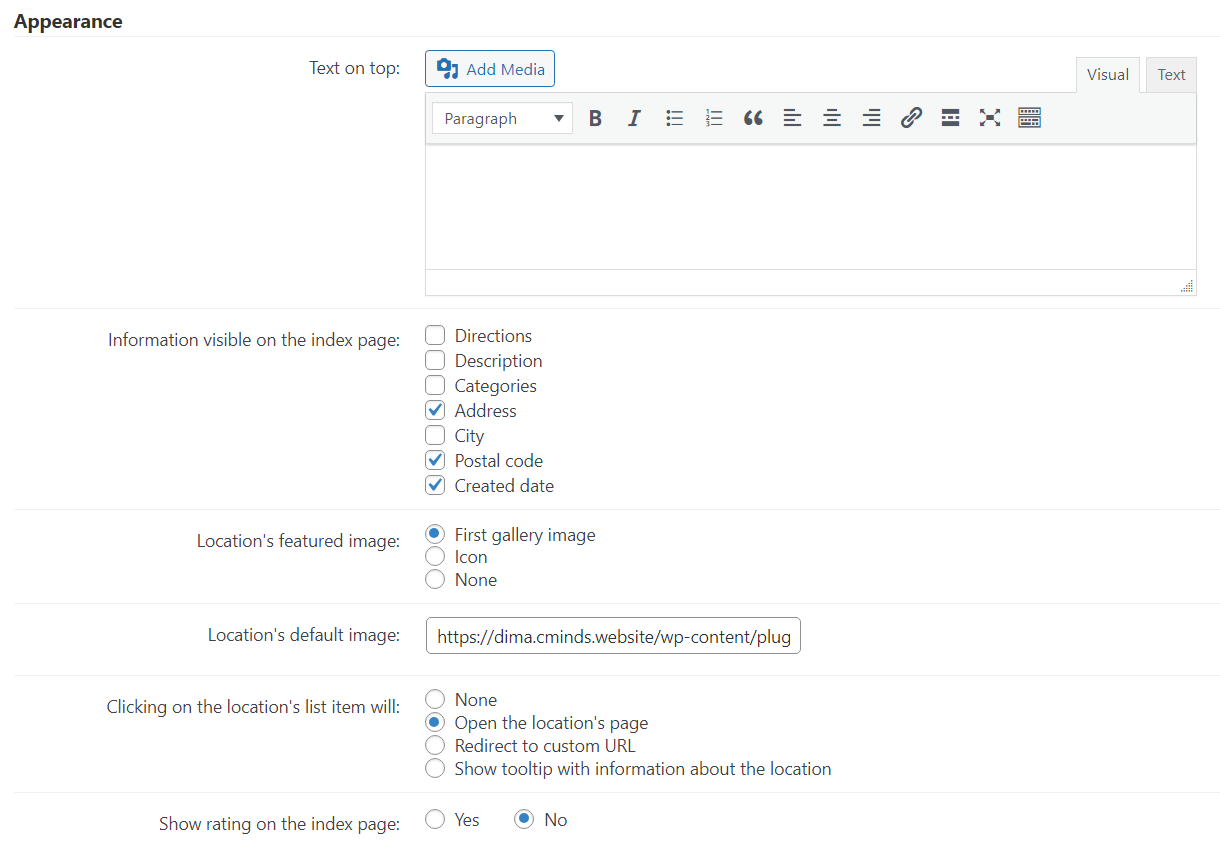
- Text on top - You can enter text which will be displayed on the top of the index page, below the page title.
- Information visible on the index page - Check which location parameters will be displayed on the index page on the location's snippet which appears below the map on the index page. You can set:
- Directions (added in version 2.8.4 - since that version the plugin support adding Waze and Google directions to your locations)
- Description (added in version 2.8.4)
- Categories (added in version 2.8.4)
- Address
- City
- Postal Code
-
Created date

Example of location information visible on the index page
-
Location featured image - Choose what kind of featured image to display on the index page.

Location featured image - If no icon was set to the location category a default icon will be used. The featured image is selected from 3 available options:
- predefined icon taken from the location category
- the first image in the location image gallery
- none.
-
Location default image - Enter the URL of the default featured image of the location map index list. In case no featured image is defined, the location shows a default icon

Location default image - Show label below marker - Show text labels with location name below the location marker on the index page map.
- Click on the location marker will - Choose between
- open the location's page
- show tooltip with information about location.
- Show rating on the index page - Enable or disable the feature
Zip code neighborhood filter
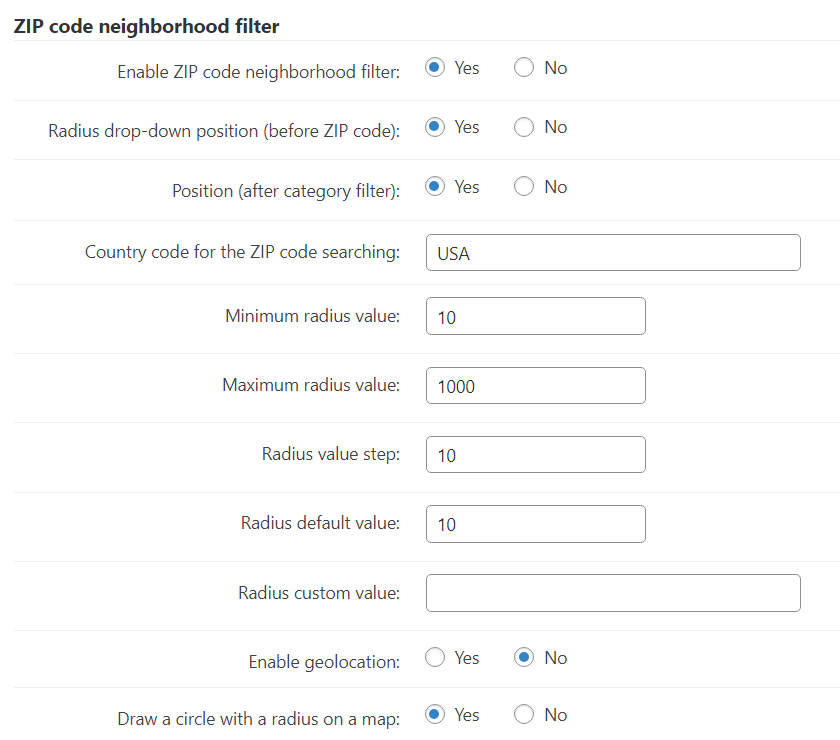
- Enable ZIP code radius filter - Adds the ZIP code radius filter to the index page next to the search box.
- Radius drop-down position (before ZIP code) - If enabled, the radius dropdown will be displayed before the ZIP code input field, otherwise - after the ZIP code input field. Note: this option was introduced in version 3.0.9.
- Position (after category filter) - If enabled, the filter will be added next to the category filter, otherwise - next to the search box.
- Country code for the ZIP code searching - The ZIP filter will work only within the single country. Leave it blank to not limit the search to one country only
- Enable geolocation - Recognizes the user's ZIP code using browser's geolocation API. Notice that the geolocation API works only if you're using https.
- Radius values
- Minimum/Maximum radius value - set minimum and maximum radius value.
- Radius value step - Set radius values step.
-
Radius default value - Set default radius value.
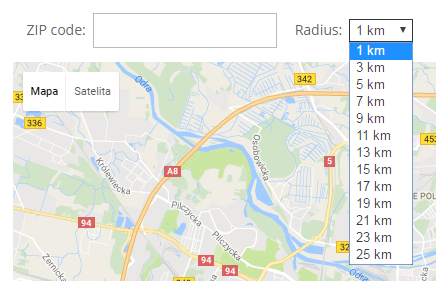
Example of the radius values from 1 to 25 with the step 2 -
Radius custom value - Set custom value for the radius filter. It will override the radius values defined in previous options. To set custom values, just write them separated by a comma, for example: 25,33,78,143. Note: this option was introduced in version 3.0.7.

Example of the custom radius values


TIP
To add the option "not set" into the dropdown list, you need to add an extra comma at the beginning of the value string, as shown on the screenshot below:

- Draw a circle with a radius on a map - If enabled, the markers will be displayed inside of a radius (circle) on the map. Note: this option was introduced in version 3.0.8.
Info Window
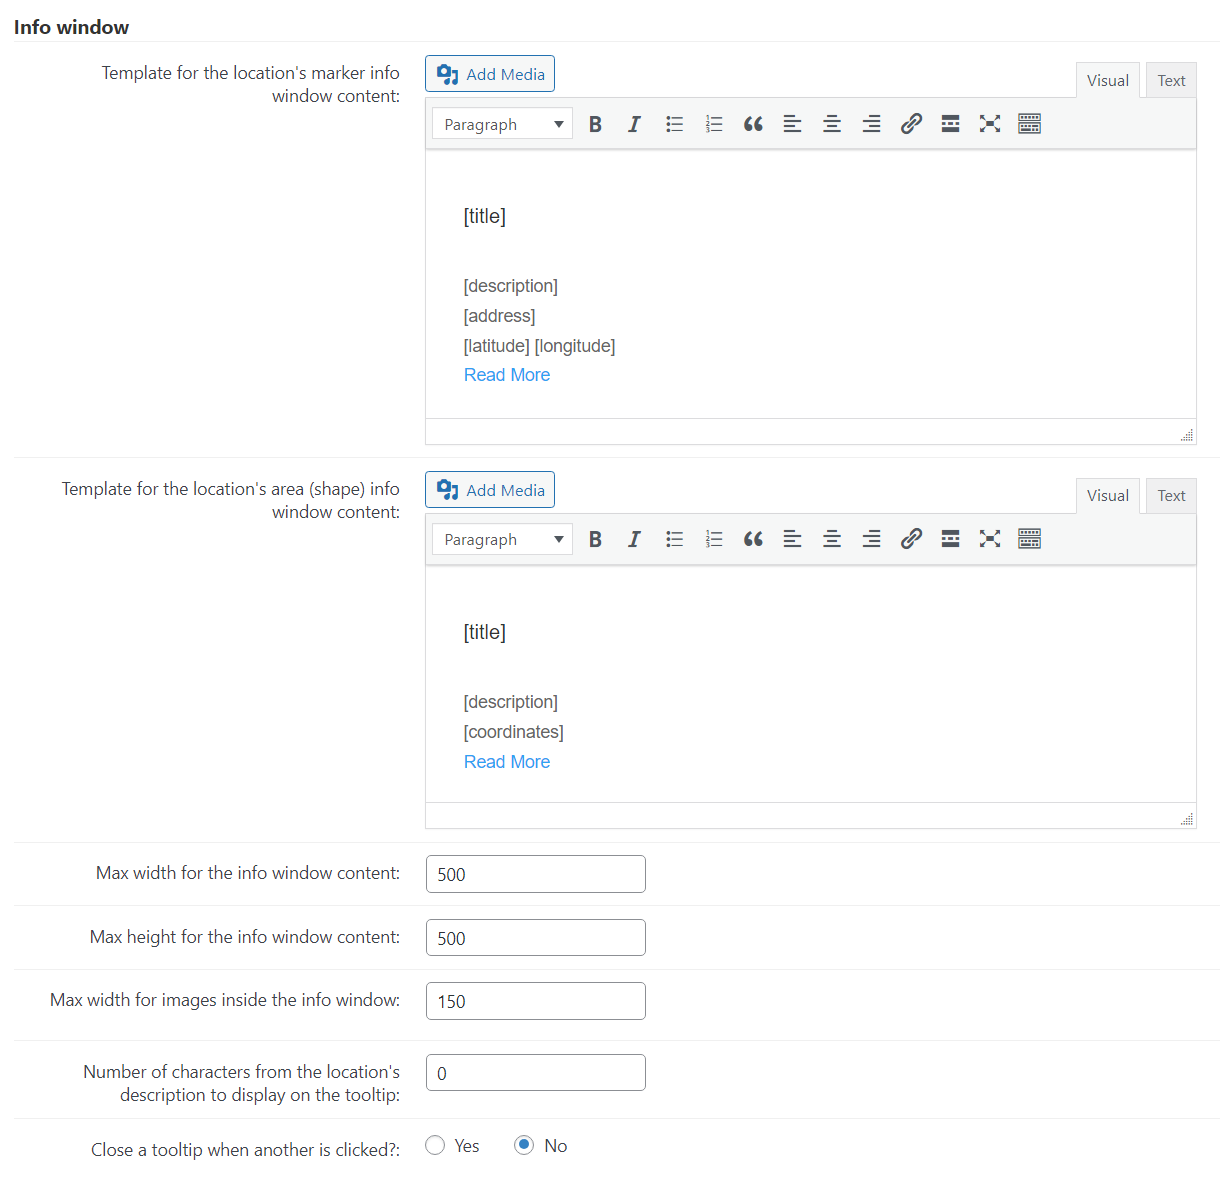
- Templates for the location's info window content - for marker and area (shape). You can use HTML and placeholders.
- Max width / height for the info window content.
- Max width for images inside the info window.
-
Number of characters from the location's description to display on the tooltip.

Example of the info in the location tooltip Waze and Google Directions Support
Since the version 2.8.4 the plugin supports adding Waze and Google directions. You can add the links to them into the location's marker info window content using the placeholders [wazedirections] and [googledirections].

Location Page

Appearance
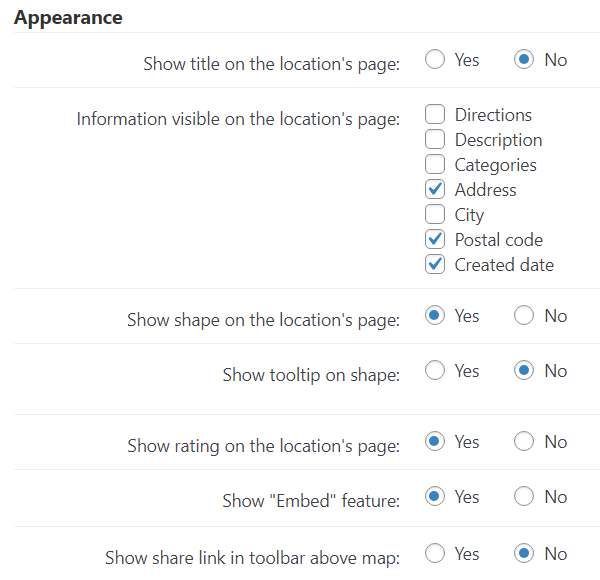
- Show title on the location's page - Enable this option to display the location title on the location page. This option is useful only in case if your theme doesn't show titles in posts or pages by default. Note: this option was introduced in version 2.7.7.
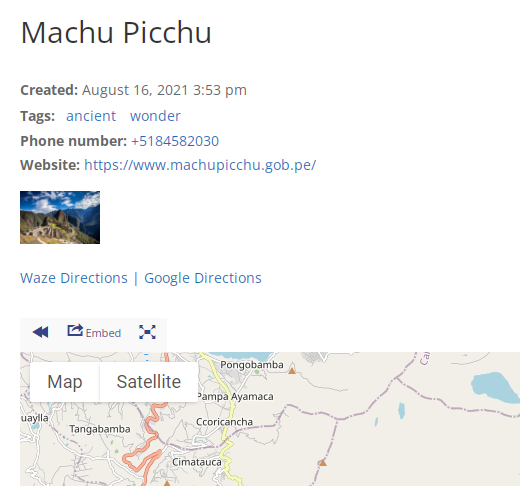
- Information visible on the location's page - Check which location parameters will be displayed on the single location's page:
- Directions (added in version 2.8.4 - since that version the plugin support adding Waze and Google directions)
- Description
- Categories
- Address
- City
- Postal code
- Created date
- Show shape on location's' page - Related to shapes and polygons.
- Show tooltip on shape - Related to shapes and polygons.
- Show rating on the location page - Enable or disable the feature specifically on the location page.
-
Show "Embed" feature - Enable or disable the "Embed" button next to the map. Clicking it generates HTML code that allows users to embed the map to their websites.

'Embed' button -
Show share link in a toolbar above map - Displays the clickable icon just above the map

Share link


Map
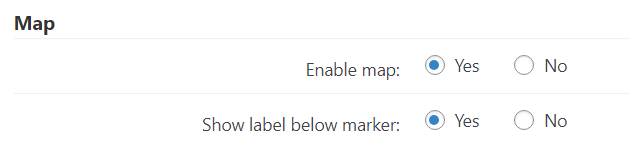
- Enable map - Display or hide the map on the location page.
-
Show label below marker - Show text labels with location name below the location marker on the location page map.

Location label

Editor / Dashboard

Editor

- Enable rich text editor - Allow users to use the WYSIWYG (What You See Is What You Get) editor when creating the location description. If disabled, then a simple textarea will be displayed.
Map default position

- Editor default location's latitude - Enter the latitude of the default location shown in the editor once adding a location.
- Editor default location's longitude - Enter the longitude of the default location shown in the editor once adding a location.
- Editor default zoom - Greater zoom number = closer.
Appearance

-
Show available shortcodes on the edit page - If enabled, it will show the relevant shortcodes for that location in the edit page. Learn about this plugin's shortcodes. For example, the location with the ID 1767 will have this information in the edit page:

Displaying available shortcodes on the edit page

Shapes
Refers to showing or hiding polygons. Read more: WordPress Interactive Map Plugin (CMML) - How To - Add Polygons To Map
 |
More information about the WordPress Interactive Map Plugin Other WordPress products can be found at CreativeMinds WordPress Store |
 |
Let us know how we can Improve this Product Documentation Page To open a Support Ticket visit our support center |