WordPress Interactive Map Plugin (CMML) - Use Case - How to Work With Map Location API
How to work with Map Location API
Note: This guide covers features from
- WordPress Interactive Map plugin - This document uses Pro version 2.7.7.
Video Use-Case
Introduction
The WordPress Interactive Map plugin allows you and your users to create and showcase locations in Google Maps, including images and notes for each. It's possible to track the user location and send that information to the plugin.
Use Case Front-End
Adding location based on a current position:

Tracking user location:

Use Case Assumptions
In this example use case guide, we'll cover how to add locations based on a current position and how to track user location with Map Location API.
It follows:
- Installing the plugin
- Enabling REST API
- Adding Location Entry Based on GPS Location
- How to Track User Location
- End Result
Installing the Plugin and Add-on
The process is the same for all CM plugins and add-ons.

- Download the plugin from your customer dashboard.
- Log in to WordPress and navigate to the WordPress Admin → Plugins settings.
- Click on Add New.
- Activate it and add the license.
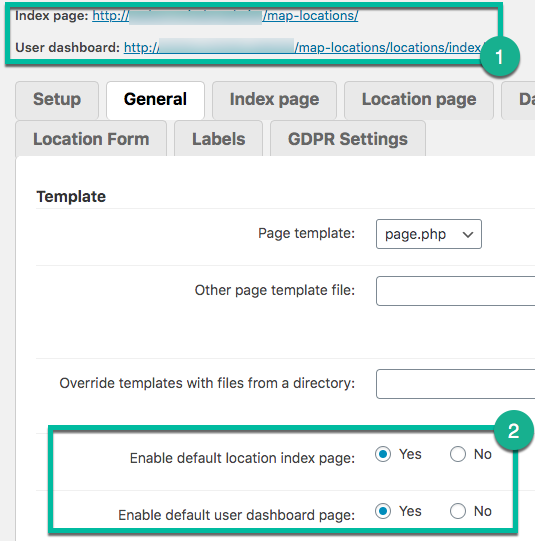
TIP: Automatic Index and Dashboard
Upon installation, the plugin automatically creates a page for the location index and another for the dashboard. Head to Settings → General tab to:
- Find shortcuts to these pages
- Enable or disable them (useful if you want to create your own)
Quick Recap
We recommend you to configure well the base plugin first. If you have some issues with the following topics:
- Adding Google Maps API
- Adding first location
- Appearance of the map
- Configuring index page
- User interaction
- Using shortcodes
- Translating plugin interface
Then look this use case guide: WordPress Interactive Map Plugin (CMML) + Custom Fields - Use Case - Building a Location and Store Locator Tool
Enabling REST API
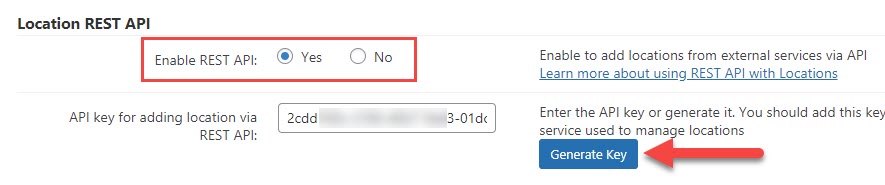
First of all you need to generate REST API and configure the plugin. To do this navigate to Admin Dashboard → CM Map Locations Pro → Settings → Setup tab.
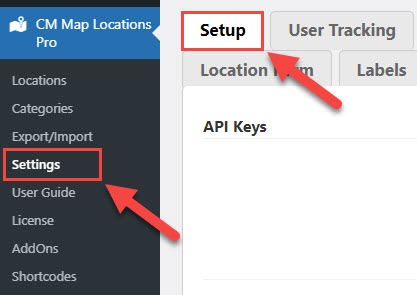
Locate the section Location REST API. There you need to turn on the option Enable REST API and then click the button Generate Key. The key will appear in the field API key for adding location via REST API.
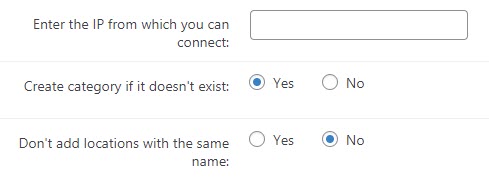
A few more options:
- Enter the IP from which you can connect - Leaving it empty allows connections from any IP - this might not be secure! To add multiple IPs, separate them with commas. For example: 1.1.1.1, 1.1.1.2, 1.1.1.3 etc.
- Create category if it doesn't exist - Enable it to let the plugin create a category for location if it doesn't exist.
- Don't add locations with the same name - Enable it to prevent the plugin from creating locations with repeated names.
Adding Location Entry Based on GPS Location
When REST API is enabled and the plugin is configured it's time to create a location. We need to create a URL and put it to the address bar in a browser.
The URL has the following structure:
http://your-site.com/wp-json/cmloc/v1/add_location?description=yourdescription&name=yourlocationname&LocCAT=category&LocLAT=50.401699&LocLONG=30.252512&key=abc123
The underlined green elements above can be customized. Full list of parameters you can use:
- description
- name
- LocCAT
- LocLONG
- images (encode the images URL with base64. Example online tool)
- loc-address
- loc-postal-code
- loc-phone-number
- loc-email
- loc-website
- loc-email
- loc-url
-
key (has to match the key set in the plugin's settings):

API key

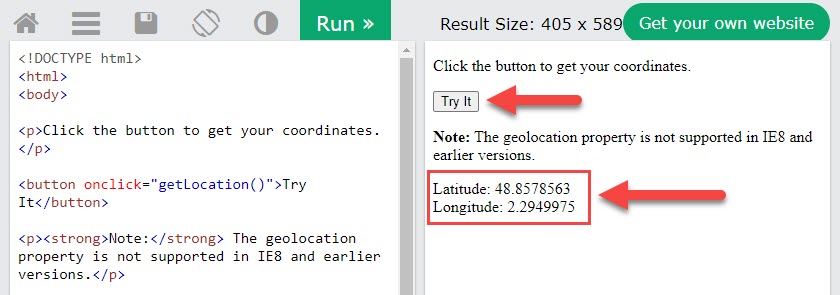
How to Define Coordinates?
To define your current coordinates you can use external services. For example: Click here and get your current location coordinates. After open you need to click on Try It button and need to allow Location Access. Then you will see your current location coordinates - it will be needed for parameters that are responsible for Latitude and Longitude in your URL.
Example with all attributes:
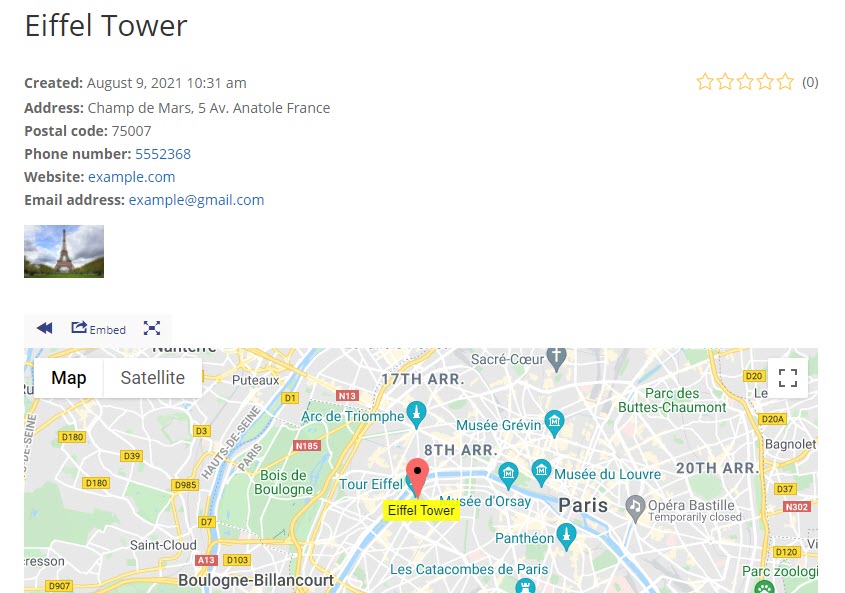
https://dimas.cminds.website/wp-json/cmloc/v1/add_location?description=Best view point in Paris&name=Eiffel Tower&LocCAT=Tower&LocLAT=48.857856&LocLONG=2.294997&images=R0cHM6Ly93d3cuY21pbmRzLmNvbS93cC1jb250ZW50L3RoZW1lcy9EaXZpL2hvbWVwYWdlNC9pbWFnZXMvQi93b3JkcHJlc3Mtc3EucG5naHR0cHM6Ly93d3cuY21pbmRzLmNvbS93cC1jb250ZW50L3RoZW1lcy9EaXZpL2hvbWVwYWdlNC9pbWFnZXMvQi93b3JkcHJlc3Mtc3EucG5n&loc-address=Champ de Mars, 5 Av. Anatole France&loc-postal-code=75007&loc-phone-number=5552368&loc-email=example@gmail.com&loc-website=example.com&key=2cddxxxx-xxxx-xxxx-01dc
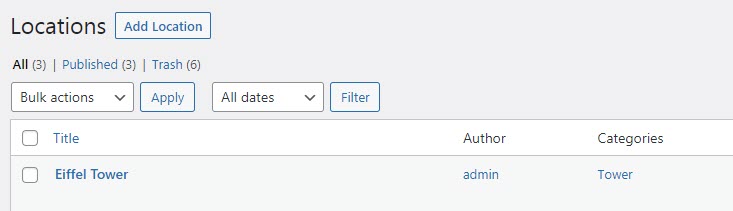
Let's put it to the address bar. We will see a message that location is successfully added:
We can see on the back-end that the location was added, and a category for it also created:
And on the Front-end, on the index map:
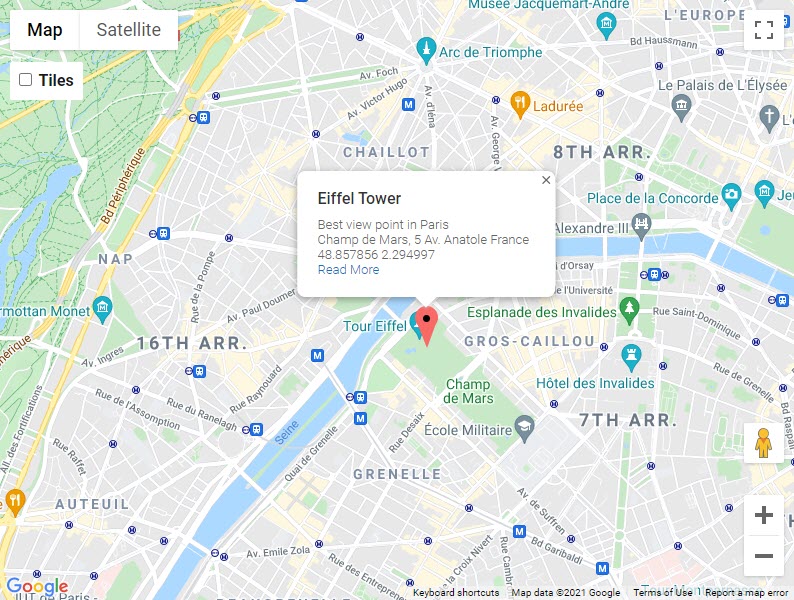
And location page:
How to Track User Location
Users can send track user location coordinates and create a route using sent locations. There are two ways how to do this:
- You can use the Send User Location add-on. Learn more about how it works in this use case guide: WordPress Interactive Map Plugin (CMML) - Use Case - How to Track User Location Trails and Routes On the Map
- Using REST API. We will consider this method now in this use case.
Important
The plugin DOES NOT continuously track the user's movements in a real-time. It only tracks the location when the user sends the coordinates of his current position.
But first, tracking user location demands configuring some more WordPress Interactive Map plugin options.
User Tracking Options
Navigate to Admin Dashboard → CM Map Locations Pro → Settings.

All needed options are located under the User Tracking tab in the User Tracking section:

- Enable User Tracking - Choose Yes to turn on the feature.

- Track N users - Define how many devices can connect to the API. 0 means there's no limit, which might be dangerous.

-
User position's icon URL - Write here a URL for the user position's icon. Example:
https://developers.google.com/maps/documentation/javascript/examples/full/images/beachflag.png

- Display tooltip on marker - If enabled, a tooltip will be displayed on a marker when the user clicks on it.

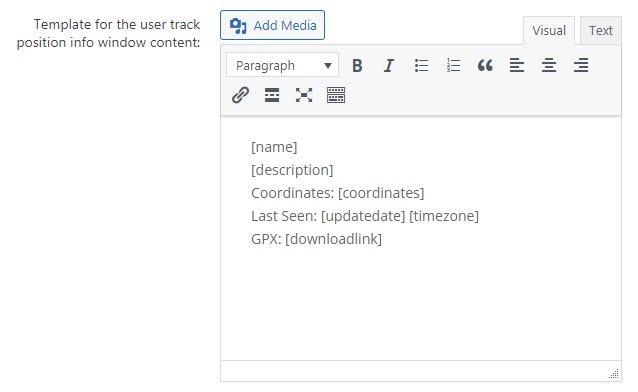
- Template for the user track position info window content - Customize the template of a tooltip with information about user track position. You can use HTML and the following placeholders:
- [identifier]
- [name]
- [description]
- [coordinates]
- [UTMcoordinates]
- [updatedate]
- [timezone]
- [downloadlink]
- [bgcolor]
- [bgcolorlabel]
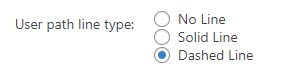
- User path line type - Choose between:
- No Line (just the points will show on map)
- Solid Line
- Dashed Line
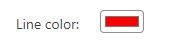
- Line color - Will be applied to the user track if either Solid Line or Dashed Line was selected above.
- Only show last position - If enabled, only shows the user last position. If disabled, shows all positions. Let's keep this option disabled, so we could create a route on the map when we send a few positions.

- Time of last reported tracks - Set time of last X hours:minutes e.g. 01:00 (1 hour), 5:15 (5 hour and 15 minutes), 7:30 (7 hours and 30 minutes), 9 (9 hours) and If set 0 means show always. Note: this will work if above setting is disabled. Let's keep this option disabled for our use case. Learn more how to manage Time Based Location Layers.

- Timezone - Self explanatory.

- Time Format - Choose between 12 hours and 24 hours formats.
- Display user track position on index page map - Shows locations in the map on the index page.

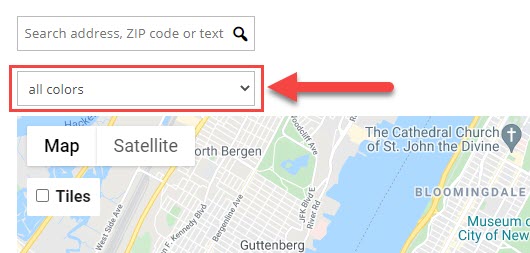
- Display label background color filter on index page - Enable it to allow users to filter user track position by label background color on index page. This option works only if the option Display user track position on index page map is enabled.

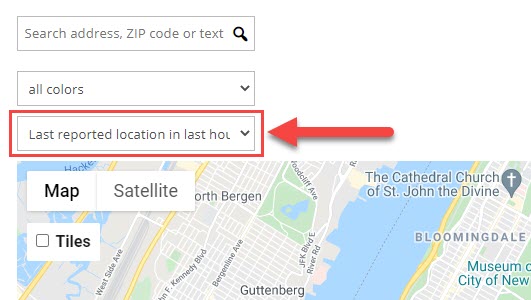
- Display time filter on index page - Enable it to allow users to filter user track position by time on index page. This option works only if the option Display user track position on index page map is enabled.

- Display identifier filter on index page - If enabled, the user will be able to filter user track position by identifier on index page on the front-end.

- Reset user tracking table - Click it to delete all user tracking entries from the table.

Adding Track User Location
When configuring the options is done, it's time to start tracking locations. We need to use a URL with a following structure:
http://your-site.com/wp-json/cmloc/v1/current_location?key=abc123&username=name of user&ip=user IP&coordinates=latitude,longitude&description=yourdescription&type=1
The underlined green elements above can be customized.
- username (name of user can be anything and not related to a WP user)
- ip (IP address)
- description (any text)
- type=1 - this parameter is needed to pass track user location
- coordinates(latitude,longitude) - this parameter is needed to pass track user location
- bgcolor - User marker label background color, You can add it with and without "#", e.g. #ff0000, #008000, FFFFFF etc
- bgcolor_label - User marker label background color text. You can add any text, e.g. Red, Green, Blue etc. And this is used in the filter
-
key - has to match the key set in the plugin's settings:
API key
As it was said before, you can use external services for defining current location coordinates - Latitude and Longitude that are neede d for the URL.
Example with attributes for posting Track User Location
https://dimas.cminds.website/wp-json/cmloc/v1/current_location?key=2cddxxxx-xxxx-xxxx-01dc&username=dimas&ip=128.64.32.137&coordinates=48.851138,2.351236&description=One day in Paris: spot 1&type=1
Let's add the URL to the address bar. We will see a message that the location is successfully added:
We can see the result on the front-end on the index map:
Let's add a few more locations using the same method. When you add a few locations using the same username, there will displayed a route through all these spots:
End Result
Following instructions found in the plugin and guides, you should be able to add locations based on a current position and track user location with Map Location API.
Using REST API you can also add temporary locations and polygons. Learn more about it in this use case guide: WordPress Interactive Map Plugin (CMML) - Use Case - How to Add Temporary Locations, Polygons and Time Based Location Layers On the Map
Use Case Front-End
Adding location based on a current position:
Tracking user location:
 |
More information about the WordPress Interactive Map Plugin Other WordPress products can be found at CreativeMinds WordPress Store |
 |
Let us know how we can Improve this Product Documentation Page To open a Support Ticket visit our support center |