WordPress Interactive Map Plugin (CMML) - Use Case - How to Track User Location Trails and Routes On the Map
How to track user location trails and routes on the map
Note: This guide covers features from
- WordPress Interactive Map plugin - This document uses Pro version 2.7.7.
- Send User Location add-on - This document uses version 1.1.0.
Video Use-Case
Introduction
The WordPress Interactive Map plugin allows you and your users to create and showcase locations in Google Maps, including images and notes for each. It also allows you to track user locations.
The Send User Location add-on helps you to create and configure a button that adds track user locations on a map.
Important
The plugin DOES NOT continuously track the user's movements in a real-time. It only tracks the location when the user sends the coordinates of his current position.
Use Case Front-End

Use Case Assumptions
In this example use case guide, we'll cover how to track user location trails and routes on the map. We will send a few locations that we visit and there will be displayed a route on the map.
It follows:
- Installing the plugin
- Configuring the add-on
- User Tracking options
- Creating a button for sending track user location
- Managing Time Based Location Layers
- End Result
- Extra - Troubleshooting
Installing the Plugin and Add-on
The process is the same for all CM plugins and add-ons.

- Download the plugin from your customer dashboard.
- Log in to WordPress and navigate to the WordPress Admin → Plugins settings.
- Click on Add New.
- Activate it and add the license.
TIP: Automatic Index and Dashboard
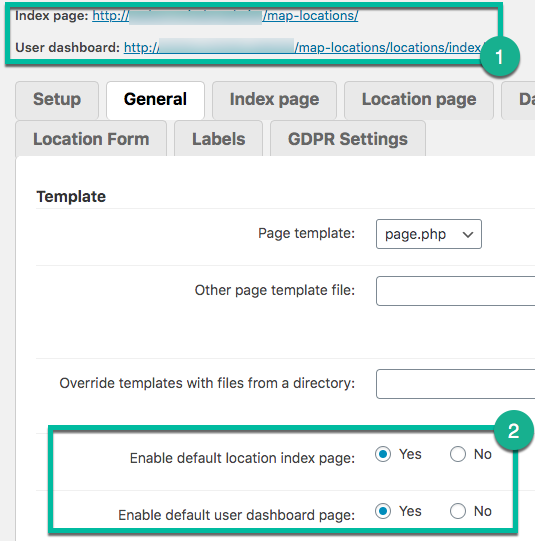
Upon installation, the plugin automatically creates a page for the location index and another for the dashboard. Head to Settings → General tab to:
- Find shortcuts to these pages
- Enable or disable them (useful if you want to create your own)
Quick Recap
We recommend you to configure well the base plugin first. If you have some issues with the following topics:
- Adding Google Maps API
- Adding first location
- Appearance of the map
- Configuring index page
- User interaction
- Using shortcodes
- Translating plugin interface
Then look this use case guide: WordPress Interactive Map Plugin (CMML) + Custom Fields - Use Case - Building a Location and Store Locator Tool
Configuring the Add-on
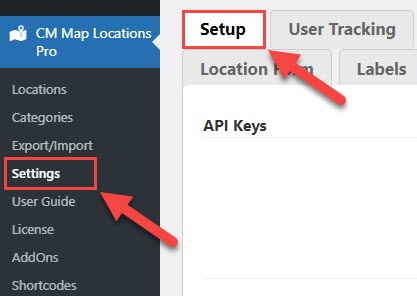
First you need to generate REST API Key. To do this navigate to Admin Dashboard → CM Map Locations Pro → Settings → Setup tab.
Under the Location REST API section, turn on the option Enable REST API and click the button Generate Key.
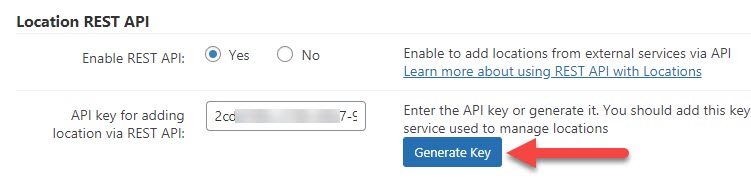
Copy the key that appeared in the field API key for adding location via REST API, and don't forget to click the button Save at the bottom of the page.
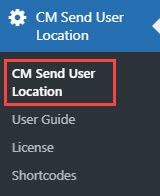
Then navigate to Admin Dashboard → CM Send User Location → CM Send User Location.
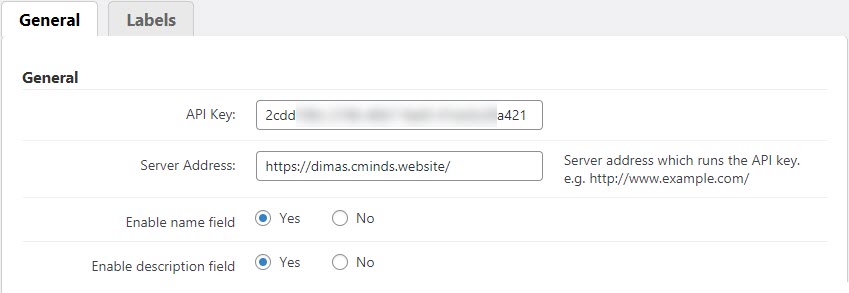
Under the General tab, include the key you just generated to the field API Key and the server address attached to it to the field Server Address.
Also, choose if you want to include the name field and the description field near the button or not, using corresponding options Enable name field and Enable description field.
Under the Google Map section you can configure adding temporary locations.

- Enable Google Map - Enabling this option can solve some conflicts with other plugins or themes that also include the Google Maps API on each page, e.g. Geodirectory.
- Google Maps App Key - Here you need to enter the Google Maps server app key. Get the API key from here and if you are facing "For development purposes only" message on Google Maps, please, read more here.
- Disable embeding Google Maps JS API - Enabling this option can solve some conflicts with other plugins or themes that also include the Google Maps API on each page, eg. Geodirectory.
- default location's latitude - Enter the latitude of the default location shown in the editor.
- default location's longitude - Enter the longitude of the default location shown in the editor.
- default zoom - Choose default value of zooming in the editor. Greater number means closer zooming.
When you finish configuring the plugin, don't forget to save the changes by clicking the button Save at the bottom of the page.

User Tracking Options
Lots of options for sending track user location can be found in the base plugin. Navigate to Admin Dashboard → CM Map Locations Pro → Settings.

All needed options are located under the User Tracking tab in the User Tracking section:

- Enable User Tracking - Choose Yes to turn on the feature.

- Track N users - Define how many devices can connect to the API. 0 means there's no limit, which might be dangerous.

- User position's icon URL - Write here a URL for the user position's icon. Example: https://developers.google.com/maps/documentation/javascript/examples/full/images/beachflag.png

- Display tooltip on marker - If enabled, a tooltip will be displayed on a marker when the user clicks on it.

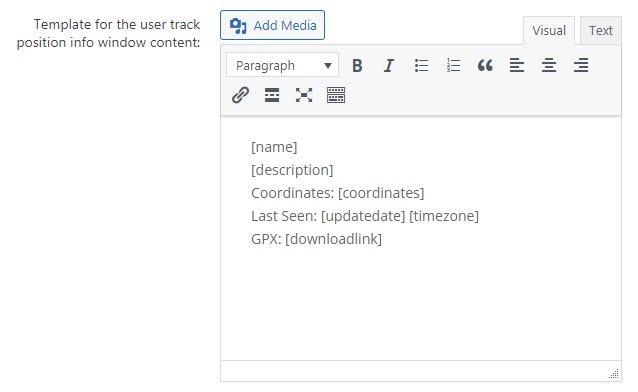
- Template for the user track position info window content - Customize the template of a tooltip with information about user track position. You can use HTML and the following placeholders:
- [identifier]
- [name]
- [description]
- [coordinates]
- [UTMcoordinates]
- [updatedate]
- [timezone]
- [downloadlink]
- [bgcolor]
- [bgcolorlabel]
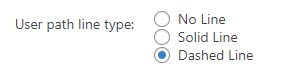
- User path line type - Choose between:
- No Line (just the points will show on map)
- Solid Line
- Dashed Line
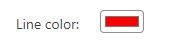
- Line color - Will be applied to the user track if either Solid Line or Dashed Line was selected above.
- Only show last position - If enabled, only shows the user last position. If disabled, shows all positions. Let's keep this option disabled, so we could create a route on the map when we send a few positions.

- Time of last reported tracks - Set time of last X hours:minutes e.g. 01:00 (1 hour), 5:15 (5 hour and 15 minutes), 7:30 (7 hours and 30 minutes), 9 (9 hours) and If set 0 means show always. Note: this will work if above setting is disabled. Let's keep this option disabled for our use case.

- Timezone - Self explanatory.

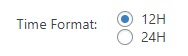
- Time Format - Choose between 12 hours and 24 hours formats.
- Display user track position on index page map - Shows locations in the map on the index page.

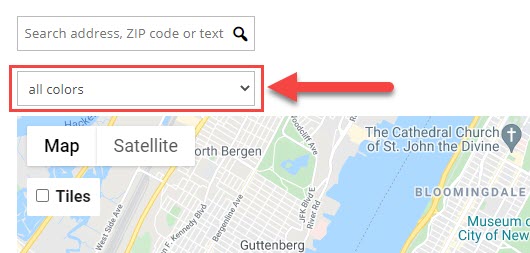
- Display label background color filter on index page - Enable it to allow users to filter user track position by label background color on index page. This option works only if the option Display user track position on index page map is enabled.

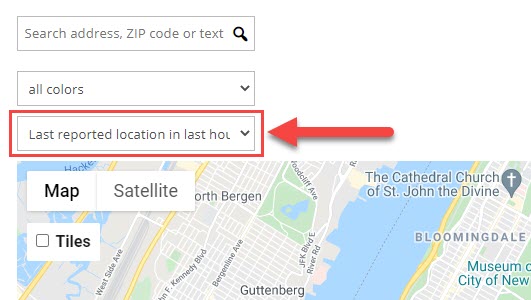
- Display time filter on index page - Enable it to allow users to filter user track position by time on index page. This option works only if the option Display user track position on index page map is enabled.

- Display identifier filter on index page - If enabled, the user will be able to filter user track position by identifier on index page on the front-end.

- Reset user tracking table - Click it to delete all user tracking entries from the table.

Creating a Button for Sending Track User Location
Now it's time to add the button to the site.
It's simple: apply the shortcode [cm-user-location]
TIP: What Are Shortcodes
Shortcodes add dynamic content to your site via a small piece of code.
Learn more: Shortcodes - How To Use
The shortcode has the following parameters:
- api - API Key.
- server - Server address (server which runs the API key).
- identifier - You can pass your custom identifier. In case if this parameter is empty or not added to the shortcode, then the system will generate it automatically.
- name_enable - Name field, 1 to show or 0 to hide.
- name - Name field default text.
- description_enable - Description field, 1 to show or 0 to hide.
- description - Description field default text.
- bgcolor - User marker label background color, You can add it with and without "#", e.g. #ff0000, #008000, FFFFFF etc.
- bgcolor_label - User marker label background color text. You can add any text, e.g. Red, Green, Blue etc. And this is used in the filter.
- button_text - Submit button text. If not defined then it will be taken from plugin settings labels section.
- user_location - Set "1" for post user track user location or "0" for post temporary location. Default value is "1".
- latlon_enable - Displays Latitude and Longitude fields. Set "1" to show or "0" to hide.
- latitude - Latitude field default value.
- longitude - Longitude field default value.
- drawing - Displays polygon draw tool on the map. Set "1" to show or "0" to hide. Default value is "0".
- current_location - Displays current location button. Set "1" to show or "0" to hide. Default value is "0".
So, let's add a button to the page with the following shortcode:
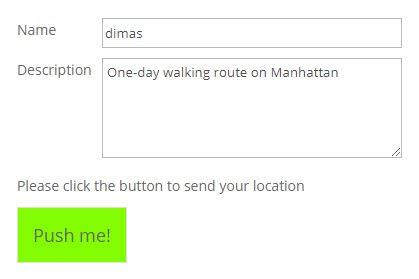
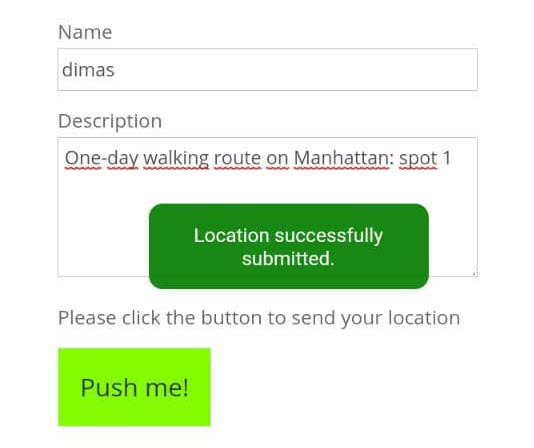
[cm-user-location name_enable="1" name="dimas" description_enable="1" description="One-day walking route on Manhattan" button_text="Push me!"]
There will be fields for name and description with default text (that are editable) and the button for sending track user location with text "Push me!". This is how it will look like on the front-end:
Now it's time to take a smartphone and go for a walk to test our app and check how it works!
When you are ready to send the coordinates of first location you can edit name and description. When you tap on the button you will see a message "Location successfully submitted":
Let's check this location on the map:
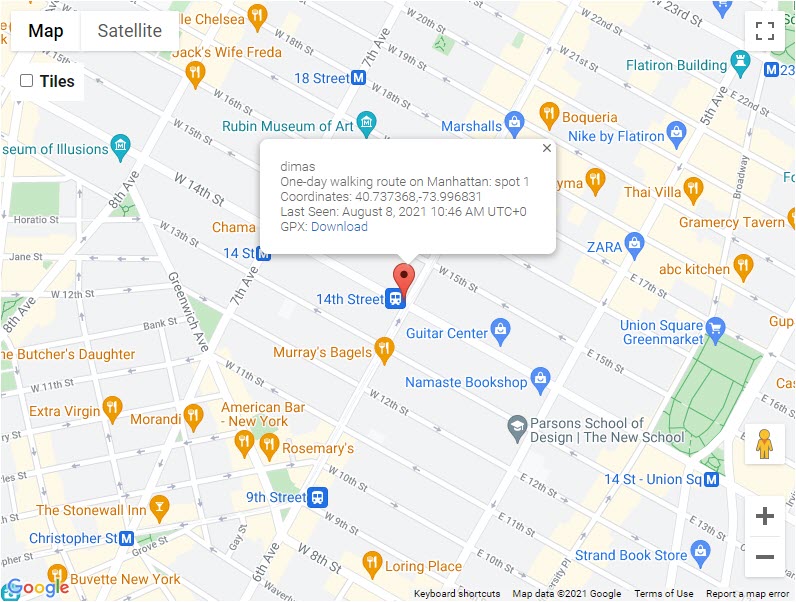
When you send a few locations with the same username, these locations will be connected with a line, so you can see a route:
Managing Time Based Location Layers
Track User Locations can disappear after some time, if you enable that possibility in plugin options. The same is about Temporary Locations and Temporary Polygons - they disappear from the map after definite period of time that you set in plugin settings (12, 24 or 48 hours).
If you don't reset tables with stored locations, it is possible to check all these locations for passed days using get parameters: from_date and to_date. Date format is ddmmyyyy. To add get parameter to the URL we should put a symbol "?", and to use more than one get parameter we need to add a symbol "&" before each additional get parameter.
For example, we want to check all temporary locations for days since 9th August till 15th August of 2021.
So, after adding get parameters the link should look like this:
https://your-site.com/map-locations/?from_date=09082021&to_date=15082021
You can add some links to your page with predefined get parameters, to let users have a quick access to the locations for certain dates. And users can look for other dates just by changing the date parameters in the URL.
End Result
Following instructions found in the plugin and guides, you should be able to configure tracking user location trails and routes on the map.
Use Case Front-End
Extra - Troubleshooting
Browser Compatibility
The API will only work starting on the following browser versions:
| Browser | Chrome | Internet Explorer/Edge | Firefox | Safari | Opera |
|---|---|---|---|---|---|
| Minimum version | 5.0 - 49.0 (http)
50.0 (https) |
9.0 | 3.5 | 5.0 | 16.0 |
Source: w3schools
How to Enable Geolocation in the Browser?
Each browser has a different process, but the principle is always the same.
Learn more: Chrome Mobile | Firefox | IE/Edge | Safari | Opera
Common Errors and Solutions
| Error | Cause | Solution |
|---|---|---|
| User can't share their location or location is not precise enough | Maybe device has poor or no geotracking capabilities | User should use a device with GPS |
| Error: Server or API key is missing. | Server or API key are missing | Admin should add information in the plugin's settings
More: Documentation |
| Error: Geolocation information cannot be obtained. | API was not accessed correctly | Review API
More: Documentation |
| Server address not found. | Server address in the settings does not match the API | Admin should review the server address in the plugin's settings
More: Documentation |
| User denied the request for Geolocation. | User didn't let browser collect geolocation information | User should allow browser.
More: Chrome Chrome Mobile | Firefox | IE/Edge | Safari | Opera |
| Location information is unavailable. | Likely, the current browser does not support HTML5 Geolocation API | User should update browser or try a different one
More: w3schools |
| The request to get user location timed out. | The server is not responding fast enough | Admin should contact the hosting provider |
| An unknown error occurred. | Many possible causes | If it happens repeatedly, contact support |
 |
More information about the WordPress Interactive Map Plugin Other WordPress products can be found at CreativeMinds WordPress Store |
 |
Let us know how we can Improve this Product Documentation Page To open a Support Ticket visit our support center |