WordPress Interactive Map Plugin (CMML) - Add-on - User Location Tracking
Navigating the Locations Index Page
Table of Contents
What is This Add-on
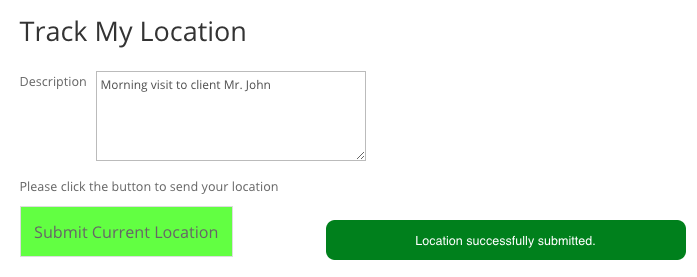
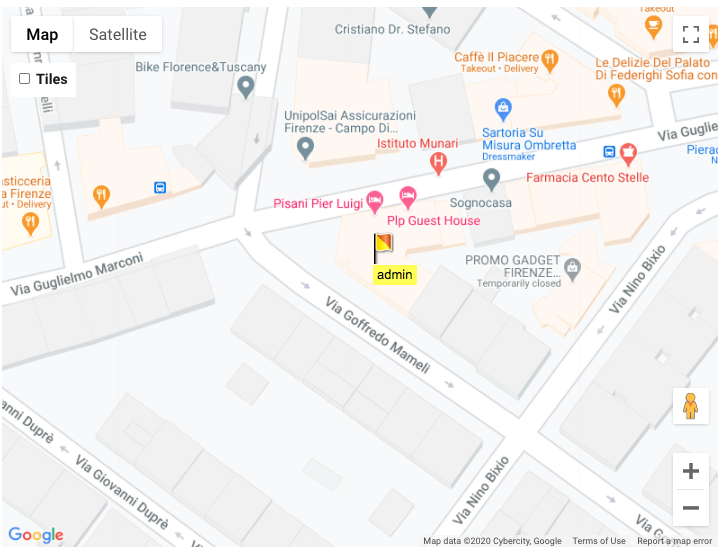
The User Location Tracking add-on help you show a button that adds your current location. The location is then displayed on a Google Map.
Note: this add-on requires the WordPress Interactive Map plugin to be installed and activated.
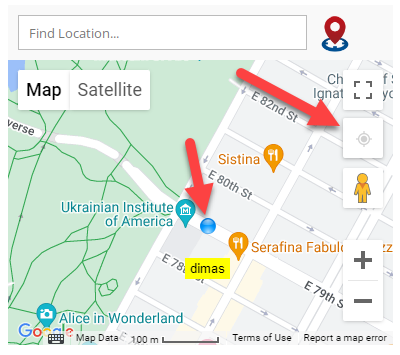
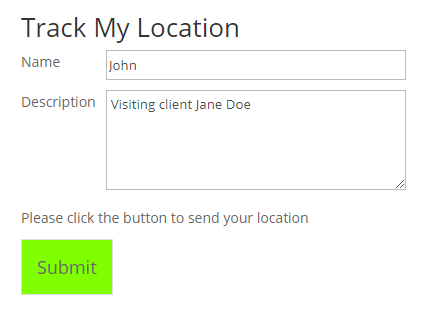
Example

Installation
The process is the same with all CreativeMinds WordPress products.
Learn more: WordPress Interactive Map Plugin (CMML) - Installation
TIP: Related Settings
Some options related to this feature such as path line, user marker, and tooltip on marker are managed in the User Tracking tab.

Learn more: WordPress Interactive Map Plugin (CMML) - External API - Tracking User Location in Real Time (REST API)
Configuring and Using the Add-on
1) Generate REST API Key
If you haven't done so, head to Admin Dashboard → CM Map Locations Pro → Settings.
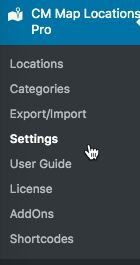
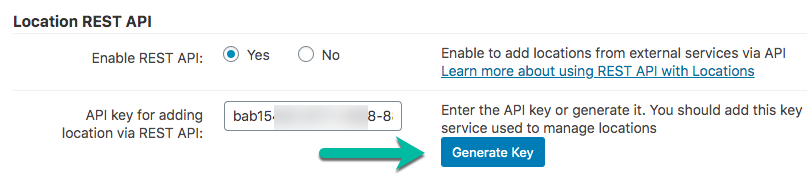
Then, under the Setup tab and Location REST API section, generate a key.

2) Include Key
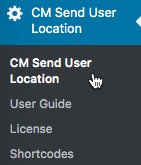
Now head to Admin Dashboard → CM Send User Location → CM Send User Location → General tab.
General
Under the General section, include the key you just generated and the server address attached to it.
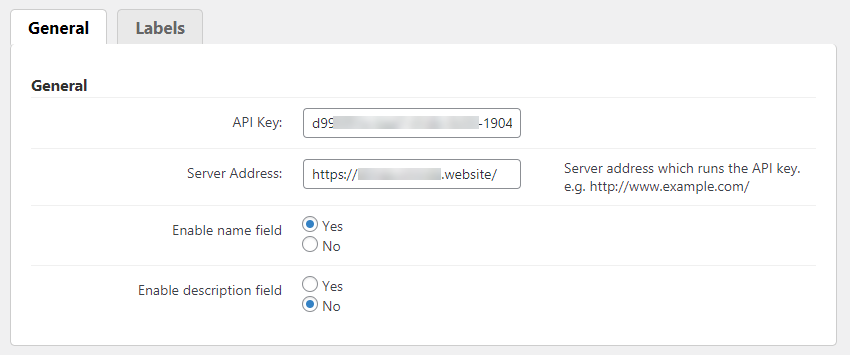
Also, choose if you want to include the name field and the description field near the button or not, using corresponding options Enable name field (this option was introduced in version 1.0.5) and Enable description field.
Google Map
Under the Google Map section you can configure adding temporary locations. Note: section with these options was introduced in version 1.0.8).
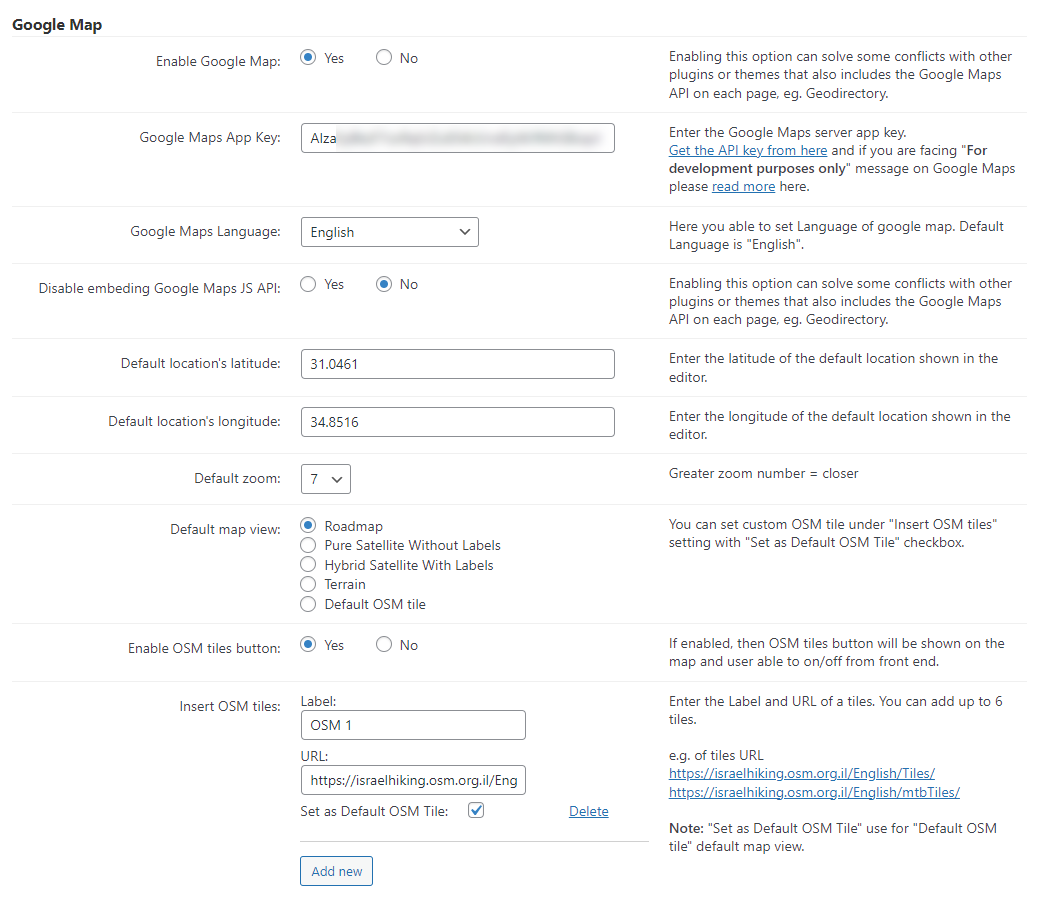
- Enable Google Map - Enabling this option can solve some conflicts with other plugins or themes that also include the Google Maps API on each page, e.g. Geodirectory.
- Google Maps App Key - Here you need to enter the Google Maps server app key. Get the API key from here and if you are facing "For development purposes only" message on Google Maps, please, read more here.
- Google Maps Language - Choose the language that the map will be displayed on your site. Note: this option was introduced in version 1.1.2.
- Disable embeding Google Maps JS API - Enabling this option can solve some conflicts with other plugins or themes that also includes the Google Maps API on each page, eg. Geodirectory.
- Default location's latitude - Enter the latitude of the default location shown in the editor.
- Default location's longitude - Enter the longitude of the default location shown in the editor.
- Default zoom - Choose default value of zooming in the editor. Greater number means closer zooming.
- Default map view - Choose what is the default view. Users can change this at any time. Note: this option was introduced in version 1.1.4.
- Enable OSM tiles button - If enabled, the button for OSM tiles will be displayed on the map and the user will able to switch the mode from front-end. Note: this option was introduced in version 1.1.2.
-
Insert OSM tiles - Add up to 6 different OSM tile services of your choice. To do this, click the Add new button. You need to add Label and URL in the corresponding fields. You can also set of the OSM tiles as the default one. To remove any of the OSM tiles, click the button Delete. Check Tiles - OpenStreetMap Wiki for more examples. Note: this option was introduced in version 1.1.4.

Choosing OSM tiles
Geolocation
Note: this section with options was introduced in version 1.1.5.
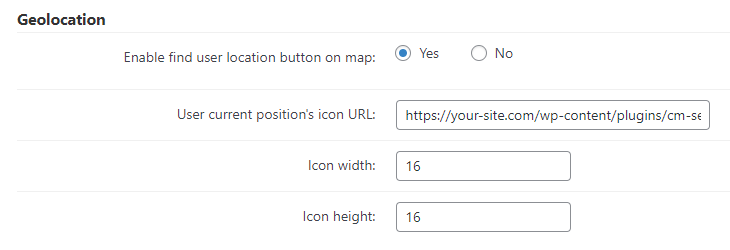
- Enable find user location button on map - When the user clicks or presses the button, the map will center on the user's current location.
- User current position's icon URL - Enter a URL with a custom icon for the user current position.
- Icon width / height - Define the width and height for a user current position's icon.
3) Use Shortcode
With everything configured, it's time to add the button to the site.
It's simple: apply the shortcode [cm-user-location]
Parameters:
- api - API Key
- server - Server address (server which runs the API key)
- identifier - You can pass your custom identifier. In case if this parameter is empty or not added to the shortcode, then the system will generate it automatically (note: this parameter was introduced in version 1.0.5)
- name_enable - Name field, 1 to show or 0 to hide (note: this parameter was introduced in version 1.0.5)
- name - Name field default text
- description_enable - Description field, 1 to show or 0 to hide
- description - Description field default text
- bgcolor - User marker label background color, You can add it with and without "#", e.g. #ff0000, #008000, FFFFFF etc. (note: this parameter was introduced in version 1.0.5)
- bgcolor_label - User marker label background color text. You can add any text, e.g. Red, Green, Blue etc. And this is used in the filter (note: this parameter was introduced in version 1.0.5)
- button_text - Submit button text. If not defined then it will be taken from plugin settings labels section (note: this parameter was introduced in version 1.0.6)
- user_location - Set "1" for post user current location or "0" for post temporary location. Default value is "1" (note: this parameter was introduced in version 1.0.8)
- latlon_enable - Displays Latitude and Longitude fields. Set "1" to show or "0" to hide (note: this parameter was introduced in version 1.0.8)
- latitude - Latitude field default value (note: this parameter was introduced in version 1.0.8)
- longitude - Longitude field default value (note: this parameter was introduced in version 1.0.8)
- drawing - Displays polygon draw tool on the map. Set "1" to show or "0" to hide. Default value is "0" (note: this parameter was introduced in version 1.0.9)
- current_location - Displays current location button. Set "1" to show or "0" to hide. Default value is "0" (note: this parameter was introduced in version 1.1.0)
- show_data - Displays existing data. Set "1" to show or "0" to hide. Default value is "0" (note: this parameter was introduced in version 1.1.2)
- icon_enable - Displays the icon field. Set "1" to show or "0" to hide. Default value is "0" (note: this parameter was introduced in version 1.1.7)
- icon - Allows you to pass the icon number. By default is empty (note: this parameter was introduced in version 1.1.7)
- timediff_enable - Displays the field for setting the time difference. Set "1" to show or "0" to hide. Default value is "0" (note: this parameter was introduced in version 1.1.7)
- timediff - Allows you to pass the time difference value (in minutes). Default value is "0" (note: this parameter was introduced in version 1.1.7)
Shortcode Example
The shortcode in the Back-End:

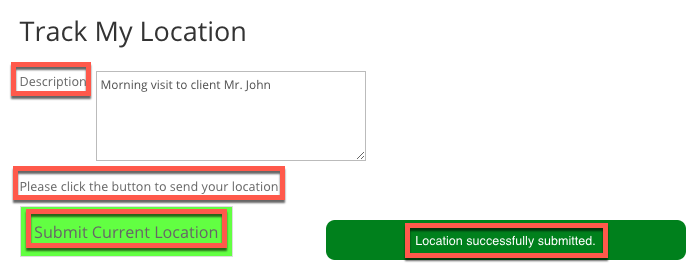
Result on the Front-End:
TIP: What Are Shortcodes
Shortcodes add dynamic content to your site via a small piece of code.
Learn more: Shortcodes - How To Use
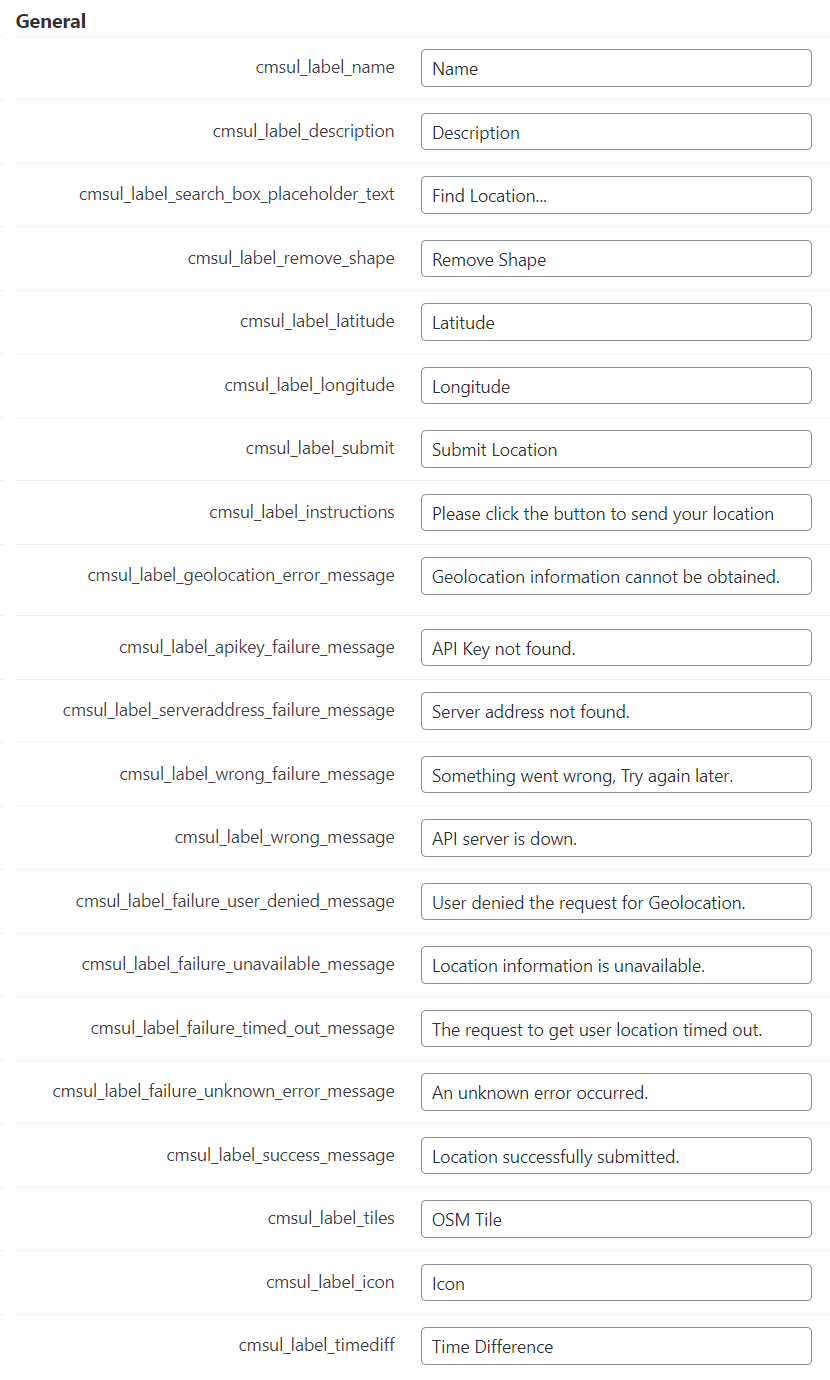
Labels
You can change all labels that appear in the Front-End.
Example of Front-End Labels
To do so, head to the Labels tab.
General Labels
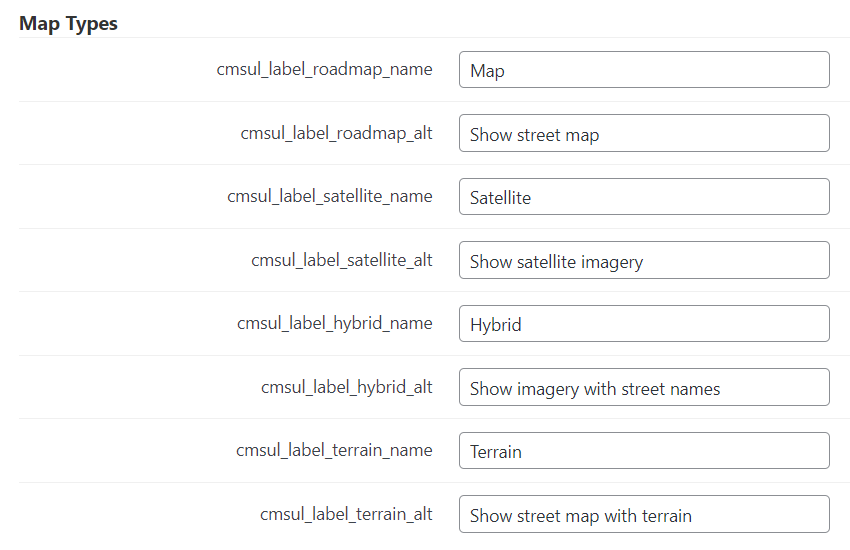
Map Types
Note: this section with labels was introduced in version 1.1.2.
Troubleshooting
Browser Compatibility
The API will only work starting on the following browser versions:
| Browser | Chrome | Internet Explorer/Edge | Firefox | Safari | Opera |
|---|---|---|---|---|---|
| Minimum version | 5.0 - 49.0 (http)
50.0 (https) |
9.0 | 3.5 | 5.0 | 16.0 |
Source: w3schools
How to Enable Geolocation in the Browser?
Each browser has a different process, but the principle is always the same.
Learn more: Chrome | Chrome Mobile | Firefox | IE/Edge | Safari | Opera
Common Errors and Solutions
| Error | Cause | Solution |
|---|---|---|
| User can't share their location or location is not precise enough | Maybe device has poor or no geotracking capabilities | User should use a device with GPS |
| Error: Server or API key is missing. | Server or API key are missing | Admin should add information in the plugin's settings
More: Documentation |
| Error: Geolocation information cannot be obtained. | API was not accessed correctly | Review API
More: Documentation |
| Server address not found. | Server address in the settings does not match the API | Admin should review the server address in the plugin's settings
More: Documentation |
| User denied the request for Geolocation. | User didn't let browser collect geolocation information | User should allow browser.
More: Chrome Chrome Mobile | Firefox | IE/Edge | Safari | Opera |
| Location information is unavailable. | Likely, the current browser does not support HTML5 Geolocation API | User should update browser or try a different one
More: w3schools |
| The request to get user location timed out. | The server is not responding fast enough | Admin should contact the hosting provider |
| An unknown error occurred. | Many possible causes | If it happens repeatedly, contact support |
 |
More information about the User Location Tracking WordPress Add-on Other WordPress products can be found at CreativeMinds WordPress Store |
 |
Let us know how we can Improve this Product Documentation Page To open a Support Ticket visit our support center |