WordPress Glossary Plugin (CMTG) - WPML translation
Using WPML Plugin and WordPress Gloossary Plugin
The WordPress Glossary plugin is capable of being fully multilingual with the WPML plugin. This allows websites with a non-English speaking audience to easily translate every aspect of their site and the WordPress Glossary plugin.
Getting Started with Tooltip and WPML
To create a multilingual glossary, you first need to install the latest version of WordPress Glossary plugin Pro+ or Ecommerce and the WPML plugin (Multilingual CMS including the String Translation Add-On).
You will need to enable the desired languages by going to WPML → Languages. Learn more about how to do this in the following video:
Update 2022
A few new updated and added features of the WPML plugin:
- Users can now select the languages they want to translate their site into in the set up wizard during the configuration process. The languages can later be added or removed by going to WPML → Languages.
- During the setup process, users can also decide between using Translate Some and Translate Everything, depending on if they want to control the content they translate or translate everything automatically.
- Clicking the plus icon now takes you to the Advanced Translation Editor, where you can input your translations manually or translate automatically (if you have translation credits).
Learn more about how to get started with WPML plugin and about new features in the beginner’s guide.
Once both plugins are installed, you can begin translating all aspects of the WordPress Glossary plugin to the desired language.
Necessary Settings
The integration requires two specific settings.
WordPress Glossary Plugin
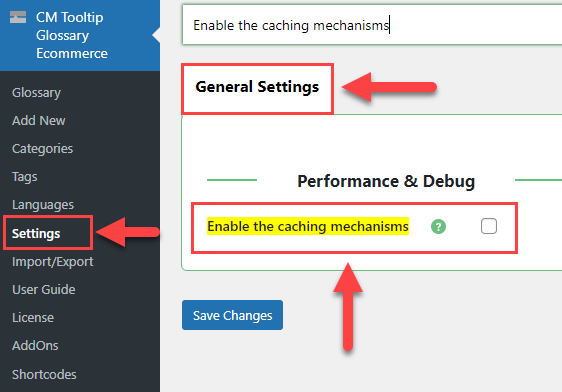
Disable the option Enable Caching Mechanisms. Found in Admin Dashboard → CM Tooltip Glossary → Settings → General Settings tab → Performance & Debug section.
WPML
Mark the post type glossary as Translatable - use translation if available or fallback to default language.

Adding Glossary Term Translations
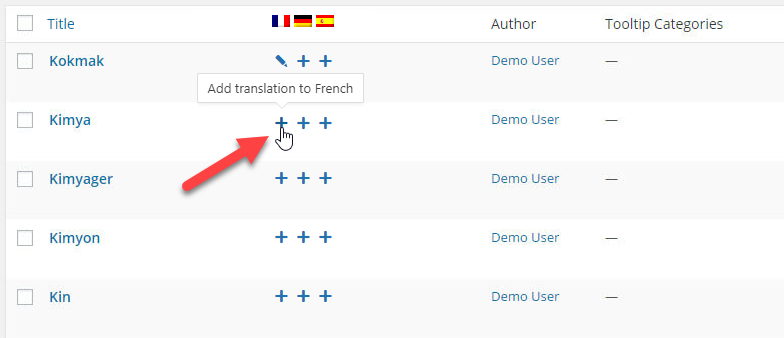
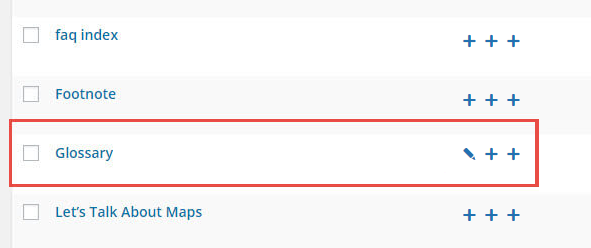
After you set up site languages in WPML, you can start translating your glossary. To translate glossary terms into another language, go to the Glossary page under the CM Tooltip Glossary menu and click on the “+” next to a term.
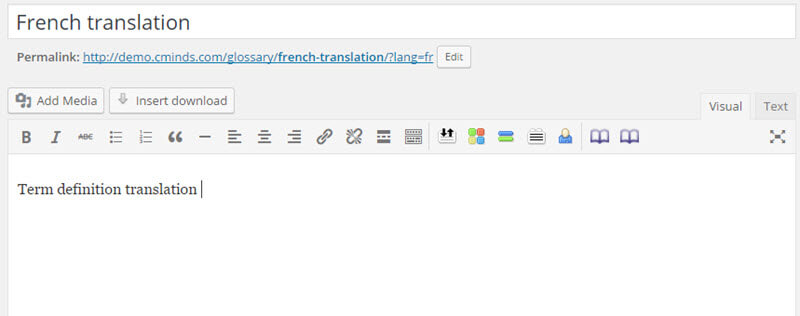
This will take you to a page where you can add a translation of the term and a translation of the term definition. This creates a unique URL containing the translated term. After saving this, a pencil icon will appear next to the term in the glossary index, indicating there is a translation. You can click on this icon to edit the term.
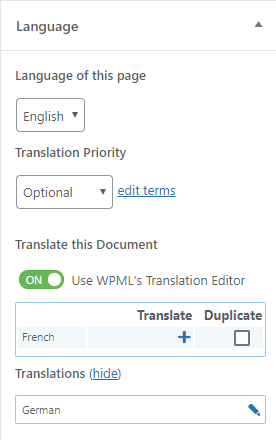
On this page, you can change the parameters of the language translation.
Translating The Glossary Page Title
For a fully translated glossary, you will also need to provide a translation for the glossary page. To do this, go to Pages and find the glossary page. Next to the page name, there is another "+" where you can add a translation, just like the glossary terms.
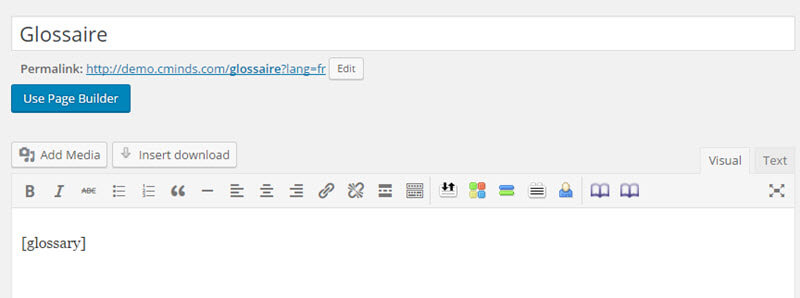
All you need to do is provide a translation for the page title, in this case, it is the French translation. The shortcode for the page stays the same.
Editing The Glossary Alphabet
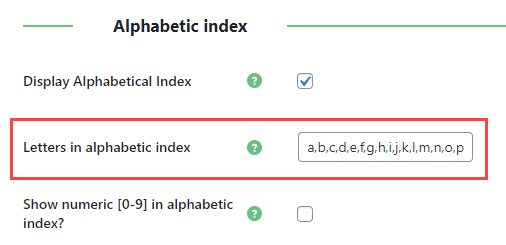
The Glossary Index Page uses an alphabet to organize terms for easy browsing. If you're translating the glossary, you need to go to Glossary Index Page tab in the glossary plugin settings and edit the alphabet in the option Letters in alphabetic index.
String Translation
The WPML string translation feature allows you to translate all labels associated with the glossary plugin. To do this, make sure you have the WPML String Translation Add-On installed.
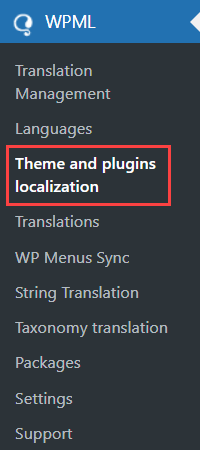
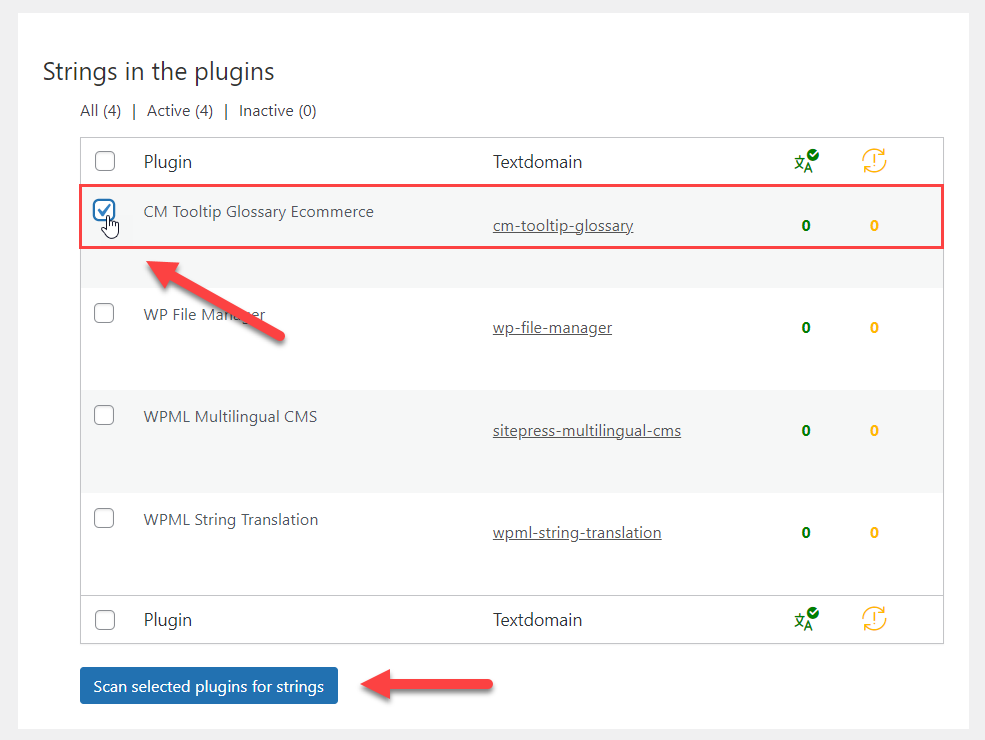
After setting up addinitional languages in WPML, a new menu item will appear - Theme and plugins localization, so navigate there.
In the table Strings in the plugins find and check CM Tooltip Glossary. Then click the button Scan selected plugins for strings. It is needed, so the plugin WPML could detect labels of WordPress Glossary plugin.
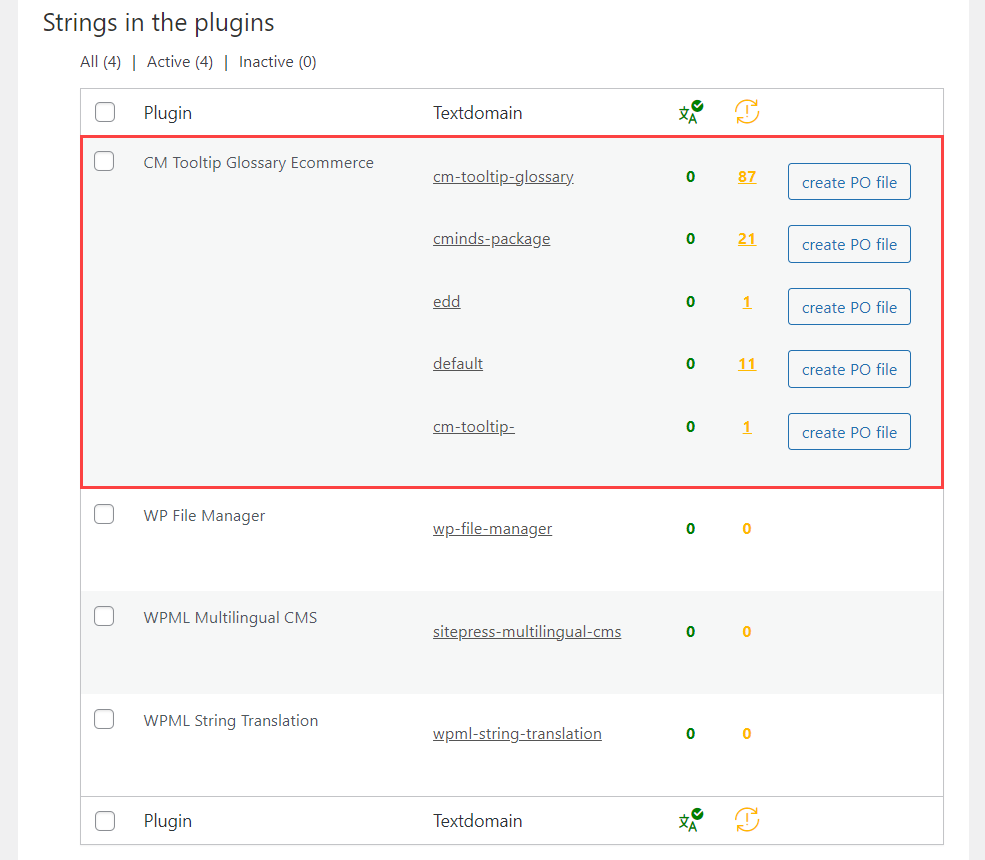
When the scanning is finished, you will see the results, how many labels were detected:
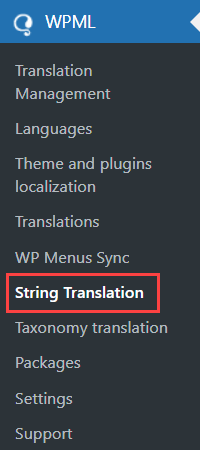
Then, go to the WPML plugin → String Translation in the dashboard.
Select cm-tooltip-glossary from the Select strings within domain dropdown.
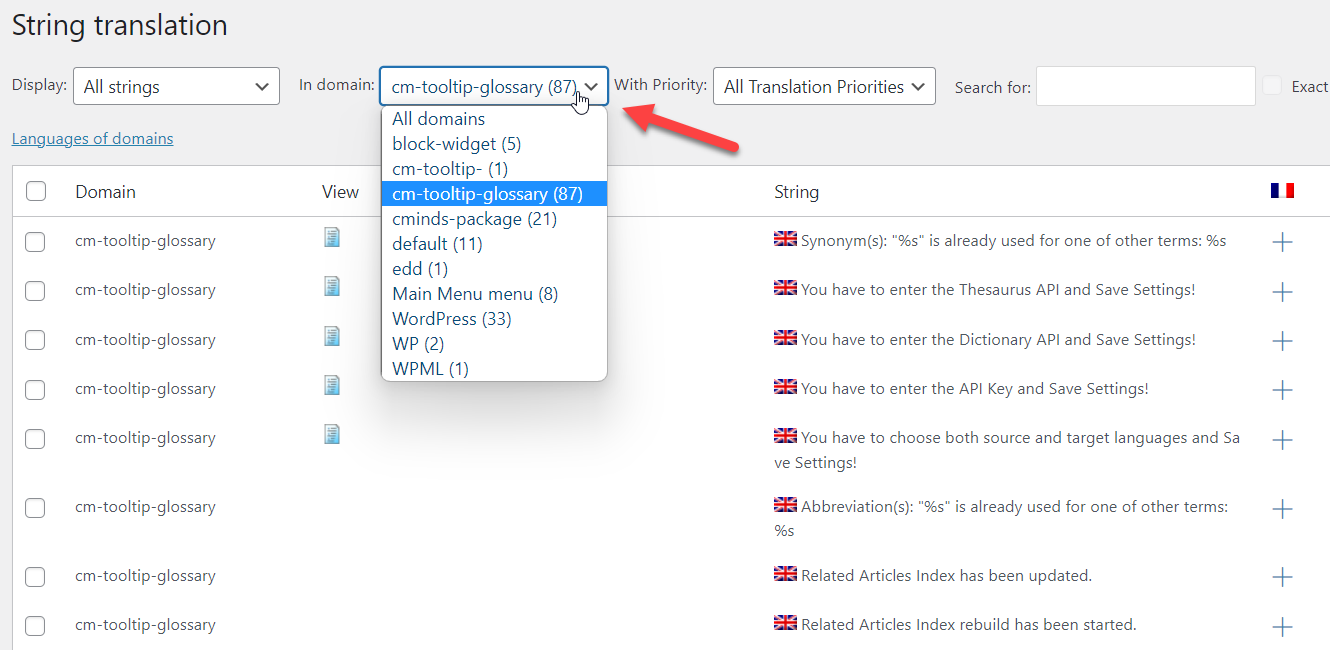
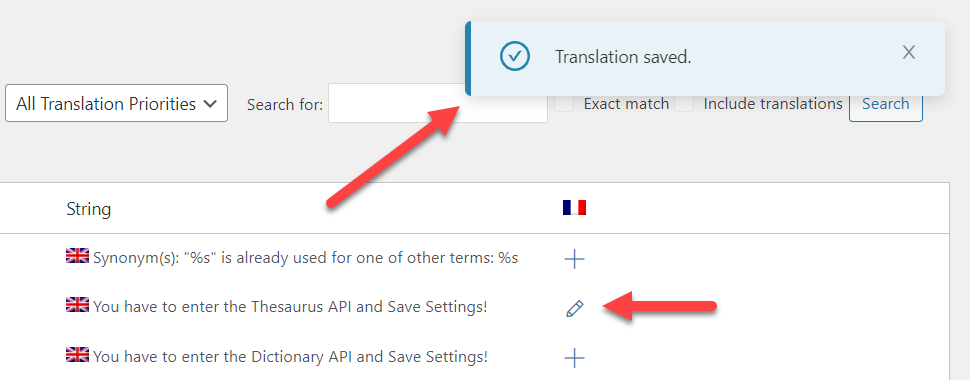
This will display all strings associated with WordPress Glossary plugin. You can organize strings to see which are not yet translated. Next, you can go through and provide translations related to the plugin.
After adding a translation for each item you will see a message about the success, and the label which you translated will be marked differently:
 |
More information about the WordPress Glossary Plugin Other WordPress products can be found at CreativeMinds WordPress Store |
 |
Let us know how we can Improve this Product Documentation Page To open a Support Ticket visit our support center |