Appointments Payments - Setting Up Paid Slots in Schedule
Setting Up Paid Slots in Schedule
Note
You can define free, paid and partially paid booking slots within one calendar. The features covered in this guide are available in the following versions of the plugin and add-on:
- CM Appointments Booking Pro - This document uses the version 2.5.2.
- CM Appointments Booking Payments Add-on - This document uses the version 2.1.0.
We assume that you already know, how to configure your calendar availability - the schedule grid. If you don't know, please, read this guide first: Appointments Booking - Calendars - Calendar Availability
In this guide we will consider, how to configure free, paid and partially paid slots in your schedule.
Make sure you have activated the base plugin, the Payments add-on and of of the payment plugins - either EDD or WooCommerce.
Schedule Grid
Navigate to Admin Dashboard → CM Appointments Booking Pro → Schedule.
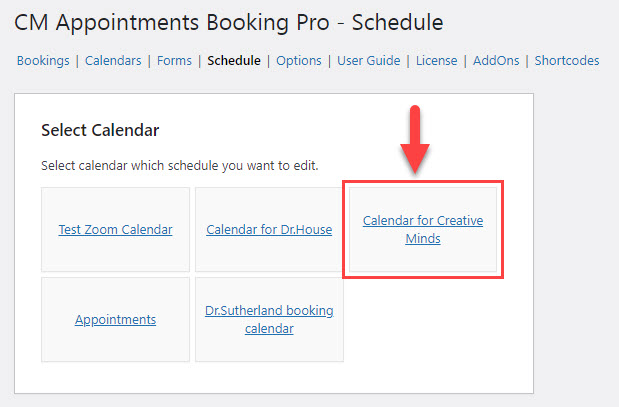
Choose the calendar, which schedule you need to configure and click on it.
Head to the Week Template tab.
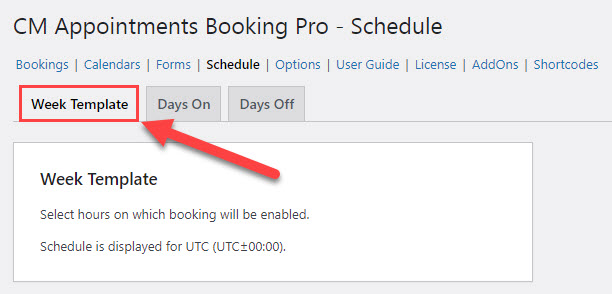
Here you can configure the availability of your schedule with free and paid slots.
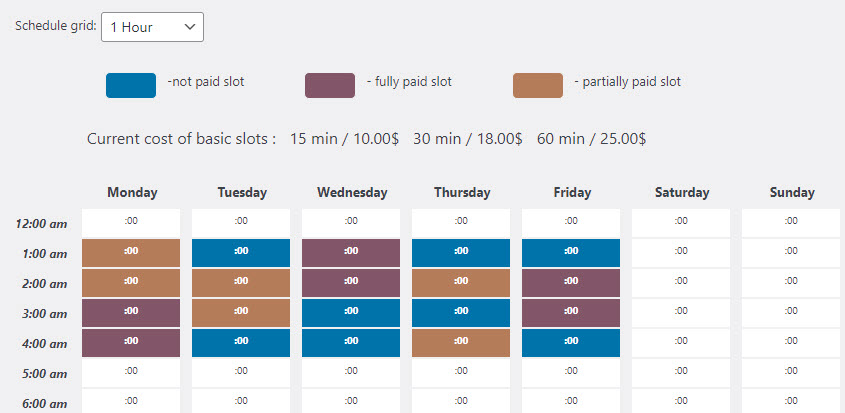
Above the schedule grid you can see a couple of tips about paid slots.
Color Markers
First tip is about slot markers. Except the slots that are not available for booking (marked as white slots), there are three conditions of the slots, each of them has its own color:
- Not paid slot - Marked with a blue color.
- Fully paid slot - Marked with a purple color.
- Partially paid slot - Marked with a brown color.
Note 1: you can change default names of these labels in the Labels tab in plugin options. Learn more about it in this guide.
Note 2: you can change default colors of these labels in the Appearance tab in plugin options. Learn more about it in this guide.

We will talk about what is Partially paid slot a little bit further in this guide.
Current Cost of Basic Slots
Second tip is about current cost of basic slots that you configure individually for each calendar you have. This is a little help for the admin, so it's not necessary to keep in mind the prices of the basic slots.

You can learn more about how to set up the prices in this guide: Appointments Payments - Setting Prices to Appointments
Setting Up Paid Slots
There are two ways how you can make the slots paid or free - in bulk or individually.
In Bulk
You can find two buttons under the sсhedule grid:
- Mark all slots as Paid
- Mark all slots as UnPaid
The names of these buttons are self-explanatory. Clicking on the button Mark all slots as Paid will make all available for booking slots paid, and clicking on Mark all slots as UnPaid will make them all not paid.
Individually
You can hover on any slot that is available for booking and click on it with the right button of the mouse - in the context menu that opens, you can switch the slot between paid and unpaid conditions.

What is Partially Paid Slot?
Above the schedule grid, you can see a dropdown, where you can choose the grid of your schedule.

Note: this is not the way how the slots duration will be displayed on the Front-end for customers. To change the booking slot duration on the front-end you need to change the parameter Events Duration in the Calendar Settings
The grid can be switched between 15 minutes, 30 minutes and 60 minutes slot durations. It means that any booking slot duration can be decomposed to these 3 basic durations. So, for example, the slot with 60 minutes duration can consist free and paid 15 or 30 minutes slot, and it will make this 60 minutes slot Partially Paid.
Let's consider a couple of examples to make it clearer.
1) Let's switch our schedule to 15 minutes grid and make a few paid slots as shown on the screenshot below. And then we switch our schedule to 30 minutes grid. As you can see in the first line, one of the 30-minutes slots became partially paid, as it consists of one paid and one free 15 minutes slots. All other slots are fully paid or fully free.
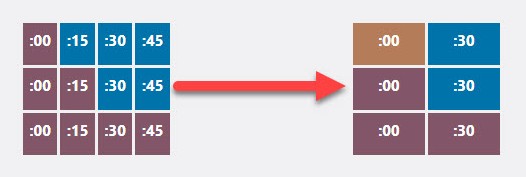
2) Now let's switch the same example from 30 to 60 minutes grid. As you can see, first and second 1 hour slots became partially paid, as they contain free and paid 15 and 30 minutes slots.

Note
The duration of the booking slot can be different - you can define it in the calendar settings, the booking duration can be from 15 minutes to 6 hours. You can learn more about this option and how the result sum is calculated in this guide: Appointments Payments - Setting Prices to Appointments
Days On - Setting Up Paid Periods
The plugin also allows to add additional periods for booking on specific dates, out of the regular schedule. It can be done under the Days On tab:

When you add an extra booking perdiod, you can define if slots in this period should be Paid or Not Paid.

Booking periods which you set as Paid will be marked with the relevant label:

The prices are taken from the same place - from the calendar settings:

 |
More information about the CM Appointments Booking Payments Add-on Other WordPress products can be found at CreativeMinds WordPress Store |
 |
Let us know how we can Improve this Product Documentation Page To open a Support Ticket visit our support center |