WordPress Search Engine Plugin - Use Case - How To Add Search Autocomplete To Your Site
Use Case - How to add search autocomplete to your site
Note: This guide requires:
- WordPress Search Engine Plugin – This document uses version 1.2.0
Video Use-Case
Introduction
The WordPress Search Engine Plugin drastically improves the default WordPress search function, directing users to relevant content without hassle. Automatically redirects users based on search queries, suggest query terms, and replace unwanted words.
The WordPress Search Engine Plugin also protects your website from hackers and spam bots attempting to crash your site with DoS (denial-of-service) attacks.
Use Case Front-End

Use Case Assumptions
In this example use case guide we will consider how to add search autocomplete to your site. With autocomplete, the search box will suggest certain terms or phrases based on what the user is searching.
We consider that you have already bought the plugin, but not installed it yet.
It follows:
Installing the Plugin
The process is the same for all CM plugins and add-ons.

- Download the plugin from your customer dashboard.
- Log in to WordPress and navigate to the WordPress Admin → Plugins settings.
- Click on Add New.
- Activate it and add the license.
Learn more: Getting Started - Plugin Overview
Setting up
Let's start acquainting with the plugin from its settings. Navigate to Admin Dashboard → CM Search Console → Settings.
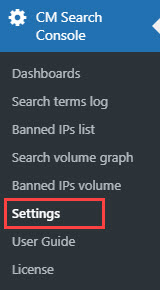
Feature Control
In this section you can disable or enable core features of this plugin.
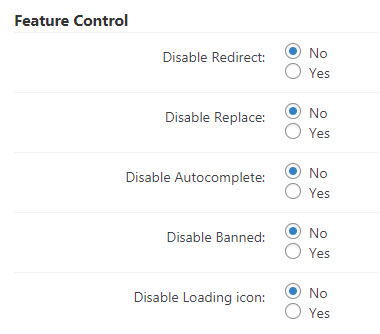
- Disable Redirect - Disable all the rules in the Redirect Dashboard. (Learn more about this feature in this Use Case)
- Disable Replace - Disable all the rules in the Replace Dashboard. (Learn more about this feature in this Use Case)
- Disable Autocomplete - Disable all the rules in the autocomplete Dashboard. (We will consider this feature more detailed lower)
- Disable Banned - Disable all the rules in the Banned Dashboard. (Learn more about this feature in this Use Case)
- Disable Loading icon - Disable the loading icon after searching.

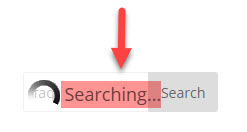
Loading Settings

- Loading label - Change the text of "Searching..." label.
Autocomplete Dashboard
Now it's time to create some rules for autocomplete search results when users look for some definite topic.
Navigate to Admin Dashboard → CM Search Console → Dashboards.
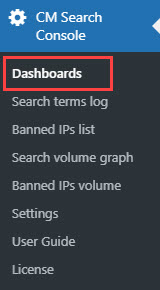
Locate there a tab called Autocomplete Dashboard.
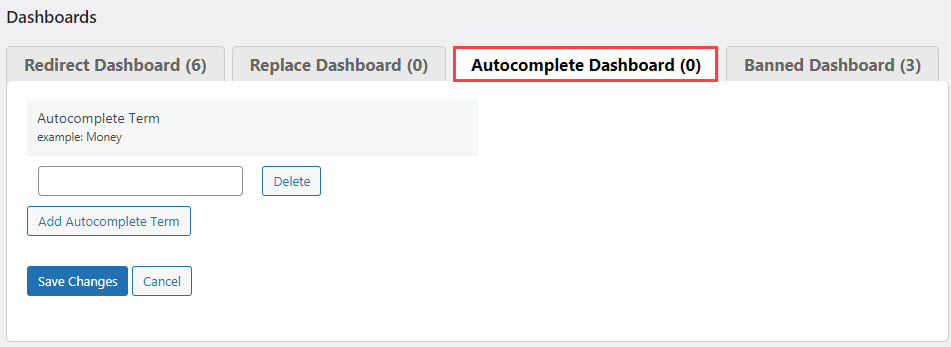
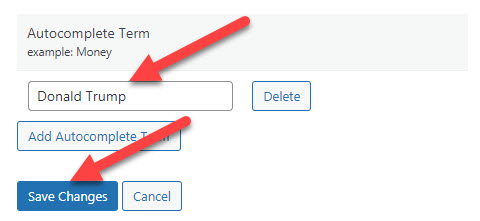
To create the rule, type the term or phrase to the field and click the button Save Changes as shown on the screenshot below.
To add new rule click the button Add Autocomplete Term, and new field will appear. This way you can add any number of rules:
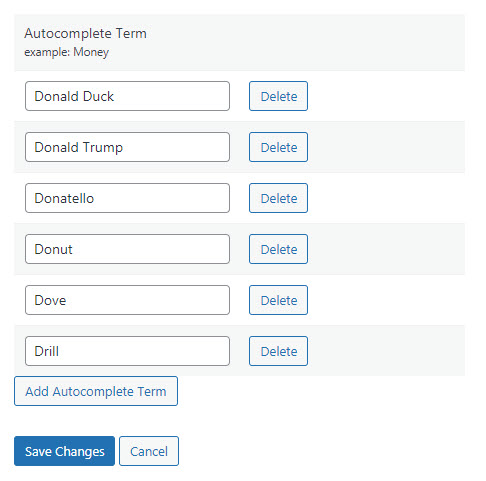
You can remove any rule at any time by simple clicking the button Delete and then Save Changes.
Let's see how it works on the Front-end:
Search Terms Log
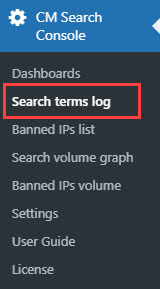
One more useful feature is Search terms log, where you can see and manage the statistics and activity with search requests. Navigate to Admin Dashboard → CM Search Console → Search terms log.
There is a table with all terms that users searched on your site.
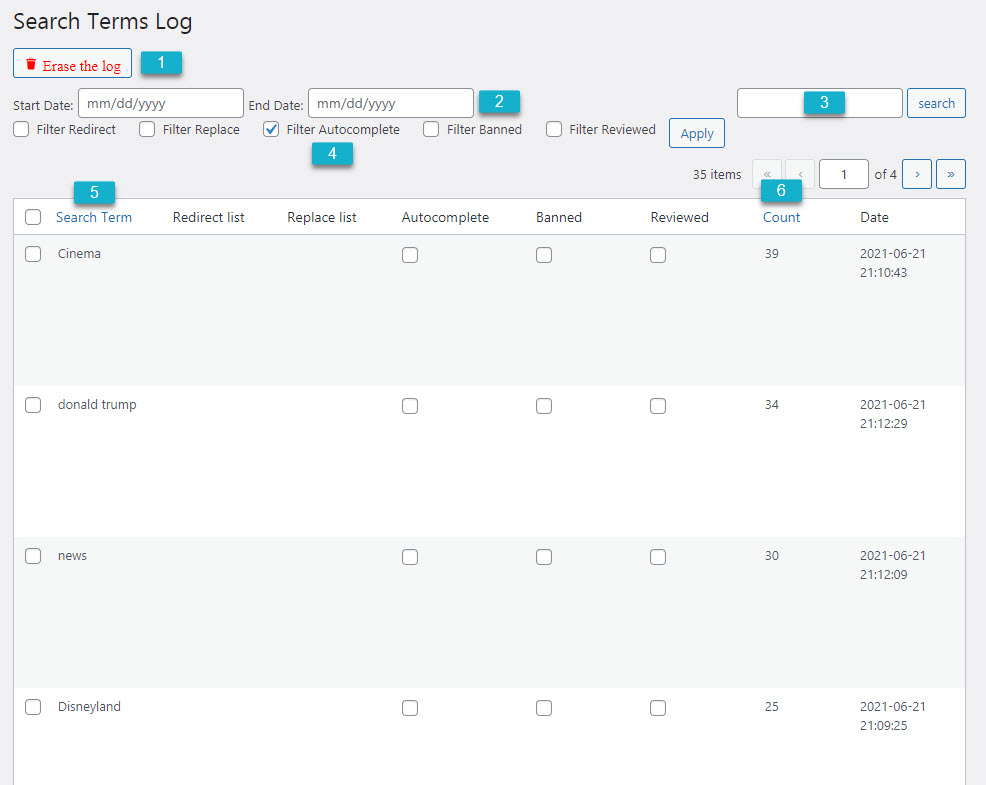
Here you can do the following things:
- Erase the log - Click it to clear the log.
- Filter by dates - Filter search terms by date. Choose the period of time by setting start and end date, and then click the button Apply.
- Search - Search for definite term in the log to see its statistics.
- Filter Autocomplete - Check this box and click Apply to filter search requests of terms that belong to autocomplete rules.
- Search Term - Click it to order the items in the log by terms (alphabetical).
- Count - Click it to order the items in the log by the number of how many times it's been searched (ascending or descending).
You can also hover on any item and apply a few actions.
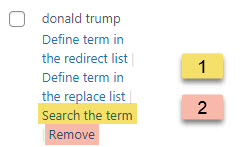
- Search the term - If click on it you will be redirected to the front-end of your site to see what search results can be found for this term.
- Remove - Remove this record from the log.
Two important columns are Autocomplete and Count. In the Count column you can see how many times was requested some term or phrase. If you think it's highly requested you can create an Autocomplete rule by simply checking the box in the relevant column in the line of needed term or phrase. This rule will appear in Autocomplete Dashboard.
TIP: Combine Autocomplete and Redirect
You can combine two features Autocomplete and Redirect. So, you can offer some frequent request and redirect the user to the specific landing page on your site.
For example, the user is looking for a glossary on your site. So, you can offer this term in the search bar and redirect him straight to the index page with the glossary. This is how it can look like:

You can learn more about Redirect feature in this use case guide: WordPress Search Engine Console - Use Case - How To Redirect a User's Search Terms to a Specific Landing Page On Your Site
End Result
Following instructions found in the plugin and guides, you should be able to configure autocomplete search for users on your site.
Use Case Front-End
 |
More information about the WordPress Search Engine Plugin Other WordPress products can be found at CreativeMinds WordPress Store |
 |
Let us know how we can Improve this Product Documentation Page To open a Support Ticket visit our support center |