WordPress Video Lessons Manager Plugin (CMVLM) - Free Version Tutorial
Free Version Tutorial
WordPress Video Lessons Manager Plugin
Learn more about WordPress Video Lessons Manager Plugin
This article covers only features present in the free version of WordPress Video Lessons Manager plugin. It shows you how to embed Vimeo or Wistia videos as lessons in your site.
Example

Table of Contents
- Installation guide
- List of Features
- Using the Plugin - Overview
- Initial Setup
- Creating a Channel
- Settings
Installation guide
Here are the steps needed to install the plugin:
- Download - To manually install the plugin, you must first download it from WordPress.org to your computer.
-
Navigate to the Plugins tab in the WordPress Admin Panel to install the plugin.
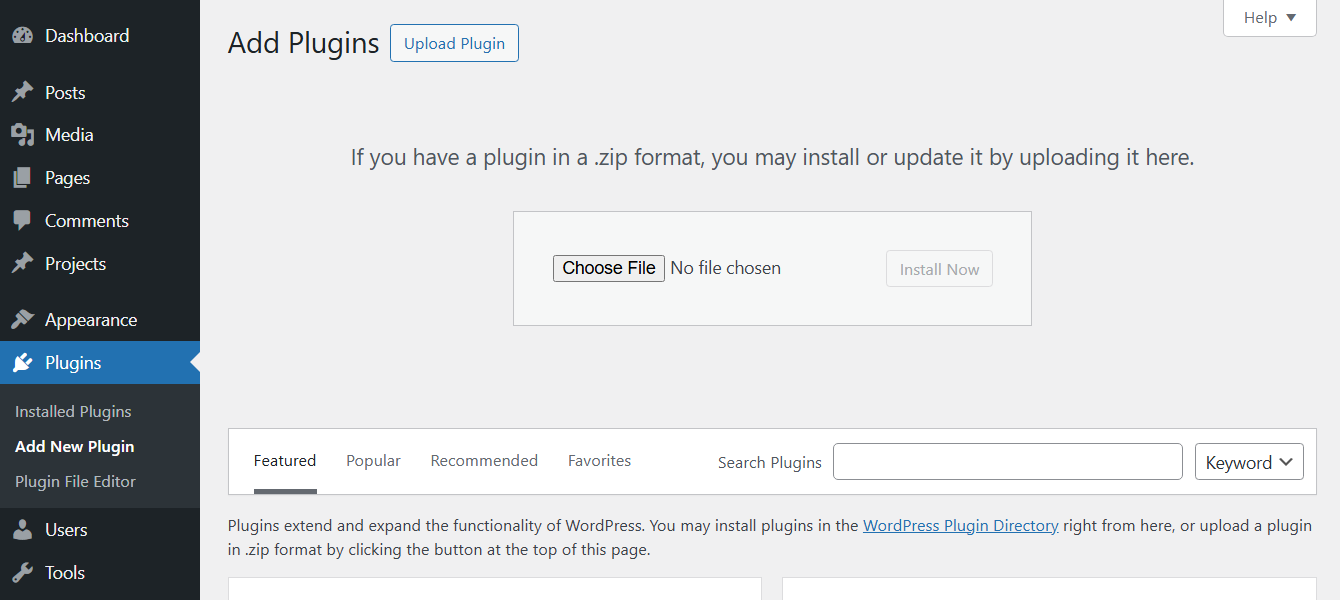
Adding new plugin - Activate the plugin.

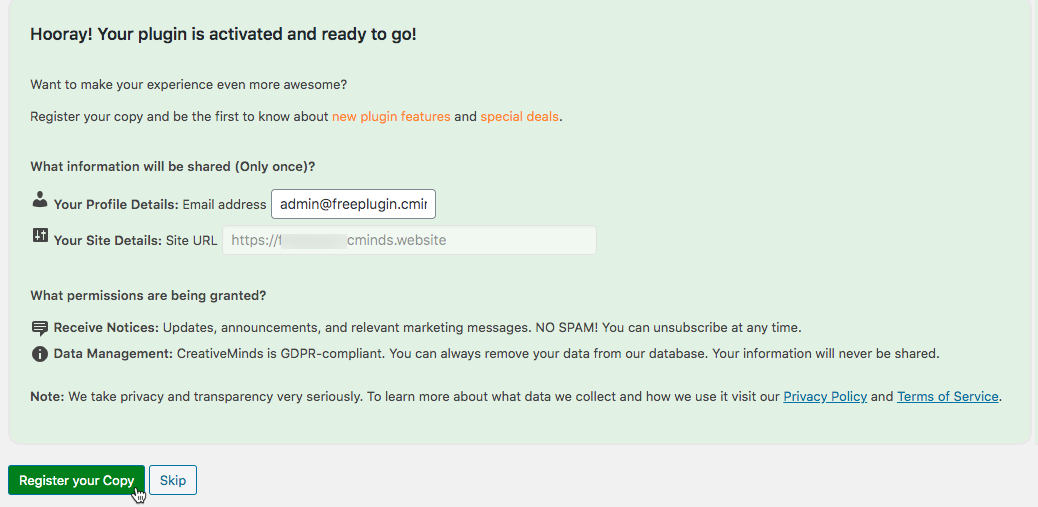
TIP: Register for Benefits
If you like, you can register your plugin to receive information about updates and our latest offers. You can complete your registration at any time.
If you don’t want to register right away, you can select the Skip button.
List of Features
WordPress Video Lessons Manager Plugin
Learn more about WordPress Video Lessons Manager Plugin
Using the Free Plugin - Overview
How Videos Are Organized
Channels are the basic building block in the plugin. Each plugin channel can be assigned to one specific Vimeo channel or album.
For example:
- Channel A → Vimeo Channel A
- Channel B → Vimeo Album A
What Can Users Do?
Users can access any channel and perform a series of actions:
- Interact with the channel description
- Change channel
- Play each video, check settings and enable full screen
- Read and interact with links from the video description (links that are automatically fetched from Vimeo need to be edited by the admin using HTML to display them as links).
- Click the video title to see it on Vimeo
Some practical examples

Initial Setup - Connecting Vimeo
For the WordPress Video Lessons plugin to work, API keys must be obtained from Vimeo.
Acquiring Vimeo API Keys
Guide with more pictures: WordPress Video Lessons Manager Plugin (CMVLM) - Getting Started - Initial Setup (API Keys)
1) Access Vimeo App
Log in to Vimeo. Then, visit the Vimeo developer website by clicking this link. Choose an existing app or click on "+ Create App".
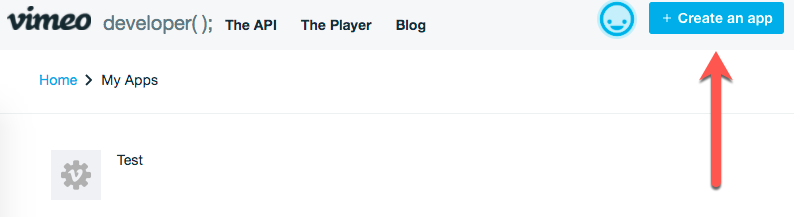
You need to have verified your email in order to do this.
2) Create a New App
Fill out the required fields and click on the "Create App" button at the bottom of the page.
- App name - Used for your control only.
- App Description - It's preferable to mention the plugin name
- Will people besides you be able to access your app - Choose "No"
Enter the Authentication Page for that app. In here:
- Copy the Client identifier
- Generate an access token. If you plan to import private Vimeo videos, be sure to check the "Private" box when generating the key.
-
Copy the Client Secrets.

Getting Vimeo API key

Adding Key to Plugin
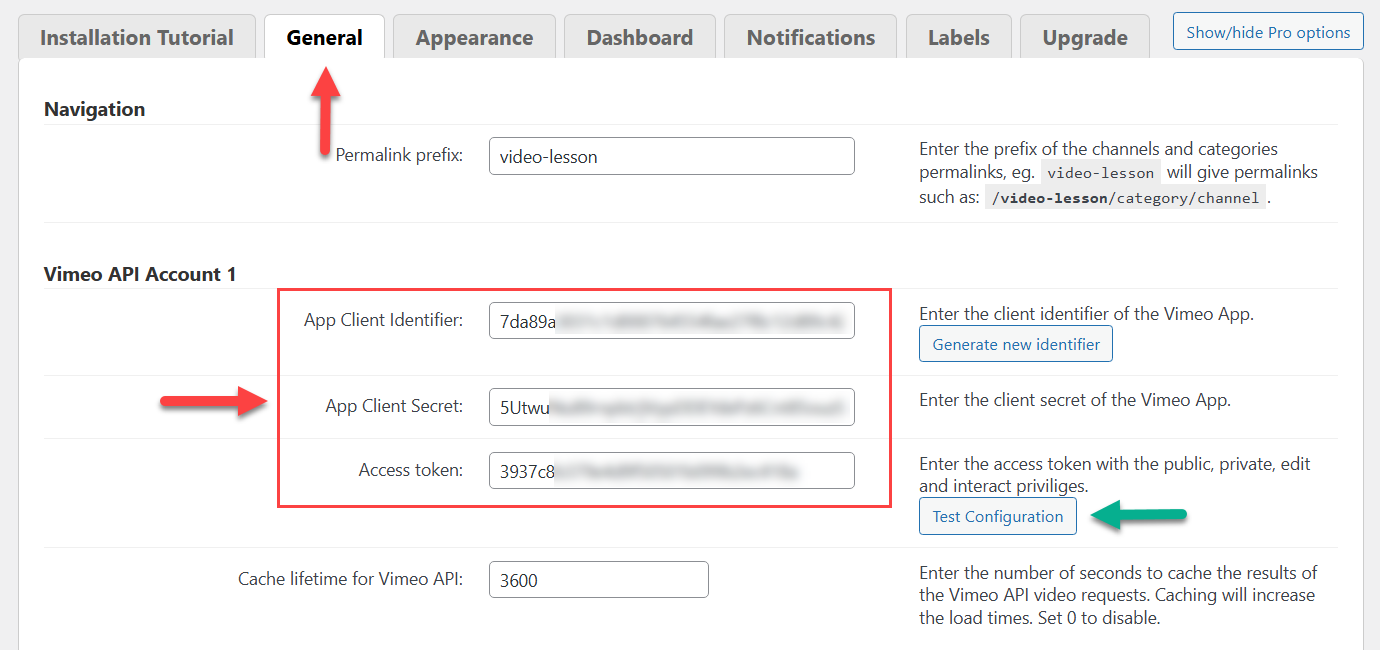
Once you have the keys, adding it to the plugin is easy. Head to the General tab and copy them to the respective Vimeo section fields.
In the same setting, you can click Test Configuration to ensure the connection is working.
TIP: Cache Setting
If you update your videos often, consider lowering the value in the option Cache lifetime for Vimeo API. This will ensure the plugin will update the content from Vimeo more often.
However, note that a value low too low might increase load times.
Creating a Channel
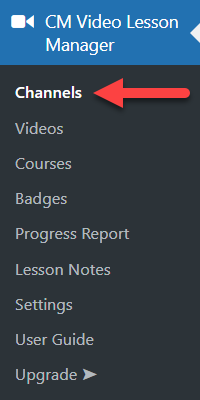
Now that Vimeo is properly connected, you can start importing Vimeo channels/albums. Start by heading to Admin Dashboard → CM Video Lesson Manager → Channels.
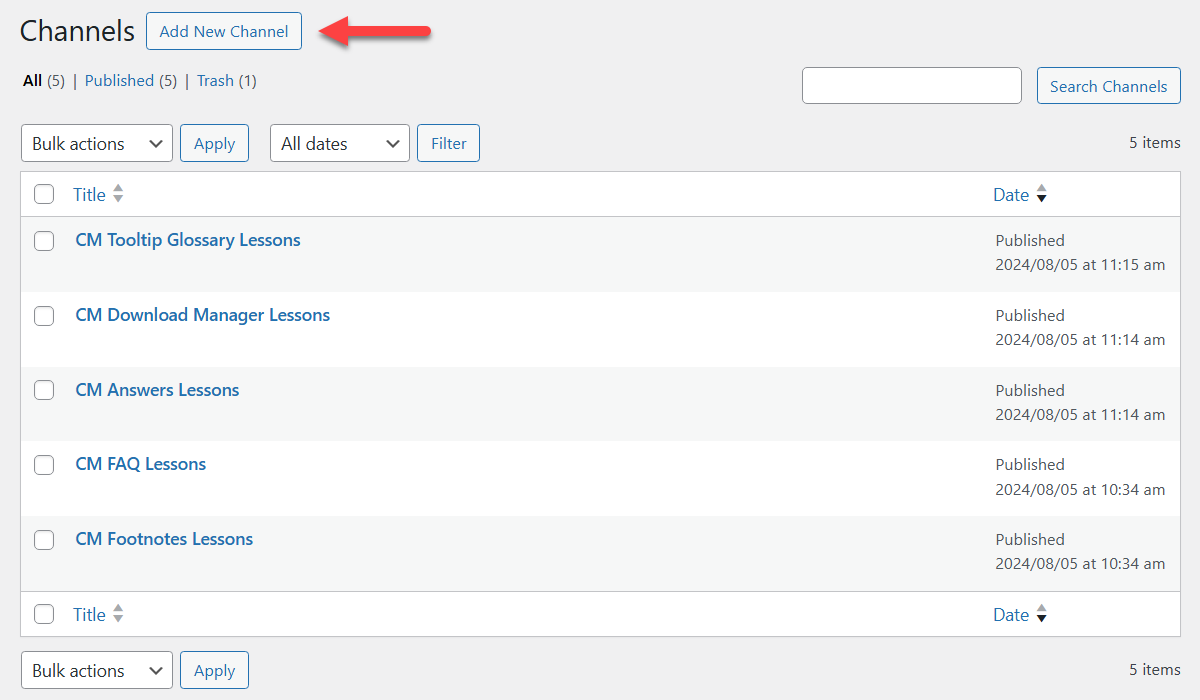
In this screen you can review and edit your current channels, as well as include ones via the Add New Channel button.
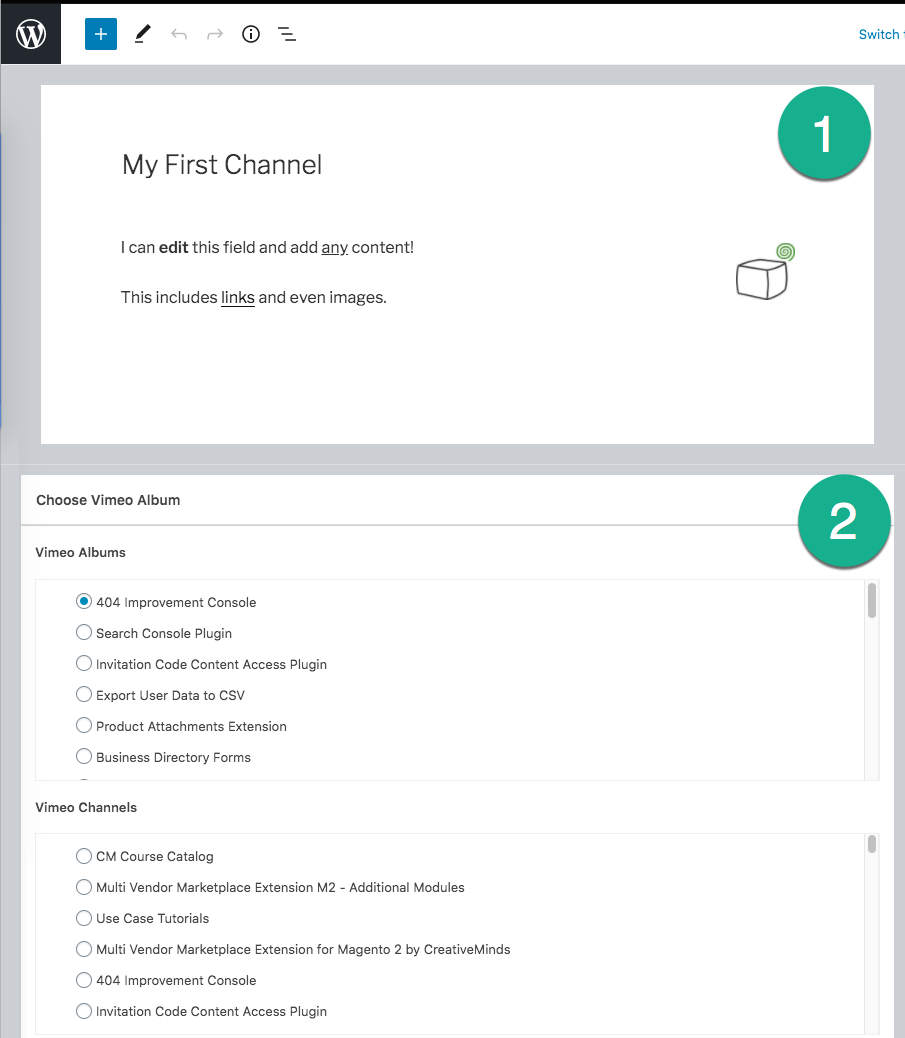
You will enter the Channel creation/edit page.
Channel Creation / Edit Page
- Channel title and description - You can include any type of content in the description.
- Vimeo Album - Choose which Vimeo album or channel will be assigned to this channel. In this free version, it's only possible to assign one per channel.
Front-End
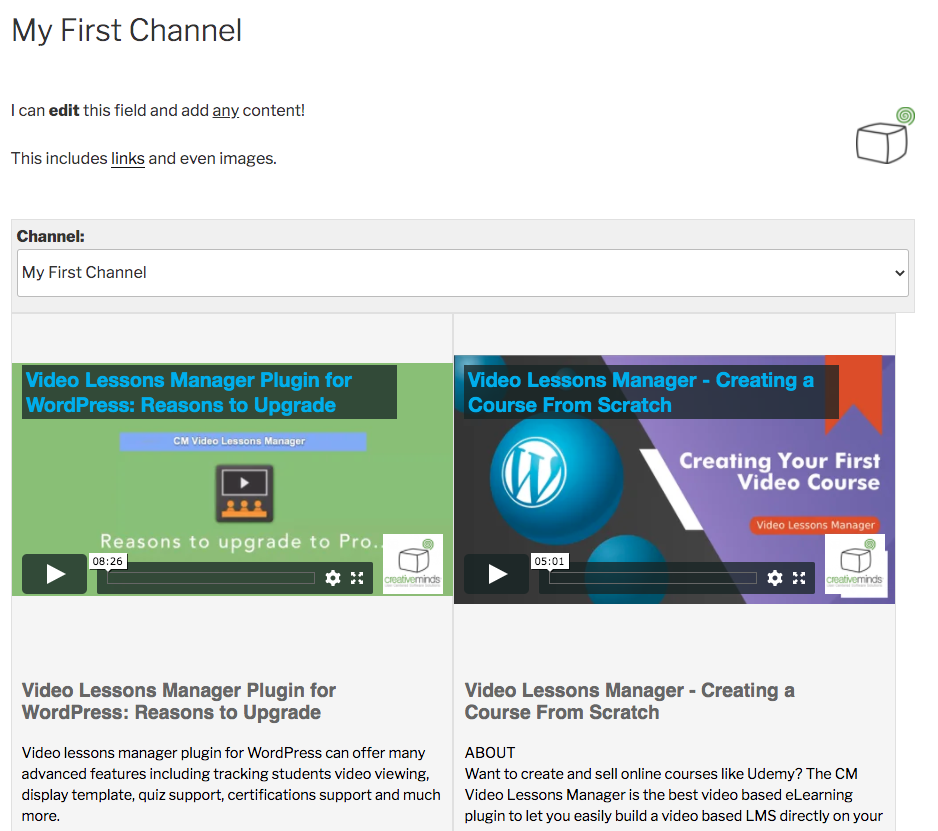
This is the most important part of the plugin. Now you can create as many channels as you need!
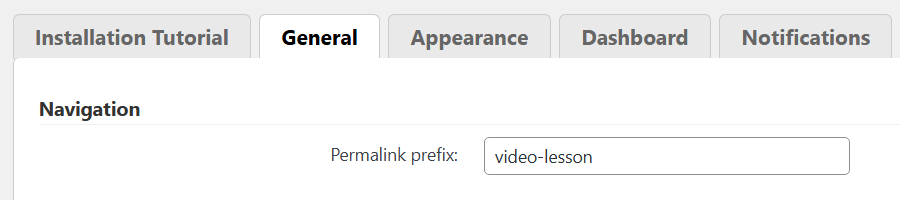
Settings - Channel URL
-
Permalink prefix - The prefix of the channels' permalinks.
For example, "video-lesson" will generate permalinks such as: site.com/video-lesson/my-first-channel.
By default, it's "video-lesson".
Note: If channel pages don't open after changing the permalink then you need to update permalink structure.
Navigate to Admin Dashboard → Settings → Permalinks, then click the button Save Changes - it should solve the problem.
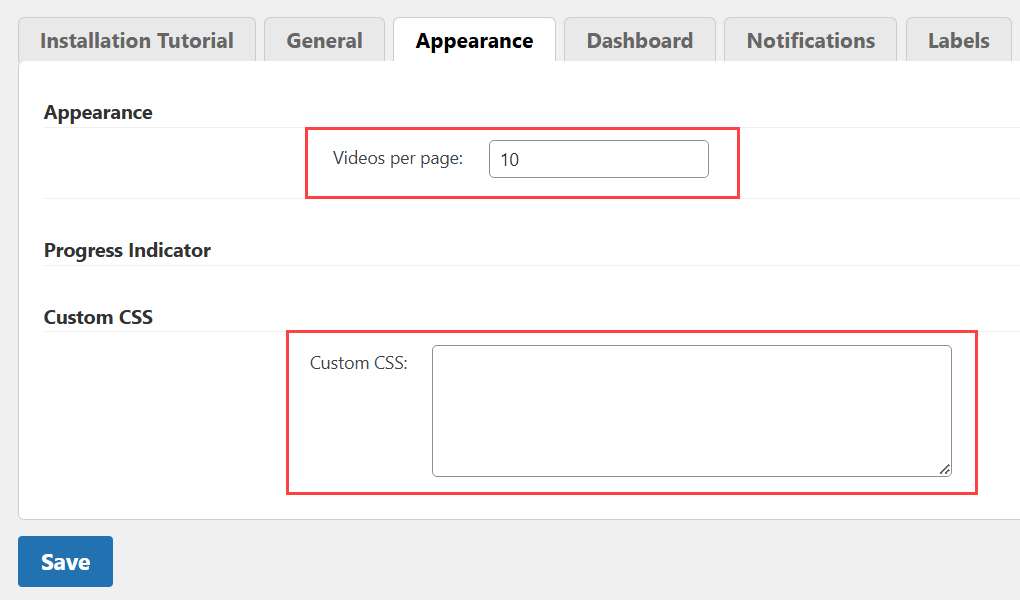
Settings - Appearance
In the Appearance tab, you have two appearance settings:
-
Videos per page - If the channel has more videos than this value, it will be paginated.

Videos pagination -
Custom CSS - You can enter custom CSS which will be embedded on the channel page.
Quick Read
What is CSS
CSS allows you to make changes that WordPress, themes and even the plugins don't support. Be sure to test all changes before applying! Learn more: General Support - Advanced - Custom CSS
CreativeMinds Can Help
If you prefer not modifying CSS and visual elements by yourself, CreativeMinds can help to adapt CM plugins to your theme. Learn more: Plugin Installation Service for WordPress by CreativeMinds

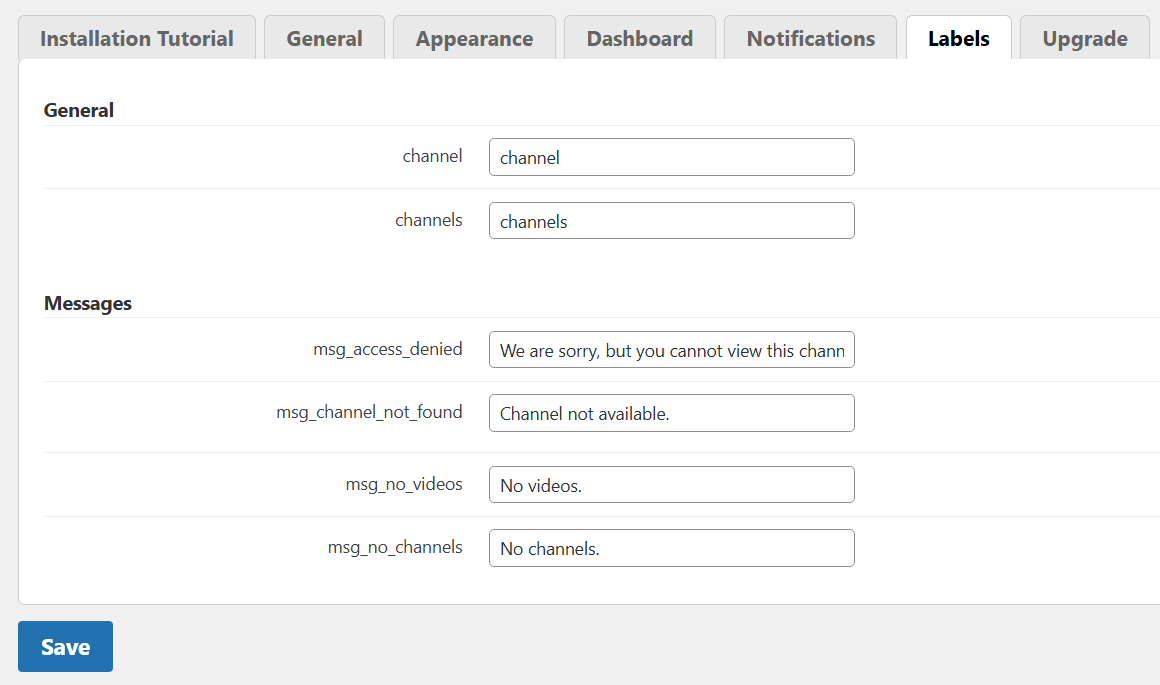
Settings - Translating the Plugin (Labels Tab)
If your site is not in English or you would like to adjust the language, head to the Labels tab.
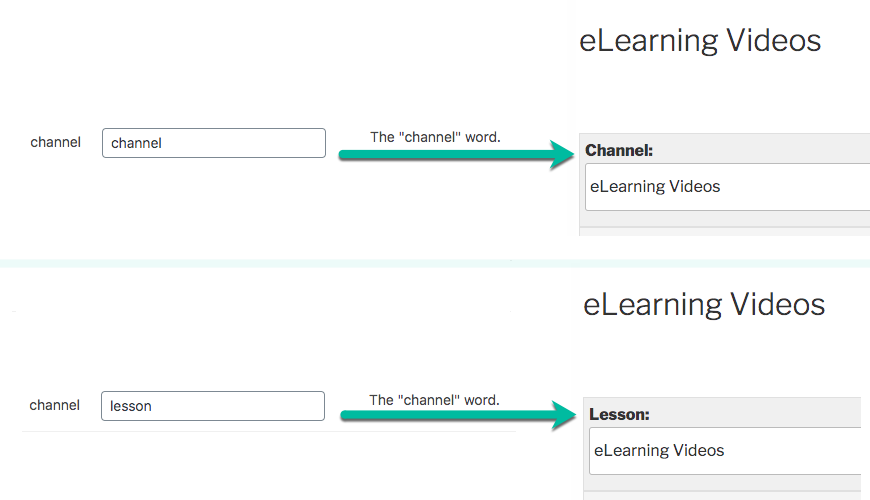
In here, you can find a set of labels which can be changed.
Example
Pro Options
By default, the plugin showcases options that are available in the Pro version only. You can hide or showing by clicking a relevant button at the top right:

 |
More information about the WordPress Video Lessons Manager Plugin Other WordPress products can be found at CreativeMinds WordPress Store |
 |
Let us know how we can Improve this Product Documentation Page To open a Support Ticket visit our support center |