WordPress MicroPayments (CMMP) - General Settings (Wallets, Dashboard Widget, Page Selection)
General Settings
Important
This is one of the most important parts of the plugin's settings. It contains the most widely used options that affect many aspects of the WordPress MicroPayments.
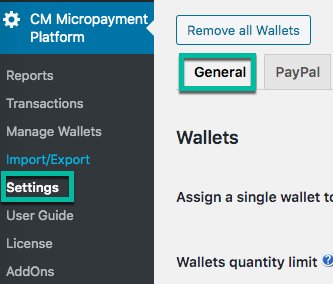
Head to Admin Dashboard → CM Micropayment Platform → Settings → General tab.
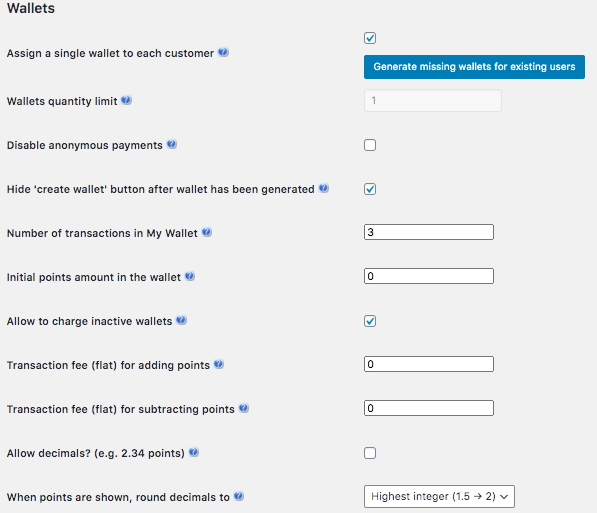
Wallets
The Wallets are the "accounts" to which the points have to be connected to. They work very similar to bank accounts, or real life wallets.
Here you decide how the MicroPayments Wallets will work on your page.
- Assign a single wallet to each customer - If this option is enabled a single Wallet will be tied to each of your WordPress user accounts. Users won't need to remember their wallet names as long as they're logged in.
- Note: This setting must be on for the Transfer Shortcode to display a dropdown menu with the accounts. Learn more.
- Wallets quantity limit - You can set any number of wallets to each customer. To change this value, Assign a wallet to each customer has to be disabled.
- Disable anonymous payments - If enabled, users will have to input a wallet ID when making purchases
- Hide 'create wallet' button after wallet has been generated - This is option related to the [create_wallet_button] shortcode. You can read about it in Shortcodes section of the documentation.
- Number of transactions in My Wallet - This is the number of the last transactions which will be displayed using the [cm_wallet_history] shortcode.
- Initial points amount in the wallet - This is the amount of points each newly created wallet will contain (a great way to give a welcome bonus for new users).
- Allow to charge inactive wallets - With this option users won't be allowed to charge their wallets once they are deactivated.
- Transaction fee for adding points - Every time a user receives points, they will be charged this amount. This deduction will be shown in the log. Example: buying points, receiving a transfer. The field accepts both flat amounts and percentages. The default value is 0. Examples:
- 5
- 15%
- Transaction fee for subtracting points - Every time a user loses points, they will be charged this amount. This deduction will be shown in the log. Example: sending a transfer. The field accepts both flat amounts and percentages. The default value is 0. Examples:
- 5
- 15%
- Allow decimals? (e.g. 2.34 points) - Supports decimals and centesimals for wallet operations. Milesimals and lower units will be disregarded - for example, 1.2399 = 1.23.
- When points are shown, round decimals to - Rounds points every time the points are shown. Only works if you enable decimals. Choose between:
- Highest integer (e.g. 1.5 will become 2)
- Lowest integer (e.g. 1.5 will become 1)
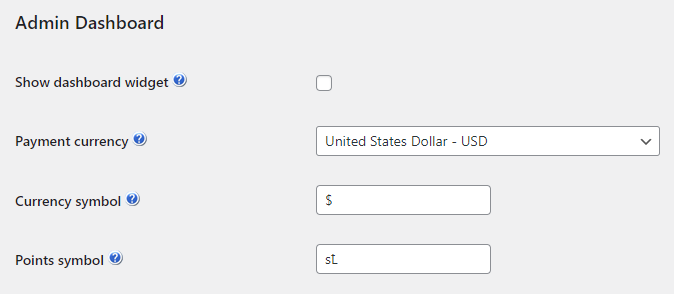
Admin Dashboard
This section allows you:
-
Dashboard widget - If enabled, the box displaying the wallet name and the amount of points will be displayed.

Dashboard widget with wallet data - Payment currency - Used to calculate the value of your user's points and it's widely used across the MicroPayments plugin.
- Currency symbol - Set the currency symbol.
-
Points symbol - Set the points symbol. Note: this option was introduced in version 2.1.1.

Points symbol example


Below: By default the Dashboard widget is disabled, and the base currency is US dollar ($)
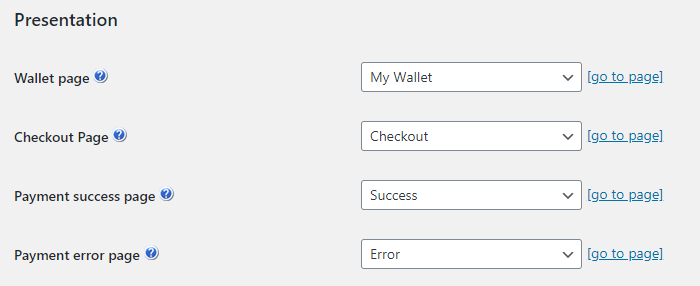
Presentation
The presentation section allows you to select two most important pages from the users perspective:
- Wallet page - The Page where the user can see the information about their wallet - it's balance, the transaction history etc.
- Checkout page - The page where the user can purchase more points.
- Payment success page - The page shown after payment success.
- Payment error page - The page shown after payment error.
Below: You can select the pages from the list of all WordPress pages. After selecting you can click a go to page links to visit them.
Appearance
- Show comment column in transaction history - Show comment column in the wallet transactions history table.
- Show the input field instead of radio selection - If enabled, the input field for purchase points will be shown instead of the radio selection on the checkout page.
- Default Points - Here you need to define default points that will be shown in the field for purchase points. It will be used if the option above is enabled.
-
Point cost value - Here you need to define default cost value. It will be used if the option above is enabled.

Appearance settings Front-End

Front-end form for purchasing points


Goals
Note: this section with options was introduced in version 2.3.6. Learn more about the goals system in this use case guide: WordPress MicroPayments (CMMP) - Use Case - How to Set Up Fundraising Goals and Collect Donations
The options are:
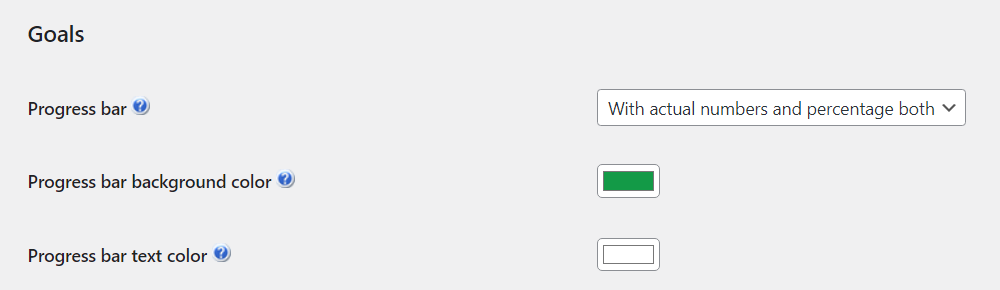
- Progress bar - Choose if to display the progress bar and what it info it should contain. You can choose between:
-
No - Don't display the progress bar.

Don't display the progress bar -
With actual numbers - Show only the amount of collected points.

Show only the amount of collected points -
With percentage - Show only the percentage of the total amount collected.

Show only the percentage of the total amount collected -
With actual numbers and percentage both - Show both the amount of collected points and percentage.

Show both the amount of collected points and percentage
-
- Progress bar background color - Set the background color of the progress bar.
- Progress bar text color - Set the font color in the progress bar.
CoinCodex & CoinMarketCap API
Note: the CoinCodex feature was introduced in version 2.1.4, and the CoinMarketCap feature was introduced in version 2.2.5.
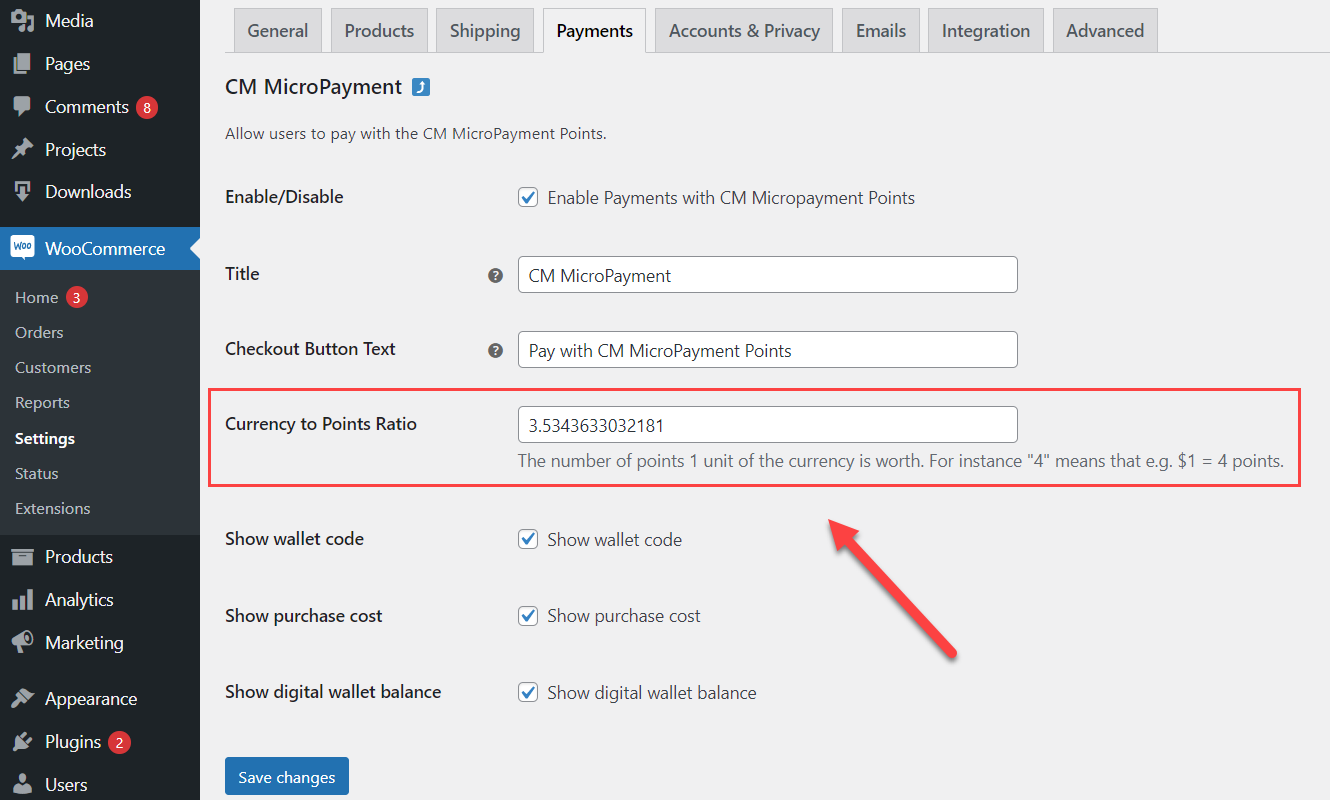
This feature helps to automatically update the value of Currency to Points Ratio when using WooCommerce plugin integration with WordPress MicroPayments.
The options are:
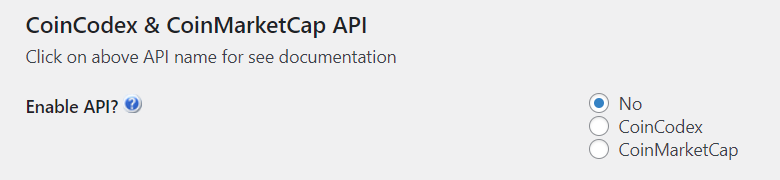
- Enable API - This option allows to choose between CoinCodex API or CoinMarketCap API for automatic updates of Currency to Points Ratio. The options are:
- No - Disable API.
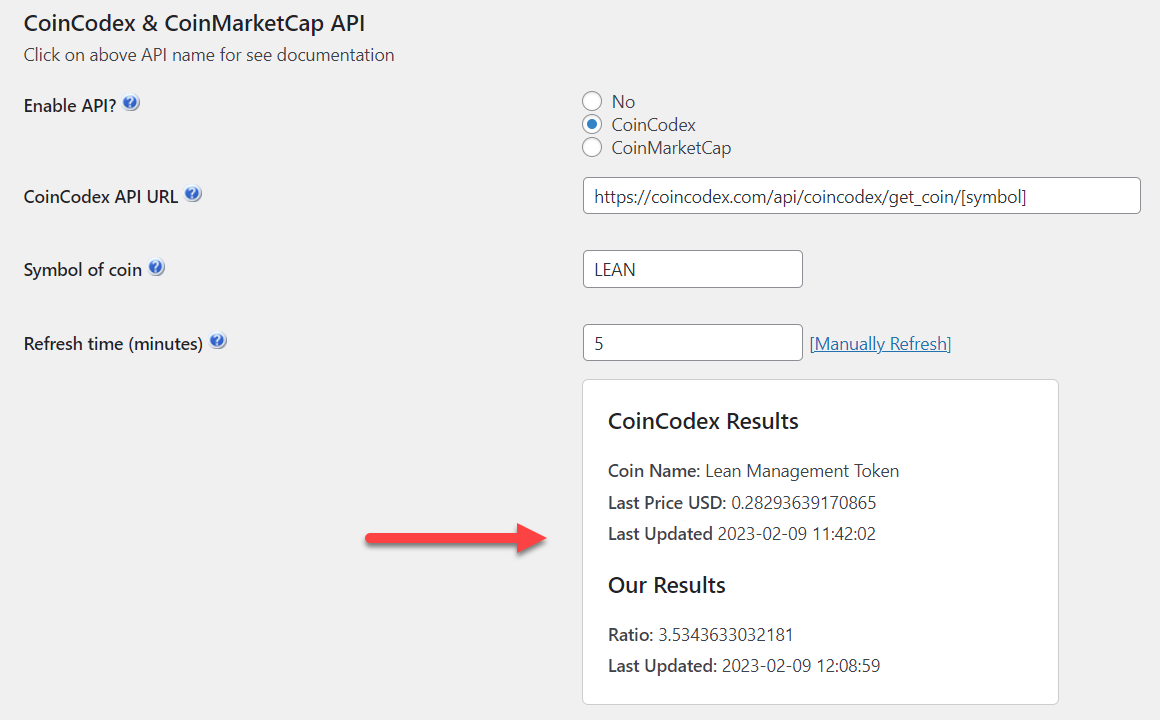
- CoinCodex - When this option is chosen, a set of new options appear for configuration:
- CoinCodex API URL - Here you need to define the URL of a CoinCodex API. Learn more about CoinCodex API.
- Symbol of coin - Specify here a CoinCodex unique internal ID (symbol) of coin.
-
Refresh time (minutes) - Specify how often the data will be synchronized with CoinCodex API. You can also refresh the data manually by clicking on Manually Refresh.

Integration settings with CoinCodex
- CoinMarketCap - When this option is chosen, a set of new options appear for configuration:
- CoinMarketCap API URL - Here you need to define the URL of a CoinMarketCap API. Learn more about CoinMarketCap API.
- API Key - Input here a CoinMarketCap API Key.
-
Refresh time (minutes) - Specify how often the data will be synchronized with CoinMarketCap API. You can also refresh the data manually by clicking on Manually Refresh.

Integration settings with CoinMarketCap


How It Works
When you configured one of the needed APIs and the data is synchronized (either automatically or manually), you will see a box with results:
The Currency to Points Ratio will be automatically changed according to the fetched ratio:
Learn more about settings up payment gateway: WordPress MicroPayments (CMMP) - WooCommerce - Payment Gateway
 |
More information about the WordPress MicroPayments plugin Other WordPress products can be found at CreativeMinds WordPress Store |
 |
Let us know how we can Improve this Product Documentation Page To open a Support Ticket visit our support center |