WordPress Interactive Map Plugin (CMML) - How To - Add Polygons To Map
Adding Polygons to Map
What is This Feature
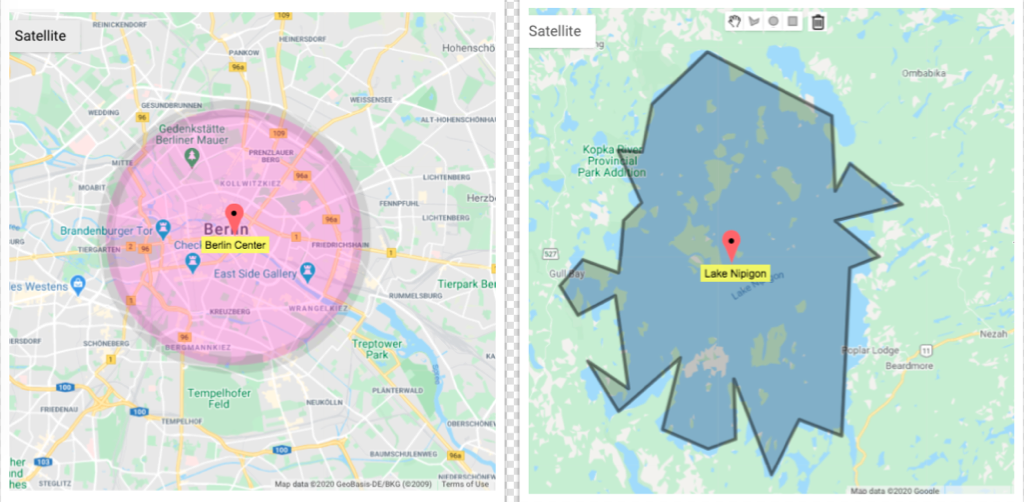
It's possible to add polygons to your maps in three shapes: lines, rectangle and circle. You can also change visual aspects such as stroke color and opacity. This feature was added in version 2.4.8 of the WordPress Interactive Map plugin.
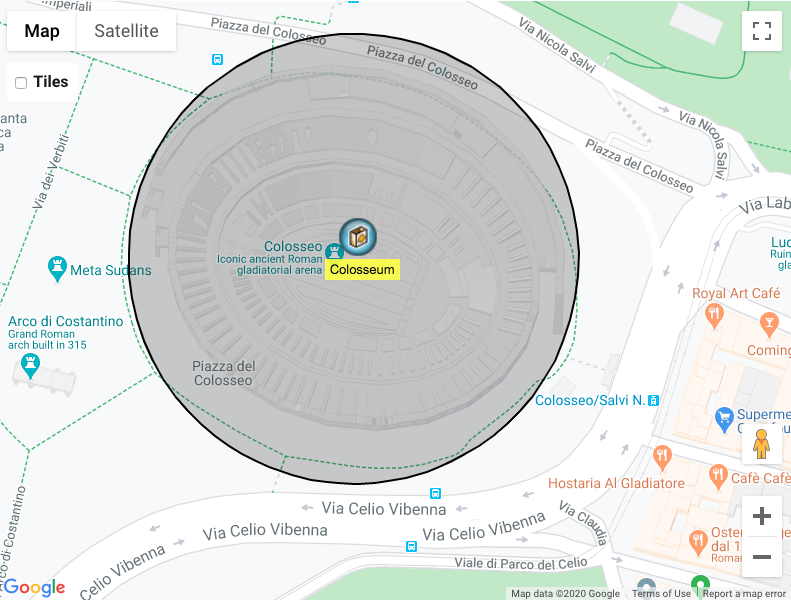
The visitors of your site will be able to see the polygons and your location will be at the center. This is a great way to mark places such as parks, monuments, neighbourhoods and much more.
Examples:
Enabling/Disabling Polygons
Enabling When Editing
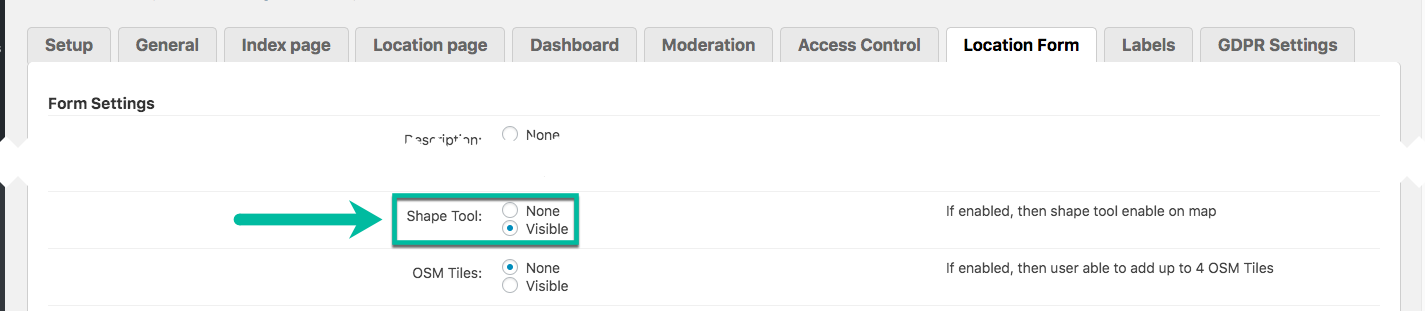
To allow polygons while editing a location, mark Shape Tool as Visible in the Location Form settings.
Showing/Hiding Polygons To Users
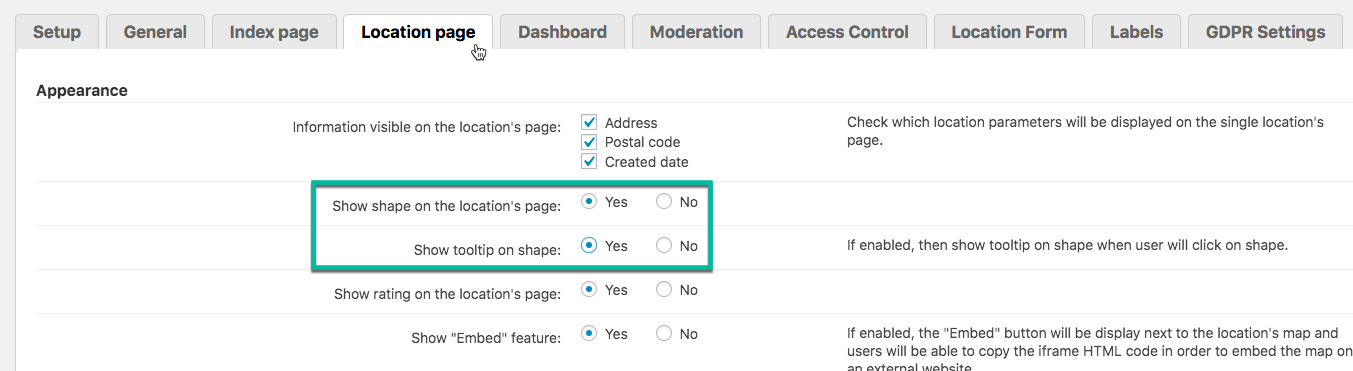
To show or hide polygon, head to the Location page settings:
- Show shape on the location's page - Shows the polygon.
- Shows tooltip on shape - Triggers the tooltip with information about the location also on the shape area.
Adding Polygons To Location
Now they should be available while editing the location.
General Use
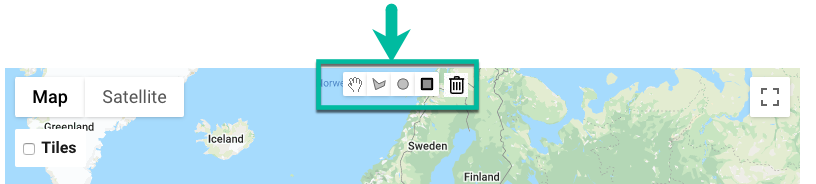
Simply click in one of the buttons and draw the polygon. It's only possible to draw one polygon per location.
- Hand icon - Uses the mouse to drag the map (doesn't draw anything).
-
Line icon - Each mouse click becomes a line, that should complete a polygon.

Drawing a polygon -
Circle icon - Clicking the mouse will start drawing the circle with the mouse pointer as the center.

Drawing a round area -
Rectangle icon - Clicking the mouse will start drawing the rectangle with the mouse pointer as the center.

Drawing a rectangle area - Trash bin icon - Deletes the polygon.


Changing Look of Polygon
By default, the polygon has these colors:
To change them, navigate to the Admin Dashboard → CM Map Locations Pro → Settings.
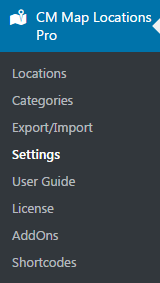
The settings are in the Dashboard tab, under the Shape section.
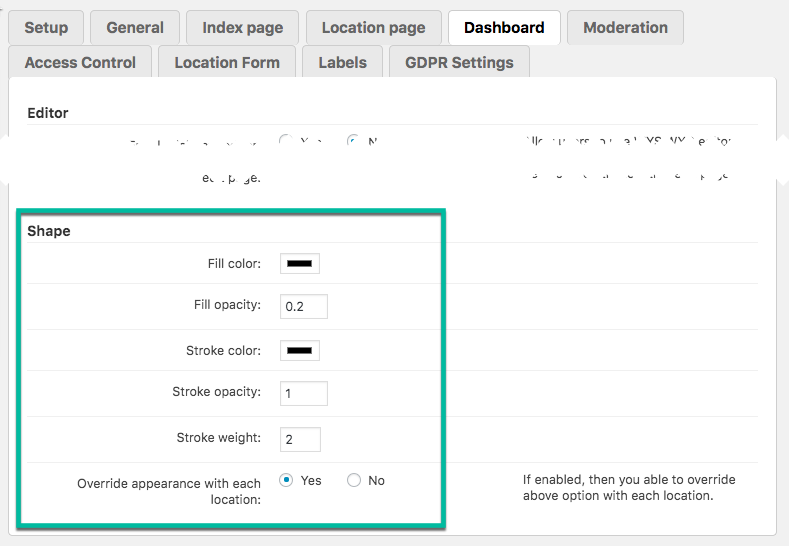
- Fill color - Color inside the polygon.
- Fill opacity - How opaque is the shape. 0 means transparent; 1 means completely opaque.
- Stroke color - Color of the stroke surrounding the shape.
- Stroke weight - How thick is the stroke.
TIP: Allow Unique Polygon Look Per Location
Mark the last option "Override appearance with each location" to let editors define unique shape colors when editing!

 |
More information about the WordPress Interactive Map Plugin Other WordPress products can be found at CreativeMinds WordPress Store |
 |
Let us know how we can Improve this Product Documentation Page To open a Support Ticket visit our support center |