WordPress Glossary Plugin (CMTG) - Use Case - Automatically Find and Create New Terms from Website Content using ChatGPT or Gemini
Use Case - Automatically Find and Create New Terms from Website Content using ChatGPT or Gemini
Note: This guide covers features from:
- WordPress Glossary plugin - This document uses Ecommerce version 4.5.0.
Video Use Case
Watch this video to learn how to discover new glossary terms with AI and review them manually:
Watch this video to see how to automatically discover and create glossary terms with AI:
What Is This About?
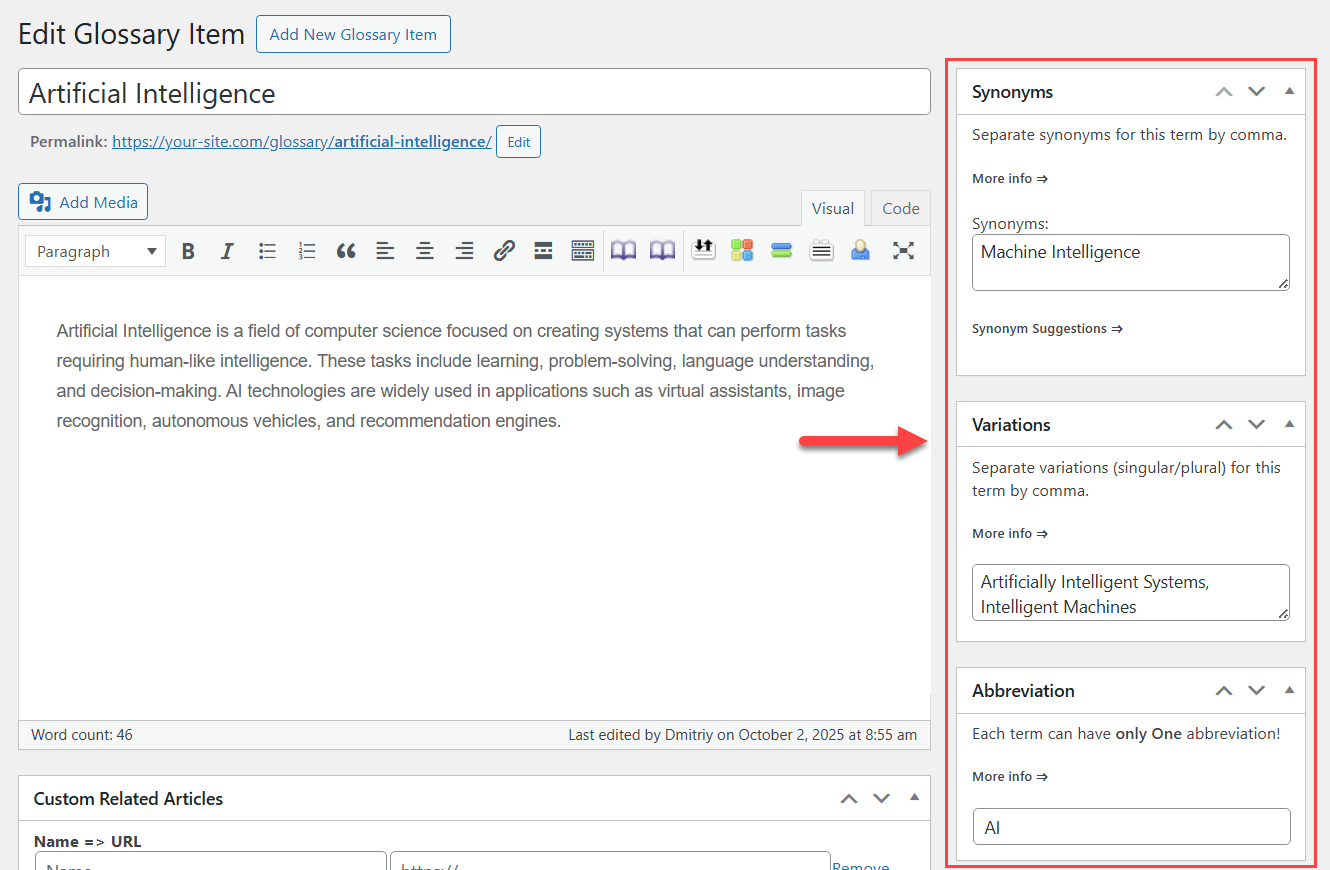
The WordPress Glossary plugin allows you to create a site with a complete glossary of terms. Each term definition can appear on mouse hover across the whole site.
The Terms Discovery feature helps you expand your glossary by automatically scanning your site’s content for potential new terms. Instead of manually reviewing posts and pages, the plugin uses AI (ChatGPT or Gemini) to extract unique terms that are not yet part of your glossary.
All suggested terms are collected in a dedicated dashboard, where you can review, refine, and decide how to create each entry. This makes the process of building and maintaining a glossary faster, smarter, and more accurate.
Use Case Front-end
Dashboard for managing suggested terms:

Dashboard for managing terms created based on scanning content results:

Use Case Assumptions
In this example use case guide we will show how to configure the automatic search and term creation, and how to manage these terms.
We consider that you have already bought the plugin, but not installed it yet.
It follows:
- Installing the plugin
- Initial settings
- Terms discovery settings
- Manual post scanning
- Terms discovery dashboard
- Tips and recommendations
- End result
Installing the Plugin
The process is the same for all CM plugins and add-ons.

- Download the plugin from your customer dashboard.
- Log in to WordPress and navigate to the WordPress Admin → Plugins settings.
- Click on Add New.
- Activate it and add the license.
Learn more: Getting Started - Installation And First Steps
Initial Settings
Before you can start using the Terms Discovery feature, you need to connect the plugin with an AI provider. The glossary plugin supports both ChatGPT and Gemini, and you can choose which one to use for scanning your site’s content.
To do this, Navigate to Admin Dashboard → CM Tooltip Glossary Ecommerce → Settings → Ecommerce Settings tab.

Here you need to enter a valid API key for a chosen AI service. Without the API key, the plugin will not be able to send your content for scanning and retrieve suggested terms. Once the connection is set up, you can proceed with configuring how Terms Discovery will work.

Have a note that for the Terms Discovery feature it is only enough to add an API key for either ChatGPT or Gemini. It is not necessary to enable ChatGPT or Gemini feature, as those options provide different functionality.

TIP
Learn more about ChatGPT and Gemini integrations in these uses case guides:
Terms Discovery Settings
You can find the Terms Discovery section under the same Ecommerce Settings tab.
The options are:

- Terms Discovery - Check this option to enable the terms discovery feature. Once enabled, the plugin will automatically scan your site’s posts and pages every day at midnight to detect potential new glossary terms.
- Run Now - Initiates a scan of posts outside the daily scheduled scan at midnight. Each post scan is scheduled via cron and processed shortly after you click the button, so the scan may take a few minutes to complete depending on the cron queue load.
- AI model to use - Select the AI model for terms discovery. The list will include models supported by the API keys you’ve added in the initial settings (for ChatGPT, Gemini, or both).
- Default Prompt Template for discovery - Set the prompt template that will be sent to the AI when scanning a post or page. For example: "Return the 10 most important terms from this article:"
- Articles to scan every day - Set how many posts should be scanned per day. Avoid using very high numbers to prevent unnecessary server load.
- Post Types to scan every day - Select which post types should be scanned daily for discovering new glossary terms.
- Enable auto-creating for suggested terms - If enabled, the definitions for newly detected terms will be created automatically without admin moderation.
Important
While the auto-creation feature saves time, AI-generated definitions may contain inaccuracies, outdated information, or phrasing that does not match your site’s editorial standards.
If the Enable auto-creating for suggested terms option is turned on, newly created terms are published automatically without admin approval. Therefore, it is the site administrator’s responsibility to regularly review published terms and, if necessary, edit or remove them to ensure correctness and consistency.
To minimize risk and keep your glossary accurate, we recommend periodically checking the Created Terms tab to track new entries. If you prefer full manual control, disable automatic creation and use the Suggested Terms workflow instead.
- New Term content size - Set the maximum number of characters for the content generated for a new term. For example, entering 120 will limit the term content to 120 characters.
- Default Prompt Template for term creation - Set the AI prompt that will be used by default to generate new term content. This prompt is applied in the Terms Discovery Dashboard, which is explained later in this guide.
- Prompt Template Preset - Define the 6 AI prompt templates used for term creation. All templates can be customized by the admin, and each must include {term}, which is used to pass the term to the AI for generating its definition.
- Send moderation email reminder - Choose how often to notify the admin about new suggested terms. Reminder emails can be sent:
- Weekly - every Monday.
- Monthly - on the first day of each month.
- Email to send reminder - Enter the email address where reminder notifications about suggested terms should be sent.
- Reminder email subject - Enter the subject for the reminder emails about suggested terms.
- Reminder email content - Edit the template for the reminder email body. You can use the following placeholders:
{number_of_suggestions}- the number of suggested terms.{dashboard_link}- a link to the Terms Discovery dashboard.
- Scanning progress - Shows the current progress of scanning based on the total number of posts and pages from the selected types
Manual Post Scanning
The plugin scans a set number of posts daily, but you can also scan or re-scan any post manually from the post editor. This feature is useful if you update old content or want to prioritize specific posts without waiting for the daily scheduled scan.
When editing a post or page, you can find a metabox CM Tooltip Glossary - Terms Discovery. To manually scan the content, click the button Run Scan.

Once it's done, you can see the scan date and time.

Terms Discovery Dashboard
Once terms are scanned - either automatically or manually - they appear in the Terms Discovery Dashboard, where you can manage and process them.
Navigate to Admin Dashboard → CM Tooltip Glossary Ecommerce → Terms Discovery.

Here is the dashboard where you can review and manage all suggested terms from the scanned posts.
Existing Terms
If the scanned term already exists in your glossary, either as a separate term, or as a synonym, variation or abbreviation of some term - it will not be included into the list of suggested terms.
The terms discovery dashboard consists of 3 tabs - Suggested Terms, Deleted Terms and Created Terms.

Let's consider them one by one.
Terms Discovery Dashboard - Suggested Terms
Here you can manage all suggested terms collected from scanned posts. The terms will appear under this tab if automatic term creation is disabled in the plugin settings - if it is disabled, you will see a relevant message at the top.

If autocreating terms is enabled, they will appear directly under the tab Created Terms - learn more below.
The button Run Terms Discovery duplicates the button Run Now from the general plugin settings - clicking it initiates scanning posts outside the daily schedule.

You can also sort results by the following columns:
- Suggested Terms - Term name.
- Found In - Post/page name.
- Created At - Date and time when the term was scanned.

You can select needed terms and remove them by clicking the button Delete Selected. These terms will be moved to the Deleted Terms tab, and will not be added to suggestions in new scans.

The key actions for creating definitions are located in two columns:
- Manual Creation
- AI Creation

Manual Creation
Clicking the button Create Manually will redirect you to the form for creating a term. The term title will be already filled, so you can add the definition and create the term.

AI Creation
The column AI Creation has 2 buttons:
- Adjust Prompt - Clicking it allows you to choose one of the pre-defined prompts and automatically create the term using AI.

- +Create with AI - Clicking it creates a term definition with AI using the prompt which you choose as the default one in the plugin settings.

In both cases, once the term is created, both buttons are replaced by the one button - (Open draft). Clicking it will redirect you to the created term.

The term has the status Draft, so you can review it before publishing.

Once the term is created, either manually or with AI help, it is moved to the Created Terms tab - learn more below.
Terms Discovery Dashboard - Deleted Terms
All suggested terms which you remove can be found under the tab Deleted Terms. To restore needed term, click the button Restore Term.

Terms Discovery Dashboard - Created Terms
Last tab is Created Terms. Here you can review the terms that were created based on scan posts results.
Let's consider the columns of the table.
- Term - You can filter the results by term names. Each term has 3 links that allow to View, Edit or Trash the term.
- Found In - Here you can see a title and link to the post where the term was found.
- Publish Date - Shows the date and time when the term was published.
- Creation Method - This columns shows how the term was created. It can have 3 statuses:
- autocreated - This status is assigned to automatically created posts. It happens only if the option Enable auto-creating for suggested terms is enabled in the plugin settings.

- manual - This status is assigned to terms which are created using the button Create Manually on the Suggested Terms tab.

- hybrid - This status is assigned to terms which are created using buttons Adjust Prompt or +Create with AI on the Suggested Terms tab.

- Prompt - This column shows what prompt was used for creating this term. The prompt for autocreating terms can be selected in the option Default Prompt Template for term creation in the plugin settings.

Tips and Recommendations
Use these tips to get the best results from the Terms Discovery feature:
- Optimize AI prompts and content size - Use the plugin's prompt templates and content size settings wisely to avoid generating irrelevant terms or too long definitions. Fine-tuning the prompts and setting reasonable content limits helps control the number of tokens used by ChatGPT or Gemini and ensures efficient, relevant term creation.
- Review and enhance AI-generated content - Whether terms are created manually or automatically, we recommend reviewing the definitions and adding your own touch to ensure accuracy, clarity, and consistency with your site's style.
- Manual scanning for updated content - If you refresh or update a post, you can run a manual scan from the post editor to detect new potential terms immediately.
- Avoid overloading your server - Be mindful of the number of posts scanned each day. High numbers can create unnecessary server load, especially on sites with large amounts of content.
- Managing large glossaries - On sites with many posts, automatic term creation can generate a significant number of new entries. This may require tuning your server to handle the increased glossary size. Please check our use case guides about managing large glossaries:
End Result
Following instructions found in the plugin and guides, you should be able to configure the automatic search and term creation, and manage suggested terms.
Use Case Front-end
Dashboard for managing suggested terms:
Dashboard for managing terms created based on scanning content results:
 |
More information about the WordPress Glossary Plugin Other WordPress products can be found at CreativeMinds WordPress Store |
 |
Let us know how we can Improve this Product Documentation Page To open a Support Ticket visit our support center |