WordPress Curated Lists (CMCLM) - Use Case - How to Create a List of Restaurants With Contact Info For Each
Use Case - How to Create a List of Restaurants With Contact Info For Each
Note: This guide requires:
- WordPress Curated Lists – This document uses version 1.5.3.
Introduction
WordPress Curated Lists plugin lets users organize links and aggregate content around categories, displaying them as a curated list.
WordPress Curated Lists is a great tool for content marketing and for building a WordPress knowledge base and sharing it in an engaging way.
Use Case Front-End
Hovering on the category or on the link will show its description (if defined) in a tooltip.
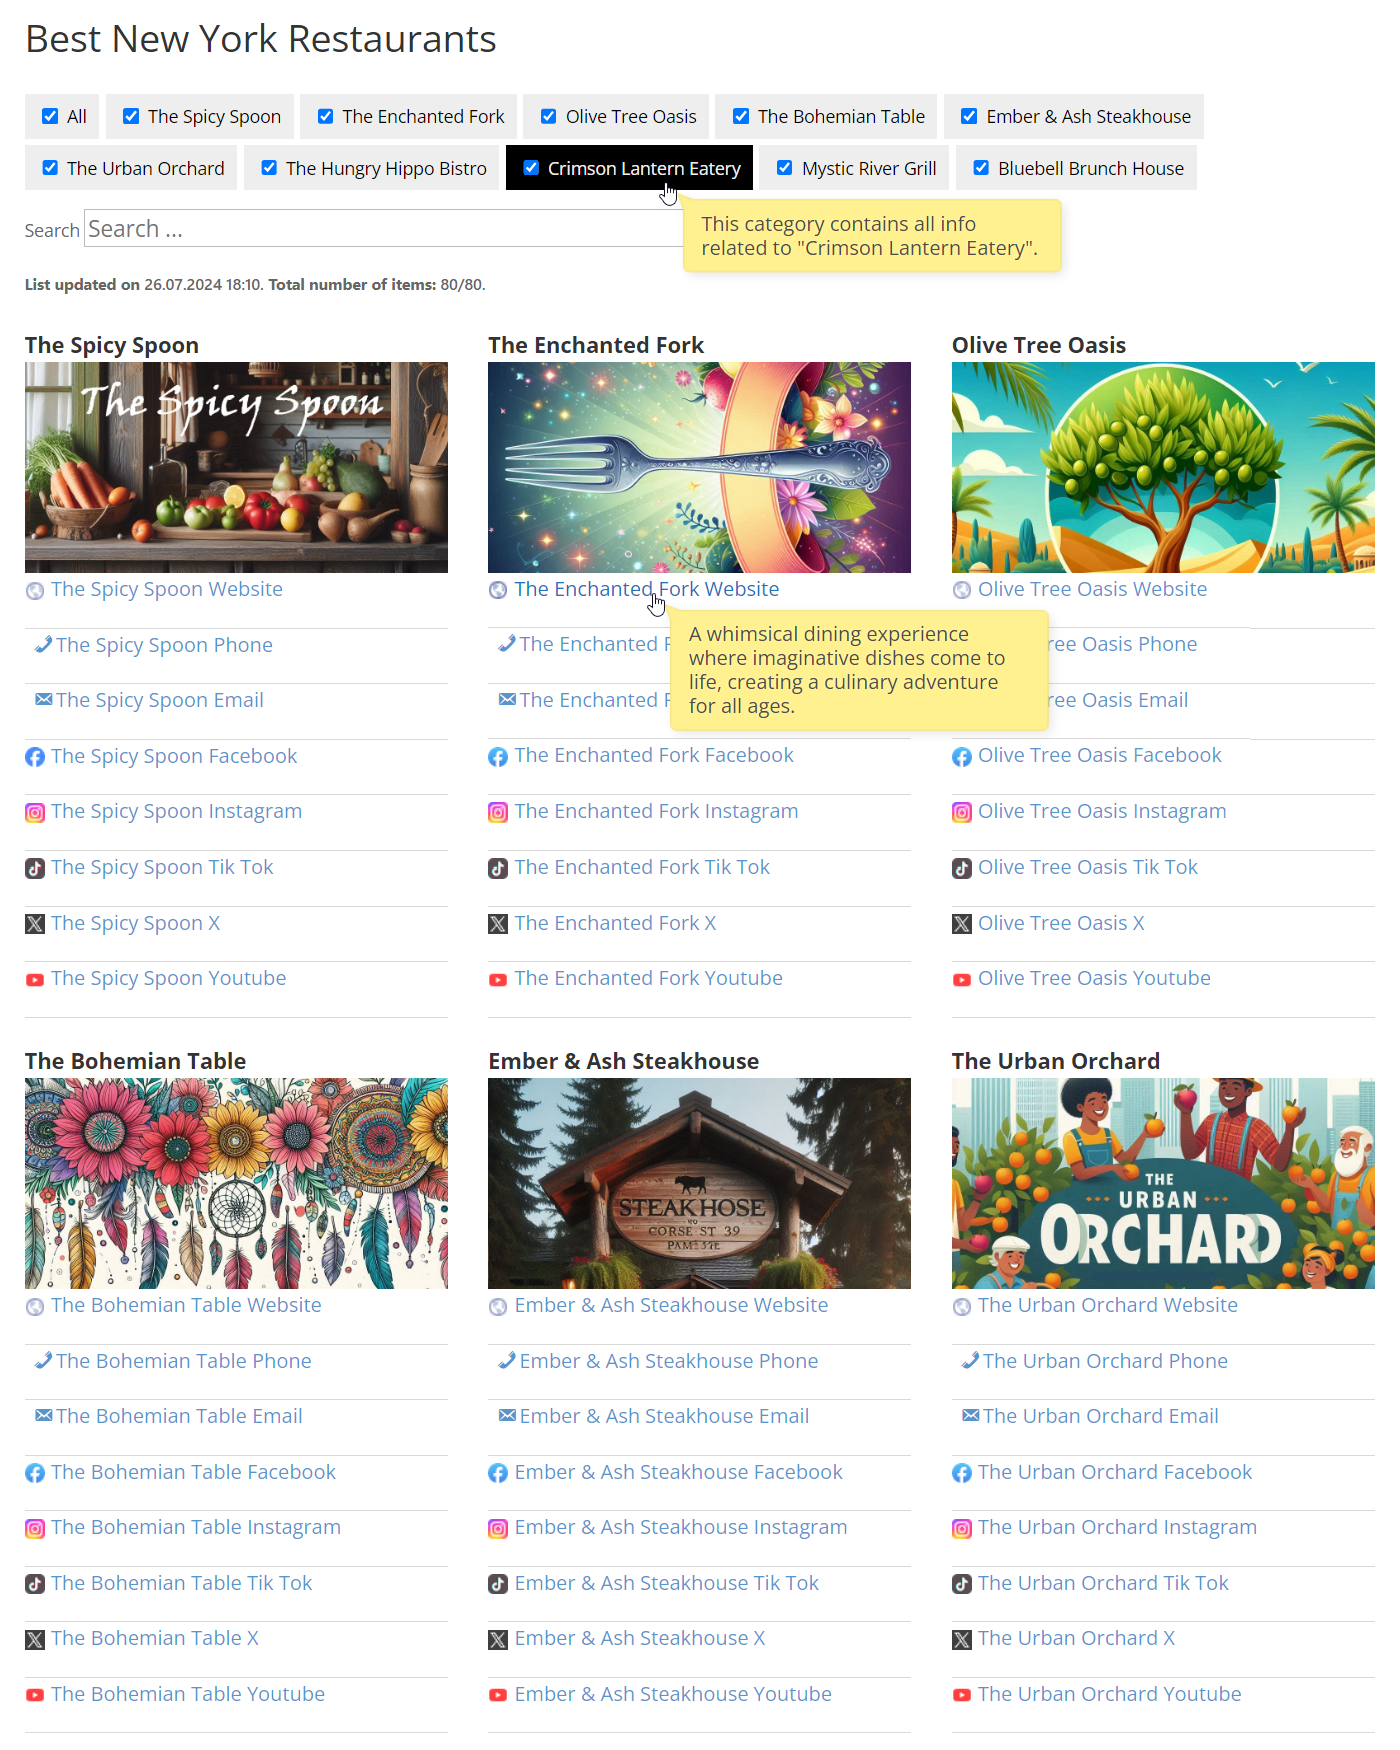
The user can filter categories by choosing the needed one in the filter bar.

The user can also choose if to show all categories or only the selected ones.
Each restaurant category has a clickable phone number and email address with relevant buttons to get in touch.
It is also easy to filter needed type of contacts or links by their names using the fast live search bar:
Use Case Assumptions
In this example use case guide we will consider how to create a curated list of restaurants with the list of contacts and links for each of them. You can apply the same idea for your use case.
We consider that you have already bought the plugin, but not installed it.
It follows:
- Installing the plugin
- How the plugin works
- Configuring the plugin
- Creating lists
- Creating categories and adding them to lists
- Adding links to categories
- Displaying list on a page or post
- End result
Installing the Plugin
The process is the same for all CM plugins and add-ons.

- Download the plugin from your customer dashboard.
- Log in to WordPress and navigate to the WordPress Admin → Plugins settings.
- Click on Add New.
- Activate it and add the license.
Learn more: Getting Started - Plugin Overview
How the Plugin Works
The way the WordPress Curated Lists plugin works is in the following:
- Create a list (one or more).
- Create categories and add them to needed lists.
- Add links to categories.
- Use a shortcode to display specific list or specific category on any page or post.
- Optionally, add tags and assign them to links.
Configuring the Plugin
Before start, you can configure the plugin according to your needs - appearance of the curated list, what should be displayed, how filters should work and some more options.
Learn more: WordPress Curated Lists (CMCLM) - Options (General, Search Filter, Social, Appearance)
In this use case guide we will consider only the process of creating lists, categories and adding links.
Creating Lists
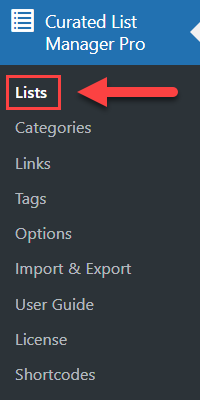
First, let's start with creating a list. To do this, navigate to Admin Dashboard → Curated List Manager Pro → Lists.
On the left side of the page you can see a form for creating a new list, and on the right side - there's a table where created lists will be displayed and where you can manage them.
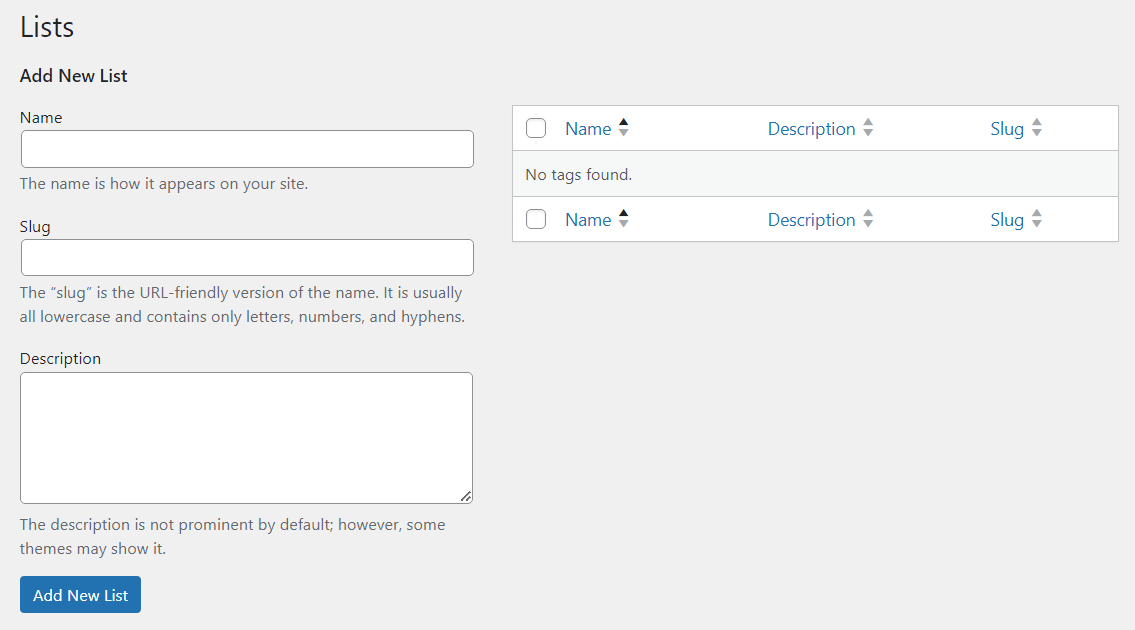
To create a new list, fill the following fields:
- Name - Add a name of the list.
- Slug - You can write it or leave empty, as it can be generated automatically from the Name.
- Description - Add a list description. The description is not prominent by default; however, some themes may show it.
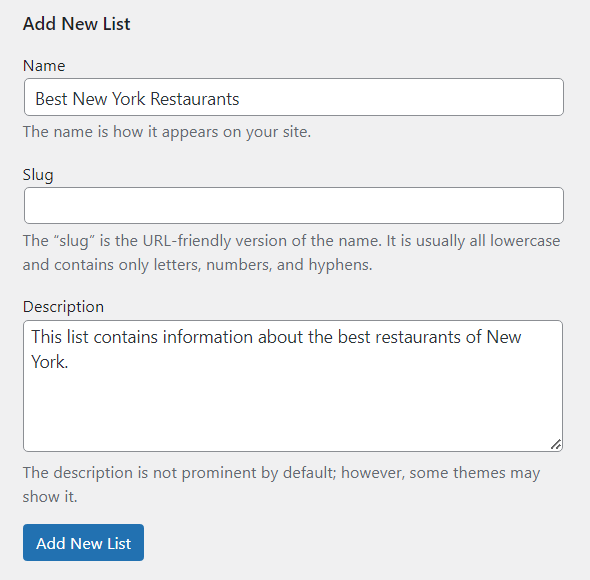
When the fields are filled, click the button Add New List. Here's an example of how we filled the form:
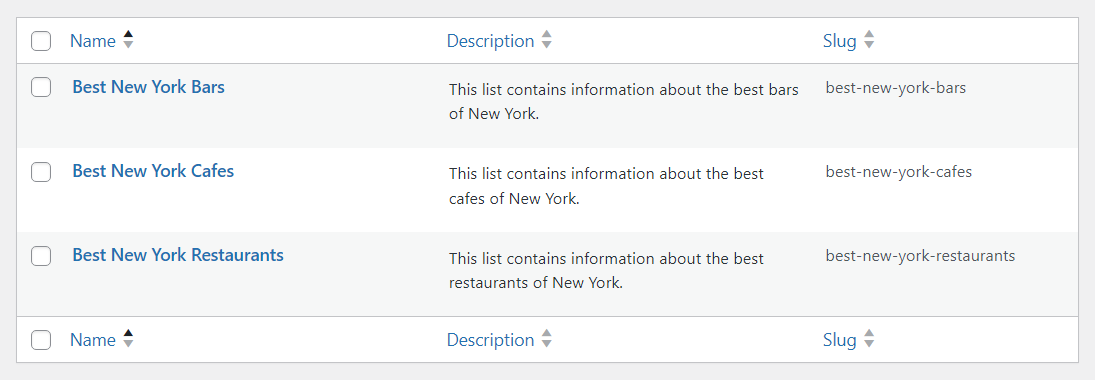
Now you can see this list in the table on the right side of the page:

The same way you can add multiple lists for any purpose:
Creating Categories and Adding Them to Lists
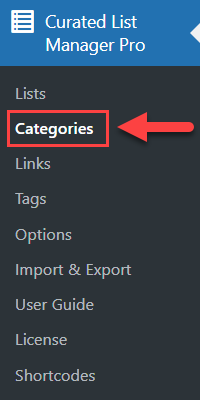
Next you need to create Categories and to the needed rated lists. Navigate to Admin Dashboard → Curated List Manager Pro → Categories.
On the left part of the screen you can see the form for creating categories, and on the right side - a table for managing created categories.
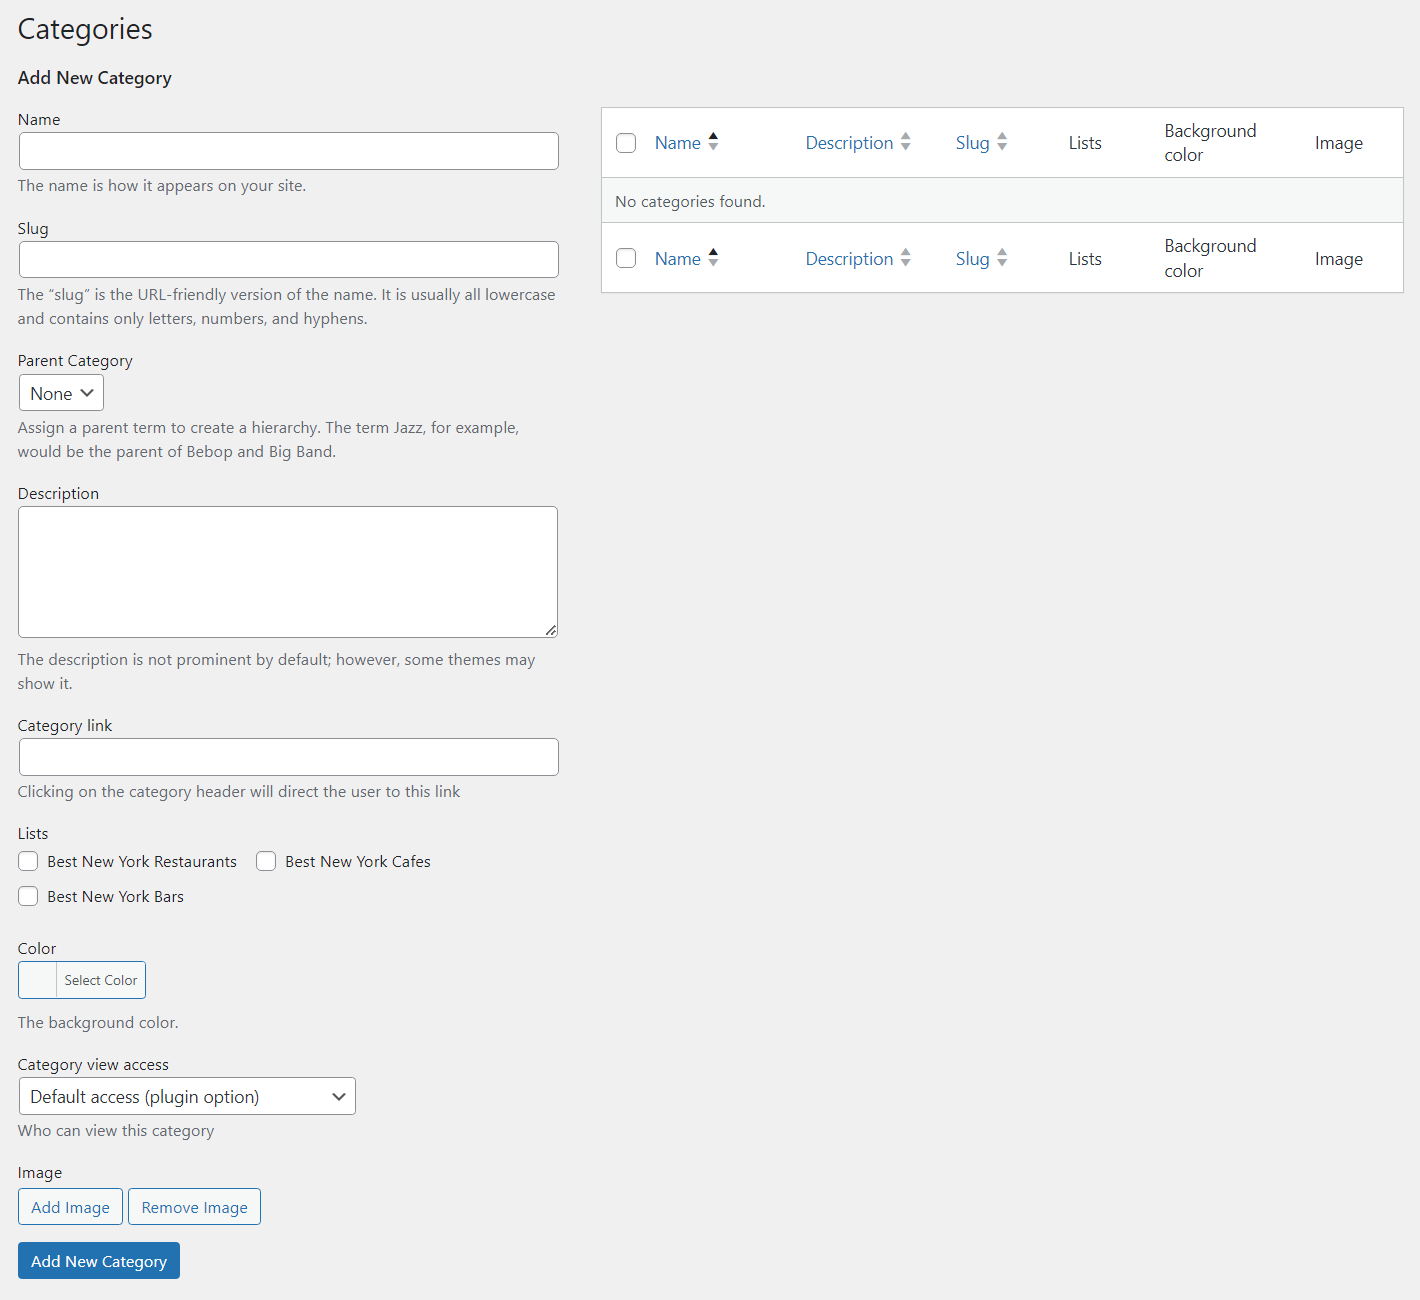
To create a new category, you need to do the following:
- Name - Add a Category name.
- Slug - You can your own slug or leave this field empty, as it can be generated automatically from the Name.
- Parent Category - Optionally, assign a parent term to create a hierarchy.
- Description - Add a description of the Category. The description can be displayed as a tooltip when hovering on the category name in the filter bar.
- Category link - Optionally, add a category URL. Clicking on the Category header will direct the user to this link.
- Lists - Select the List that you want the Category to belong to. The Category can belong to many Lists. If there are no Lists, then you need to create them first.
- Color - Optionally, change the Category background color.
- Category view access - Choose which users can view the Category. Choose between:
- All users
- Logged-in users only
- Registered users with selected roles
- Personal (category author) access only
- Default access (based on the plugin's settings)
- Image - Optionally, add an image to the category. The category can be displayed under the category title or/and in the filter bar next to the category name.
Then, click Add New Category button.
For our use case we will create a separate category per each restaurant, so each category will contain all info relevant to the specific restaurant. Here's the example of how we filled the formed for creating first category:

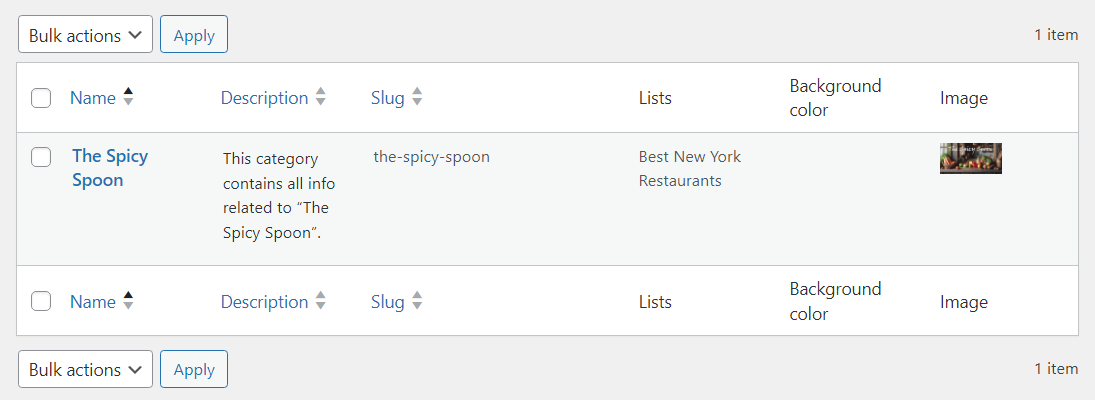
On the right part of the screen you can see the created category which you can edit or delete.
The same way we can create more categories and assign them to the needed lists.
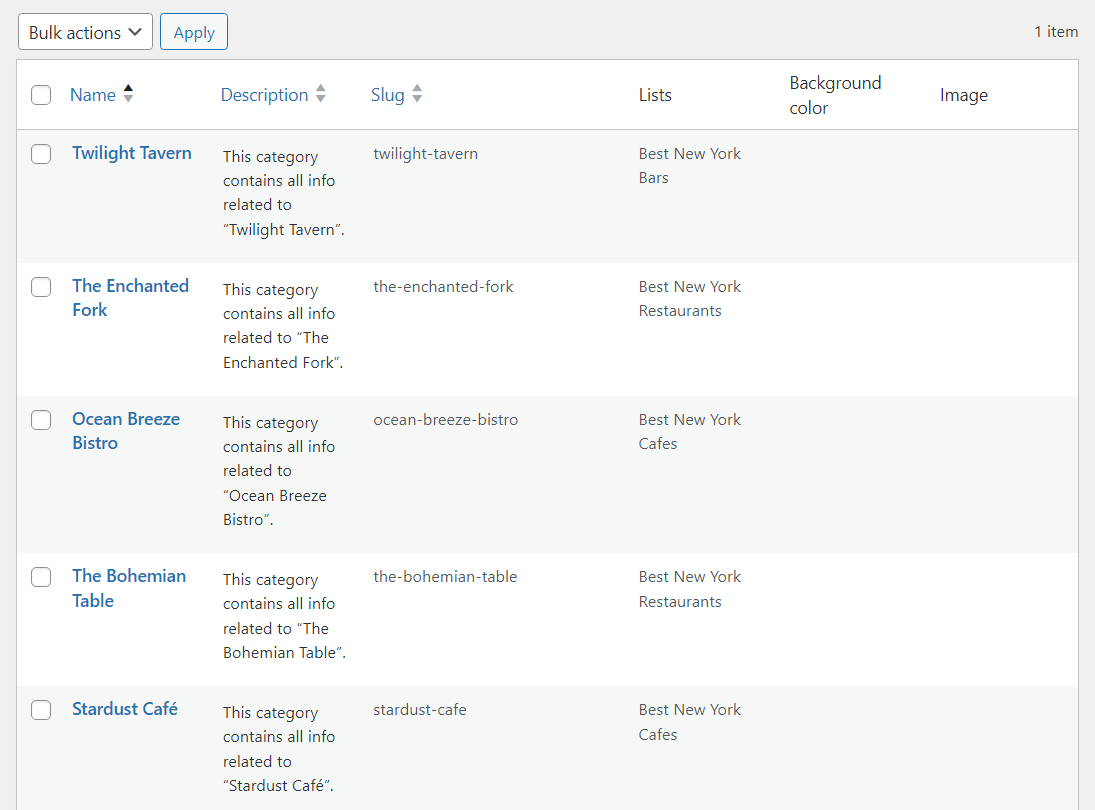
This way we have created a few separate lists for a few public catering types. Using shortcodes it is possible to display a specific list in the needed place of your site.
TIP: Change the Order of Categories
You can change the order of how the Categories will be displayed on the Front-End by dragging and dropping them in the list.

Adding Links to Categories
Now it's time to add Links to the Category. Navigate to Admin Dashboard → Curated List Manager Pro → Links.
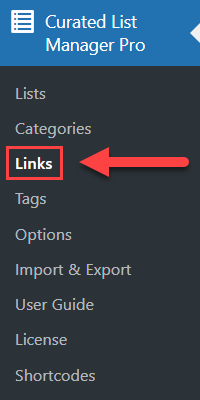
Here again - on the left part of the screen you can see the form for adding links, and on the right side - a table for managing added links.
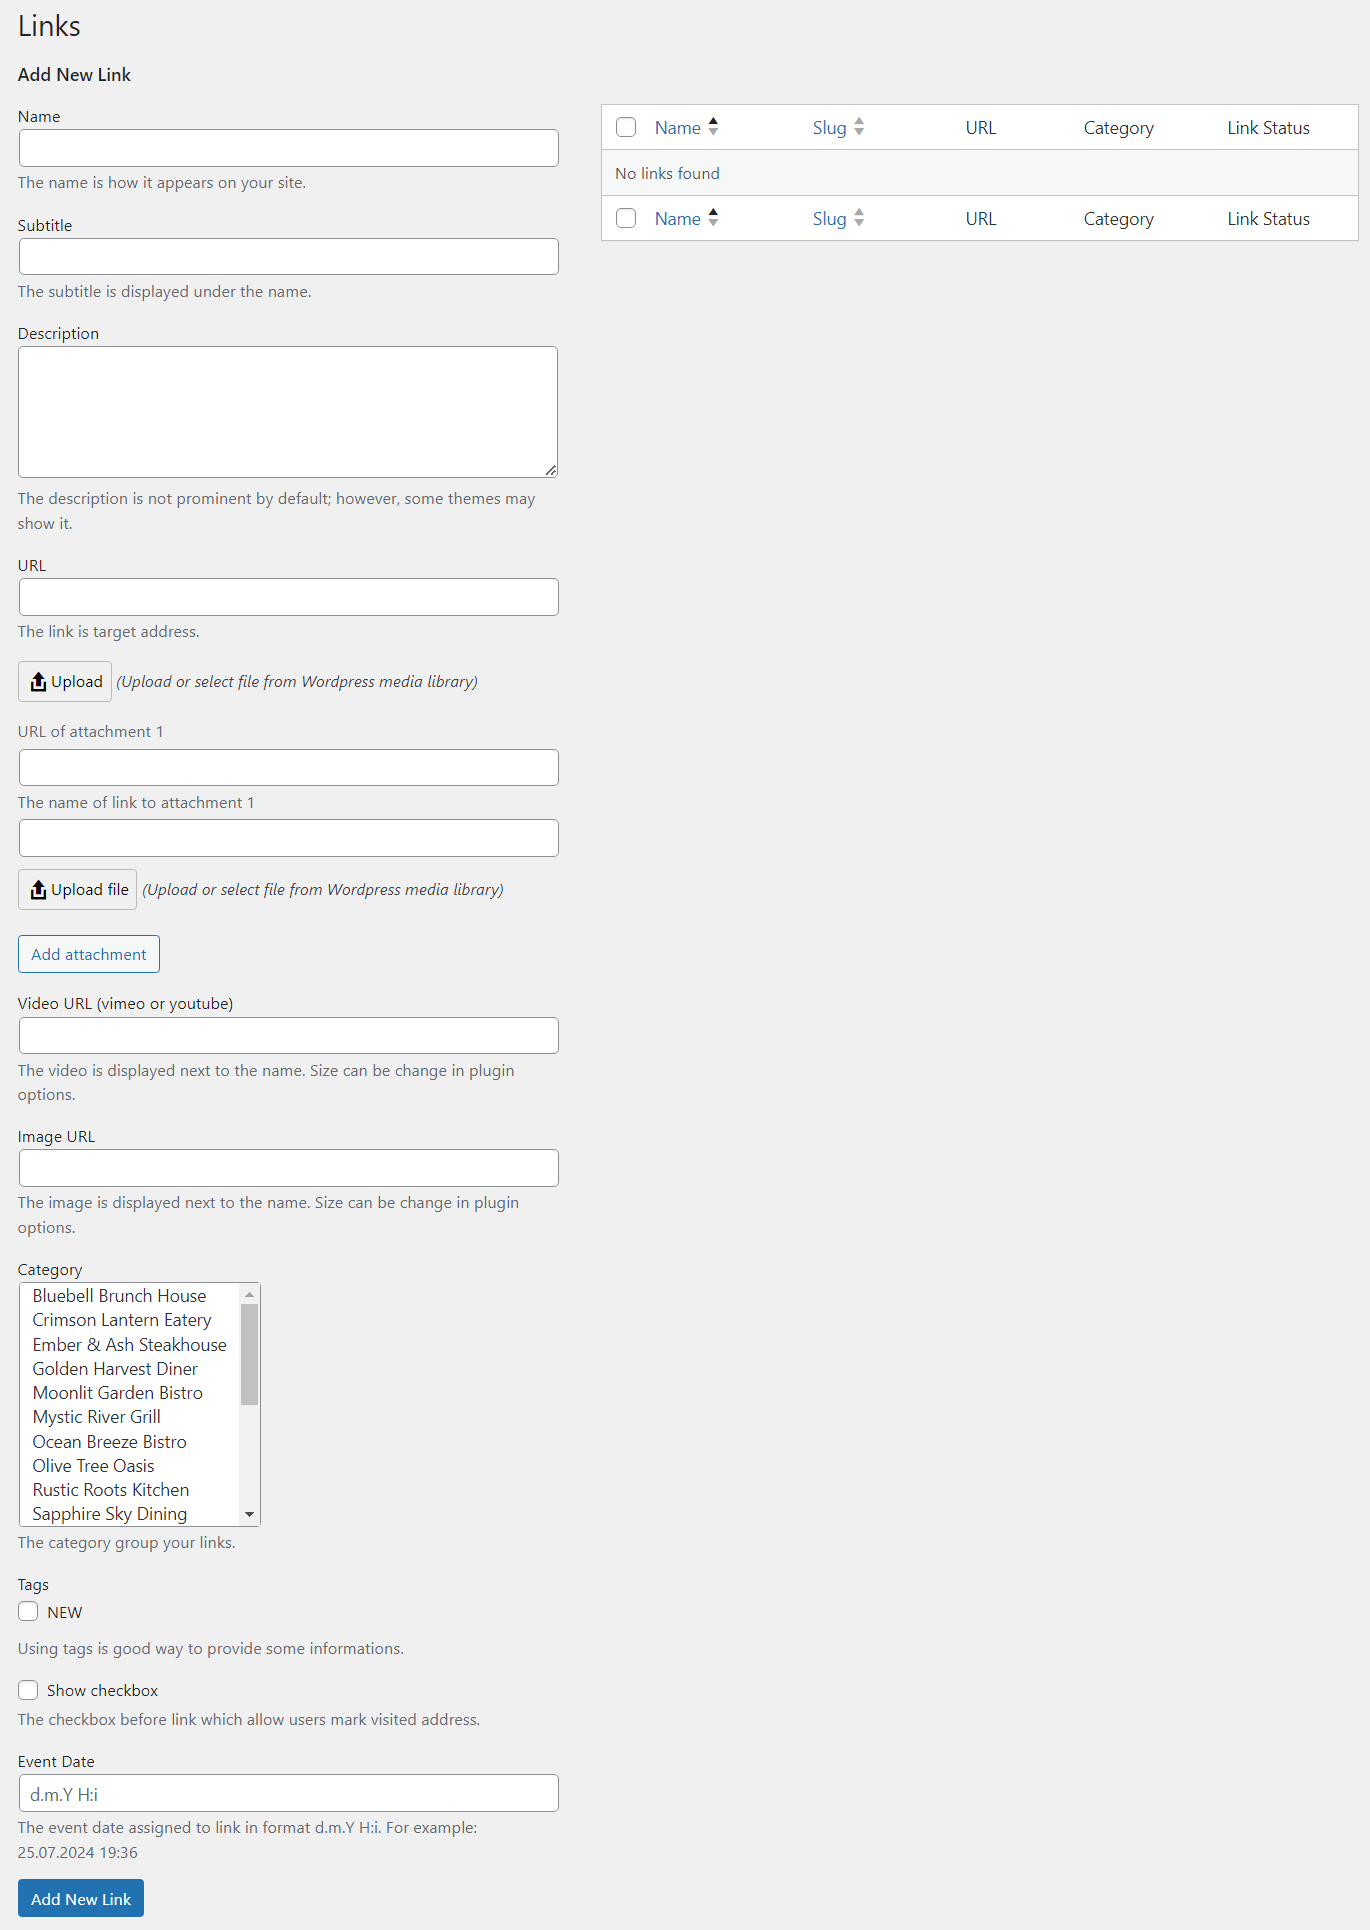
So, you need to fill here the following fields:
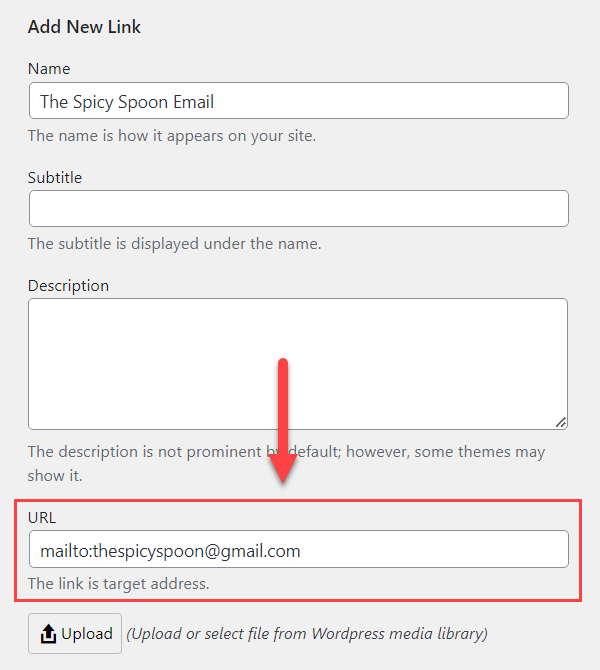
- Name - The name is how the link appears on your site.
- Subtitle - The subtitle is displayed under the link name.
- Description - Will be shown as a tooltip when hovering on the link or/and under the link label (if enabled in general plugin settings). In our case we configured it to display only as a tooltip.
- URL - Add the destination URL.
- Attachments - You can add up to three additional links. You can change the link box colors from the plugin's settings. They will accompany an icon depending on the file extension. For each, you can choose:
- URL of attachment 1 - The file link itself.
- The name of link to attachment 1 - The title that will be displayed.
- Upload file - The URL to the file to be loaded automatically if you choose the file from your Media Library.
- Add attachment - Adding two more additional links.
- Video URL - Add YouTube or Vimeo URL for each link. The video size is specified in the plugin appearance options.
- Image URL - Add an image URL for each link. The image size is specified in the plugin appearance options.
- Category - Select one or more categories for each link to organize them.
- Tags - Can be selected to organize further and provide more information about the link.
- Show checkbox - This option shows a checkbox next to the individual link that allows users to mark visited address.
- Date - Set the date that will be displayed under the link. Can be used for the links that are dedicated to some events, for example.
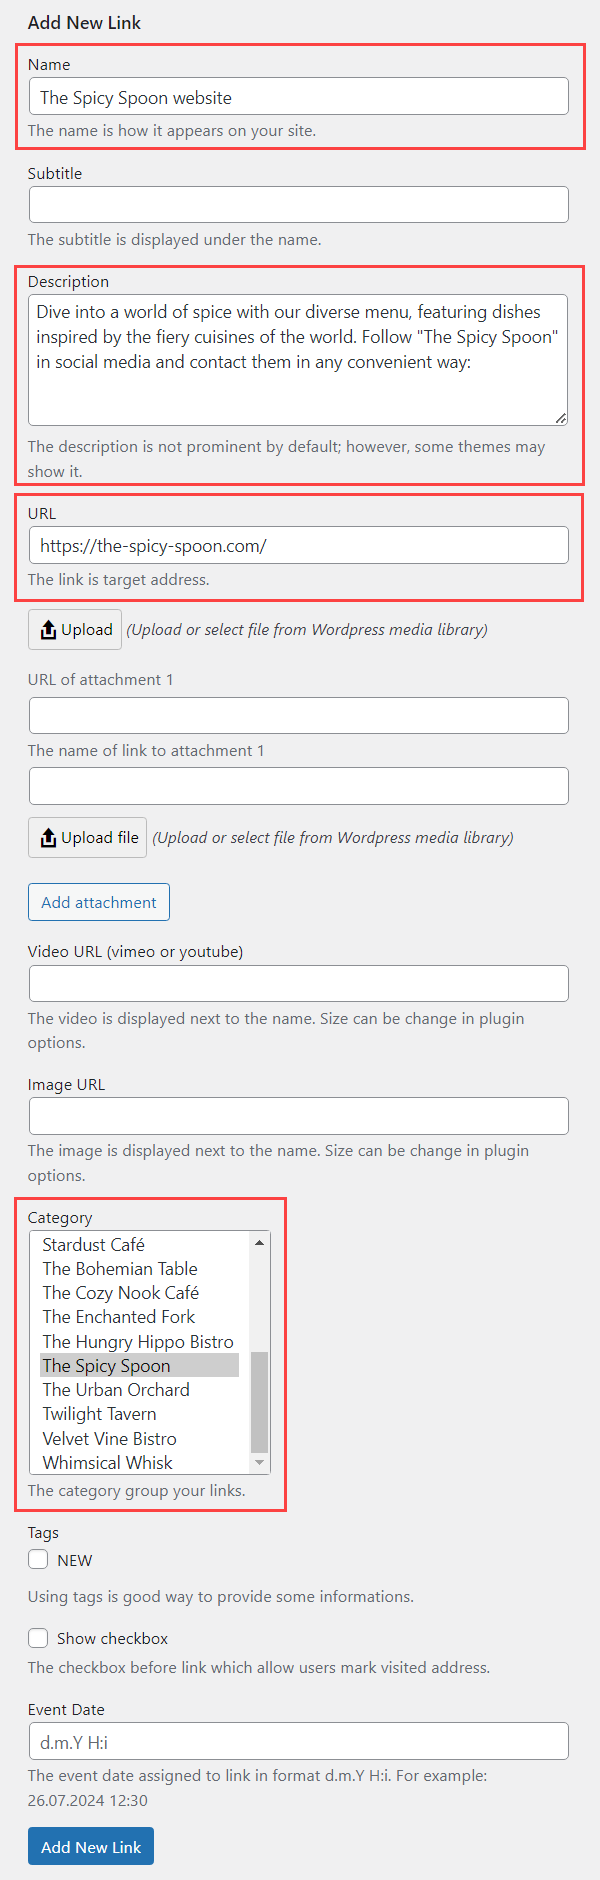
Let's add a link to the website for the first restaurant. We will only add a link name, the link itself add choose the relevant category.
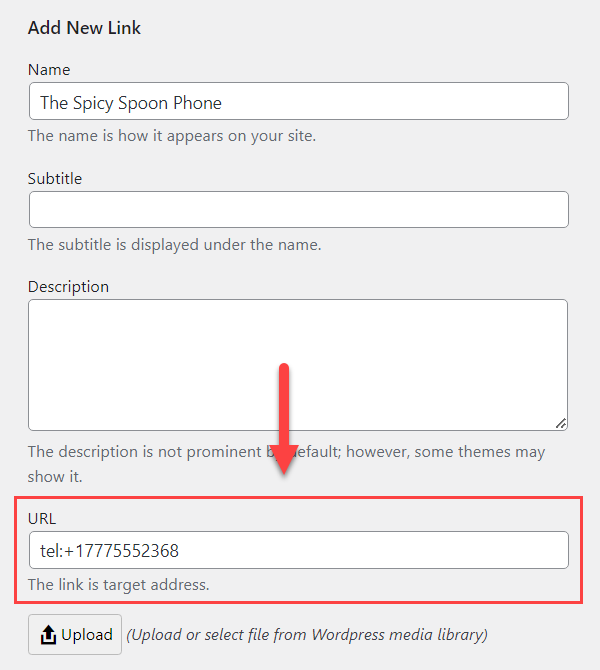
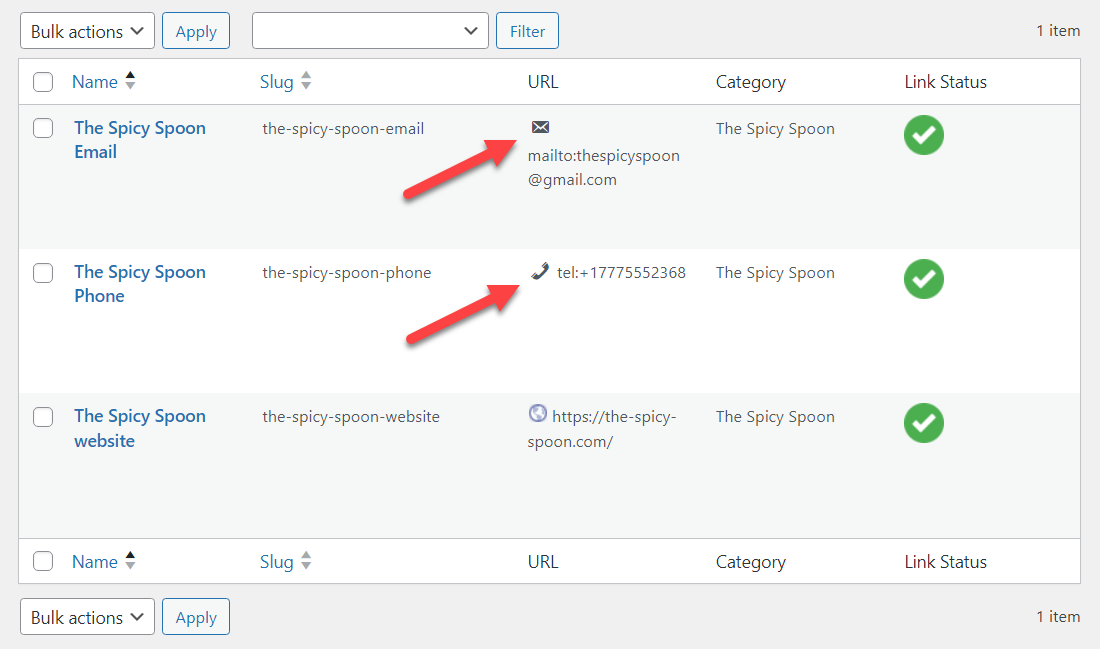
Now we are going to add a phone number instead of the link. We add the phone number to the field URL, but at the beginning we add "tel:", so on the front-end it will be displayed as a clickable button that allows to call.
The same we do with the email - add it to the field URL, but before the email with add "mailto", so on the front-end it will be displayed as a clickable button that allows to send an email.
On the right part of the screen you can see the list of created Links that you can edit or delete. The items that have a phone number or email address instead of the URL, will be marked by relevant icons.
TIP
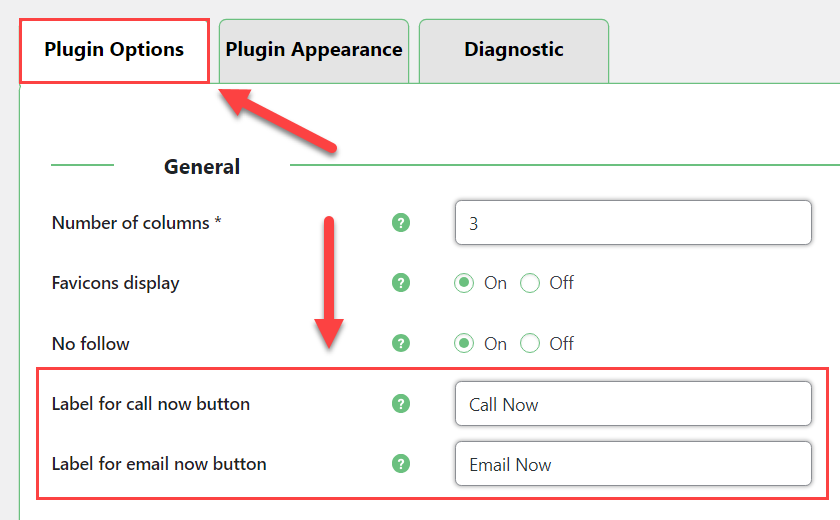
The phone and email links on the front-end will have buttons that allow users to get call or send an email. You can edit the labels of these buttons in plugin settings under the Plugin Options tab, using the following settings:
- Label for call not button
- Label for email not button
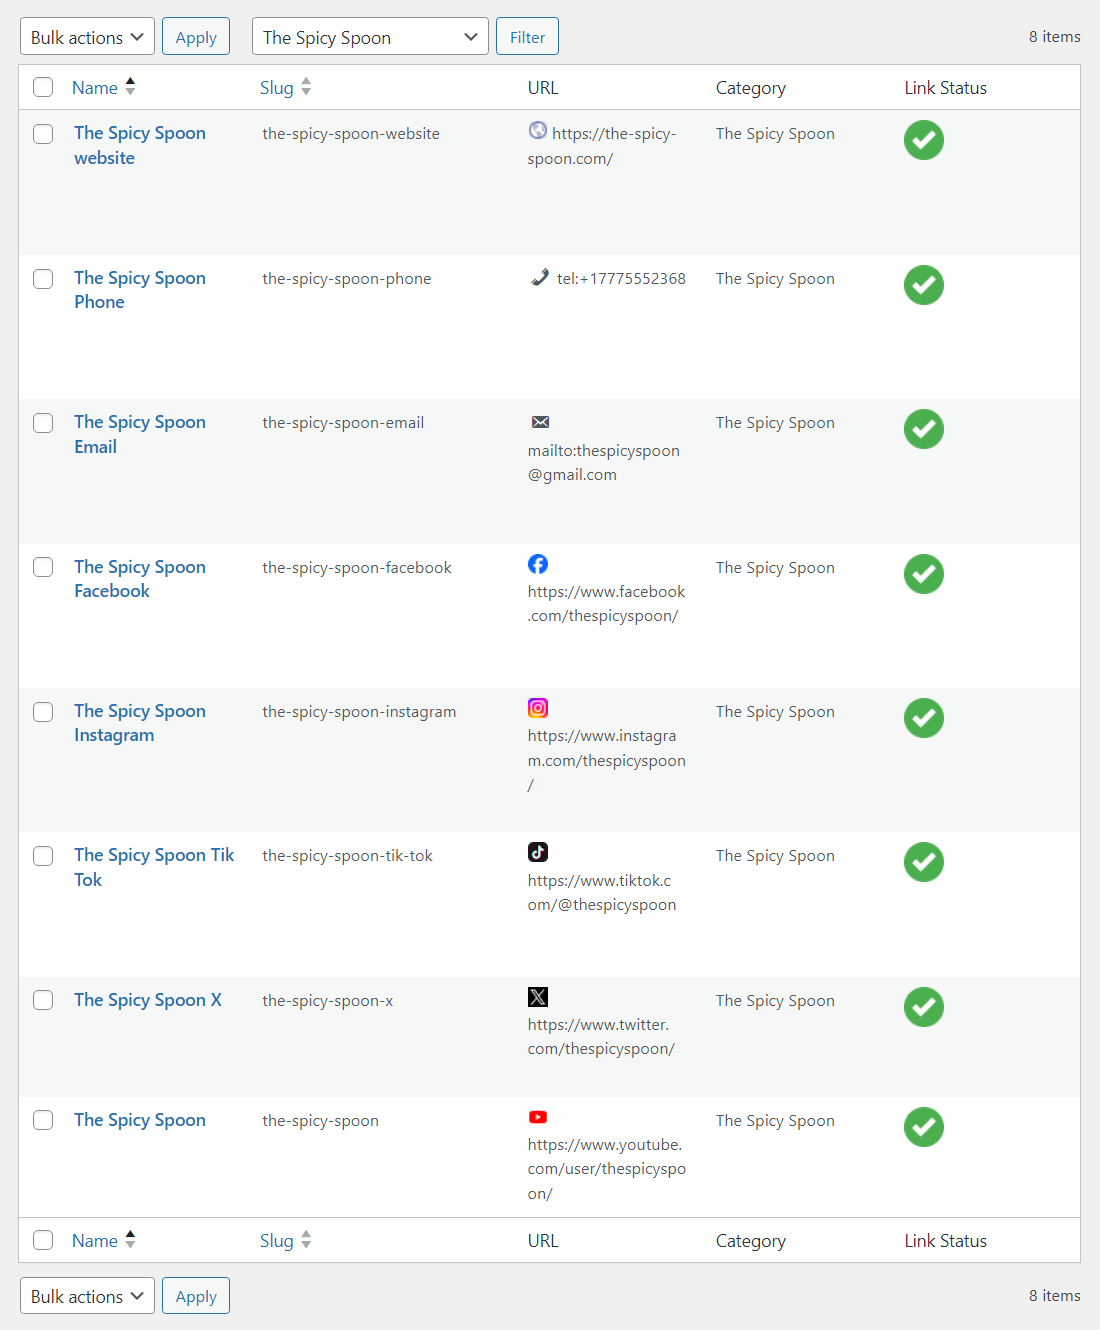
Now we can add some more links related to the restaurant, such a social media links:
TIP 1: Change the Order of Links
You can change the order of the Links in the list on the Front-End by dragging and dropping it in the list. Learn more: WordPress Curated Lists (CMCLM) - Organization - Ordering Links
TIP 2: How to Add a Link Easily
There is a really simple way how to add Links to the Categories using Bookmarklet. Learn more: WordPress Curated Lists (CMCLM) - Set Up - Adding Links Via Bookmarklet
The same way we can add info about each restaurant, so each organization will have its own info card which users can filter.
Displaying List on a Page or Post
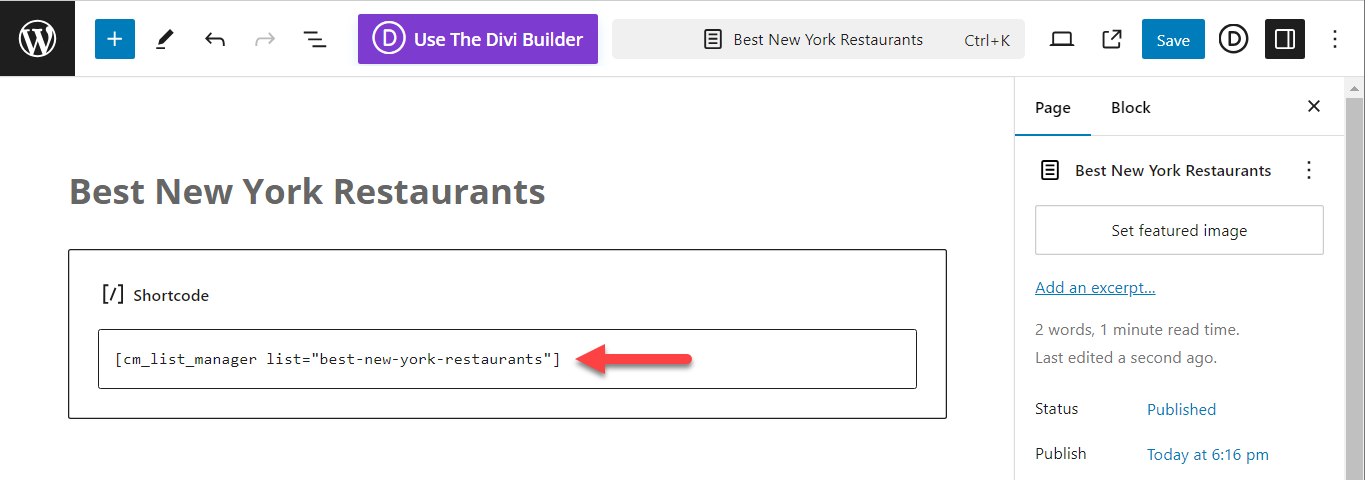
When we created Lists, Categories and added Links, we need to display our curated list on the Front-end. For that we need to put a shortcode [cm_list_manager] on the page or post. We have created a few lists - for restaurants, cafes and bars, but we want to display only the list with restaurants. So we will use a shortcode parameter list with the list slug as a value. In our case the shortcode will look like this:
[cm_list_manager list="best-new-york-restaurants"]
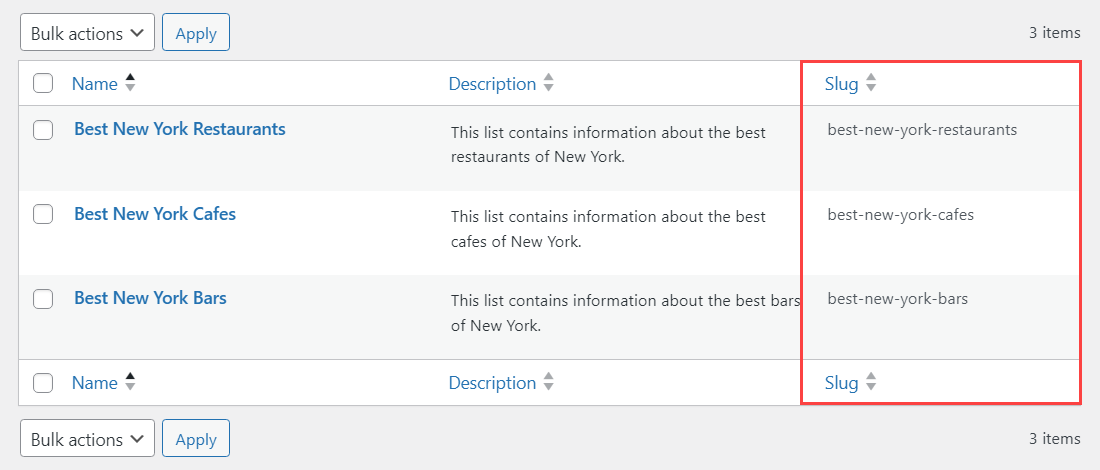
TIP
You can find the slug of the list on the Lists page. In the table with created lists, you can find a column Slug.
The shortcode has more parameters, you can learn more about it: WordPress Curated Lists (CMCLM) - Set Up - Adding List to Website (With Shortcode)
End Result
Now it's time to check the result on the front-end.
We have created a few lists for different types of public catering and displayed a curated list with restaurants. Each restaurant is presented as a separate category that contains a list of useful links and contacts. The user is able to filter the list to find needed information.
Following instructions found in the WordPress Curated Lists plugin and guides, you should be able to create a curated list of restaurants with the list of contacts and links for each of them.
Use Case Front-End
Hovering on the category or on the link will show its description (if defined) in a tooltip.
The user can filter categories by choosing the needed one in the filter bar.
The user can also choose if to show all categories or only the selected ones.
Each restaurant category has a clickable phone number and email address with relevant buttons to get in touch.
It is also easy to filter needed type of contacts or links by their names using the fast live search bar:
 |
More information about the WordPress Curated Lists plugin Other WordPress products can be found at CreativeMinds WordPress Store |
 |
Let us know how we can Improve this Product Documentation Page To open a Support Ticket visit our support center |