WordPress Glossary Plugin (CMTG) + Remote Import Add-On (CMTGRI) - Use Case - How to Duplicate the Glossary Across Sites
Use Case – How to Duplicate the Glossary Across Sites
Note: This guide covers features from:
- WordPress Glossary plugin (Pro/Pro+/Ecommerce) - This document uses version 4.0.0.
- Glossary Remote Import Add-On - This document uses version 1.1.14.
Video Use-Case
Introduction
The WordPress Glossary plugin allows you to create a site with a complete glossary of terms. Each term's definition can appear on mouse hover across the whole site.
The Glossary Remote Import Add-On provides an easy way to import and replicate remote glossaries across several sites/domains and automatically keep them updated.
Use Case Front-End
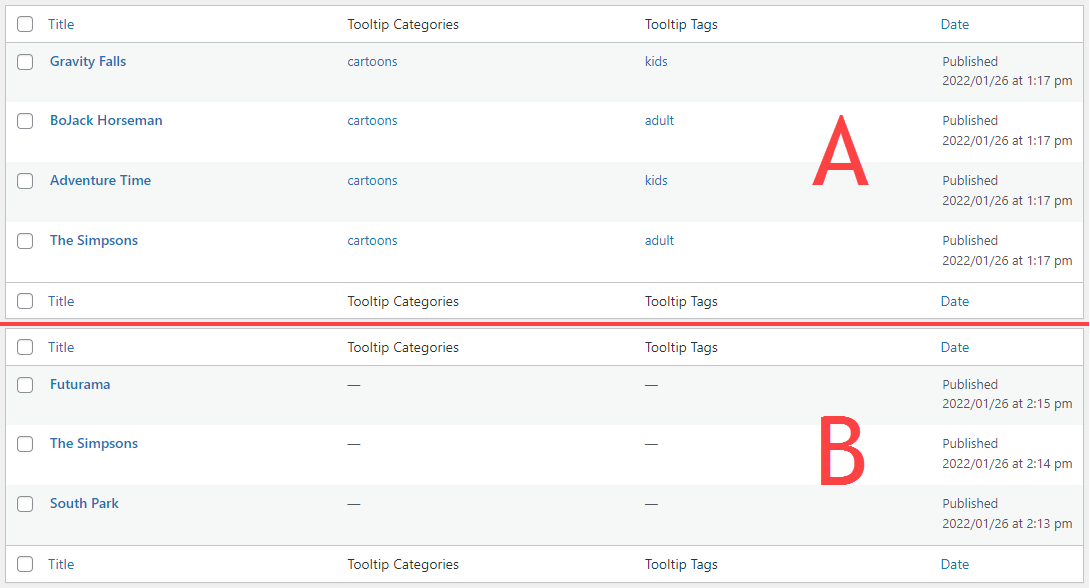
These are the glossaries on the source site A and the replicator site B.
"Add New" Import Mode:
"Merge" Import Mode:

"Replace" Import Mode:
Use Case Assumptions
In this example use case guide we will consider how to duplicate the glossary across sites.
We consider that you have already bought the plugin and add-on, but not installed them yet.
It follows:
- Installing the plugin
- Quick recap
- Using the WordPress Glossary Import
- How the glossary replication process works
- Configuring the source site
- Configuring the replicator site
- End result
Installing the Plugin
The process is the same for all CM plugins and add-ons.

- Download the plugin from your customer dashboard.
- Log in to WordPress and navigate to the WordPress Admin → Plugins settings.
- Click on Add New.
- Activate it and add the license.
Learn more: Getting Started - Installation And First Steps
Quick Recap
In this use case we will cover only duplicating your Glossary. So, we suppose that you've already configured the base plugin and know how to add terms to your Glossary. If not, it's better to go through this use case first:
Using the WordPress Glossary Import
The Glossary Remote Import Add-On allows you to:
- Replicate one of your own glossary databases with all the terms to other site and keep it up-to-date with all changes and additions.
- Merge multiple glossaries.
- Update your glossary based on another external glossary.
- Easily use your glossary in multiple locations.
- Expand your glossary by importing external glossaries.
- Keep your glossary up-to-date.
How the Glossary Replication Process Works
To make a replicate copy of a glossary from a site A to the site B you need to do the following:
- Install the Add-On on the site B together with a copy of the WordPress Glossary plugin. You need to use the same version in both sites to be able to replicate all content between sites. If you don't have the same version, only part of the information may be transferred.
- In the plugin settings, define the glossary on the site A as the source.
- Define the updates interval (how often should the replication be made).
- Define the updates mode - you can choose between 3 modes: Replace, Merge or Add New. We will consider all these modes more detailed further.
- (optional) Add pin code - if the glossary on the site A is protected by a pin code - set it.
Here are the lists of glossary terms on our source site (A) and replicator site (B).
Configuring the Source Site
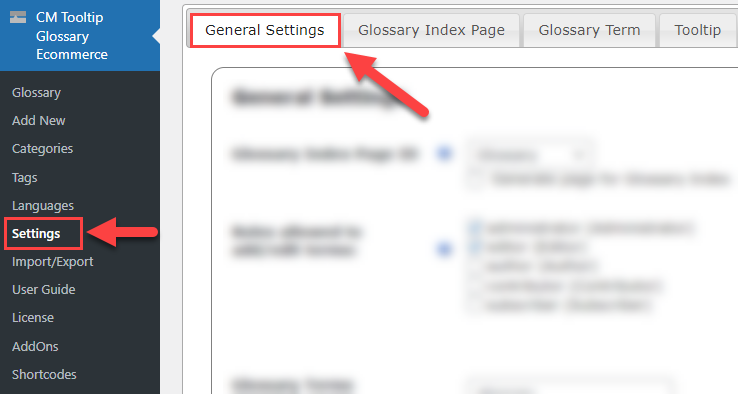
On the source site A, navigate to Admin Dashboard → CM Tooltip Glossary → Settings → General Settings tab.
Head to the section Backup. Here we can configure the backup settings for your glossary - how it will be secured and how often the automatic backup should be done. It is needed to be configured, as the replicator site copies the glossary from the backup file. The options are:
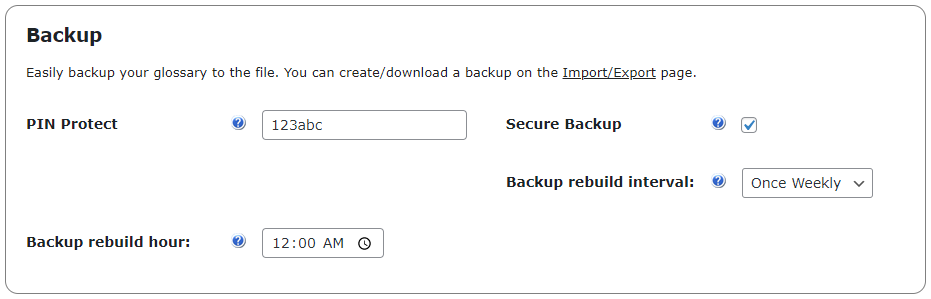
- PIN Protect - Fill this field with a PIN code which will be required to get the backup. This is optional. Leave empty to disable PIN Protection.
- Secure Backup - Select this field if you want to use the secure WP Filesystem API for the file saves. Note: This may require the FTP/SSH credentials.
- Backup rebuild interval - Choose how often the backup of the glossary is saved:
- Never (choose it to disable automatic saves)
- Once Weekly
- Once Monthly
- Once Hourly
- Twice Daily
- Once Daily
- Backup rebuild hour - Choose the hour when the Glossary Index Backup save should take place. The hour should be properly formatted string, eg. 12:00 AM.
After configuring the settings, click the button Save Changes at the bottom of the page.

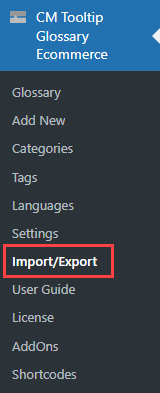
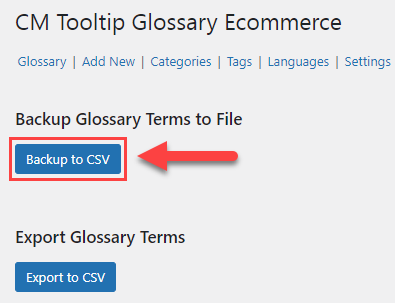
You can also commit a backup of your glossary manually. Navigate to Admin Dashboard → CM Tooltip Glossary → Import/Export.
Click the button Backup to CSV.
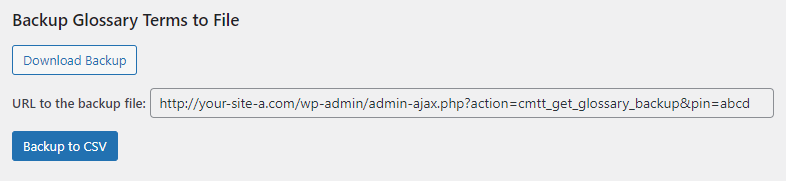
After that you will see that the backup is done:
Configuring the Replicator Site
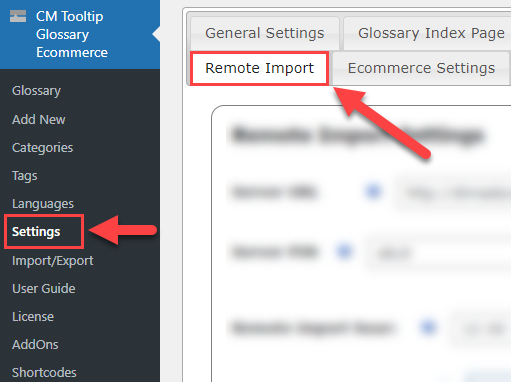
On the replicator site B, navigate to Admin Dashboard → CM Tooltip Glossary → Settings → Remote Import tab.
Here under the Remote Import Settings section, you need to define the source site with the glossary and the parameters of import. The options are:
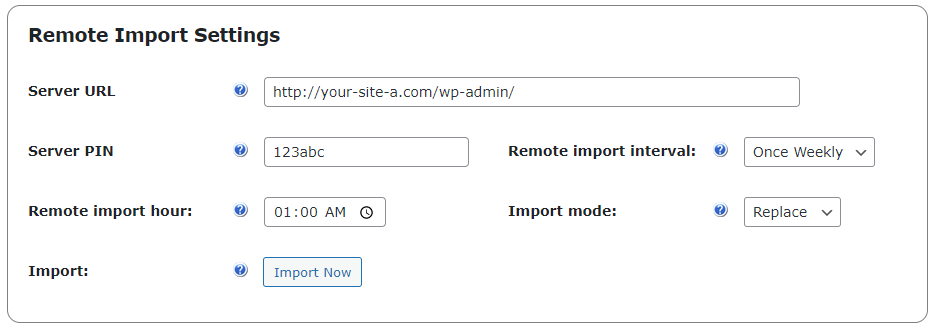
- Server URL - Enter the URL of the source site. It has to point to the directory where the admin-ajax.php file resides, usually: domain.com/wp-admin/
- Server PIN - Enter PIN for the server. This is optional - fill only if server is PIN protected.
- Remote import interval - Choose how often the Remote Glossary should be imported.
- Remote import hour - Choose the hour when the Remote Glossary Import should take place. The hour should be properly formatted string, eg. 01:00 AM.
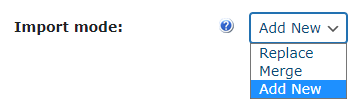
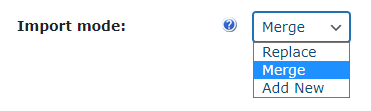
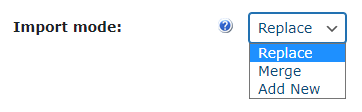
- Import mode - Select the desired import mode:
- Replace - Remove the current glossary from the site B, then import the remote glossary from the site A.
- Merge - Override the existing glossary terms (update definitions etc.) and add new terms.
- Add New - Ignore the imported terms if they already exist in the glossary and only add new ones.
Then click the button Save Changes at the bottom of the page.
There is one more option: the button Import Now - If you don't want to wait the planned time when the automatic import should be done, you can commit this process manually by clicking on this button. Important: Click on this button only after you saved the changes of remote configuration.
Now let's consider a few examples, how the glossary is imported with different import modes.
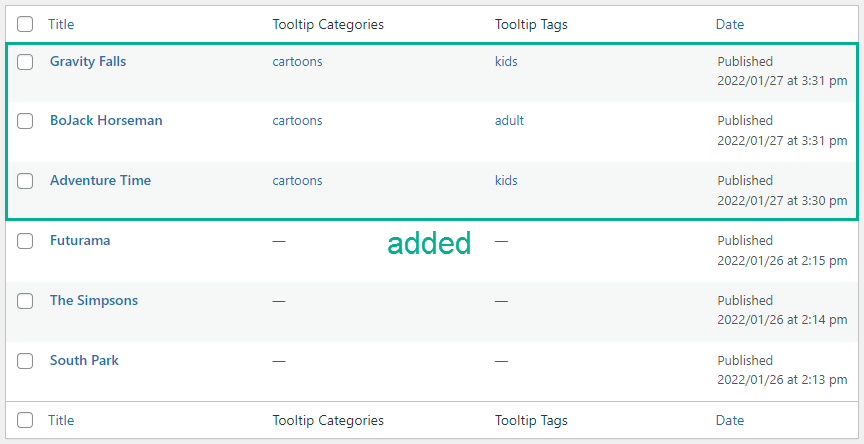
"Add New" Import Mode
Choose the Add New mode in settings.
This is how the glossary is imported - existing terms on the site B were kept and new terms from the site A were added. The terms from the site A that match the terms from the site B were skipped:
"Merge" Import Mode
Choose the Merge mode in settings.
This is how the glossary is imported - existing terms on the site B were kept, the ones that are matching the terms on the site A - they were updated (substituted), and new terms were added:
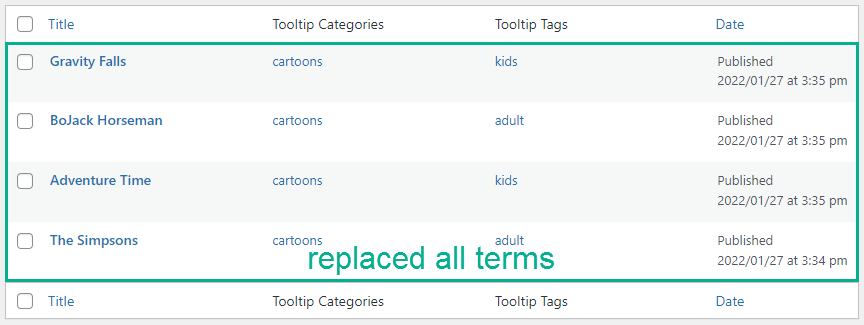
"Replace" Import Mode
Choose the Replace mode in settings.
This is how the glossary is imported - all existing terms from the site B were completely removed, and terms from the site A were imported instead:
End Result
Following instructions found in the plugin and guides you should be able to duplicate the glossary across sites.
Use Case Front-End
These are the glossaries on the source site A and the replicator site B.
"Add New" Import Mode:
"Merge" Import Mode:
"Replace" Import Mode:
 |
More information about the Glossary Remote Import Add-On for WordPress Other WordPress products can be found at CreativeMinds WordPress Store |
 |
Let us know how we can Improve this Product Documentation Page To open a Support Ticket visit our support center |