WordPress Registration Form Plugin (CMREG) - Getting Started - Free Version Tutorial
WordPress Registration Form Plugin - Free Version Tutorial
WordPress Registration Form Plugin
Learn more about Pro version of the WordPress Registration Form Plugin
This article covers only features present in the free version of the WordPress Registration Form Plugin.
It shows you how to set a login and registration pop-up on your site.
Example
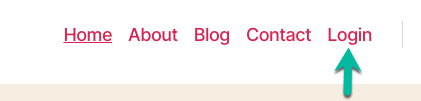
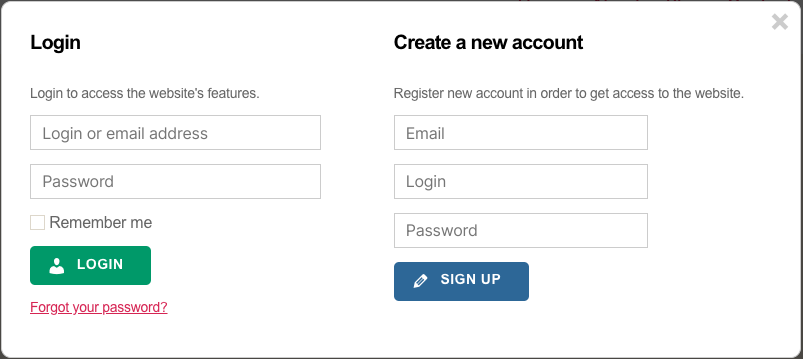
Table of Contents
- Installation guide
- Setup Wizard
- List of Features
- Using the Plugin - Overview
- Settings
- Invitation Codes
Installation guide
Here are the steps needed to install the plugin:
- Download - To manually install the plugin, you must first download it from WordPress.org to your computer.
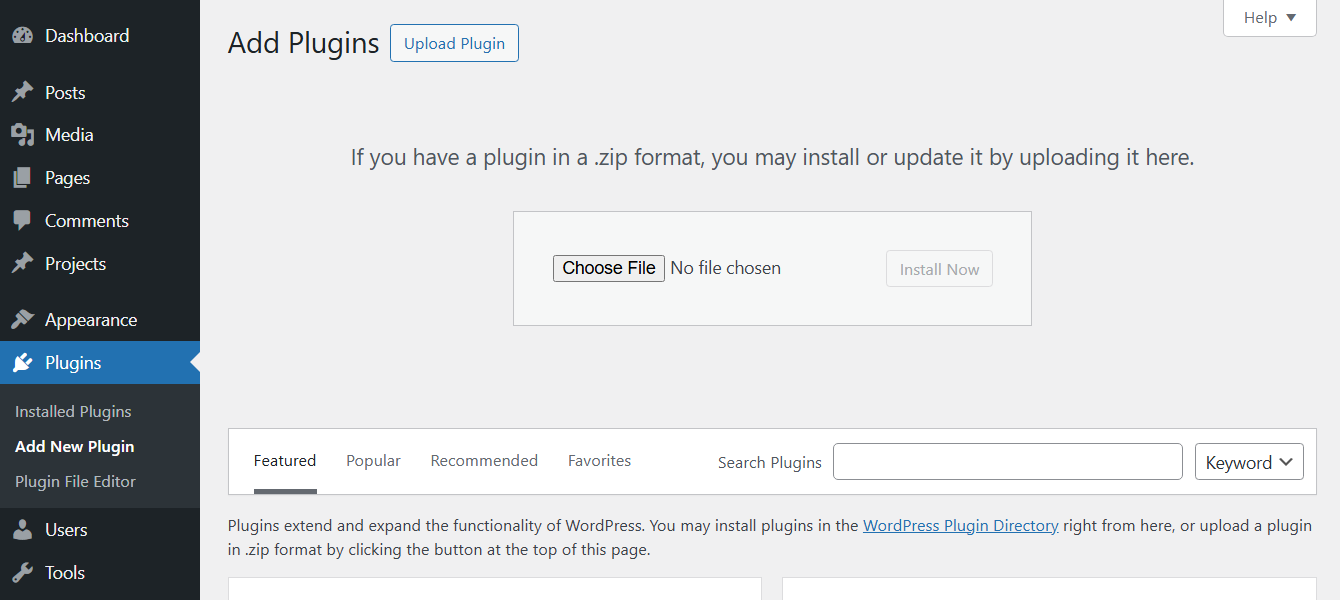
- Navigate to the Plugins tab in the WordPress Admin Panel to install the plugin.
- Activate the plugin.
Setup Wizard
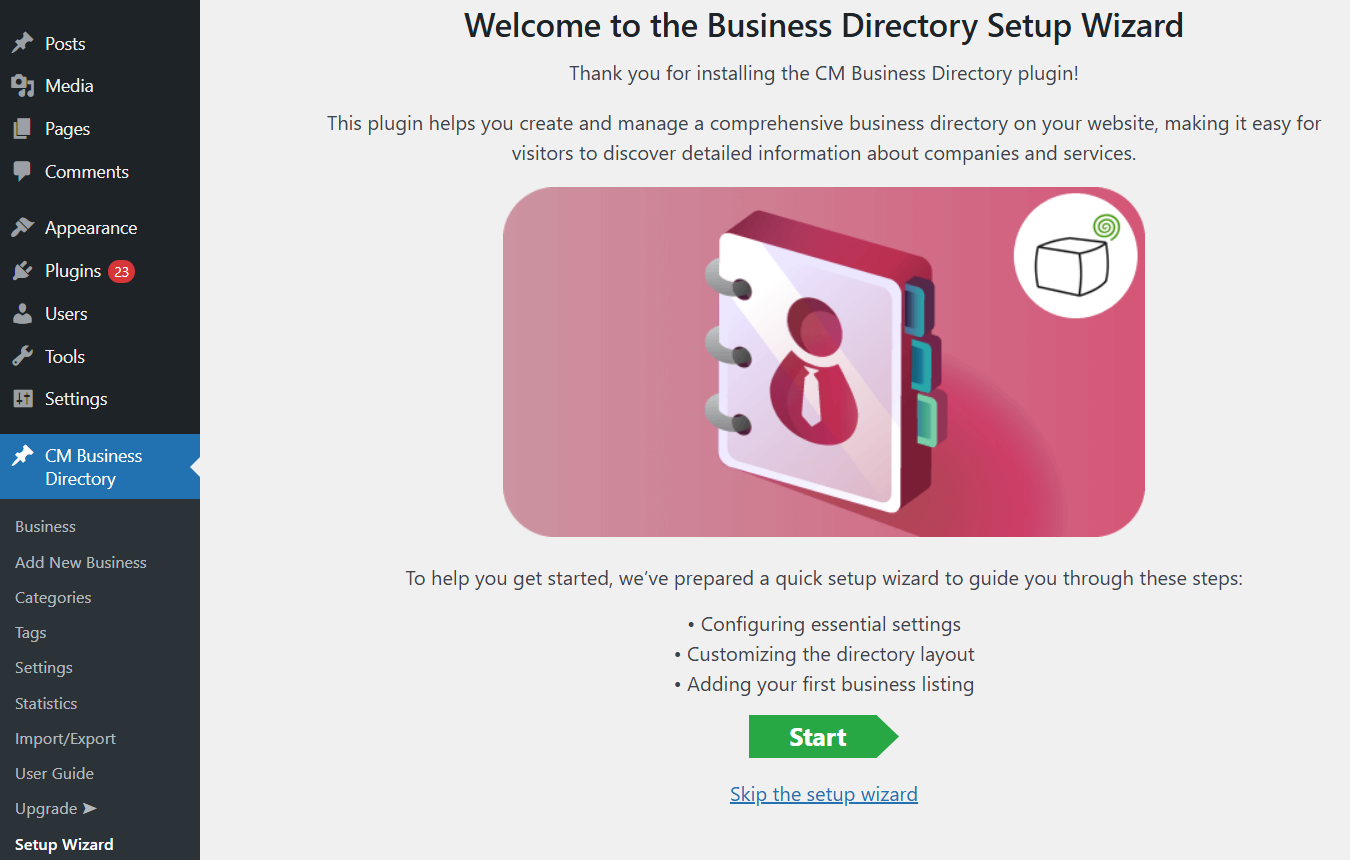
Once you install and activate the plugin, you will see a setup wizard. It will help you to configure the basic settings step by step - just follow the instructions. Optionally, you can skip it.
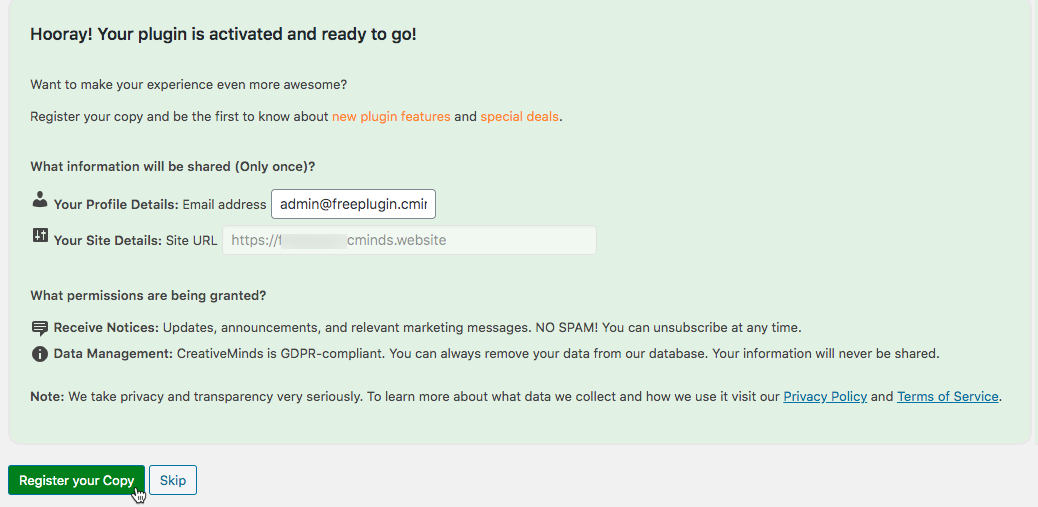
TIP: Register for Benefits
If you like, you can register your plugin to receive information about updates and our latest offers. You can complete your registration at any time.
If you don’t want to register right away, you can select the Skip button.
List of Features
WordPress Registration Form Plugin
Learn more about Pro version of the WordPress Registration Form Plugin
Using the Free Plugin - Overview
Adding Login Button: Method 1 (Link)
You can add the log in, log out and register links as menu items. You can do so by #cmreg-login-click instead of a regular URL. The end result will look like this:
To do this, navigate to Admin Dashboard → Appearance → Menus.
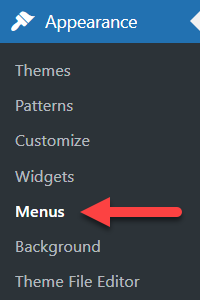
Inside a menu, add a custom link with #cmreg-login-click instead of a regular URL.

Adding Login Button: Method 2 (Shortcode)
You can also add a download button by using the shortcode [cmreg-login]Login[/cmreg-login]
The enveloped text (in this case, "Login") will be shown inside the button.

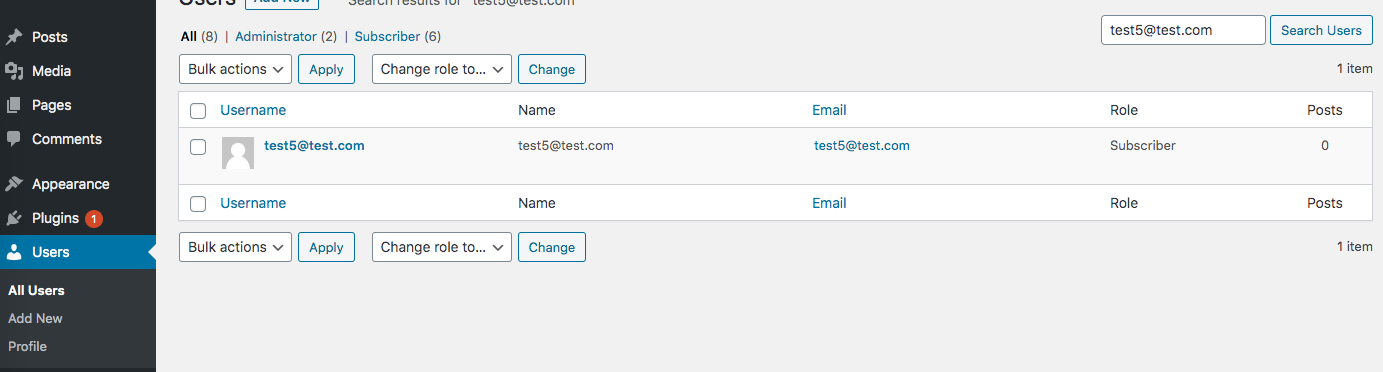
TIP: What Happens Once User Registers?
New users will have the role "Subscriber". You can manage all users from Admin Dashboard → Users → All Users.
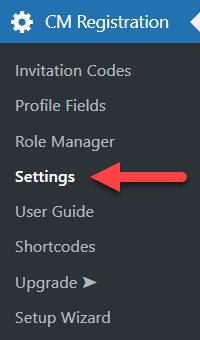
Settings
To configure the plugin settings, navigate to Admin Dashboard → CM Registration → Settings.
The settings page shows options available in the Free version of the plugin and also showcases the options that are available in the Pro version only. You can show or hide Pro options by clicking the relevant button at the top right:
In this guide we will consider only options available in the Free version.
General tab

The options are:
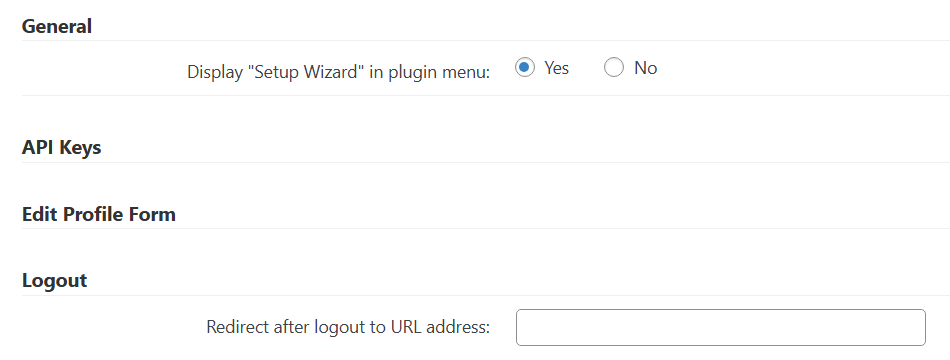
- Display "Setup Wizard" in plugin menu - Disable this option if you want to remove the Setup Wizard from the plugin menu.
- Redirect after logout to URL address - Set a custom address to where users will be redirected when logging out.
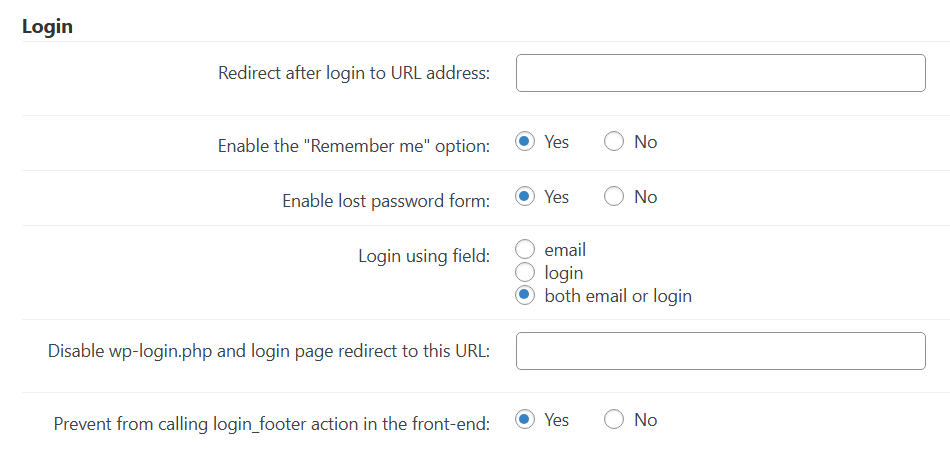
Login tab

The options are:
-
Redirect after login to URL address - Enter a URL address that users will be redirected after login. If this field is empty, the user will stay on the same page.
TIP
You can use the %userlogin% and %usernicename% parameter in the URL, for example: /welcome/%usernicename%.
- Enable the "Remember me" option - Lets users save their login session.
- Enable lost password form - Lets users retrieve their password. Once they input a wrong password, they will be prompted to receive the correct one by email (it will be sent to the email attached to the account).
- Login using field - Choose between:
- login
- both email or login
- Disable wp-login.php and redirect to this URL - You can disable the regular Wordpress login page (wp-login.php) and redirect users to the specified URL address, where they can find the login form/shortcode. This will affect also the lost password page. Leave blank to enable the wp-login.php page.
- Prevent from calling login_footer action in the front-end - Enable this as a troubleshooting attempt if you are facing issues with the login form on the front-end.
Registration tab

The options are:
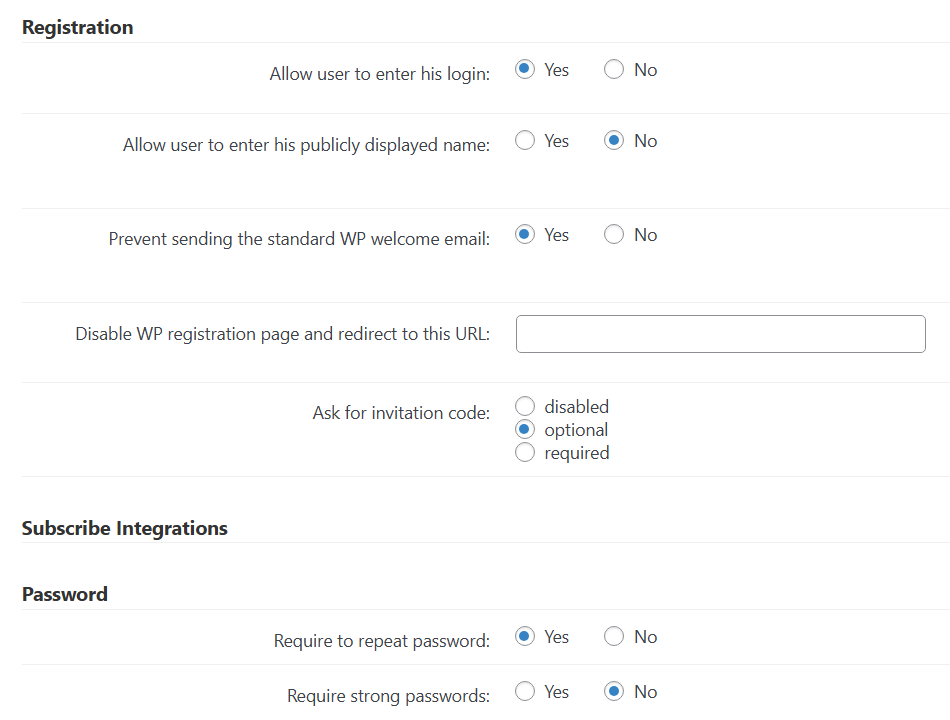
- Allow user to enter his login - If disabled, the login will be created from the entered email address. The login is needed during the sign-in.
- Allow user to enter his publicly displayed name - If enabled, users can enter name that will be displayed next to comments or posts. If disabled, the email address will be used as public name.
- Prevent sending the standard WP welcome email - If enabled, the regular Wordpress welcome mail won't be send to the user. For some specific cases you may need to disable this option.
- Disable WP registration page and redirect to this URL - You can disable the regular Wordpress registration page (wp-login.php?action=register) and redirect users to the specified URL address where they can find the registration form/shortcode. Leave blank to enable the wp-login.php page.
- Ask for invitation code - Choose if to ask users to enter an invitation code while registration - it can be optional or required.
Password
- Require to repeat password - Enable or disable.
- Require strong passwords - If enabled, passwords must be at least 8 characters long and must contain at least one lowercase letter, one uppercase letter and one digit. Regular expression: ~^(?=.*[a-z])(?=.*[A-Z])(?=.*[0-9]).{8,}$~
Invitations tab

The option is:

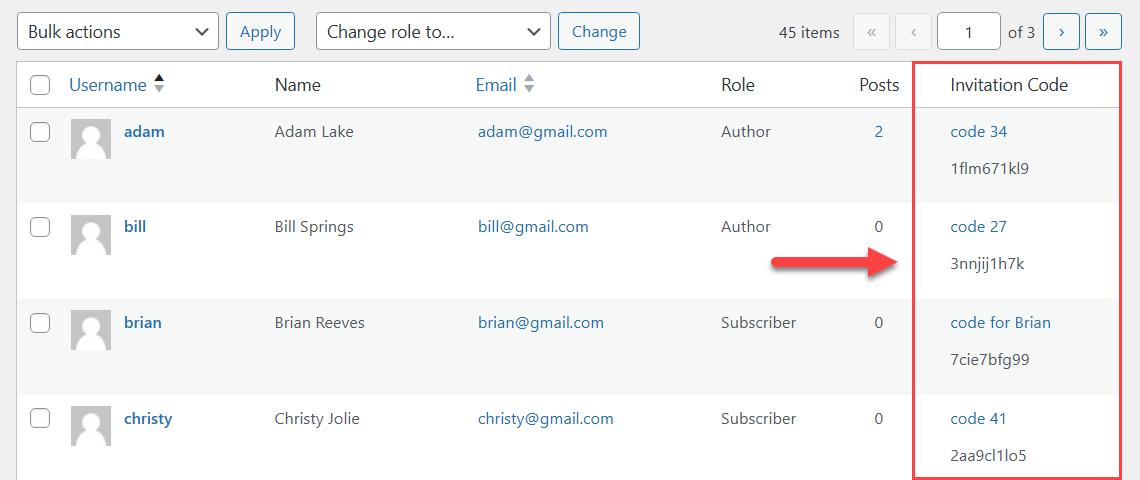
- Show invitation code column for users - Adds the "Invitation Code" field to each user page in the dashboard for managing users.
It allows the admin to track which code was used by the user to register.
Email tab

The option is:

- Notify admin about new registration - If enabled, the default notification email will be send to the registered admin email of the site.
Custom CSS tab

The option is:
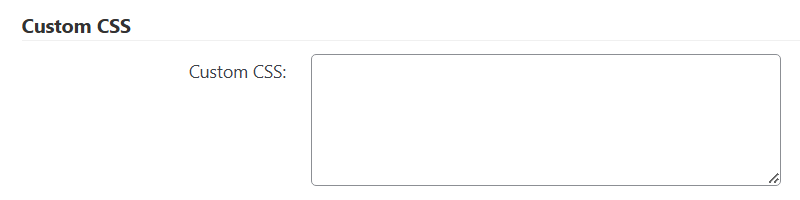
- Custom CSS - Add here a code with custom style. These CSS rules will be applied on every page that contains a WordPress Registration Form plugin interface.
Quick Read
What is CSS
CSS allows you to make changes that WordPress, themes and even the plugins don't support. Be sure to test all changes before applying! Learn more: General Support - Advanced - Custom CSS
CreativeMinds Can Help
If you prefer not modifying CSS and visual elements by yourself, CreativeMinds can help adapting CM plugins to your theme. Learn more: Plugin Installation Service for WordPress by CreativeMinds
Invitation Codes
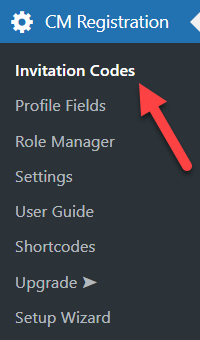
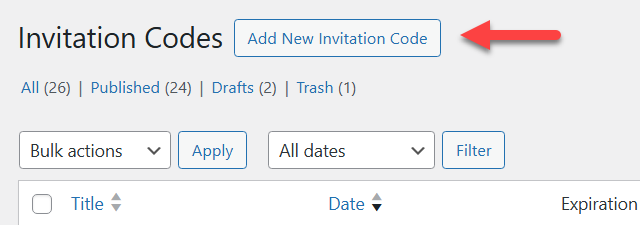
The Free version of the plugin allows to create invitation codes that let users register on your site. To manage invitation codes, navigate to Admin Dashboard → CM Registration → Invitation Codes.
Here you will see a list of all invitation codes created, date created and expiration date. You can also copy the invitation code from here.
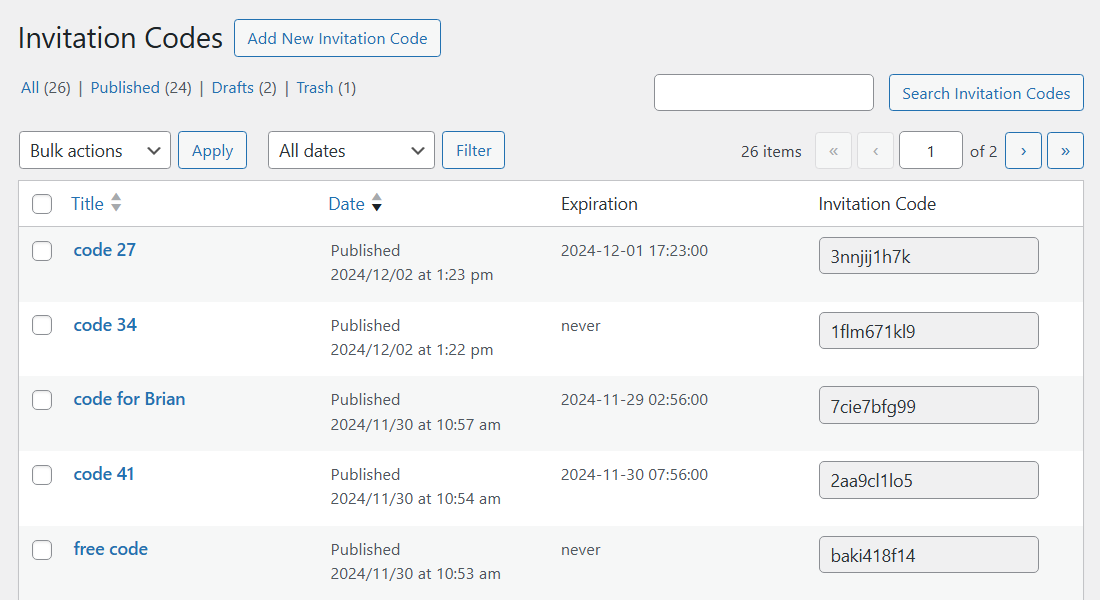
To add a new verification code, click on the Add Invitation Code.
Here you can edit:
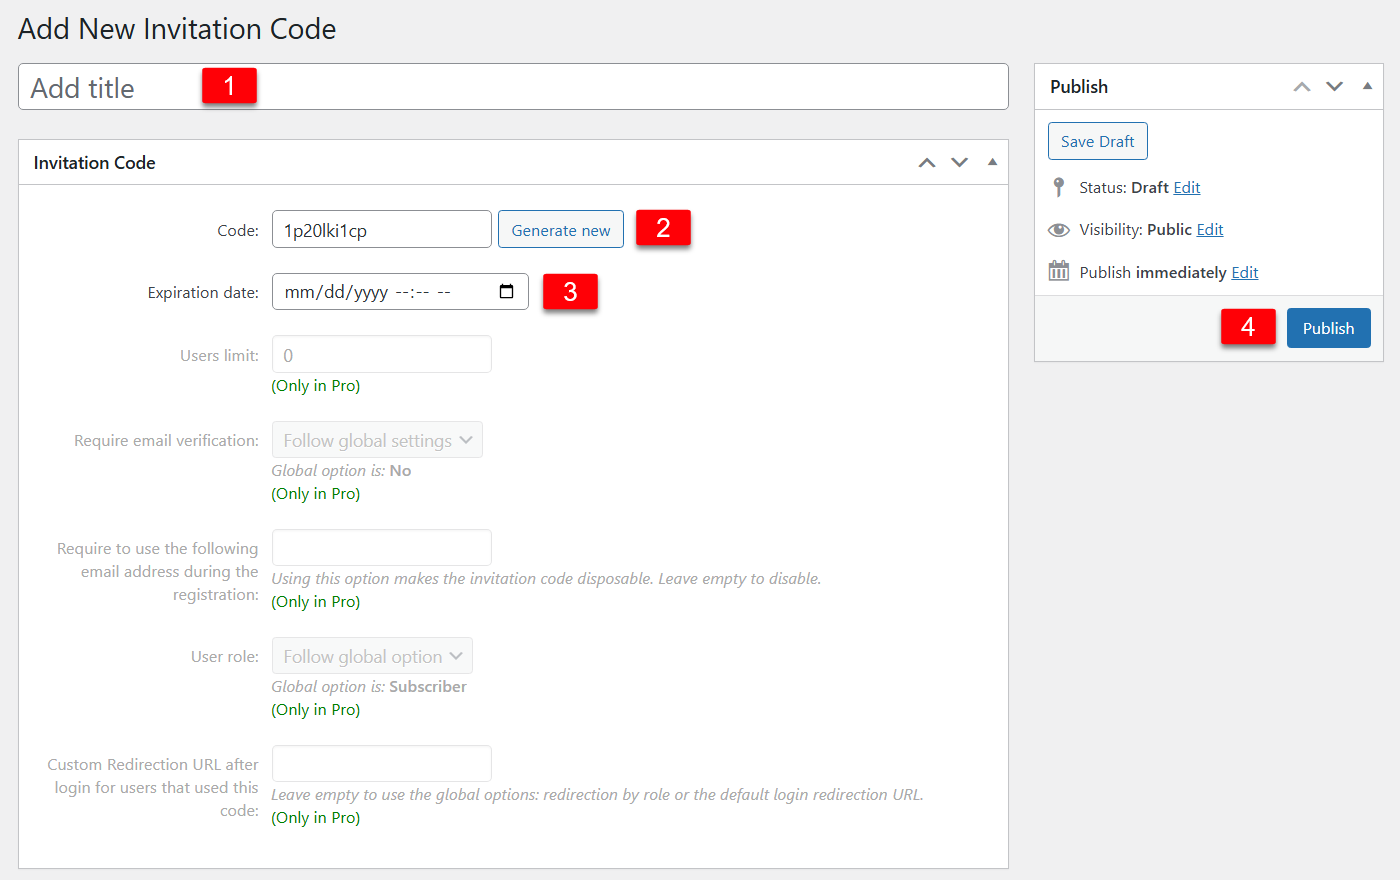
- Title - Add the name of the code. This is for internal usage and the users won't have access to it.
- Code - You can either type a code yourself (for instance "Welcome"). The plugin is flexible and accepts virtually any value - you can use as many characters as you would like. Alternatively, click the Generate new button to instantly generate a randomized 12-characters code.
- Expiration date - Add a code expiration date. After this date, the invitation code can not be used.
- Publish - Click this button to create the code.
 |
More information about the WordPress Registration Form Plugin Other WordPress products can be found at CreativeMinds WordPress Store |
 |
Let us know how we can Improve this Product Documentation Page To open a Support Ticket visit our support center |