WordPress Registration Form Plugin (CMREG) - Settings - Invitation Codes
Invitation Codes Settings
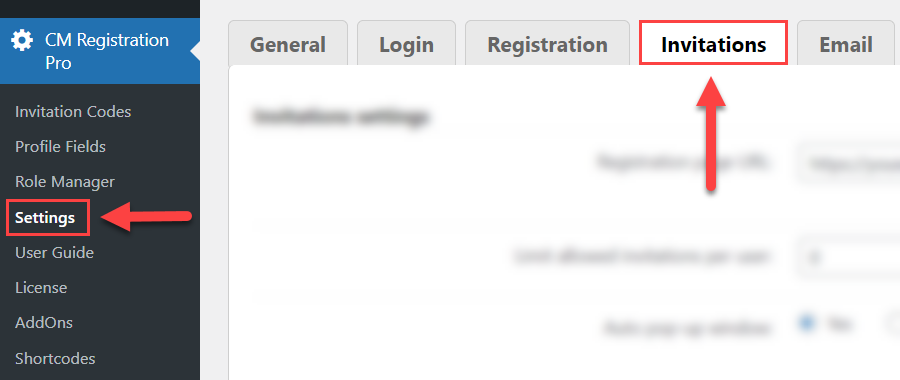
To configure the invitation codes setting in WordPress Registration Form Plugin, navigate to Admin Dashboard → CM Registration Pro → Settings → Invitations tab.
Invitations Settings
The options in this section are:
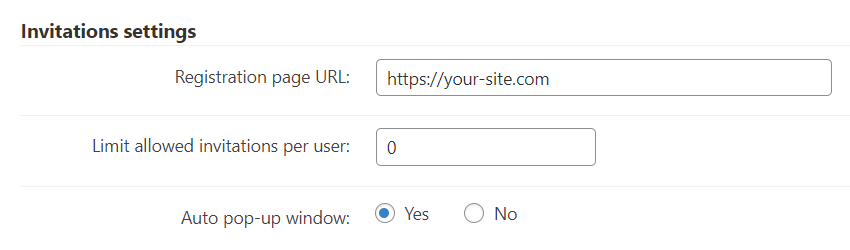
- Registration page URL - Specify what page should be shown when the user clicks on the invitation link. Usually, this should be a page with the registration shortcode.
- Limit allowed invitations per user - Set the default invitations limit per user. You can change this value each time you create a new invitation code. This won't apply to the users with the manage_options capability.
-
Auto pop-up window - If enabled, a pop-up will open automatically if the URL has a query string "invite" or "cmreg_code" (that means when these terms appear after a "?" sign).
Example:
http://www.test.com/registration?invite=xxxxxx
http://www.test.com/registration?cmreg_code=xxxxxx
This is useful when you create links that automatically add the codes, as seen here: Invitation Codes - Uses and How to Create Them
Email Template
You can configure the email subject and body which will be sent to the user during the invitation process. It can be configured in the following options:
- Friends invitation email subject
- Friends invitation email template
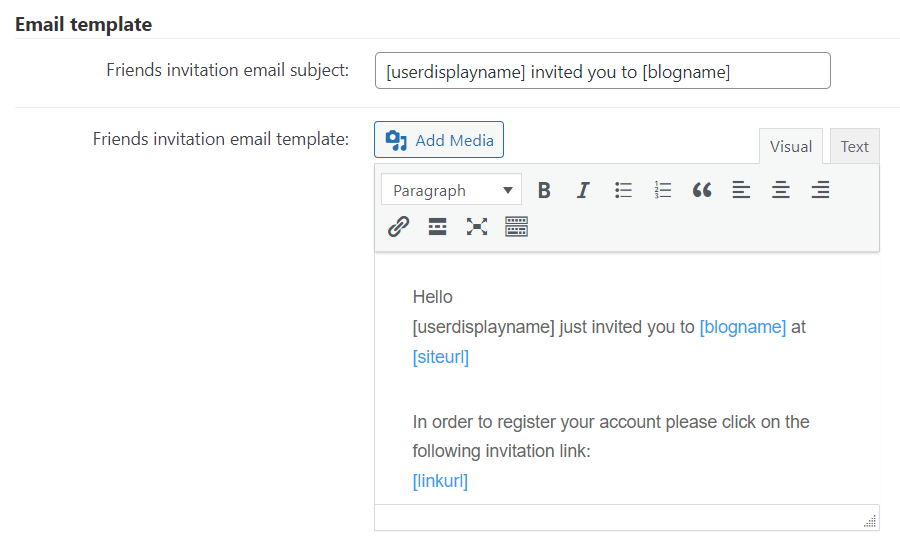
Both fields accept the following placeholders for adding dynamic content to the email:
[blogname][siteurl][userdisplayname][userlogin][useremail][userrole][userfirstname][userlastname]
The email body also accepts the following placeholders:
[linkurl][invitationcode][qrcode](note: this placeholder was added in version 3.8.6)
Dashboard

-
Show invitation code column for users - Adds the "Invitation Code" field to each user page in the wp-admin dashboard.
Example

Example of the invitation code used by user

QR Code
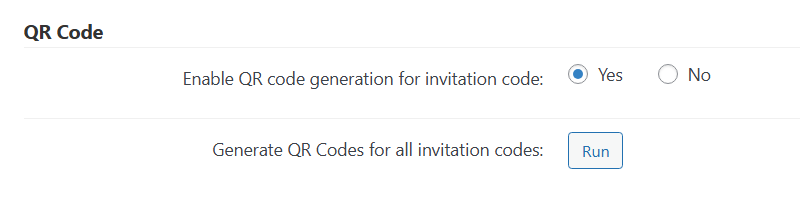
- Enable QR code generation for invitation code - If enabled, QR codes will be automatically generated for invitation codes. It will allow users to easily access the registration form by simply scanning the QR code. The field for entering invitation code will be automatically filled. Note: this option was introduced in version 3.8.6.
- Generate QR Codes for all invitation codes - Clicking this button will generate QR codes for all invitation codes that don't have them. Note: this option was introduced in version 3.8.6.
You can see a QR code for a relevant invitation code by navigating to Admin Dashboard → CM Registration Pro → Invitation Codes.

As well, you can see a QR code on the invitation code editing page:
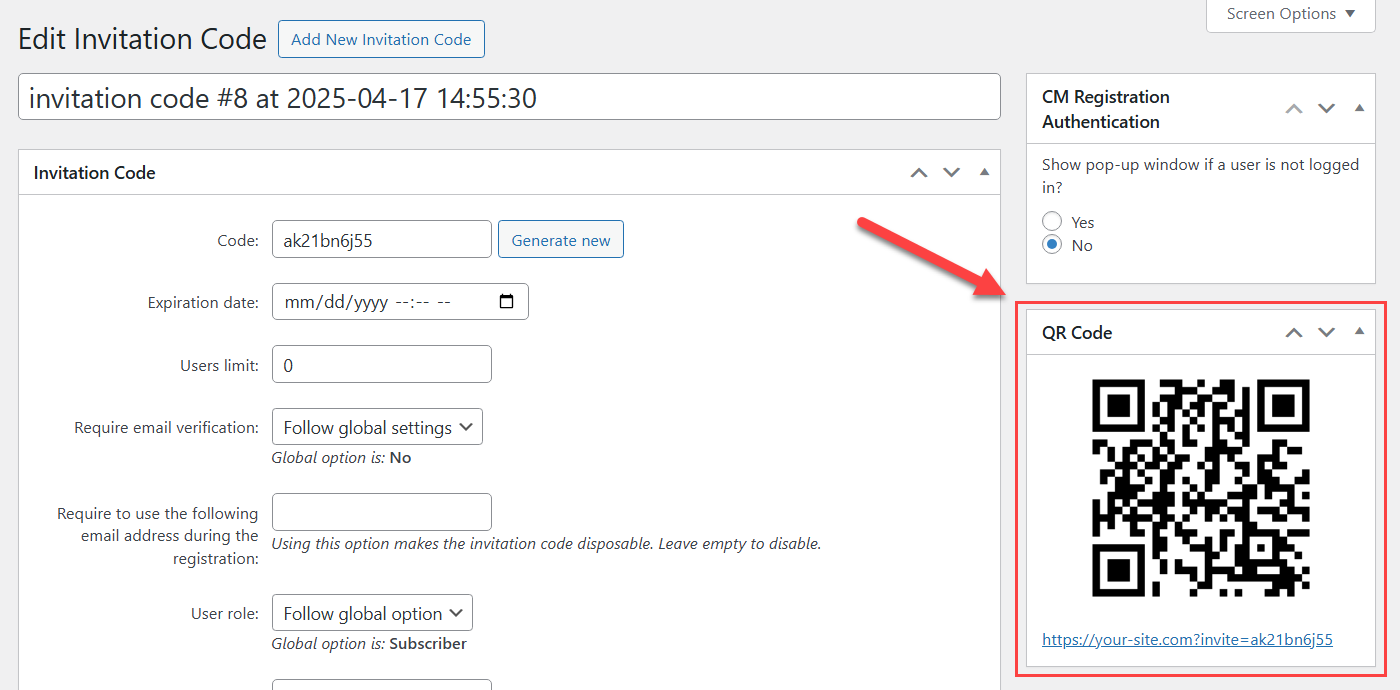
Automatic Creation
The options in this section are:

- Enable automatic create invitation code - If enabled, then the invitation code will be automatically created after registration and associated with the user.
- Use meta key for invitation code - If enabled, the meta key in the next option will be used for invitation code, otherwise the invitation code will be generated randomly.
- Define meta key for invitation code - Choose the meta key to use for invitation code from profile fields section.
 |
More information about the WordPress Registration Form Plugin Other WordPress products can be found at CreativeMinds WordPress Store |
 |
Let us know how we can Improve this Product Documentation Page To open a Support Ticket visit our support center |