WordPress Email Registration Blacklist (CMRB) - Importing Many Email Addresses From a CSV File
Importing Email Addresses From a CSV File
Note: the functionality of importing email addresses from a CSV file was updated in version 1.5.6.
TIP: Download File Example
Speed up the import process by using a sample file: Download CSV example file
The WordPress Email Registration Blacklist plugin allows you to import multiple email addresses at once and quickly assign them as whitelisted (permitted) or blacklisted (banned).
This is done by uploading a .CSV file to the plugin. It's essential that the file follows a certain format.
CSV File Specification
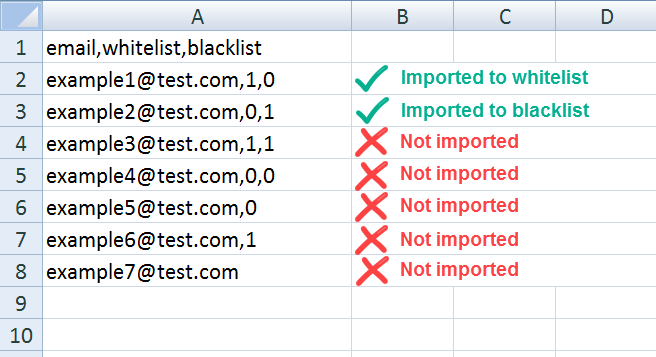
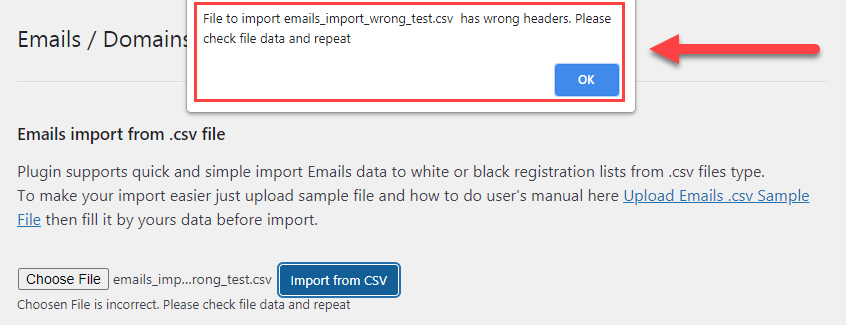
- IMPORTANT! First line must contain three headers: email,whitelist,blacklist. And these headers must not be edited - they are main fields in the file. If you edit them, you can receive an error message “File to import has wrong headers”.
- Next lines: you can fill them with email which you want to place into white or black lists.
-
There must be two numbers separated by comma after each email - first number is for placing the email to the whitelist, and the second number is for placing the email to the blacklist. To place the email to one of the lists you need to put 1 for one list, and 0 for another one.
Example for the whitelist: example1@test.com,1,0
Example for the blacklist: example2@test.com,0,1
If you put twice 0 or 1 ("example1@test.com,1,1" or "example2@test.com,0,0"), the email will not be placed into the database and the error message will be displayed.
- Don’t place the same email more than once – the system will return an error message.
Importing
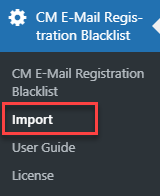
Head to Admin Dashboard → CM E-Mail Registration Blacklist → Import.
In the Import screen, click the button Choose File and choose your CSV file.
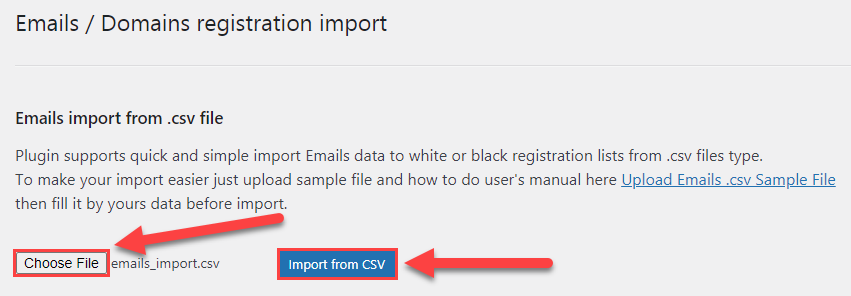
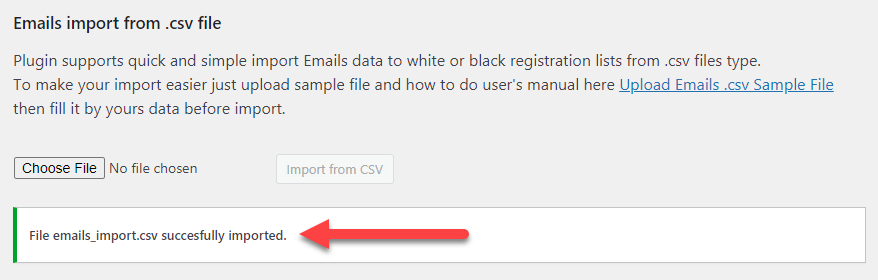
If your CSV file is correct then the button Import from CSV will become active and after clicking on it you will see a message stating the import was successful.
Errors While Uploading
If your CSV file contains some mistakes, you will see the message that chosen file is incorrect, and after clicking on the button Import from CSV you will the list of of lines and mistakes, that are needed to be fixed.

Possible mistakes:
- Email is not valid - Appears if the email is not correct (for example: "test.com", "example@test").
- Record is not valid for both lists - Appears if you set 0 or 1 for two lists at once (for example: "example1@test.com,0,0" or "example2@test.com,1,1").
- Email was used twice on line x / y - Appears if you have repeating email in different lines.
- Triggers for lists must be in record - Appears if you didn't set any numbers or only one number after email (for example: "example1@test.com" or "example2@test.com,1")
Invalid CSV File
If your CSV file has not correct structure, for example - wrong headers, after uploading the file and clicking the button Import from CSV you will see an error message.
 |
More information about the WordPress Email Registration Blacklist plugin Other WordPress products can be found at CreativeMinds WordPress Store |
 |
Let us know how we can Improve this Product Documentation Page To open a Support Ticket visit our support center |