WordPress Glossary Plugin (CMTG) - Terms - Assigning an Icon To a Term
Assigning an Icon To a Term
Editions
This feature is available only on the Pro+ and eCommerce editions.
Starting from version 3.7 of the WordPress Glossary plugin, it's possible to add icons to each term.
Video Guide
Why Should I Use Icons?
Icons are useful to organize the terms thematically and to improve their presentation. Currently, WordPress' built-in dashicons are supported.
The icon will show up to the left of the term title.
Example
Glossary Page
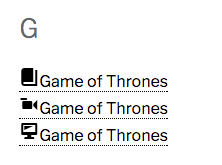
You can turn show or hide icons from the glossary page by changing the plugin's settings.
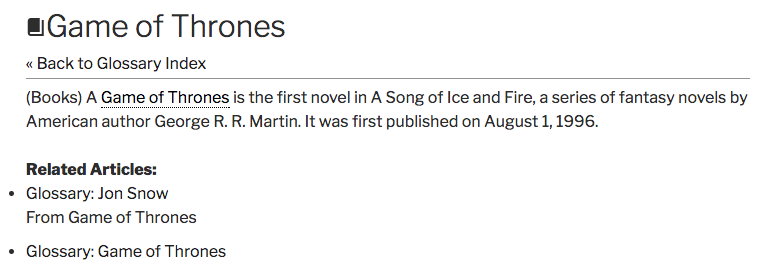
Term page
Assigning Icon to One Term
To assign an icon, simply head to the CM Tooltip - Term Properties panel when editing a term.
The last field should contain:
- A textbox with the Choose icon button. Click it to select the icon and to see the preview.
- Color picker
- Position dropdown (left or right)
By default the color is black and position is set to left.
Choosing Icon

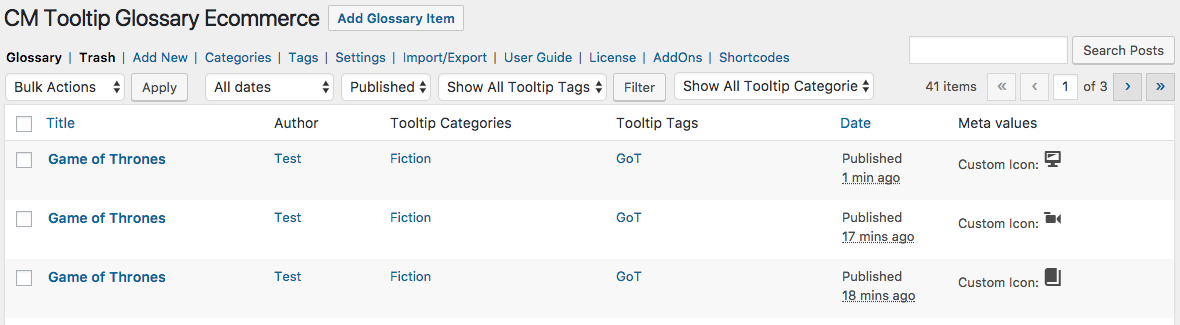
The Terms List in the Back-End also shows each assigned icon, in the Meta Values column.
Setting and Configuring Default Icon Settings
To configure default icon settings, head to the Admin Dashboard → CM Tooltip Glossary → Settings → Glossary Term tab → Glossary Term - Links section.
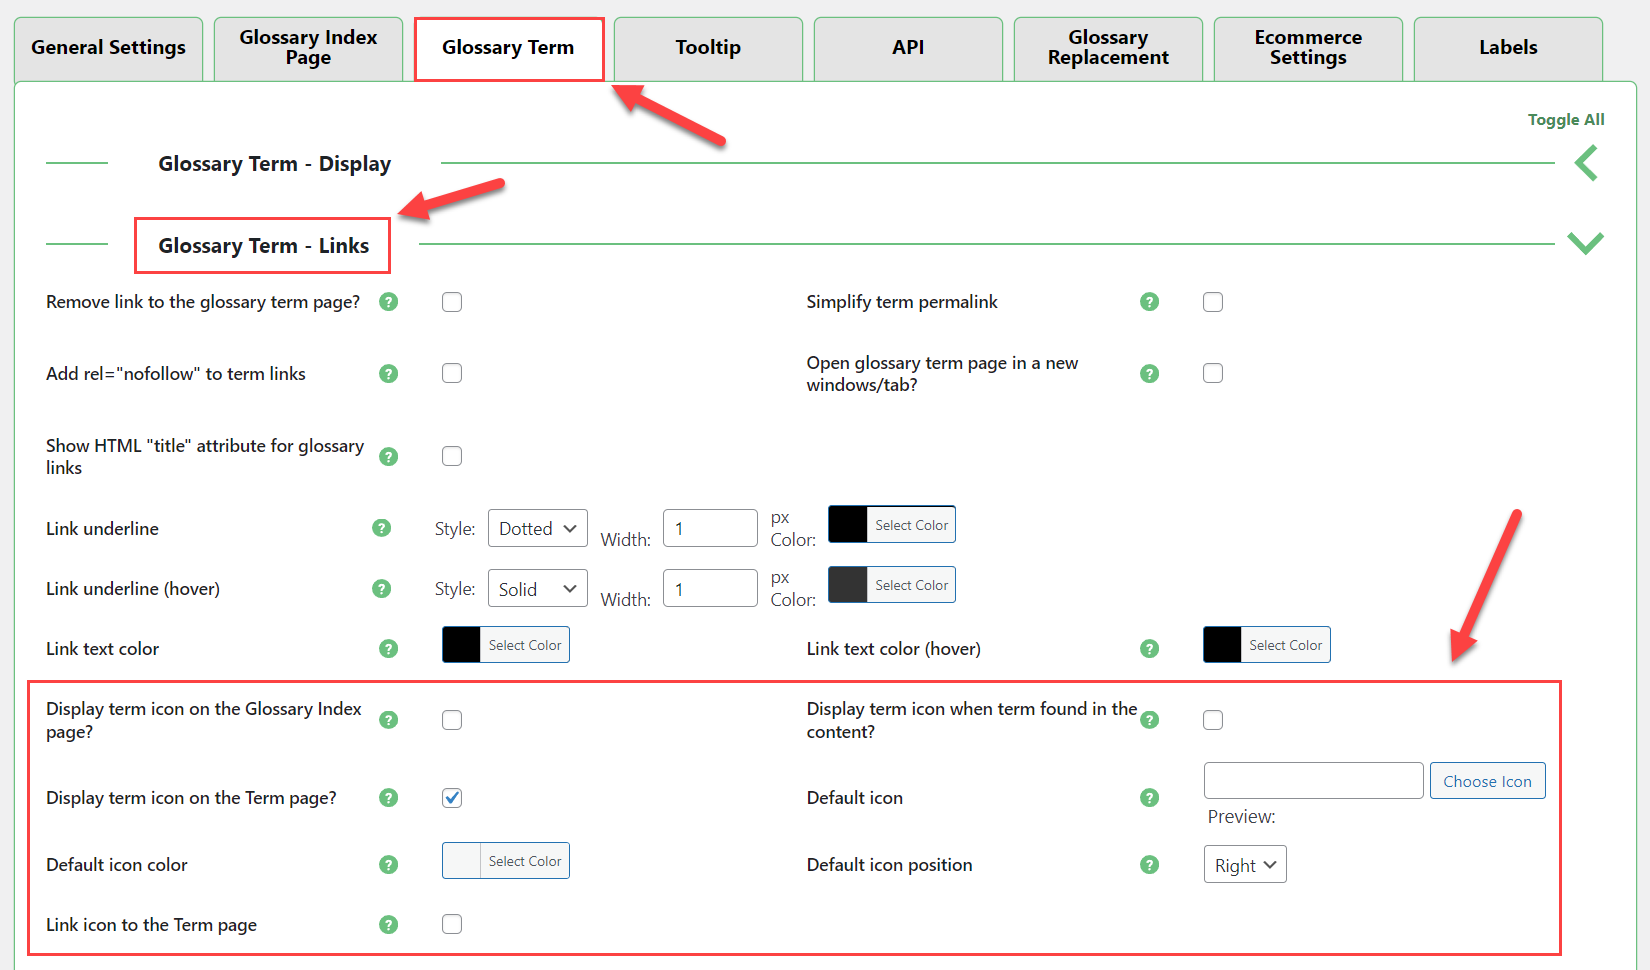
There, you will find a few relevant settings:
- Display term icon on the Glossary Index page - By default it's enabled.

- Display term icon when term found in the content - If enabled, every time the term is highlighted, the term will also show the icon. By default it's disabled.

- Display term icon on the Term page - If enabled, the glossary term icon will be displayed on the Term page.
- Default icon - Choose the default icon for term without specified custom icon.
- Default icon color - Choose the default icon color.
- Default icon position - Choose the default icon position.
- Link icon to the Term page - The icons will link to the assigned Term page. Only works if the option "Remove link to the glossary term page?" is enabled.
 |
More information about the WordPress Glossary Plugin Other WordPress products can be found at CreativeMinds WordPress Store |
 |
Let us know how we can Improve this Product Documentation Page To open a Support Ticket visit our support center |