Appointment Booking Calendar - Appointments - Manual Booking
Adding Manual Booking
Note: Described features are renewed since the version 2.0.0 of Appointment Booking Calendar.
It is possible to add manual booking from the back-end. To do this, navigate to Admin Dashboard → CM Appointments Booking Pro → Bookings.
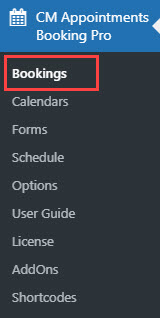
Then click the button Add New on the top of the page.

Once clicked a new appointment form will be opened.

The features are:
- Title - The title for the booking will be generated automatically. The title consists of the date and time of the booking. Optionally it can include customer's email and timezone - depends on if you enabled them in plugin settings.
- Booking - In this section you need to choose the calendar, where new booking will be added.
- Form - In this section you need to fill the form with the data about the user.
- Booking Form Fields - These fields are configured individually for every calendar. Learn more about Forms.
- Booking Slot Duration - This is a tip for the admin to know, how long the slot duration is in the chosen calendar. Slot duration can be changed individually for every calendar while it's creating/editing.
- Booking Calendar View - Here you need to choose the date and time of booking.
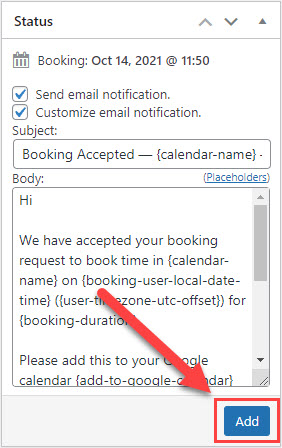
- Status - In this metabox you can define if to send the email notification to the user. If yes, you can customize the subject and body of the email.
When you filled all needed fields and chose the booking slot, click the button Add in the Status metabox to create a booking.
 |
More information about the Appointment Booking Calendar plugin for WordPress Other WordPress products can be found at CreativeMinds WordPress Store |
 |
Let us know how we can Improve this Product Documentation Page To open a Support Ticket visit our support center |