WordPress Member Directory Plugin (CMED) - Views - Tiles View
Tiles View
To configure Tiles view in the WordPress Member Directory plugin, navigate to the Admin Dashboard → CM Expert Directory → Settings.
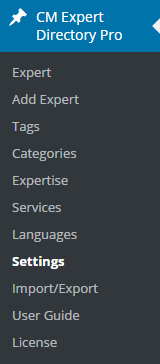
Click on the Directory Appearance tab.

In the first section set Tiles View as Current View.

Change the heading level of the expert name (this can be useful for SEO). In the example below, the expert names will be inside h5 tags. Learn more about headings.

The General Settings section allows you to change the following:
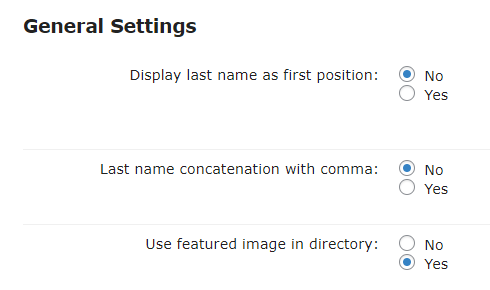
- Display last name as first position - Controls whether to show the expert last name as the first position (for all views). For example, instead of listing someone as John R. Doe, we would prefer: Doe, John R.
- Last name concatenation with comma - Controls whether to show the expert last name with comma. This option will work if you enabled the option above.
-
Use featured image in directory - Allows to display the Featured Image in directory instead of the Expert Picture. Note: this feature was introduced in version 2.1.5.
Expert Picture and Featured Image on the back-end:

Setting up the expert and featured images Result of enabling the option Use featured image in directory on the front-end:

Featured image on the index page


Then, configure how the tiles will be displayed.
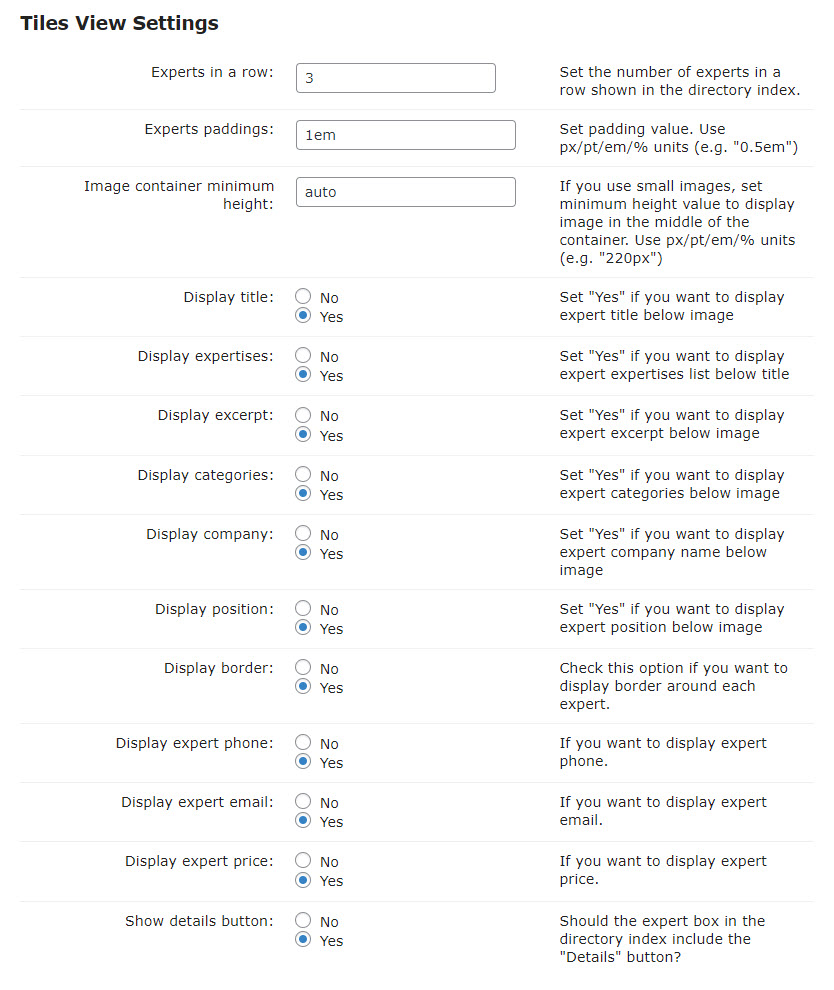
- Experts in a row - Set the number of experts in a row shown in the directory index.
- Experts paddings - Set padding value. Use px/pt/em/% units (e.g. "0.5em").
- Image container minimum height - If you use small images, set minimum height value to display image in the middle of the container. Use px/pt/em/% units (e.g. "220px").
- Display title - Set "Yes" if you want to display expert title below image.
- Display expertises - Set "Yes" if you want to display expert expertises list below title. Note: this option was introduced in version 1.8.1.
- Display excerpt - Enable it if you want to dispay excerpt of expert. Note: this option was introduced in version 1.8.0.
-
Display categories - Enable it if you want to dispay categories that the expert belongs to. If the expert belongs to more than two categories then will be displayed names of two first categories (in alphabetical order) and the rest will be noted "+n".
For example, if the expert belongs to 5 categories, there will be displayed like that: "Category 1 | Category 2 +3".
Note: this options was introduced in version 1.8.0.
- Display company - Enable it if you want to dispay expert company.
- Display position - Set "Yes" if you want to display expert position below image.
- Display border - Check this option if you want to display border around each expert.
- Display expert phone - Enable it if you want to dispay expert phone.
- Display expert email - Enable it if you want to dispay expert email.
- Display expert price - Enable it if you want to dispay expert price.
- Show details button - Should the expert box in the directory index include the "Details" button?
Select options for Tiles View and save changes.
Tiles View - Front-End Appearance

 |
More information about the WordPress Member Directory Plugin Other WordPress products can be found at CreativeMinds WordPress Store |
 |
Let us know how we can Improve this Product Documentation Page To open a Support Ticket visit our support center |