WordPress Registration Form Plugin (CMREG) - Use Case - How To Organize Multi-step Registration
Use Case - How To Organize Multi-step Registration
Note: This guide covers features from the Pro version of WordPress Registration Form Plugin - This document uses version 3.7.4
Introduction
WordPress Registration Form Plugin allows your users to login and register to your site via a beautiful pop-up. It also allows to turn the registration form into the multi-step process. It can be useful if you need users to provide a lot of information during the registration, and want to divide the process into a few steps instead of having a huge single form.
Use Case Front-End
Use Case Assumptions
In this example use case guide, we'll cover how to turn on the multi-step registration feature and how to configure the form fields. We consider that you have already bought the WordPress Registration Form Plugin, but not installed it.
It follows:
- Installing the plugin
- Quick recap
- Multi-step registration settings
- Assigning profile fields to specific registration steps
- End result
Installing the Plugin
The process is the same for all CM plugins.

- Download the plugin from your customer dashboard.
- Log in to WordPress and navigate to the WordPress Admin → Plugins settings.
- Click on Add New.
- Activate it and add the license.
Learn more: Getting Started - Plugin Overview
Quick Recap
In this use case guide we will consider only how to turn the registration form into multi-step process. So, we recommend you first to get to know how to configure the basic plugin settings and how the plugin works:
Multi-Step Registration Settings
First, navigate to Admin Dashboard → CM Registration Pro → Settings → Registration tab.
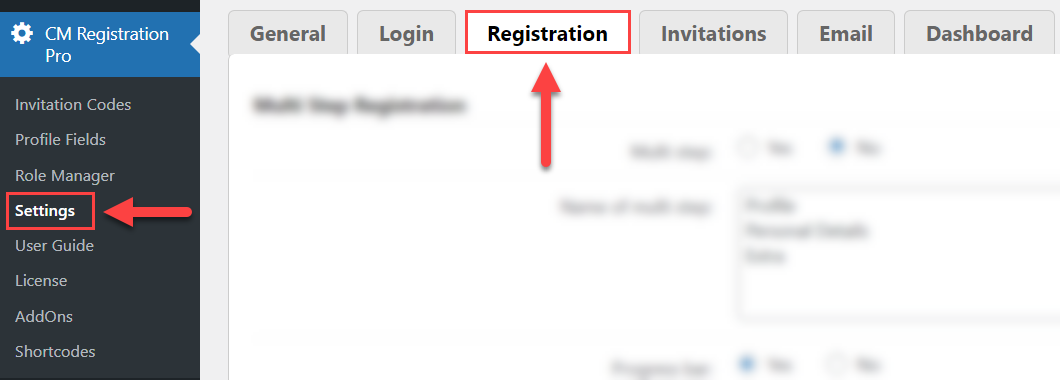
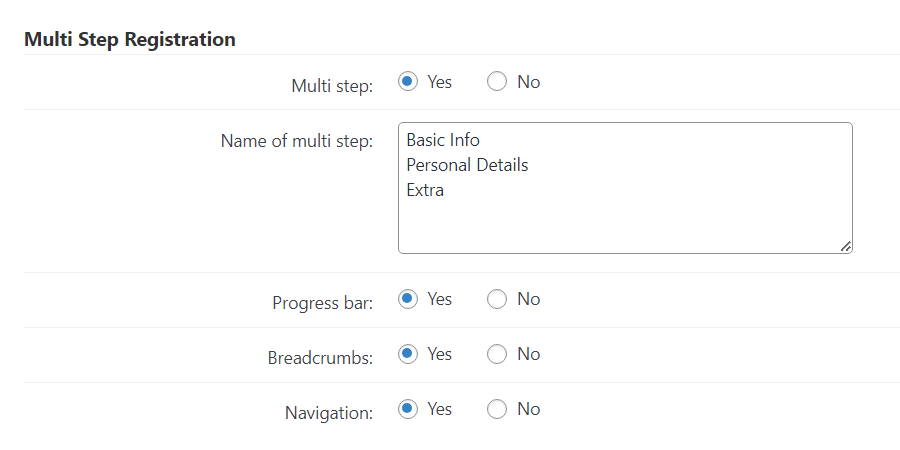
Find the section Multi Step Registration. The options are:
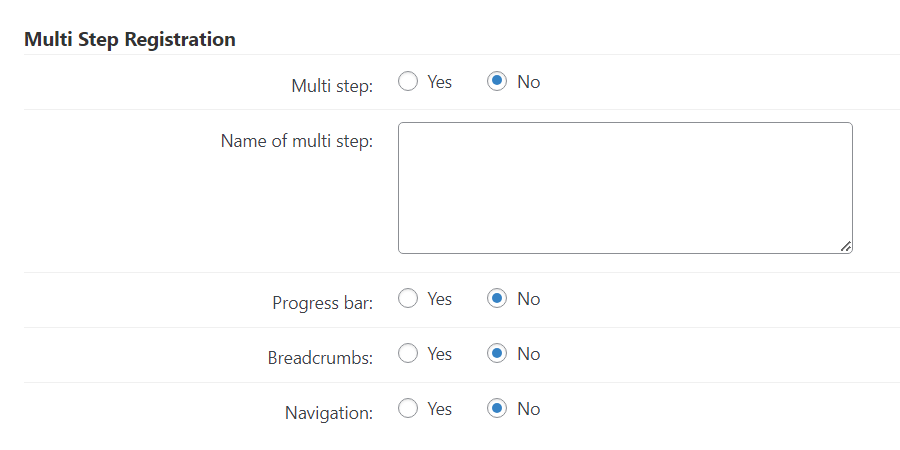
- Multi step - Choose Yes to enable the multi-step registration form.
- Name of multi step - Here you need to define the sections of the registration form. You need to give a name for each step, and these names can be optionally displayed on the front-end. It will also be used in the form builder, where you can assign each registration field to certain form section. You need to add a name of each section on a separate line.
- Progress bar - Choose Yes to enable the progress bar in the registration form.
- Breadcrumbs - Choose Yes to display tabs with each section name in the registration form.
- Navigation - Choose Yes to display navigation buttons (left and right) in the registration form.
Front-end example with notes:
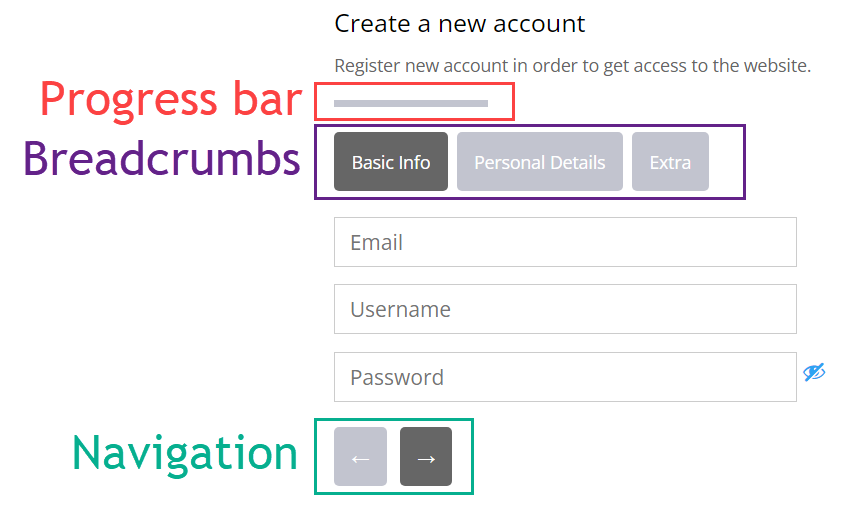
For our use case we defined 3 registration step:
- Basic Info
- Personal Details
- Extra
We also enabled all options to display progress bar, breadcrumbs and navigation buttons. Here's an example of our configuration:
Now click the button Save at the bottom of the page to save the changes:

Assigning Profile Fields to Specific Registration Steps
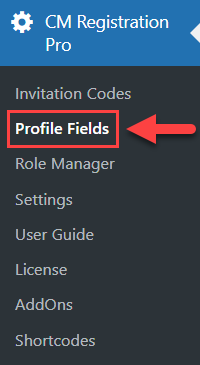
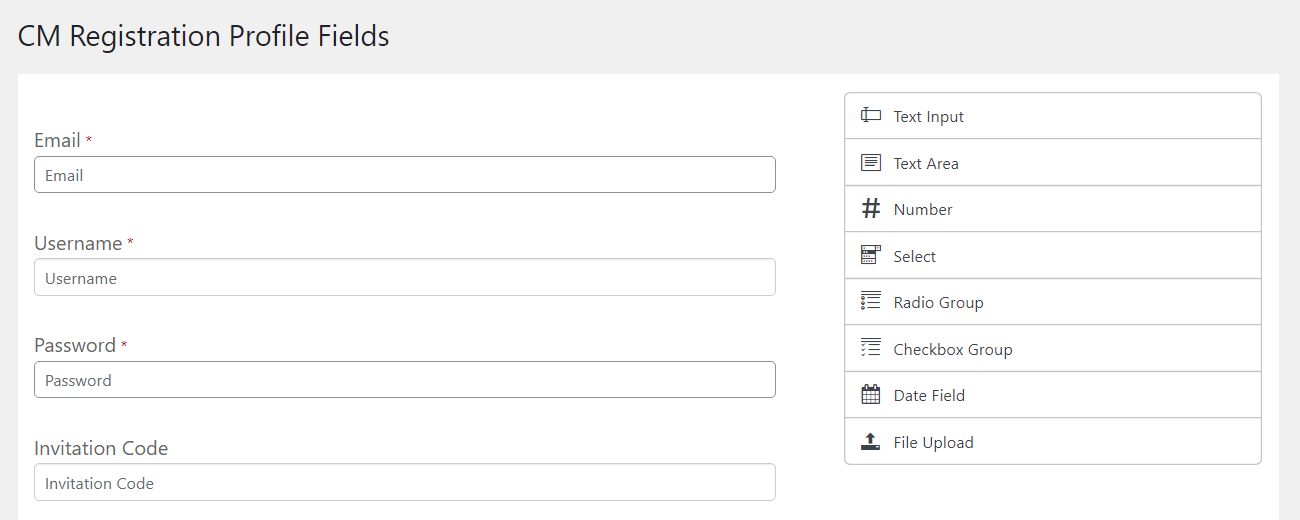
Next thing we need to do is to assign profile fields to certain steps of the registration form. To do this, navigate to Admin Dashboard → CM Registration Pro → Profile Fields.
There you will find a form builder. Here we already have a premade profile fields. Learn more about how to work with the form builder: WordPress Registration Form Plugin (CMREG) - How To - Improve the Registration Form With Custom Fields
Here you need to edit each field by clicking a pencil icon, and choosing the relevant multi-step option as shown on the screenshot below.
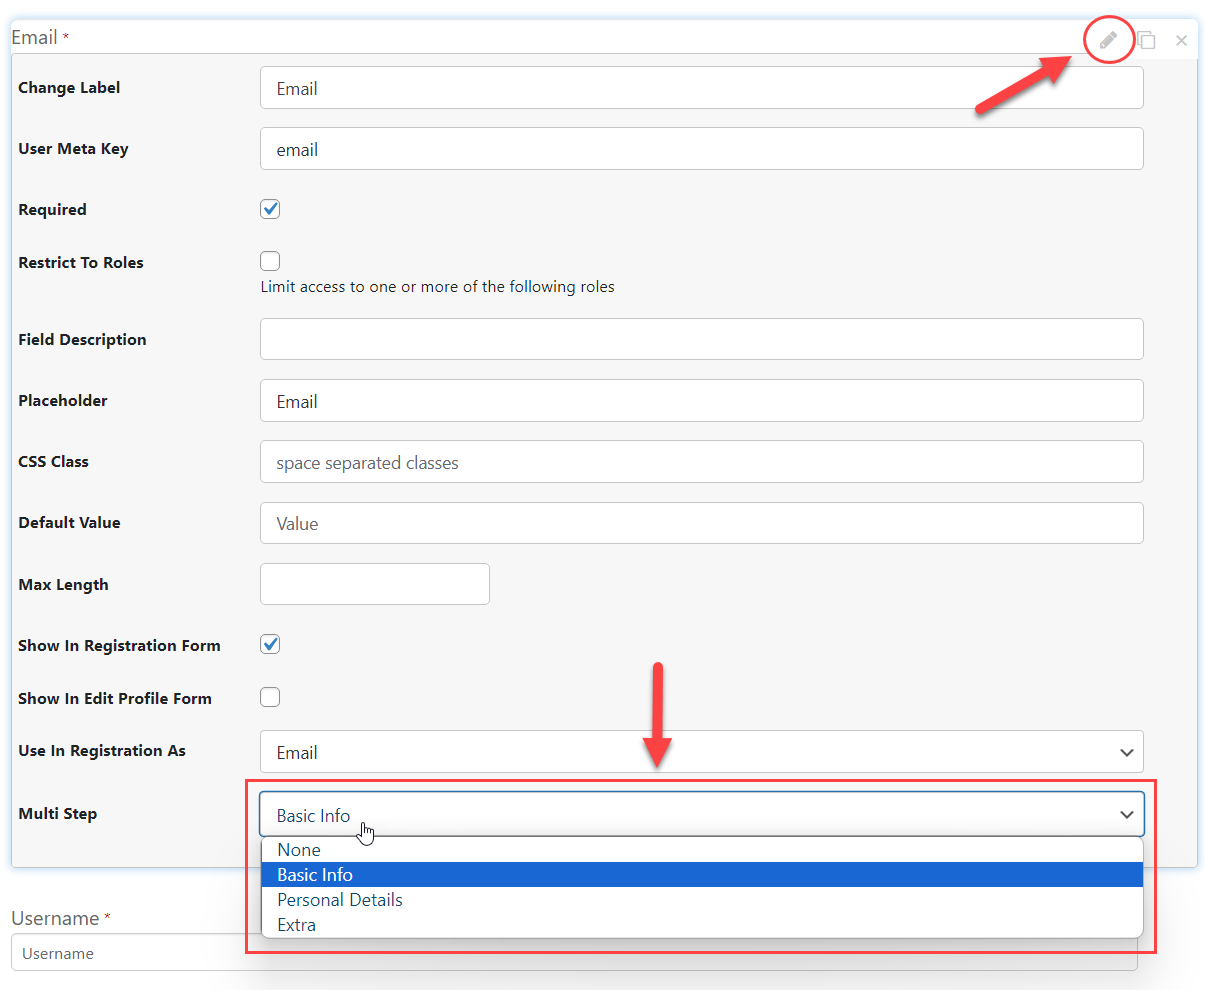
After you assigned each field to the needed step of the registration, click the button Save at the bottom.

The configuration is done. Now let's check the result on the front-end.
End Result
As a result, we have a registration form with 3 tabs, each has its own fields. The user can navigate between steps either by using navigation buttons below the form, or clicking on tabs above the form. The user can also see a progress bar above the breadcrumbs buttons.
Following instruction found in the plugin and guides you should be able to organize multi-step registration on your WordPress website.
Use Case Front-End
 |
More information about the WordPress Registration Form Plugin Other WordPress products can be found at CreativeMinds WordPress Store |
 |
Let us know how we can Improve this Product Documentation Page To open a Support Ticket visit our support center |