WordPress Video Lessons Manager Plugin (CMVLM) - How To - Attach Files to Video Lessons
How to Attach Files to Video Lessons
The WordPress Video Lessons Manager plugin allows attaching files to specific courses, lessons and videos. It can be useful, when you need to provide additional materials to lessons for your students.
Plugin Settings
Before attaching files, you can configure a couple of related options in plugin settings. To do this, navigate to Admin Dashboard → CM Video Lesson Manager Pro → Settings.
Head to the Appearance tab.

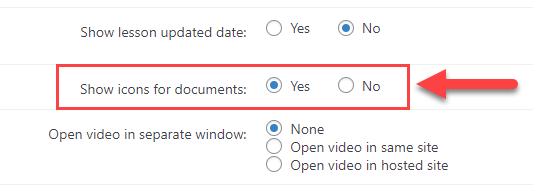
The option Show icons for documents allows you to choose how to display attached documents - as a list of file names, or as icons.
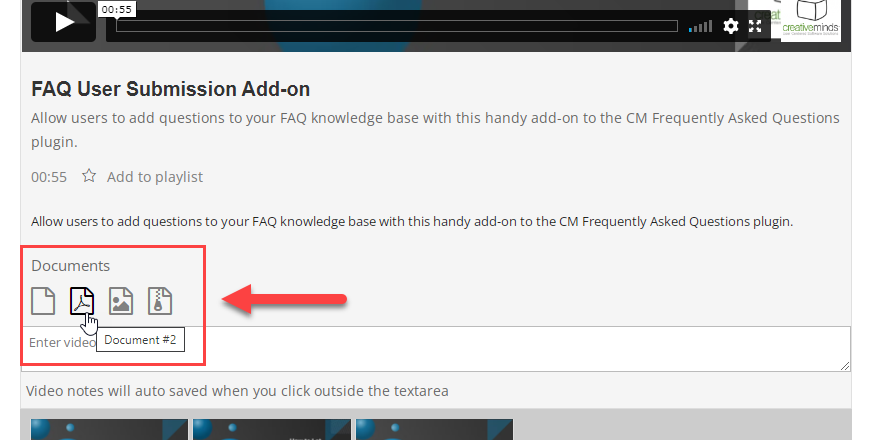
Displaying Attachments As Icons
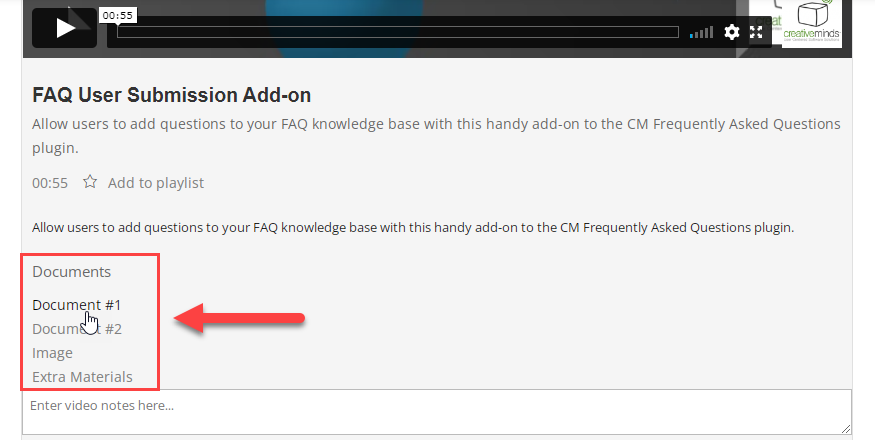
Displaying Attachments As a List of File Names
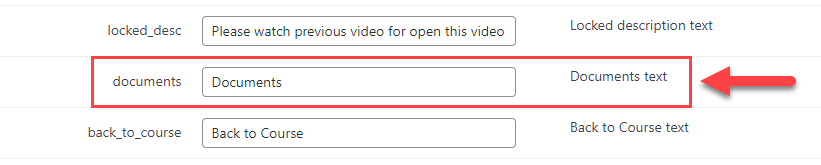
You can also change the title of the Documents section for single videos on the front-end. Head to the Labels tab.

The text can be change in the label documents.
Example
Attaching Files to Courses
You can attach files to the specific course while creating or editing it (Learn More).
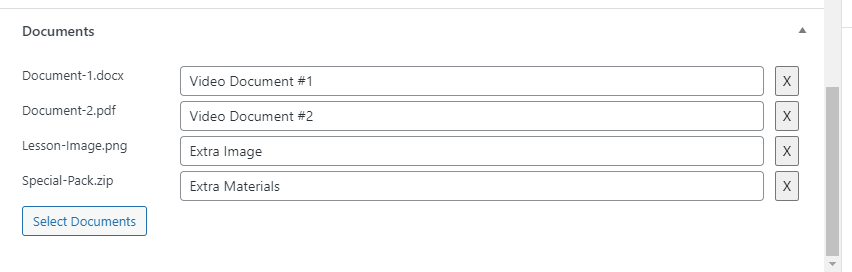
Find the section Documents. Use the button Select Documents for attaching needed files. You can give a front-end name to each file or delete by click on the X-button.
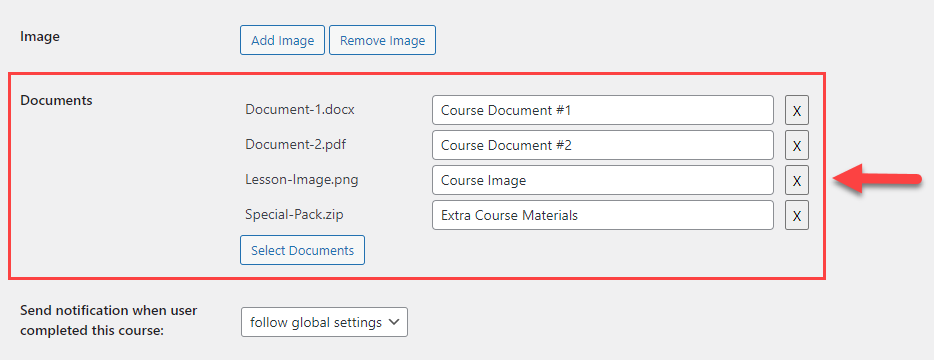
Don't forget to click the button Update to save the changes.

Attaching Files to Lessons
Attaching files to the specific lesson works similarly. It can be done while creating or editing it (Learn More).
Find the metabox Documents. Use the button Select Documents for attaching needed files. You can give a front-end name to each file or delete by click on the X-button.
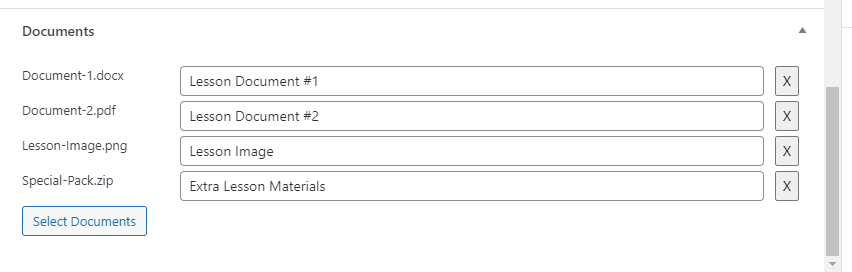
Don't forget to save the changes after adding files to the lesson.
Attaching Files to Single Videos
When videos are imported, you can edit them (Learn More). The process of attaching files to the specific video is the same.
Find the metabox Documents. Use the button Select Documents for attaching needed files. You can give a front-end name to each file or delete by click on the X-button.
Then click the button Update to save the changes.
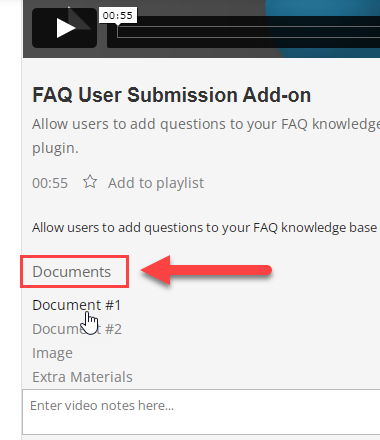
Result On the Front-end
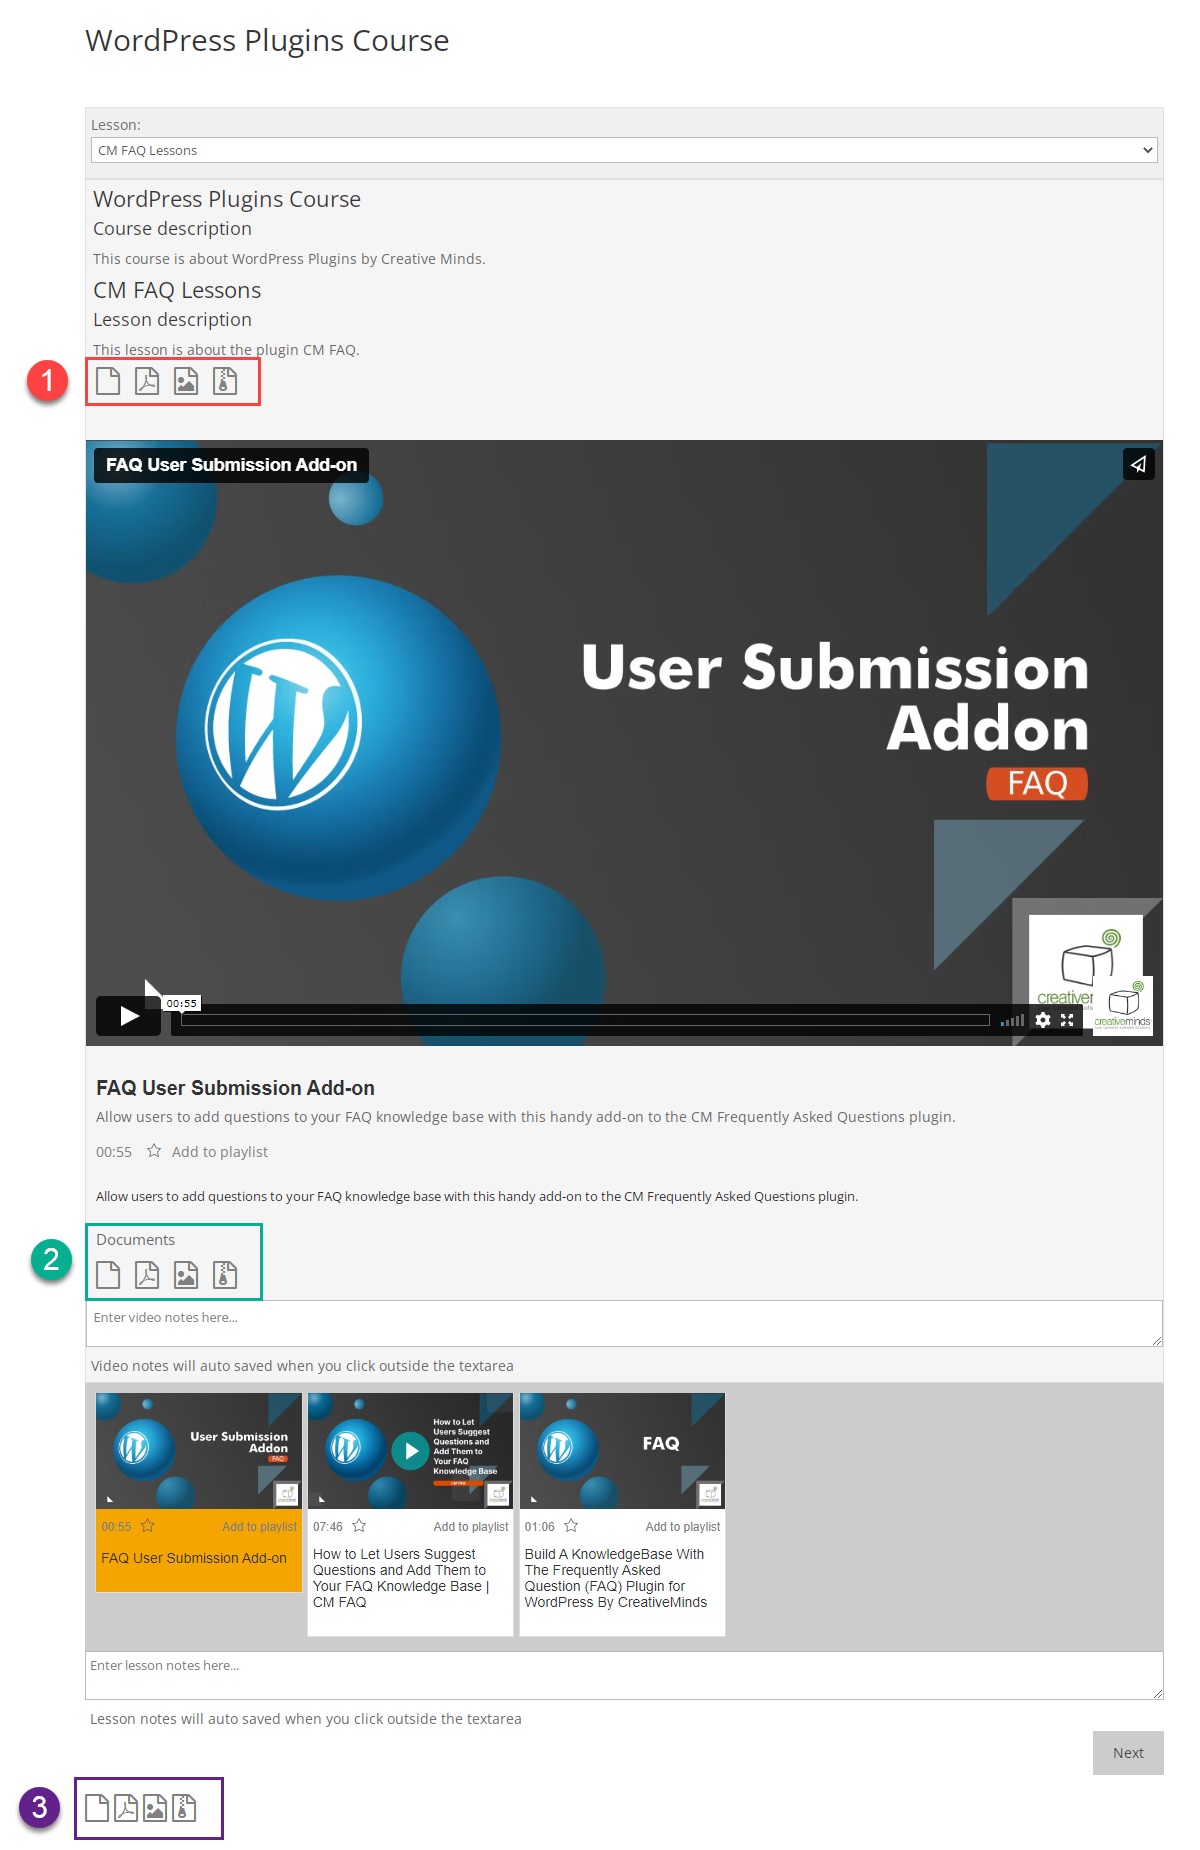
You can see on the example below, how attached files are displayed on the front-end:
- Lesson attachments
- Single video attachments
- Course attachments
 |
More information about the WordPress Video Lessons Manager Plugin Other WordPress products can be found at CreativeMinds WordPress Store |
 |
Let us know how we can Improve this Product Documentation Page To open a Support Ticket visit our support center |