WordPress Course Catalog Plugin - Settings - General (Google Map, Banner Size)
General Settings
To edit the general settings in the WordPress Course Catalog plugin, head to Admin Dashboard → Course Catalog Pro→ Settings → General tab.
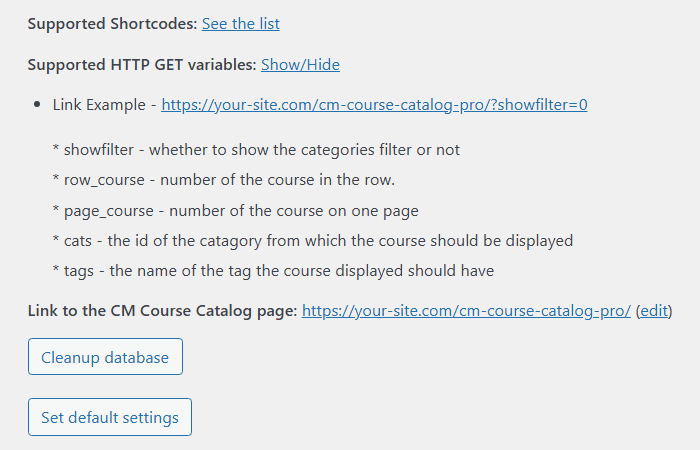
All settings screens have handy shortcuts for the shortcode list, HTTP Get variables reference and Course Catalog page.
Also, buttons to Clean database (warning, clears all data!) and restore Default settings are available.
General Options
The settings are:
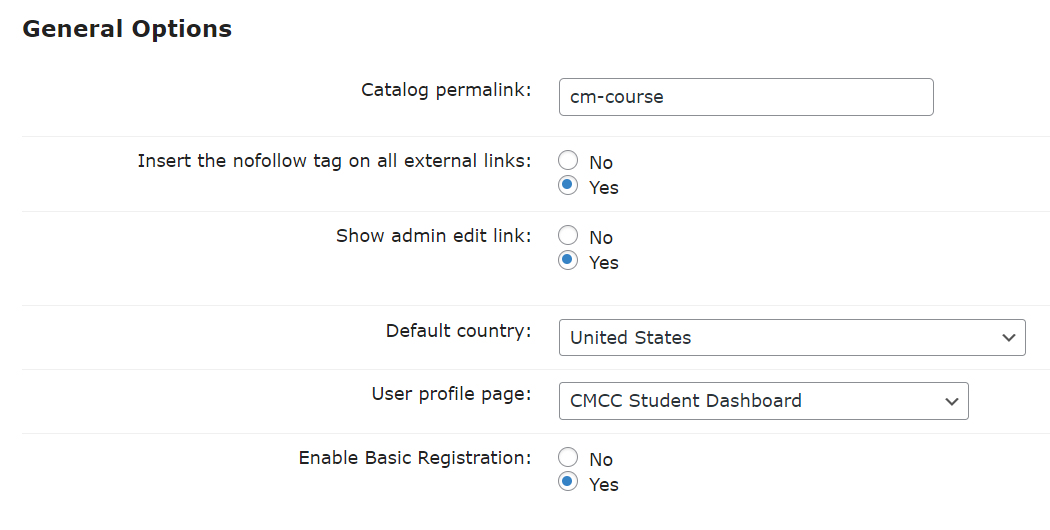
- Course permalink - Change the permalink (URL) of the catalog
- Insert the nofollow tag on all external links - Adds the rel="nofollow" attribute to them. This tells search engines to ignore those links, so that they don't impact page rankings
- Show admin edit link - If you logged in as the admin, the plugin will show the link Edit next to each course. This link is visible for the admin only.
- Default country - Will be the default choice for all courses
- User profile page - This option automatically inserts a shortcode
[cmcc_user_profile]to the chosen page for displaying a student dashboard. This option requires the CM Course Catalog Dashboard add-on to be installed and activated. Learn more about How To Build Student Dashboard. - Enable Basic Registration - Turn it on, if you want users to have the ability to register to courses. If you're using the CM Course Catalog Payments add-on, then this option will not be visible. Learn more about: WordPress Course Catalog Plugin - How To - Enable Basic Registration. Note: this option was introduced in version 1.3.6.
Course Banner
The settings are:

- Show a warning for banner size - Show a warning if the banner dimensions exceed 1000x300
- Enable banner scaling - Resizes the banner dynamically. Enable this to choose between:
- Resize to Fit specified dimensions (no cropping)
- Resize proportionally to fit entire image into specified dimensions
- Resize proportionally adjusting size of scaled image
- Crop and resize to best fit the dimensions (default)
- Choose the default course banner - This image will be applied to courses that have no banner
Google ReCAPTCHA
Note: This section with options was introduced in the base plugin version 1.3.9 and the Waiting List add-on version 1.0.11.
When you use the Waiting List add-on, it is possible to enable reCaptcha in the waiting list form to protect your site from unwanted spammers and bots.
In order to enable the reCaptcha feature, you need to get API key and secret key. Learn more about how to do it in this guide: General Support - reCAPTCHA - What is It and How to Enable
The section has the following options:
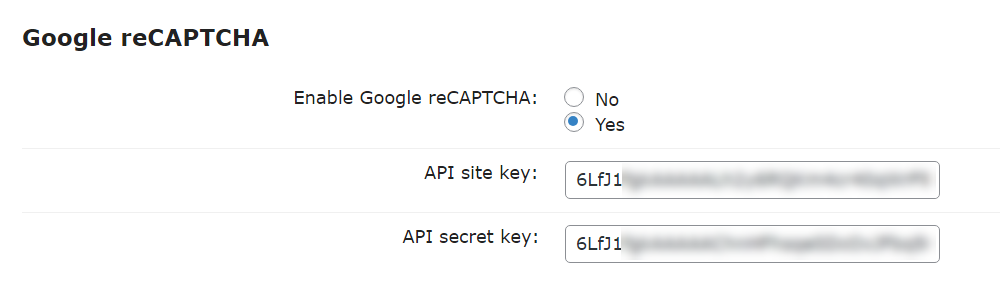
- Enable Google reCAPTCHA - Choose Yes to turn on this option.
- API site key - Add here generated API key.
- API secret key - Add here generated API secret key.
QR Codes
Note: the options in this section were introduced in version 1.4.1.
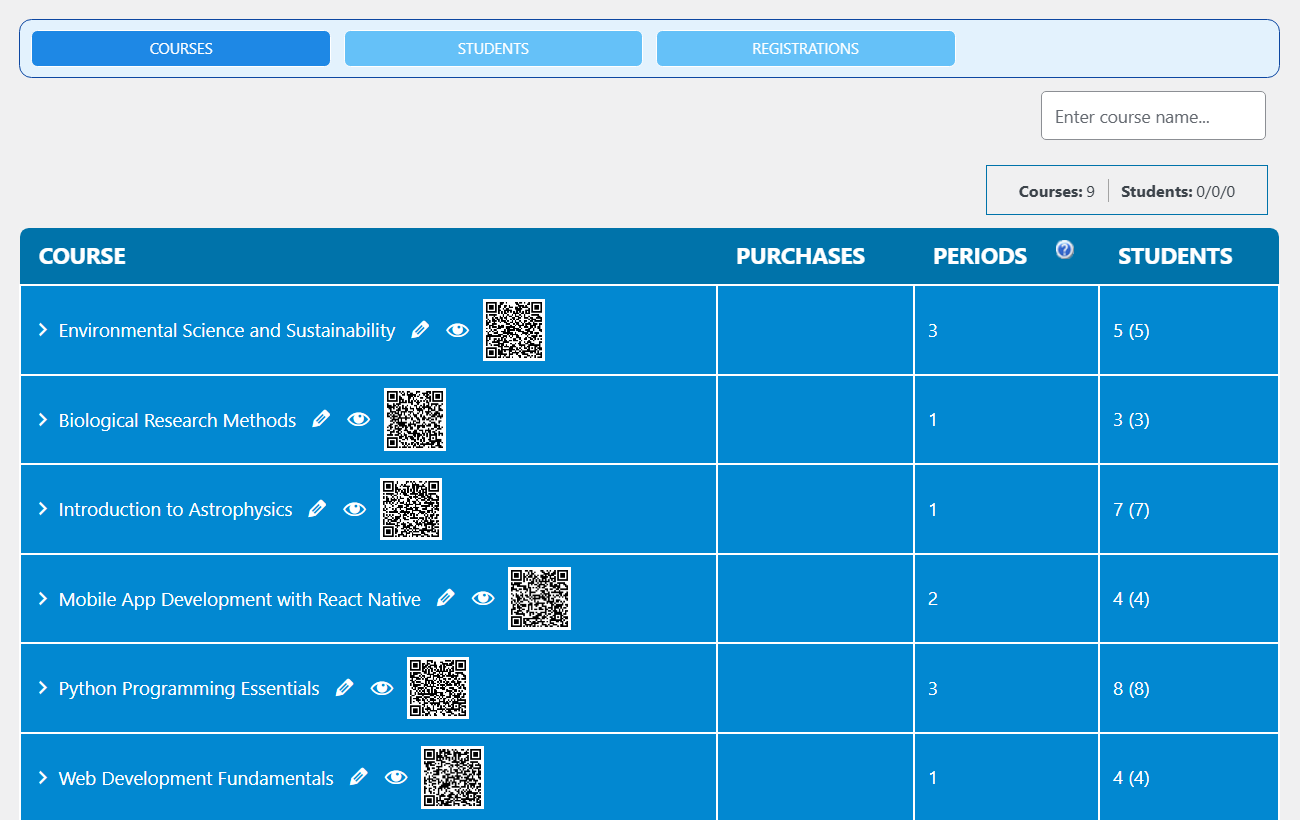
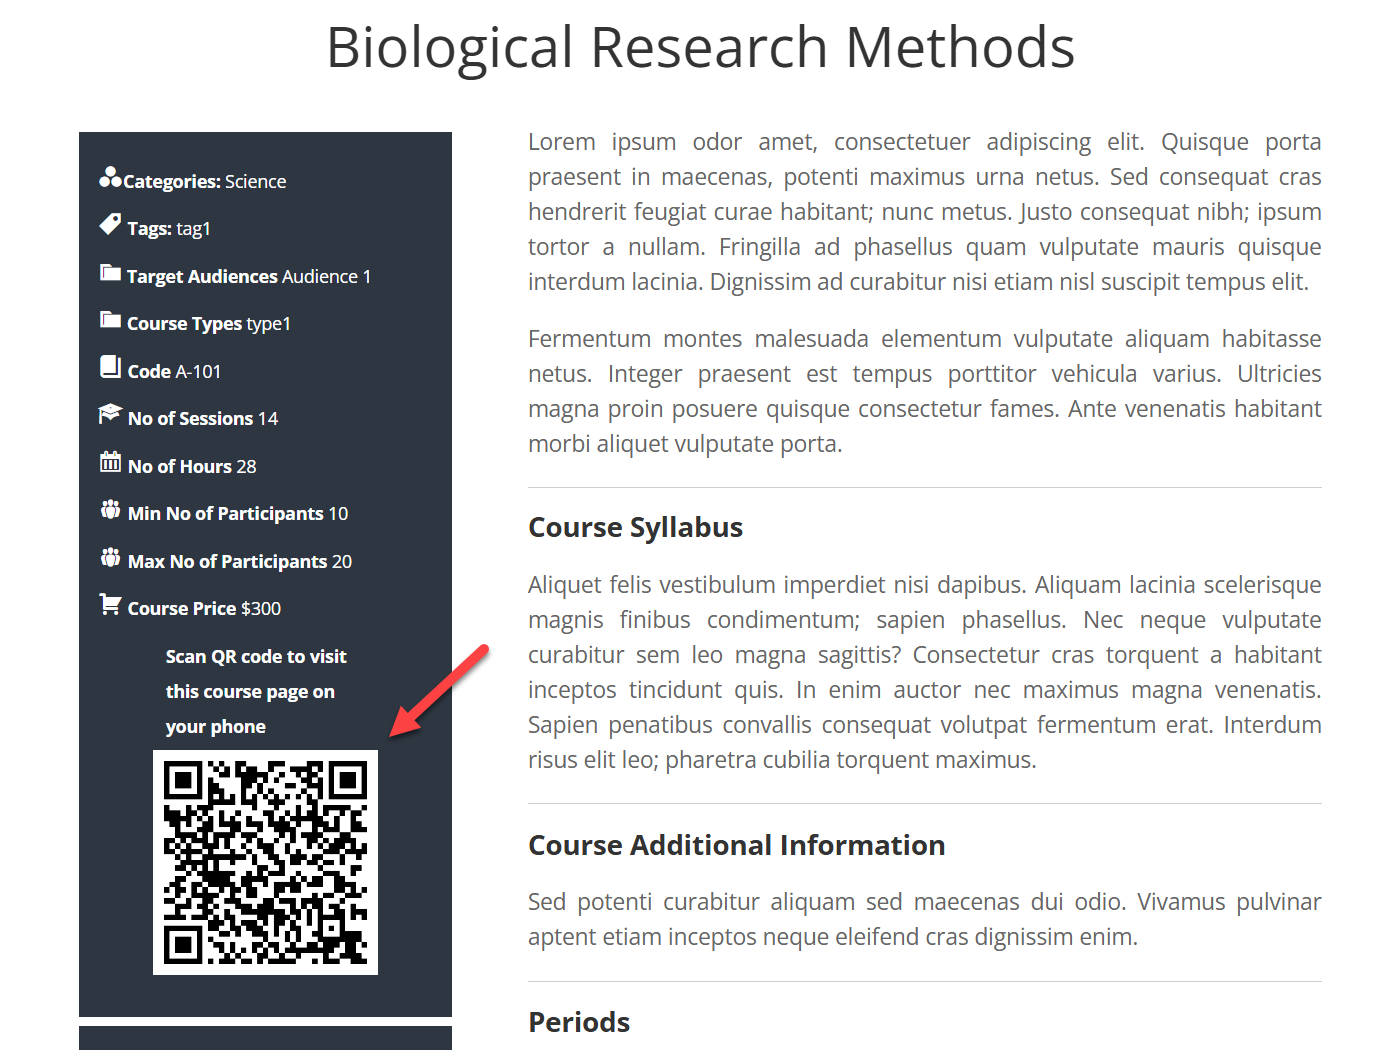
Each course can have a unique QR code that leads to this page. You can display it either on the front-end course page, or in the back-end Course Catalog dashboard in case if you're if you're using the CM Course Catalog Dashboard Add-on.
For example, displaying QR codes on a course page can be useful, if the user is viewing this page on the desktop and wants to continue viewing it on his mobile phone.
The options are:

- Enable QR Codes - Allows to turn on the the QR codes feature. If you're using the Dashboard add-on, QR codes will be displayed on the back-end dashboard. Once this option is enabled, on more option appears:

- Display on frontend - Choose which device types should display QR codes on course pages on the front-end.
Example of QR codes in the back-end dashboard:
Example of the QR code on the course page on the front-end:
 |
More information about the WordPress Course Catalog Plugin Other WordPress products can be found at CreativeMinds WordPress Store |
 |
Let us know how we can Improve this Product Documentation Page To open a Support Ticket visit our support center |