WordPress Email Registration Blacklist (CMRB) - Free Version Guide
Free Version Guide
This guide covers the free version of the WordPress Email Registration Blacklist plugin.
Table of Contents
Why Upgrade to Pro - Differences Between Free and Pro
|
|
Free Edition | Pro Edition |
|---|---|---|
| Free Domain List from SpamAssassin | + | + |
| DNSBL online service to check suspicious IPs | - | + |
| Domain whitelist | + | + |
| Domain blacklist | - | + |
| Email whitelist | - | + |
| Email blacklist | + | + |
| IP whitelist | + | + |
| IP blacklist | - | + |
| Comments allowed domains | - | + |
| Failed registration log | - | + |
| Import list of emails from CSV | - | + |
| Plugin can be used forever; one year support and updates | - | + |
Overview
The WordPress Email Registration Blacklist plugin enables you to block users whose domains have been blacklisted from registering on your WordPress website. This allows your WordPress site to stay free of spam, malware and viruses.
This user guide will help answer any questions you have about the free version of the plugin. For the pro version, please refer to this guide.
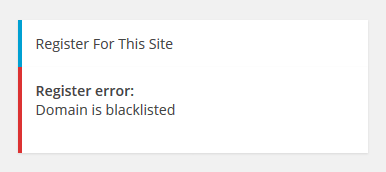
This plugin supports blocking registration by specific emails or domains or allowing only registration from predefined list of emails or domains. When a blocked user tries to register on your website, they will also see a custom notification.
This is an example of what the message can look like when a user tries to register with a blacklisted domain:
Initial Plugin Installation
Here are the steps needed to install the plugin:
- Download - To manually install the plugin, you must first download it from WordPress.org to your computer.
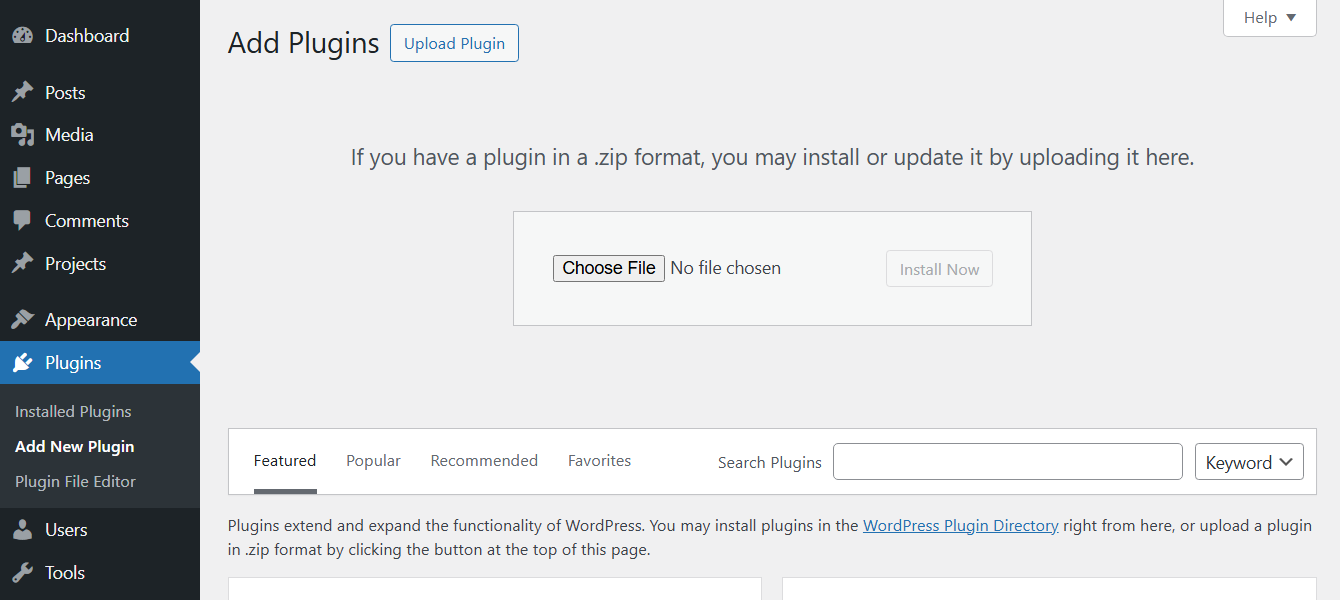
- Navigate to the Plugins tab in the WordPress Admin Panel to install the plugin.
- Activate the plugin.
TIP: Registration
If you would like, you can register your plugin to receive information about updates and our latest offers. You can complete your registration at any time. If you don’t want to register right away, you can select the Skip button.
You can also subscribe to our newsletters here to receive exclusive discounts, special promotions and beta release free trials of our top WordPress plugins and add-ons!
Plugin Settings
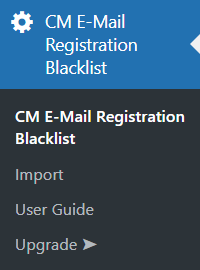
To configure the plugin, navigate to Admin Dashboard → CM E-Mail Registration Blacklist.
The settings page shows options available in the Free version of the plugin and also showcases the options that are available in the Pro version only. You can show or hide Pro options by clicking the relevant button at the top right:

In this guide we will consider only options available in the Free version.
General
The options that are available in the free version are:

Domain
- Domain Whitelist - If enabled, domains on the Whitelist will be automatically accepted. Domains not on the whitelist will not be accepted for registration.
- Free Domain list - If enabled, domains from the Free Domain list will not be accepted for registration.
- Email Blacklist - If enabled, the emails from the blacklist will not be accepted for registration. Email validation is checked before domain validation.
IP
- IP Whitelist - If enabled, IP addresses that are not included to the whitelist will be automatically rejected for registration.
Enable at least one option before selecting the Update button.
You should now receive a notification that your settings have been updated.
Domain/Email/IP Restrictions
The next 3 tabs we will consider are Domain Whitelist, Email Blacklist and IP Whitelist.
Each tab has its own form where you can add one domain, email address or IP at a time.
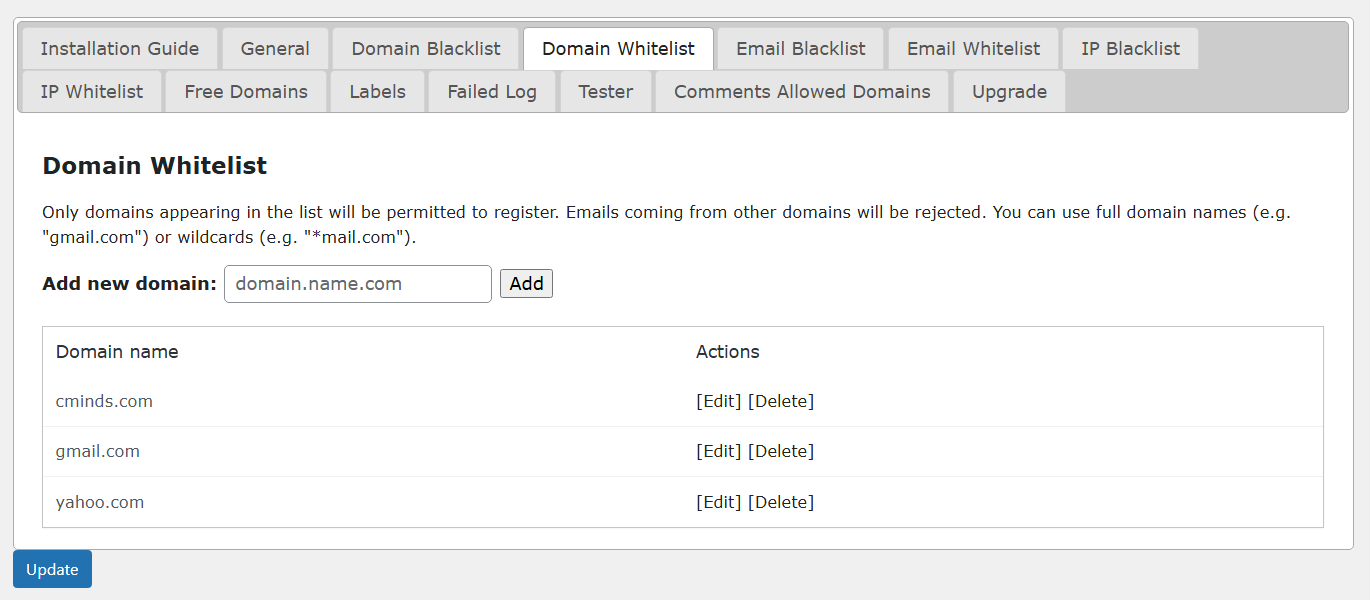
Domain Whitelist
In the Domain Whitelist tab, you can choose to limit registration to email addresses from within your own organisation or company. All other email addresses will be rejected.
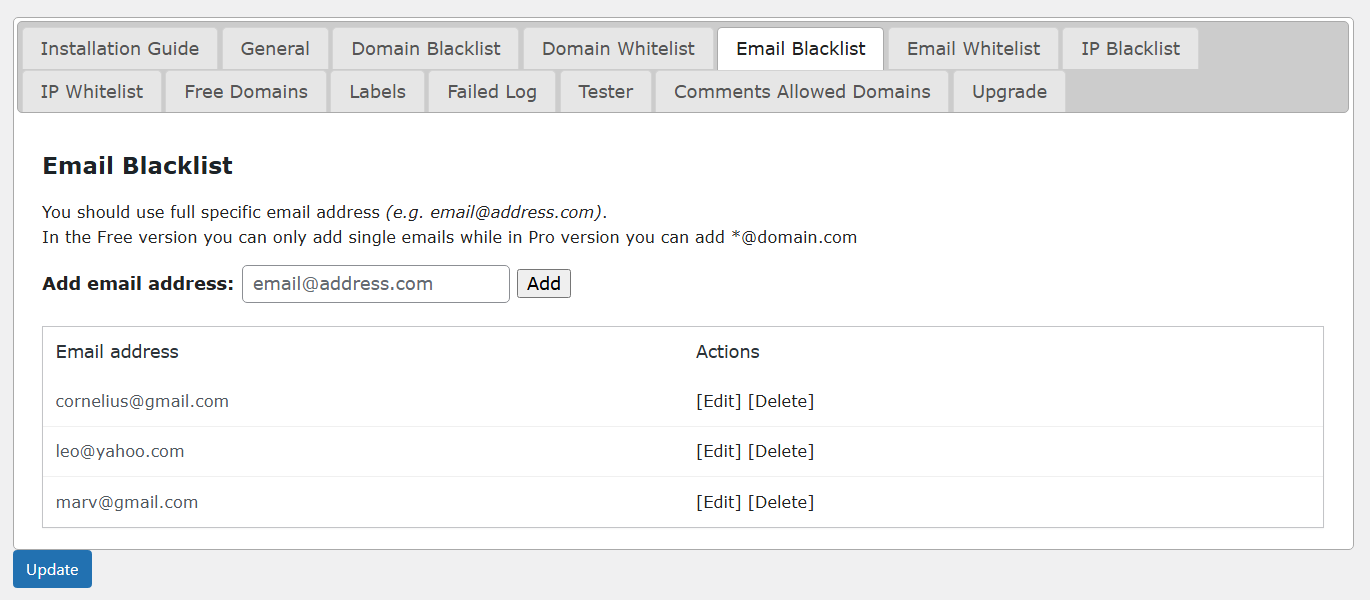
Email Blacklist
In the Email Blacklist tab, you can add a list of email which are not allowed to register on your site.
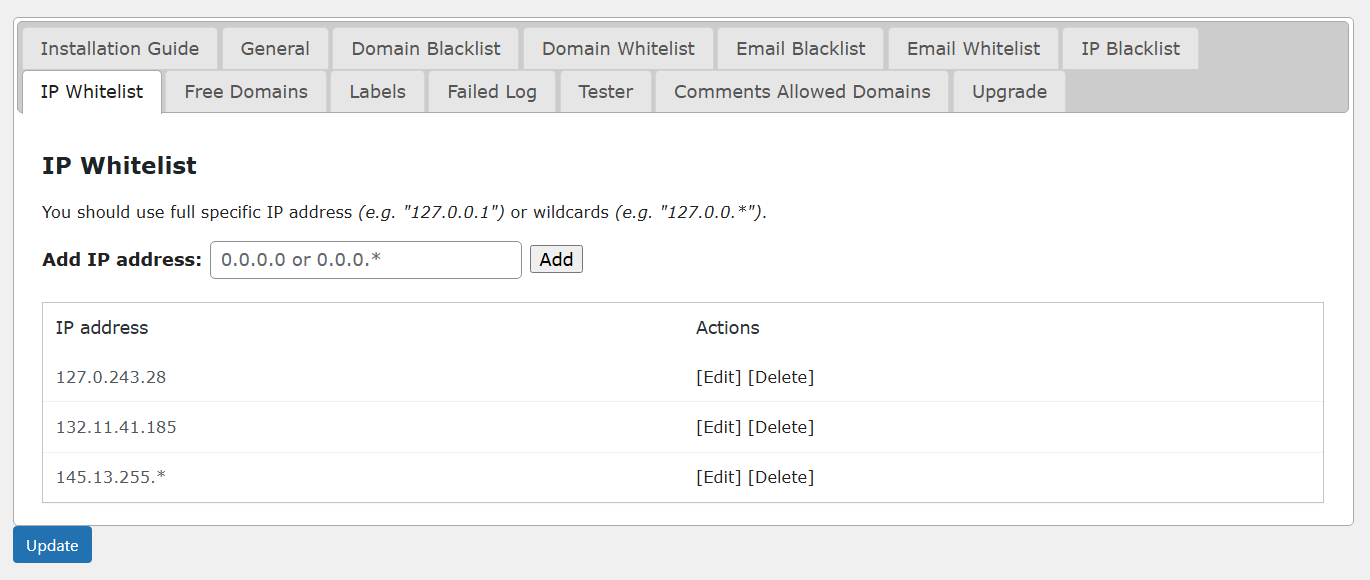
IP Whitelist
In the IP Whitelist tab, you can add a list of IP addresses which are allowed to register on your site. Attempts to register from other IPs will be rejected.
Actions
Once you have a list of entries, you can easily edit or delete them by selecting the corresponding Actions link:

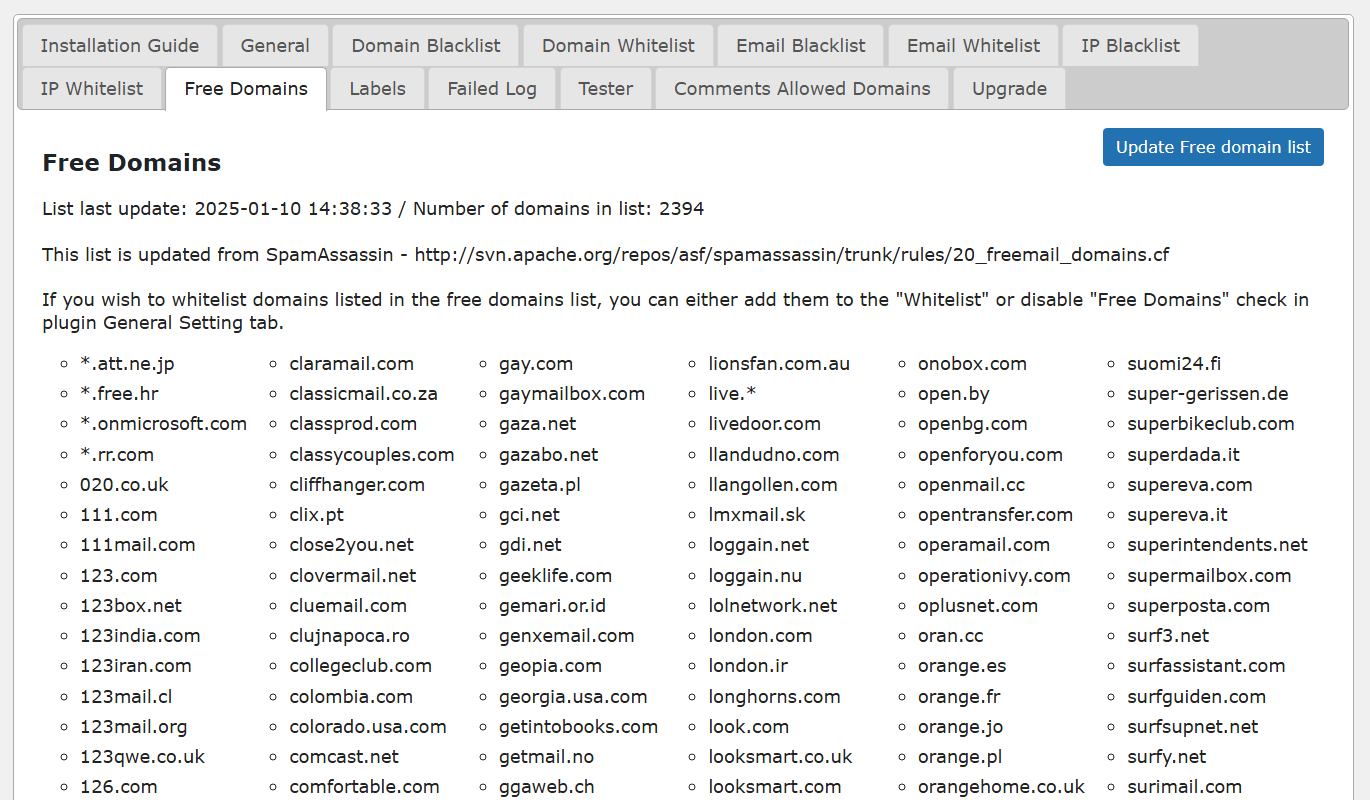
Free Domains
Under the Free Domains tab, you will find a list of over two thousand domains that provide email addresses and that are known for sending spam.
At the top of the page you can see when the list was last updated, and you can check if there are any new updates by selecting the Update Free domain list button:
If you need to check if a domain is on this list, continue to the Tester tab.
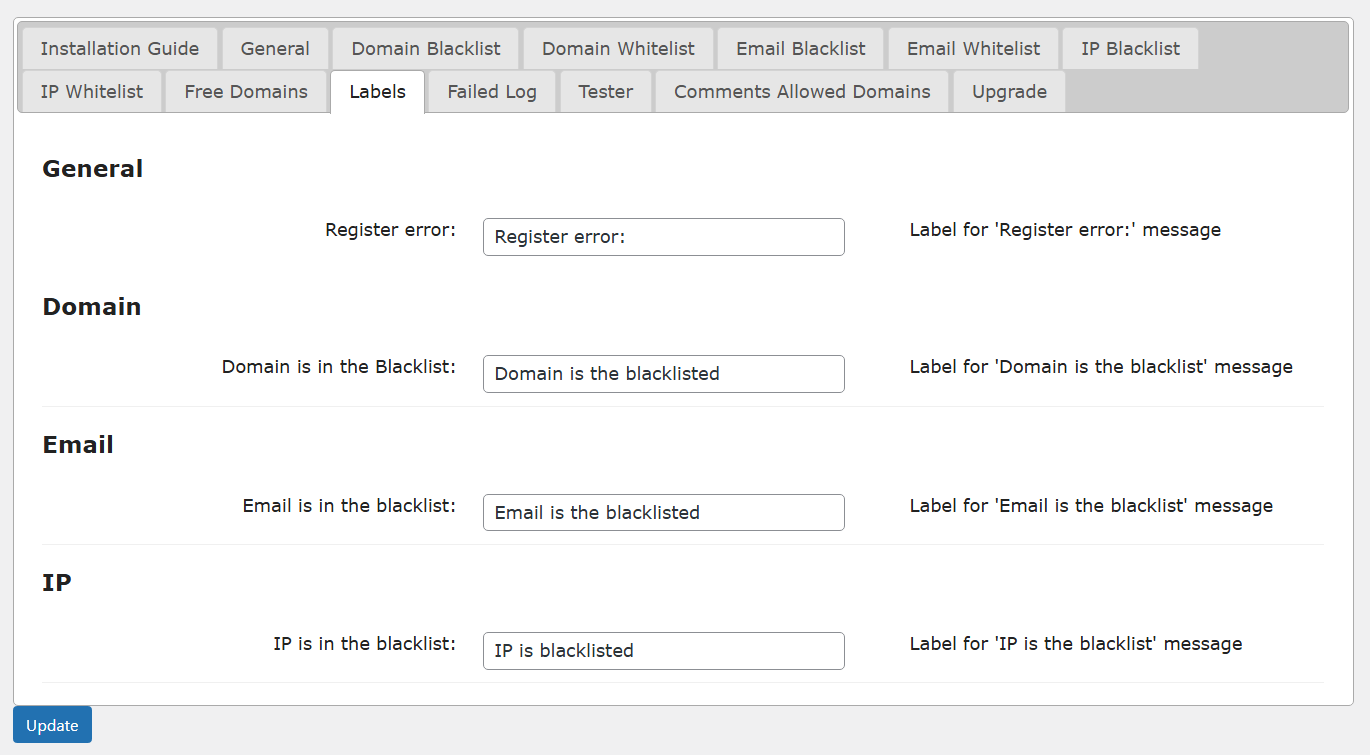
Labels
This is the tab where you can customize the text that is shown to visitors when they try to register on your website:
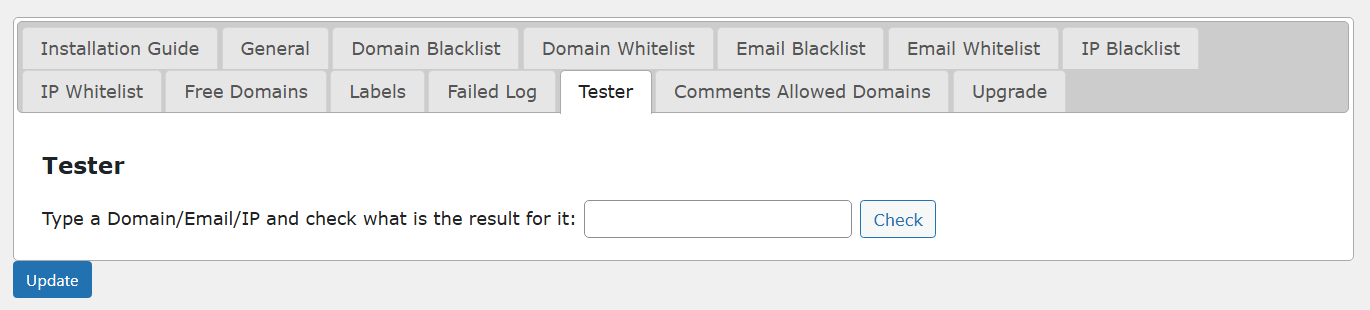
Tester
In the Tester tab, you can use the form to type in the domain, email or IP to see if it is accepted or not.
Enter your domain, email or IP and select the check button:
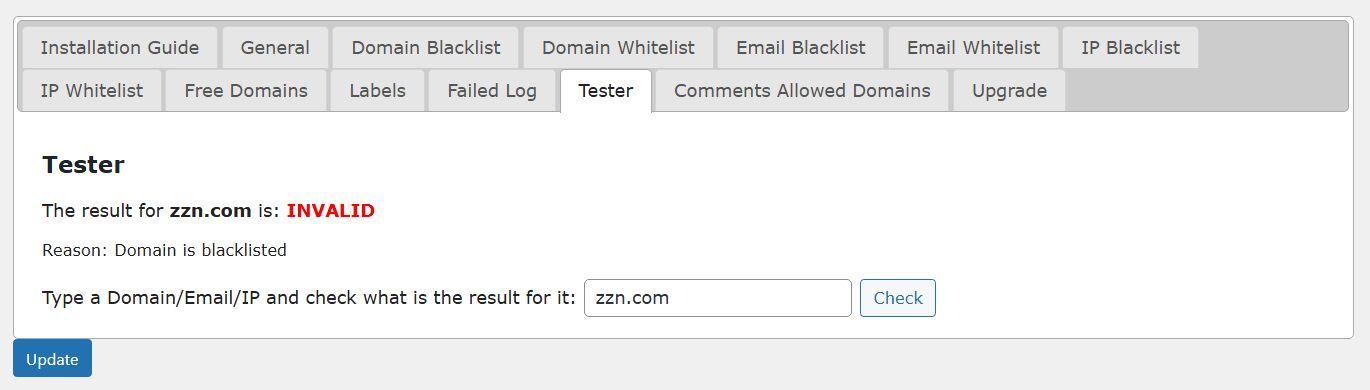
Example 1: If the domain is blacklisted, the result will say INVALID:
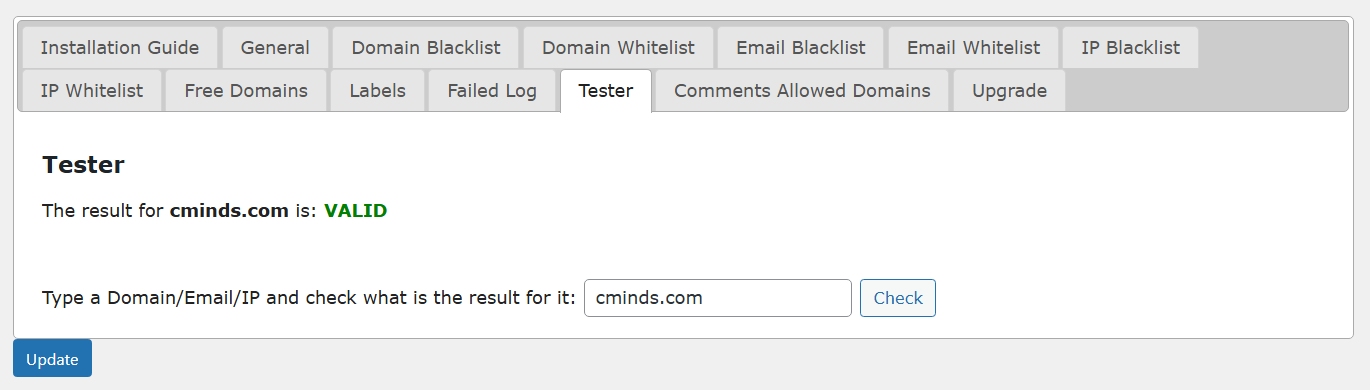
Example 2: If the domain is whitelisted, the result will say VALID in green text:
 |
More information about the WordPress Email Registration Blacklist plugin Other WordPress products can be found at CreativeMinds WordPress Store |
 |
Let us know how we can Improve this Product Documentation Page To open a Support Ticket visit our support center |