WP Popup Plugin (CMP) - Free Version Guide
Free Version Guide
This guide covers the free version of the WP Popup Plugin. Product Page | Documentation Home
Table of Contents
- Differences Between Free and Pro
- Plugin Overview
- General Plugin Settings
- Creating and Managing Popup Campaigns
Differences Between Free and Pro
Free Version Features
- One campaign type: Popup.
- Add HTML and images to the popup campaigns.
- Choose to display the popup campaign globally or only on one page.
- AdDesigner - A dedicated tool to create popups matching your site’s branding.
Additional Pro Features
- Two additional campaign types: FlyIn and Full Screen.
- Ad Statistics - Track popup clicks and impressions in an easy-to-use report.
- Advanced Campaign Settings - Restrict displaying popups by Page/Post/URL/Period, randomization, scheduling.
- Options to trigger campaign on JS hover or click events (for instance, when the user is trying to leave the page).
- Import and Export support.
Plugin Overview
WP Popup Plugin lets users customize and promote events, products and offers on a WordPress site.
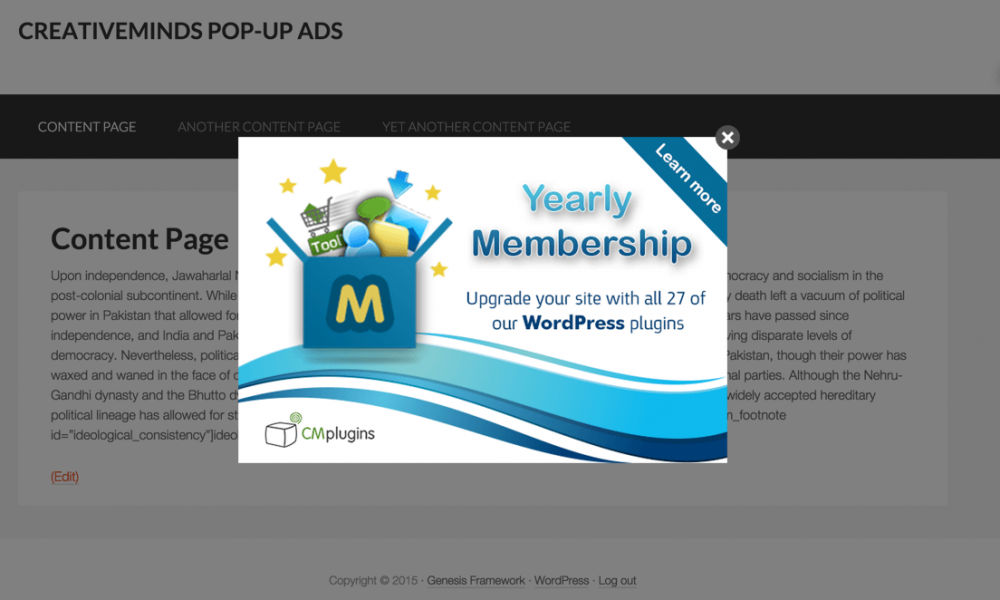
This is accomplished through popups called "campaigns" - You can add text, images and more to each and then choose to display them globally or specify one page where each should appear.
Below, an example of a popup:
General Plugin Settings
To configure the plugin settings, navigate to Admin Dashboard → CM Pop-Up Banners → Settings.
The Free version of the plugin has only 1 general setting:
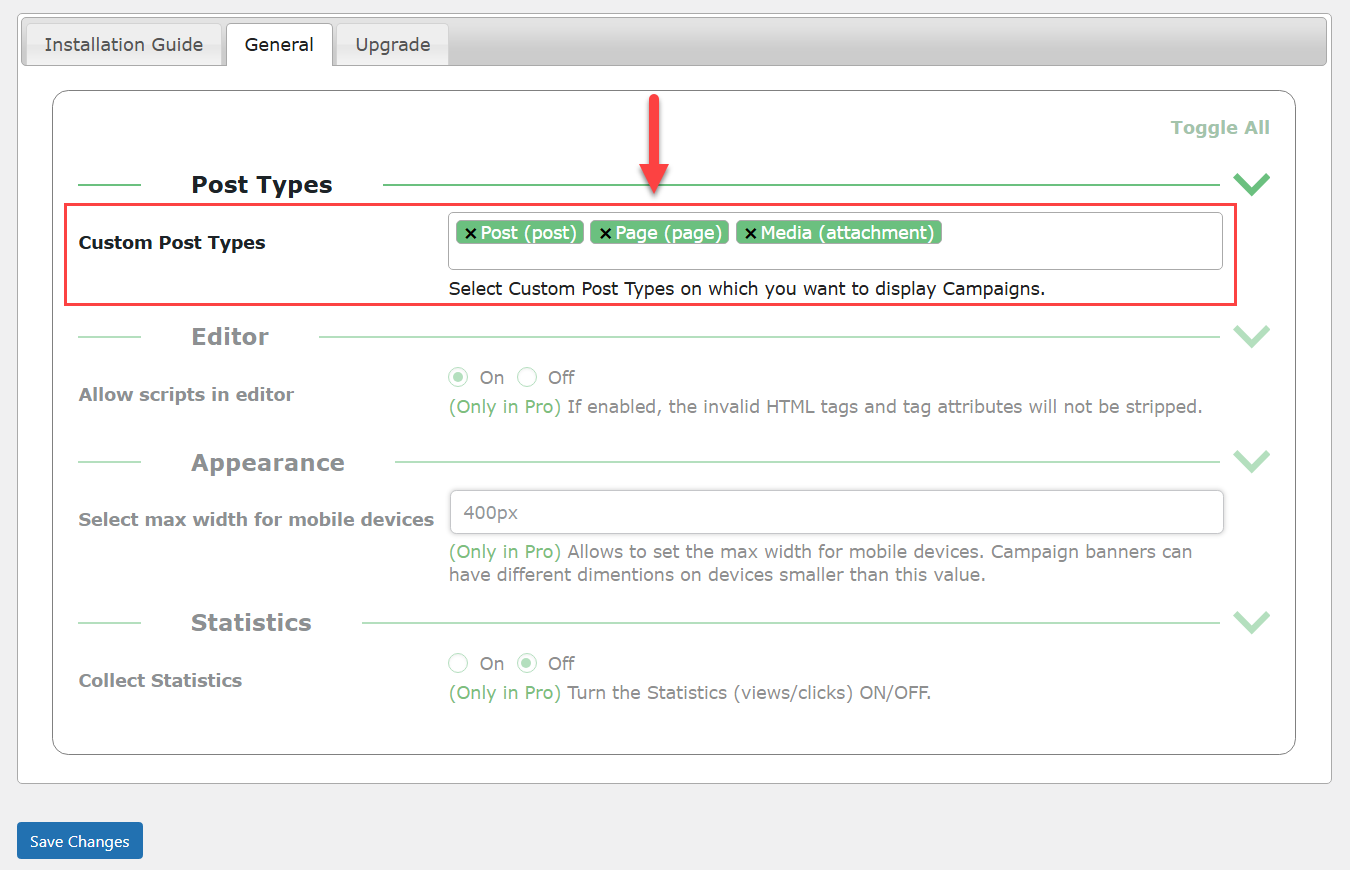
- Custom Post Types - Select custom post types on which you want to display popup campaigns. Showing a specific popup campaign on a custom post type also depends on each campaign settings.
Creating and Managing Popup Campaigns
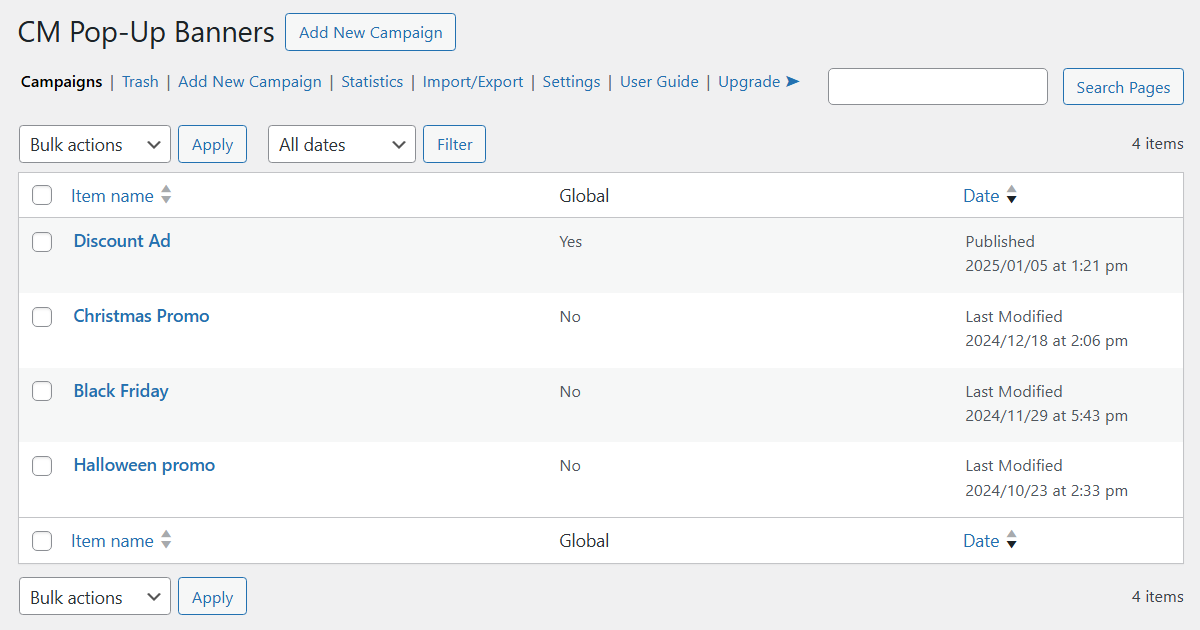
To manage popup campaigns, navigate to Admin Dashboard → CM Pop-Up Banners → Campaigns.
This page lists all the popup campaigns that have been created with the WP Popup Plugin. You can order them by date or name, filter the results, delete or add new ones.
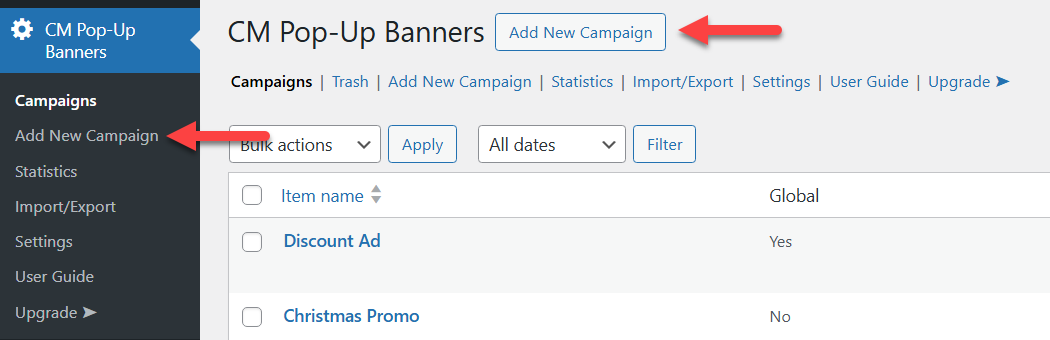
To create a new campaign, click Add New Campaign on that page or in the plugin menu:
Define the title - this is only important for your organization, as the readers don't have access to it.

Customize the content of the campaign. This is the most important step, this is the content that your readers will see. Note that you can add HTML formatting, images and videos to the content area.
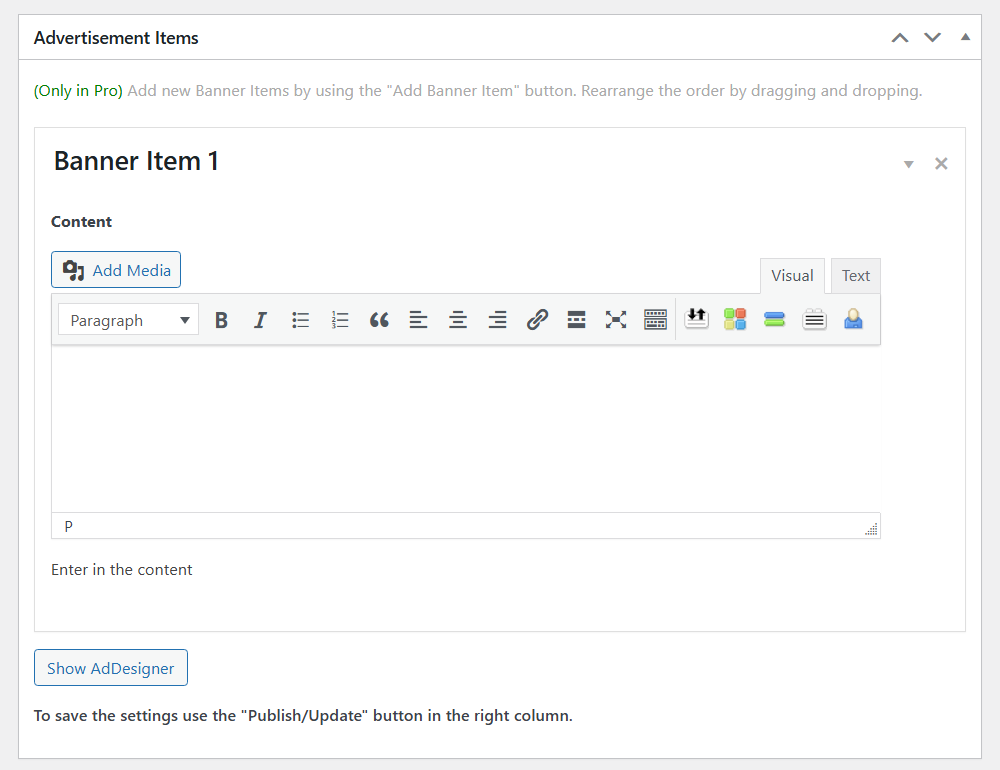
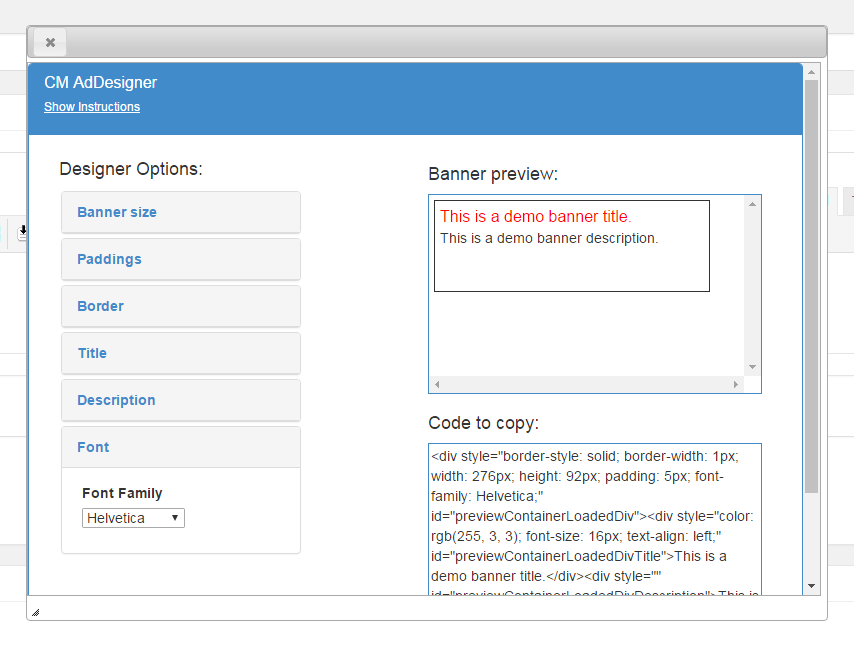
You can also use AdDesigner by clicking the button Show AdDesigner. This feature will help you to customize a style of the popup content with simple controls and fields. Users see how applied changes effect the post content without saving and refreshing page. Learn more about AdDesigner.
Below you can find the section Campaign - Options. It has a few tabs with different options. These tabs showcase options from the Free and Pro version of the plugin. In this case guide we will cover only options available in the Free version.
Basic Visual
In this tab you can configure appearance settings of the popup. The options are:
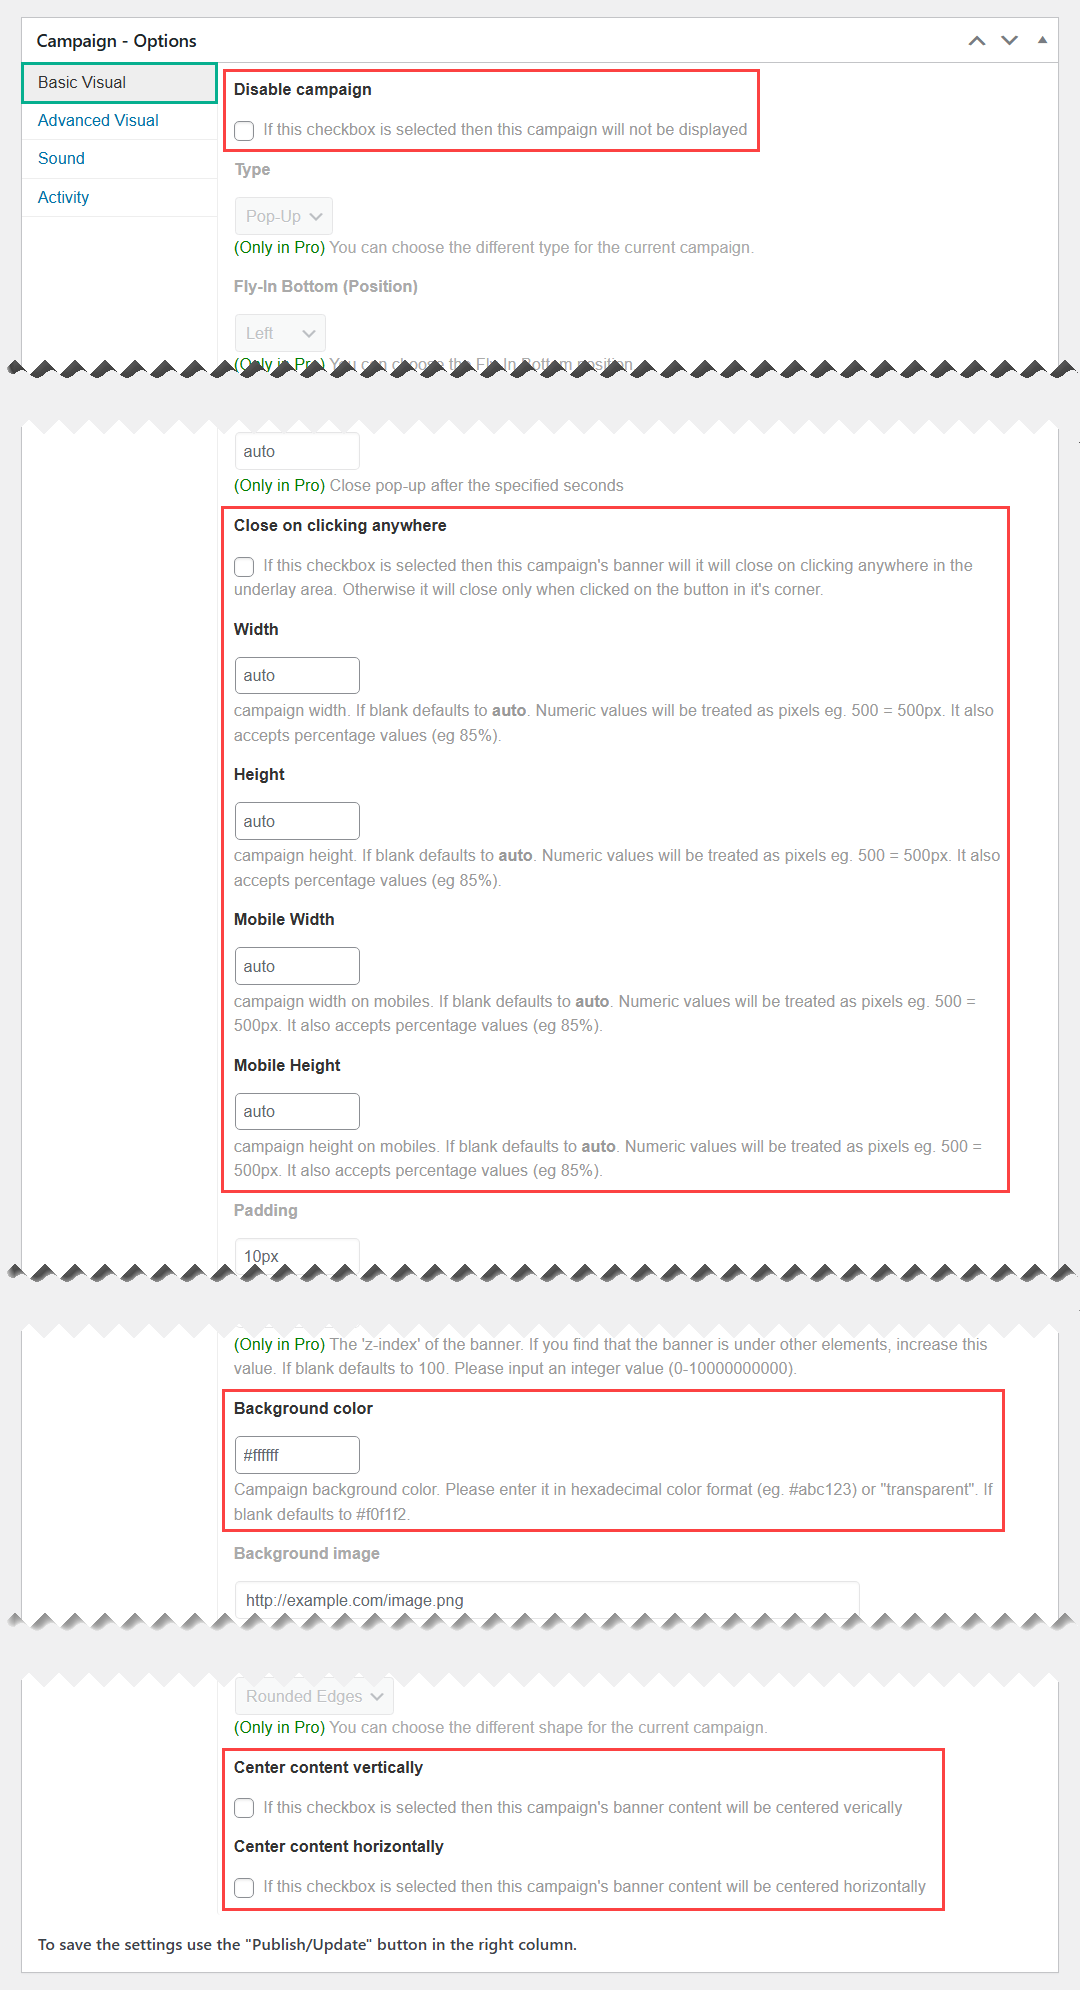
- Disable campaign - Check this option if you want to pause the campaign.
- Close on clicking anywhere - If this checkbox is selected then this campaign's popup will close on clicking anywhere in the underlay area. Otherwise it will close only when clicked on the close button.
- Width - Enter a value in the provided box for the popup campaign width. Accepted values include: numbers (in pixels), percents (eg 75%) or "auto".
- Height - Enter a value in the provided box for the popup campaign height. Accepted values include: numbers (in pixels), percents (eg 75%) or "auto".
- Mobile Width - Enter a value for the popup campaign width on mobiles. If blank defaults to auto. Numeric values will be treated as pixels eg. 500 = 500px. It also accepts percentage values (eg 85%).
- Mobile Height - Enter a value for the popup campaign height on mobiles. If blank defaults to auto. Numeric values will be treated as pixels eg. 500 = 500px. It also accepts percentage values (eg 85%).
- Background color - Enter a value in the provided box for popup campaign background color. Accepts also "transparent".
- Center content vertically - If this checkbox is selected, this campaign's popup content will be centered vertically.
- Center content horizontally - If this checkbox is selected, this campaign's popup content will be centered horizontally.
Activity
In this tab you can configure where the popup campaign should appear. The options are:
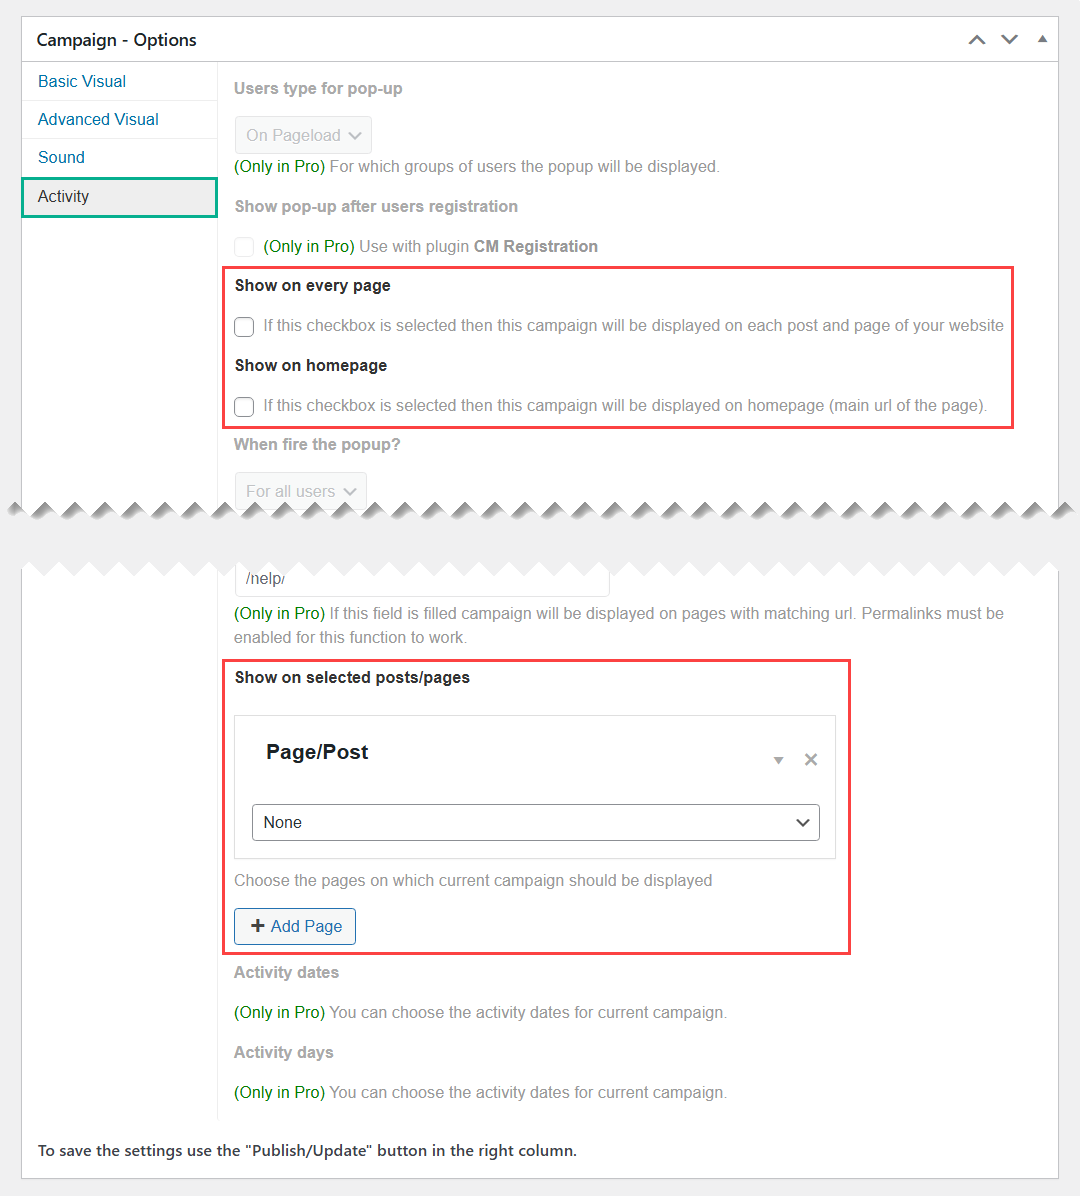
- Show on every page - Makes the popup campaign global, appearing in every page and post.
- Show on homepage - If this checkbox is selected then this campaign will be displayed on homepage (main url of the site).
- Show on selected posts/pages - Makes the popup campaign appear only on a selected page or post. Click +Add Page to add more pages.
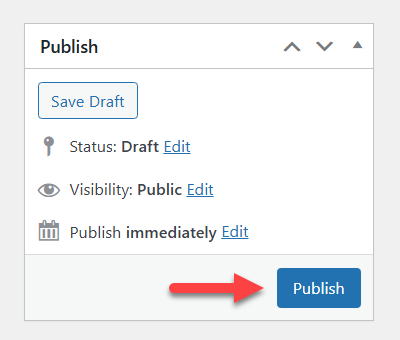
Last step, click the button Publish to create the popup campaign.
 |
More information about the WP Popup Plugin Other WordPress products can be found at CreativeMinds WordPress Store |
 |
Let us know how we can Improve this Product Documentation Page To open a Support Ticket visit our support center |