WP Popup Plugin (CMP) - Use Case - Adding Promo Popup With Countdown and CTA Button
Use Case - Adding Promo Popup With Countdown and CTA Button
Note: This guide covers features from the Pro version of WP Popup Plugin - This document uses version 1.6.8.
Introduction
This WP Popup Plugin allows you to show different kinds of popups on your website.
Use Case Front-End
Example 1:
Example 2:

Use Case Assumptions
In this example use case guide, we'll cover how to create popups which contain countdown and CTA button. We consider that you have already bought the plugin, but not installed it.
It follows:
- Installing the plugin
- Quick recap
- Displaying countdown
- Displaying CTA button
- Creating popup
- End result
Installing the Plugin
The process is the same for all CM plugins.

- Download the plugin from your customer dashboard.
- Log in to WordPress and navigate to the WordPress Admin → Plugins settings.
- Click on Add New.
- Activate it and add the license.
Learn more: Getting Started - Plugin Overview
Quick Recap
In this use case we will focus on displaying countdowns and CTA buttons. To learn more detailed about the basic process of creating popups, please, check this use case guide:
Displaying Countdown
The plugin allows to display a countdown - it is done using a shortcode, so you can use it either in the popup or anywhere else on your site.
Shortcode: [cmpop_countdown]
This shortcode has a few parameters.
Parameters:
- time - Here you need to set the date and time value. It can be set in 2 formats: as a timestamp (if the parameter strtotime="0"), or in textual format (if the parameter strtotime="1").
- strtotime - Controls how the time is interpreted. The default value is "0". Learn more about it.
- inverse - Allows to choose one of 2 styles. Can be set "0" or "1". The default value is "0".
Example #1:
Let's use the timestamp format of time and place it on a page. In this case it will always show the countdown for the time we defined, for example - 9th September 2024. We convert this date to Unix timestamp format - to 1725642881. It means, the countdown will be to the specified date. The shortcode will be:
[cmpop_countdown time="1725642881" strtotime="0" inverse="0"]
Result:
Example #2:
Let's use textual time format and change the color style of the countdown and place it on a page. In this case it will always show the countdown for the time we defined, for example - 3 days. It means, every time you refresh the page it will countdown from 3 days. The shortcode will be:
[cmpop_countdown time="+3 DAYS" strtotime="1" inverse="1"]
Result:
Displaying CTA Button
The plugin allows to display a customizable CTA button with a link - it is also done using a shortcode, so you can use it either in the popup or anywhere else on your site.
Shortcode: [cmpop_cta]
This shortcode has a few parameters.
Parameters:
- color - Choose the color of a button between "orange" or "green" for button types "button" or "iframe".
- label - Enter the text which will be displayed inside of the button.
- type - Choose the type of a button between "button", "simple" or "iframe".
- url - Enter the link to external URL for button types "button" or "simple", or URL to image for "iframe".
Example 1:
[cmpop_cta color="orange" label="Get Discount NOW" type="button" url="https://example.com/"]
Result:

Example 2:
[cmpop_cta color="green" label="Get Discount NOW" type="button" url="https://example.com/"]
Result:

Example 3:
[cmpop_cta label="Learn more about this shortcode" type="simple" url="https://creativeminds.helpscoutdocs.com/article/2965-cm-pop-up-banners-cmpb-shortcodes"]
Result:

Creating Popup
With the WP Popup plugin ready to go, it's time to create a popup.
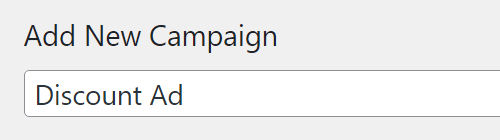
Navigate to the Admin Dashboard → CM Pop-Up Banners Pro → Add New Campaign or to Admin Dashboard → CM Pop-Up Banners Pro → Campaigns and then click the button Add New Campaign.

First, you need to add a popup campaign title - it is used only for the internal usage.
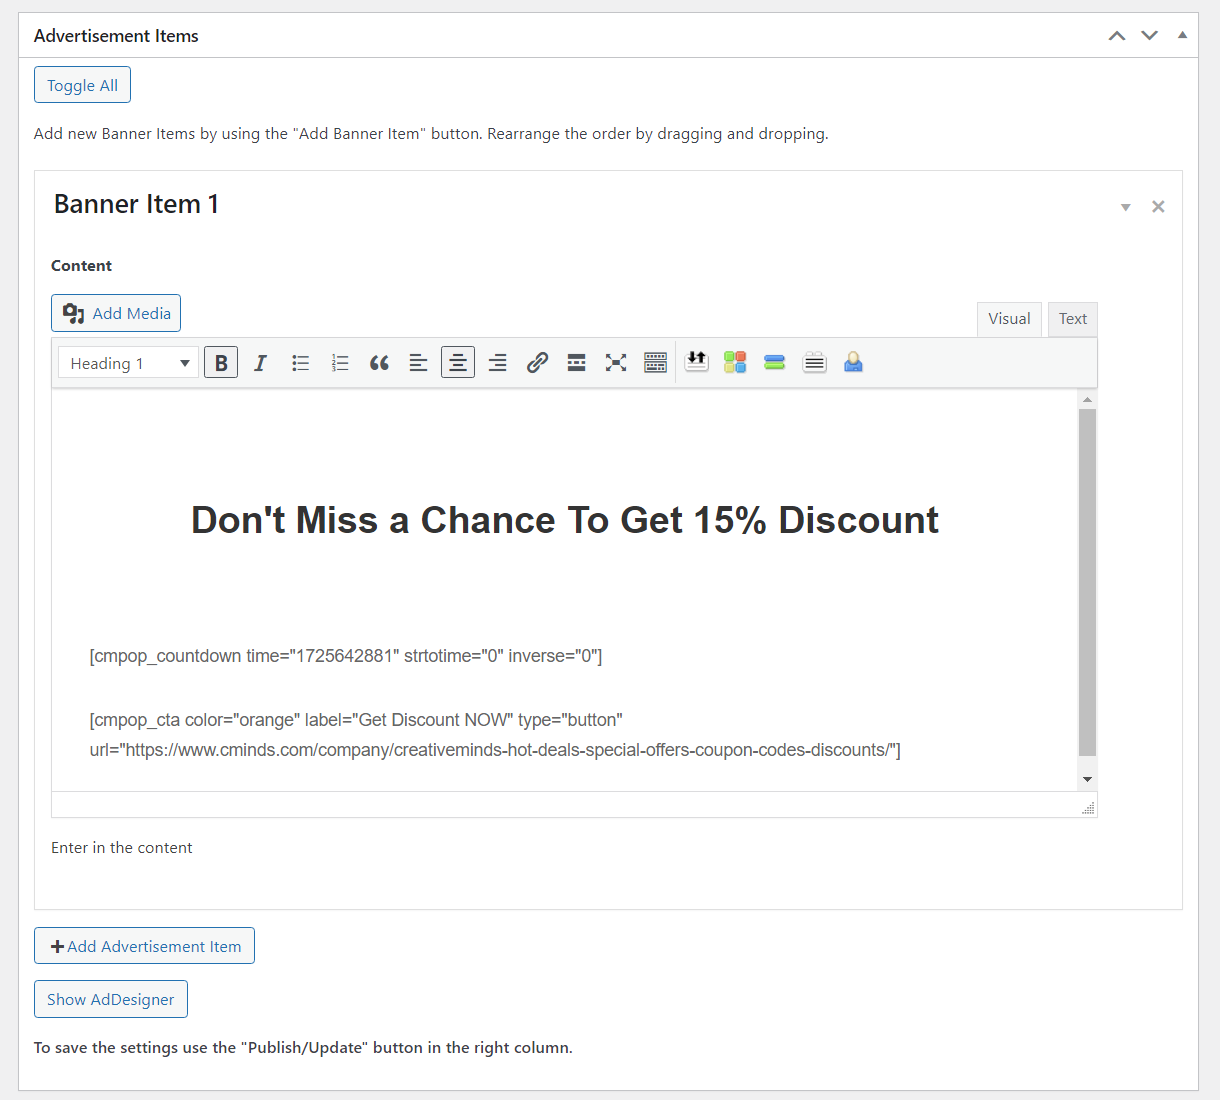
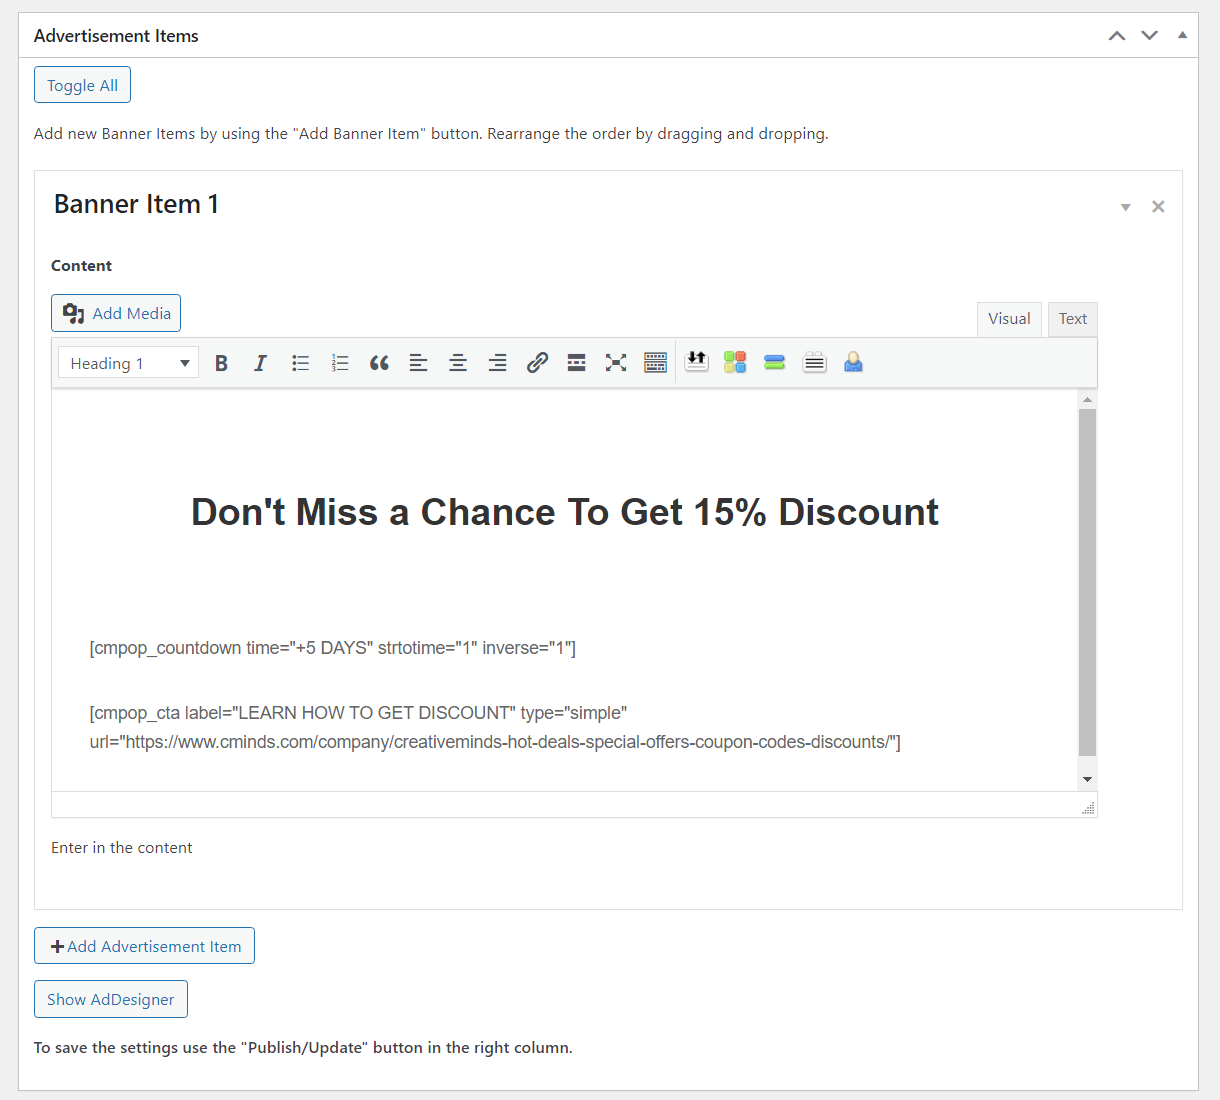
Next box is Advertisement Items. Here we can add one or multiple banners. We are going to add one banner which contains promo text, a countdown that uses timestamp format of the time, and an orange CTA button with the link.
Next, we need to configure the campaign settings which are located in the Campaign - Options area. We are not going to review all settings here, just a few ones that are used in our use case. You can learn more about all settings in another use case: WP Popup Plugin (CMP) - Use Case - Adding Popups With Image, HTML and Video to Your Site
Basic Visual
First section is Basic Visual. Here we use the following settings:
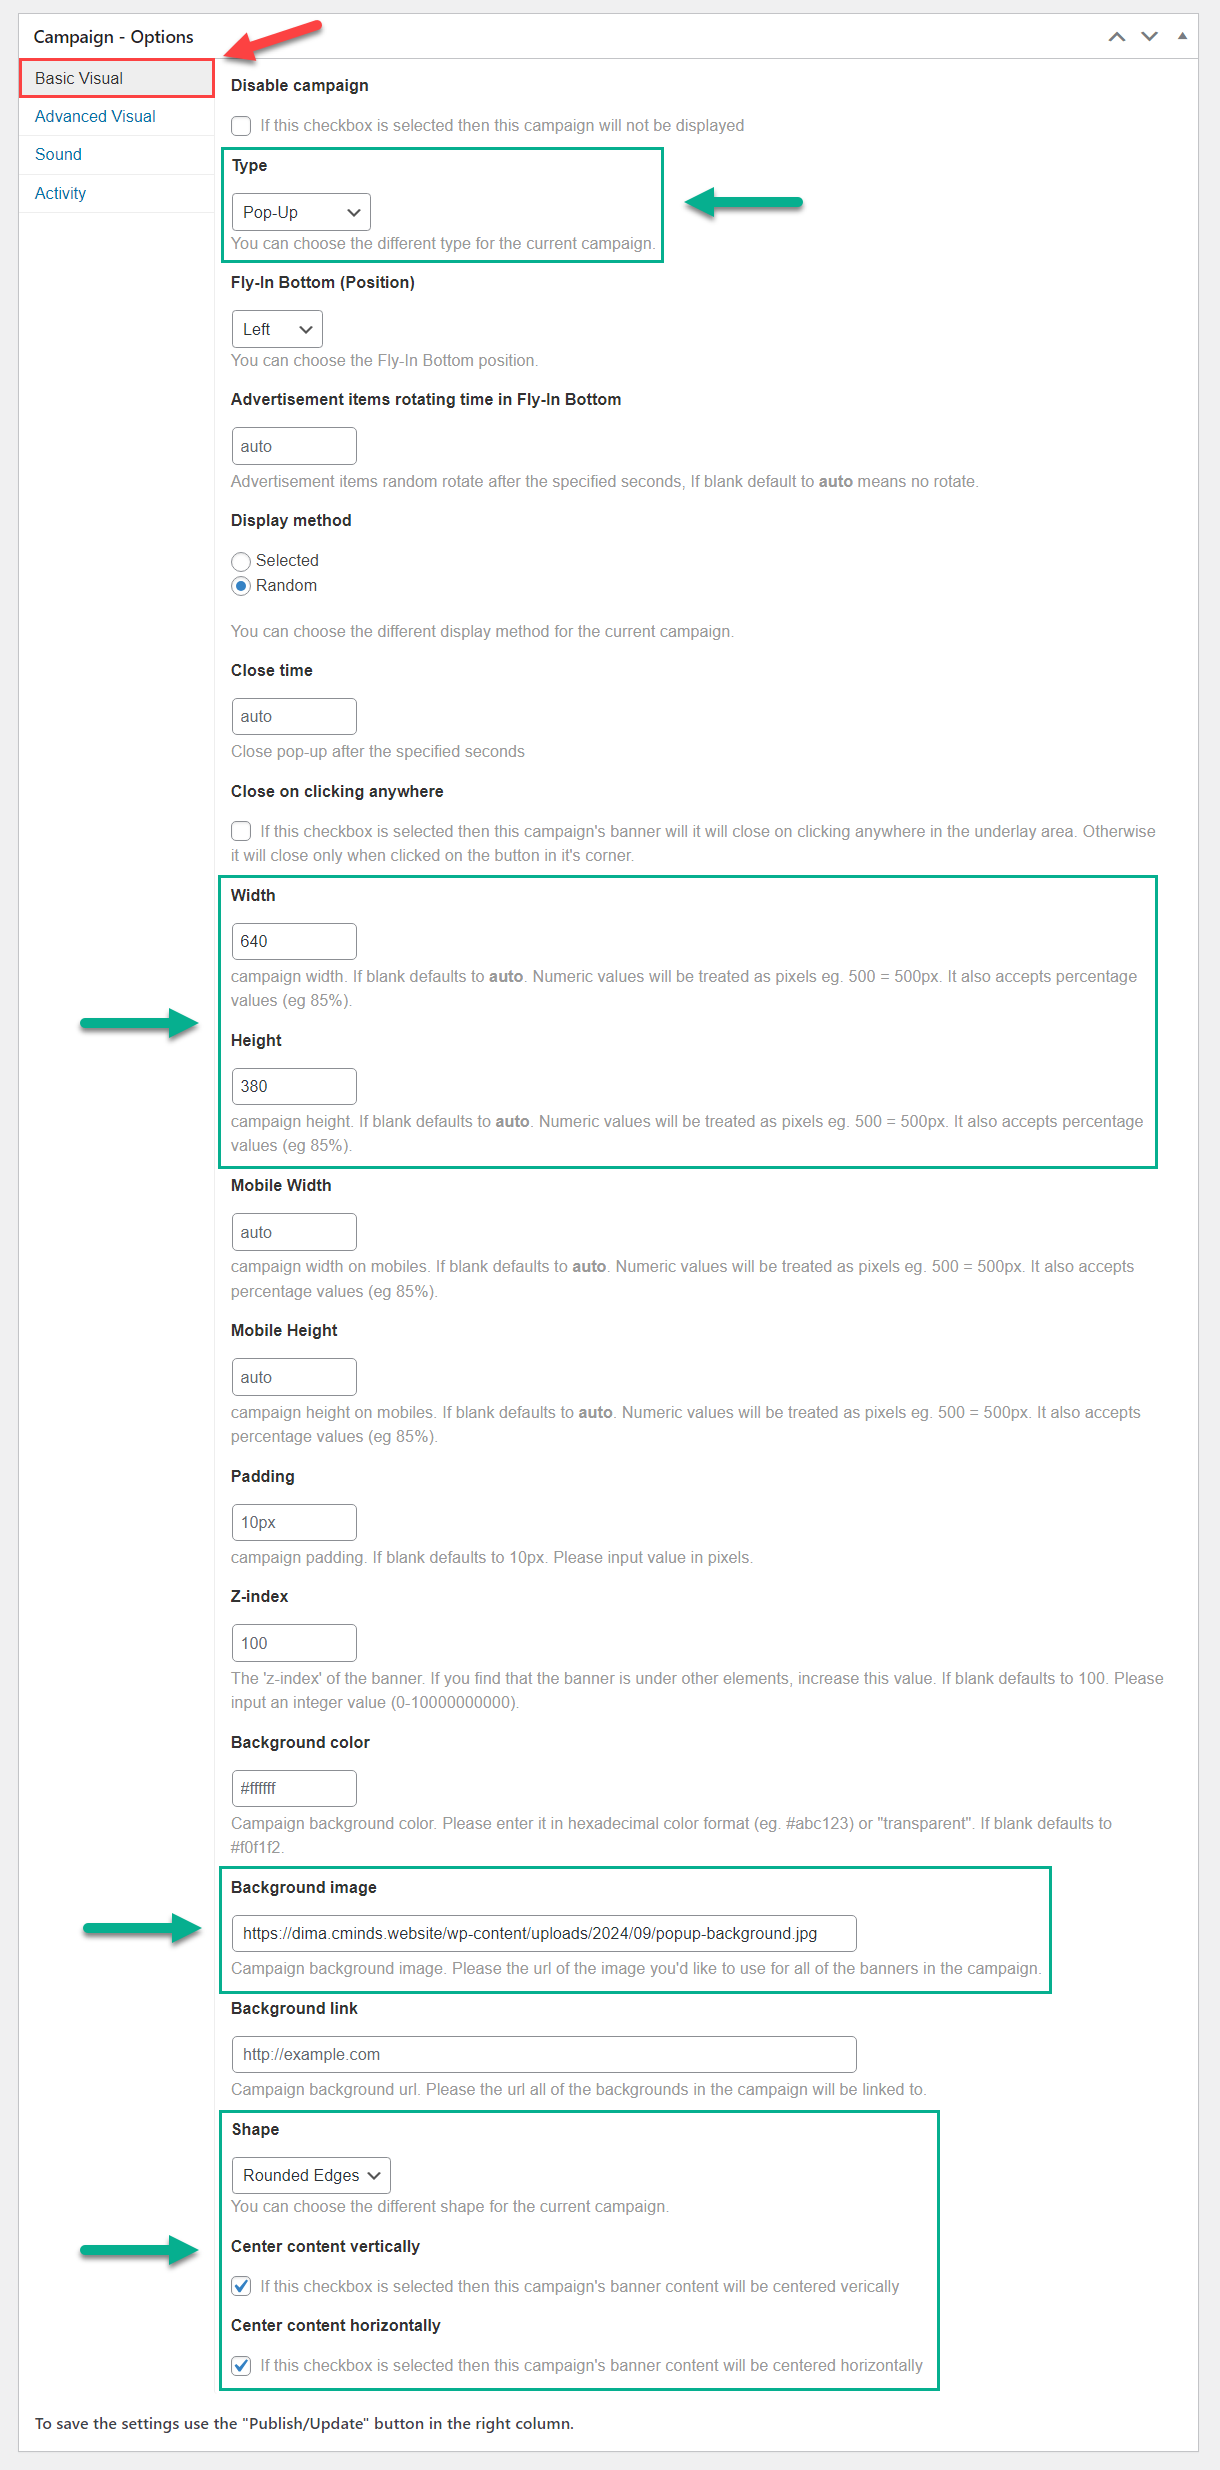
- Type - We chose the Popup type.
- Width / Height - Here we set the width and height of the banner (for the desktop devices).
- Background image - Here we add a URL link for the banner background image which we uploaded the media library of our site in advance.
- Shape - Here we chose the Rounded Edges of the banner.
- Center content vertically / horizontally - Additionally, we can center the content of our banner.
Advanced Visual
In the Advanced Visual section we kept all settings default. These settings are:
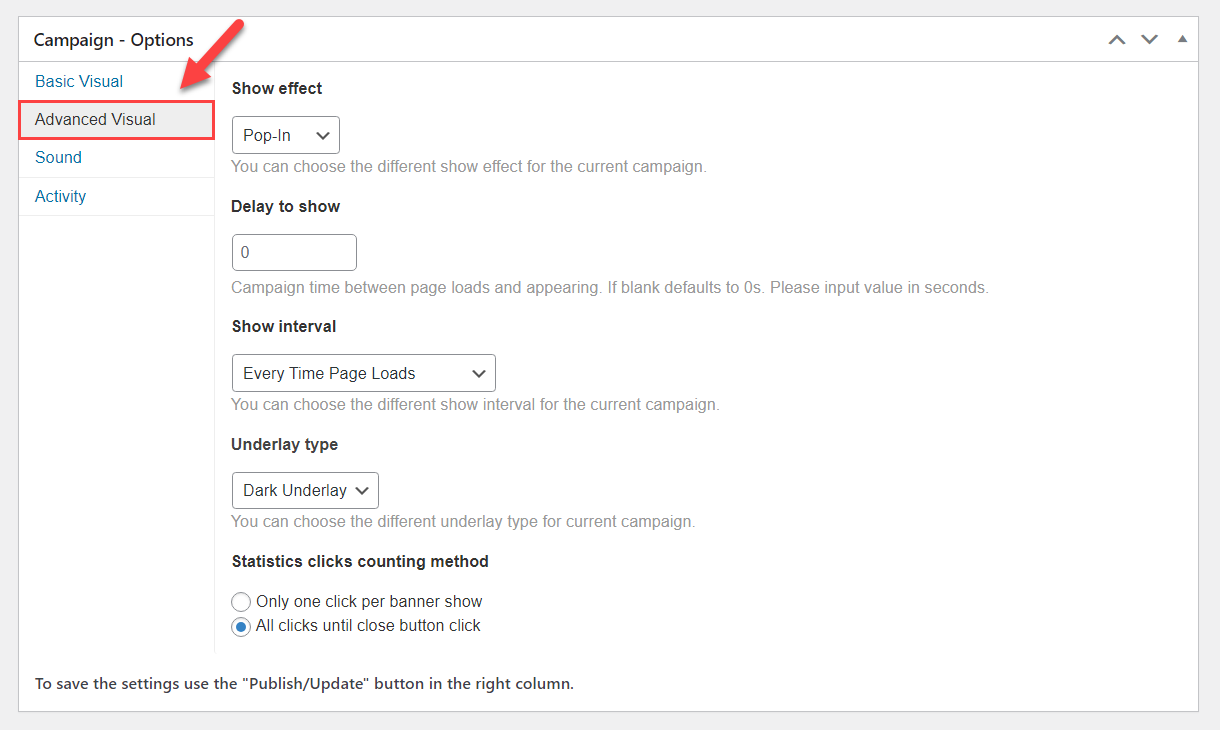
- Show effect - There are available a set of different show effects, we kept Pop-In.
- Delay to show - We kept "0", which means that the popup banner will appear without any delay right after the page is loaded.
- Show interval - We kept Every Time Page Loads, so the popup will be displayed every time the user visits the page.
- Underlay type - This option allows to choose if to add an underlay, and if it should be light or dark.
- Statistics clicks counting method - Allows to choose how to count the click for the statistics.
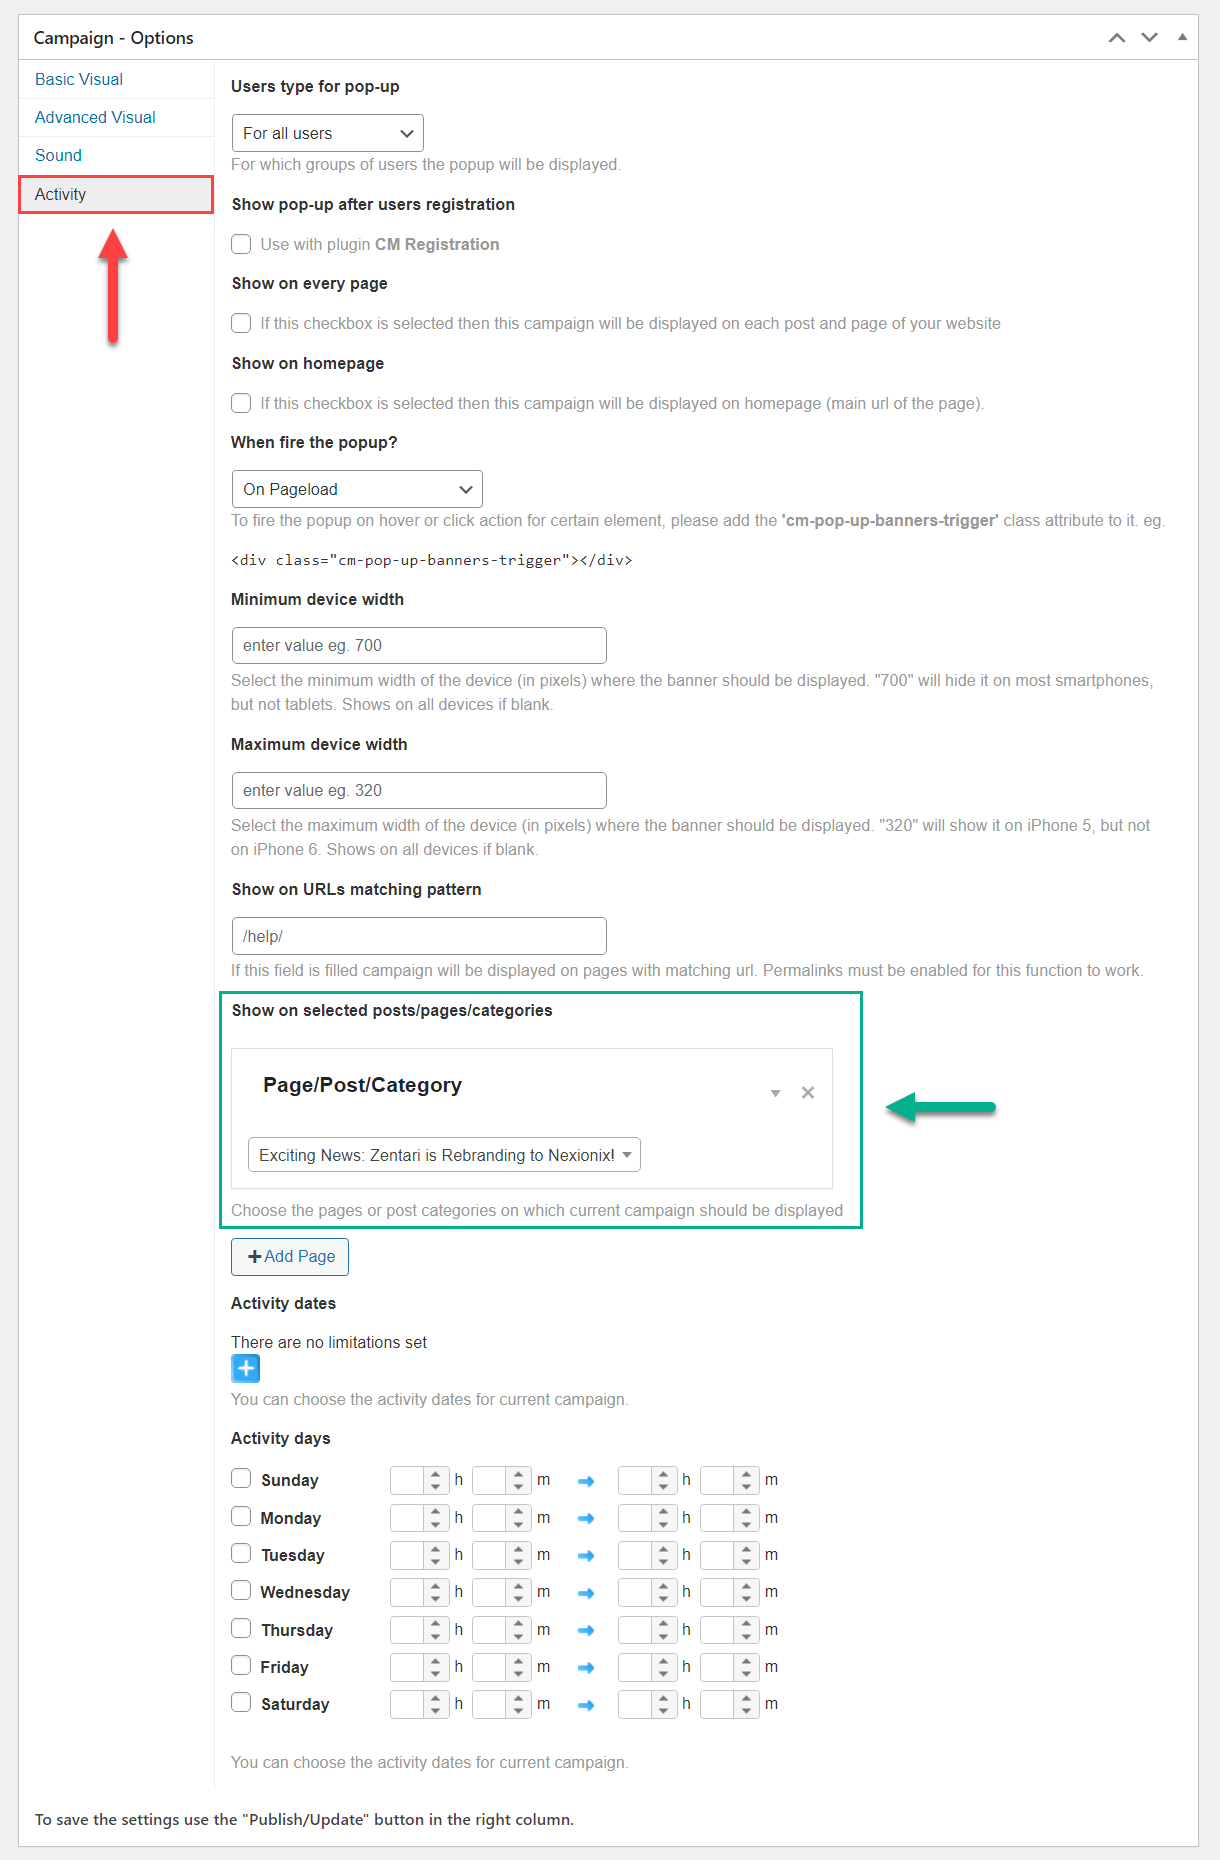
Activity
In the Activity section, the most crucial option that we use is Show on selected posts/pages/categories.
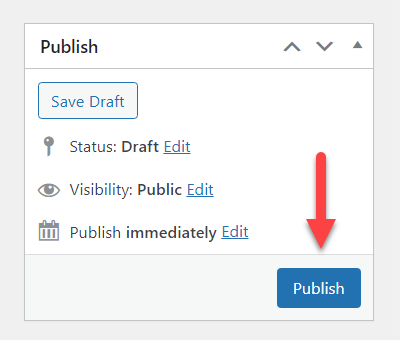
After the configuration, we can post the campaign by clicking the button Publish:
Now let's check the result on the front-end:

Now let's change the banner and use different parameters for shortcodes. We will use a textual date and time forms "+5 DAYS", so every time the user reloads the page, the countdown will reset. We are also change the view layout using the parameter inverse="1". Regarding the CTA button - we will change it to a simple type, so it will be displayed as a link.
After saving the changes, we can check the result on the front-end:
End Result
Following instructions found in the plugin and guides, you should be able to create popups which contain countdown and CTA button.
Use Case Front-End
Example 1:
Example 2:
 |
More information about the WP Popup Plugin Other WordPress products can be found at CreativeMinds WordPress Store |
 |
Let us know how we can Improve this Product Documentation Page To open a Support Ticket visit our support center |