Appointment Booking Calendar - How To - Display Short Info About Booked Slots On the Front-End
How To Display Short Info About Booked Slots On the Front-End
Note: this guide covers features available in version 2.5.4 of Appointment Booking Calendar.
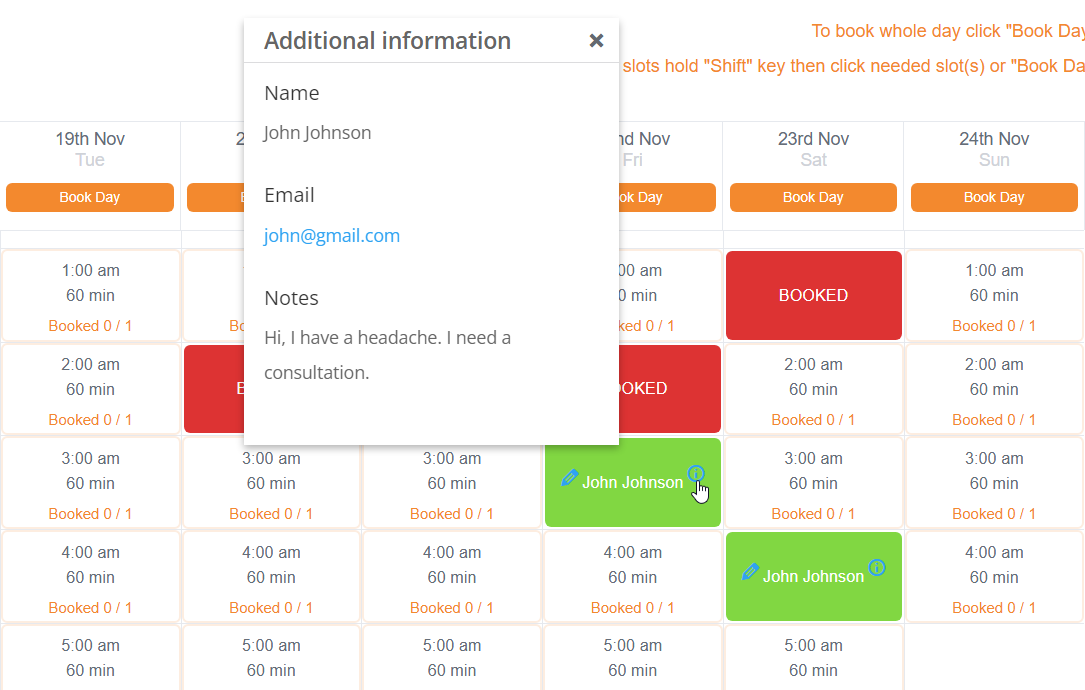
For each booked slot, the plugin allows to show a tooltip with the information which the user filled during the booking process. It is also possible to show the user name instead of the label "BOOKED" and let the user access the discussion form directly from the calendar.
Front-end Example
IMPORTANT
Make sure that you know what you're doing when you use this feature in order to avoid leaking the personal information of your clients. It's better to lock the page with this calendar by password and let it know only to trusted people. You can also add a disclaimer to the booking form to let your clients know that their personal information can be visible to other participants. The disclaimer can be added to the form using a form builder. Learn more about it: Appointment Booking Calendar - Calendars - Forms
Check also this guide: General Support - GDPR And Data Privacy
How to Enable This Feature
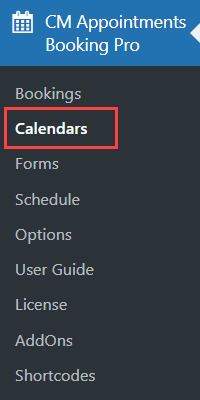
This feature can be enabled specifically for each calendar. To do this, navigate to Admin Dashboard → CM Appointments Booking Pro → Calendars.
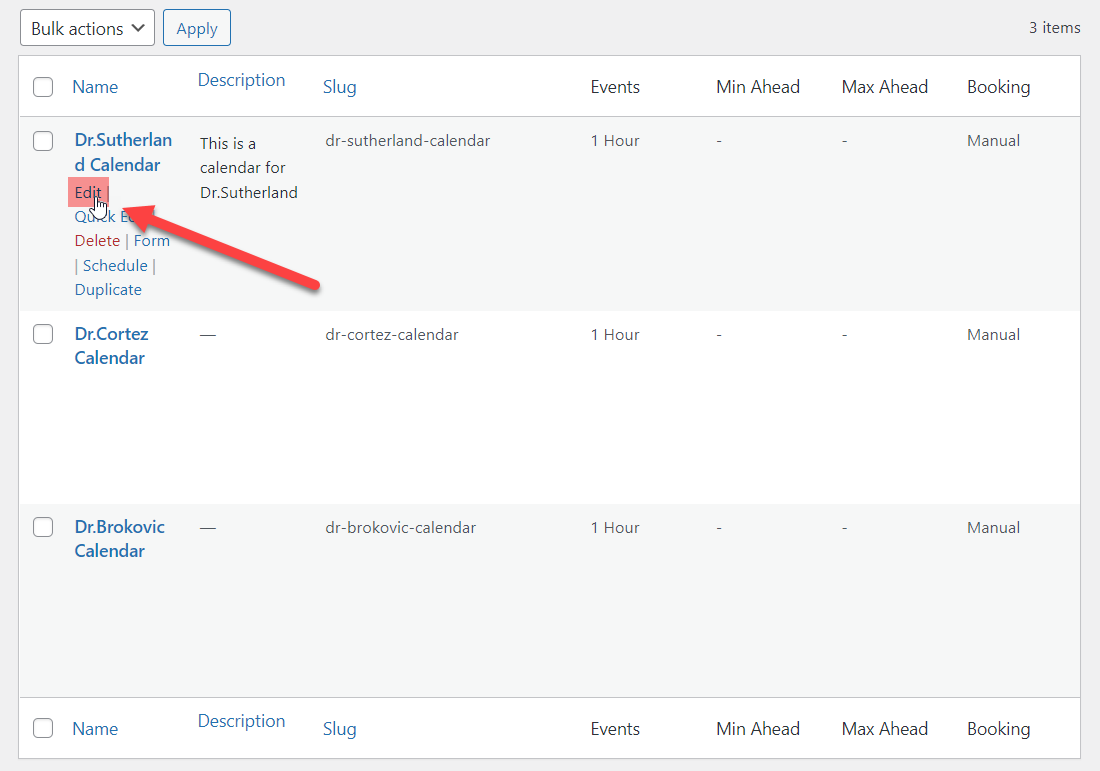
Choose the calendar where you want to display short info on the front-end and click Edit.
You can find there the following options:
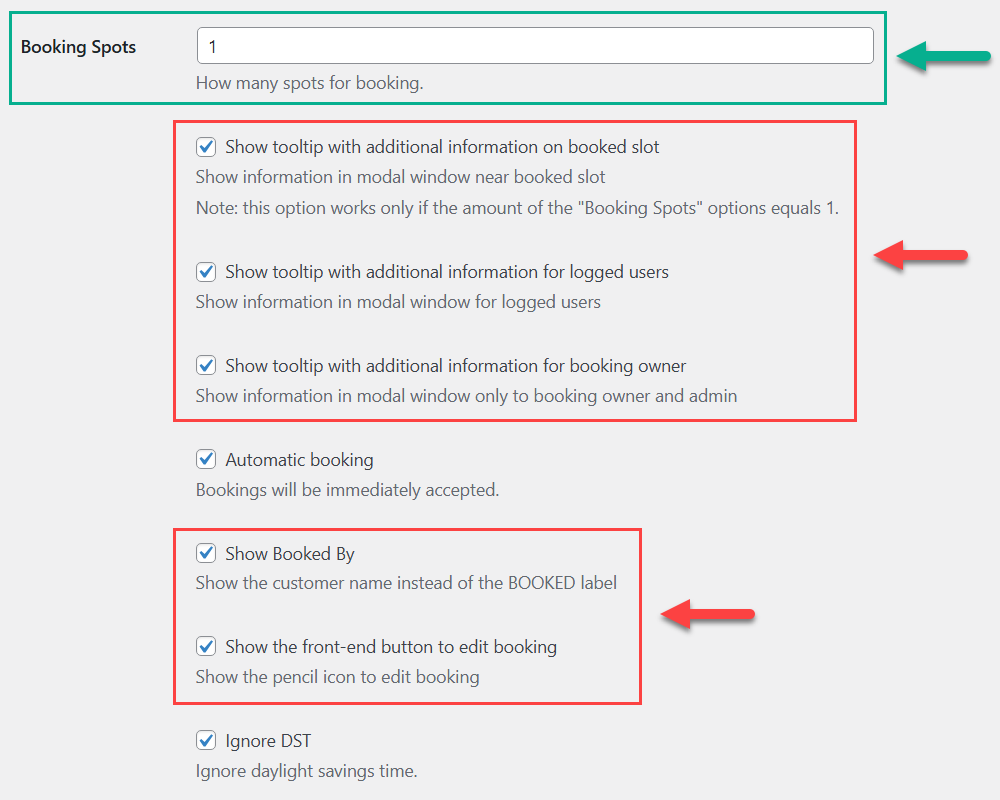
- Booking Spots - All features below are recommended to use when the number of booking spots is set to 1. It is possible to display information about multiple users who booked the same slot, but this will require adding custom CSS to adjust the calendar and fit all the information into a single slot.
- Show tooltip with additional information on booked slot - Enable this option if you want to display short info about booked slots on the front-end. Have a note that enabling only this option will show the tooltips to all site visitors, even the those that are not registered and not logged-in.
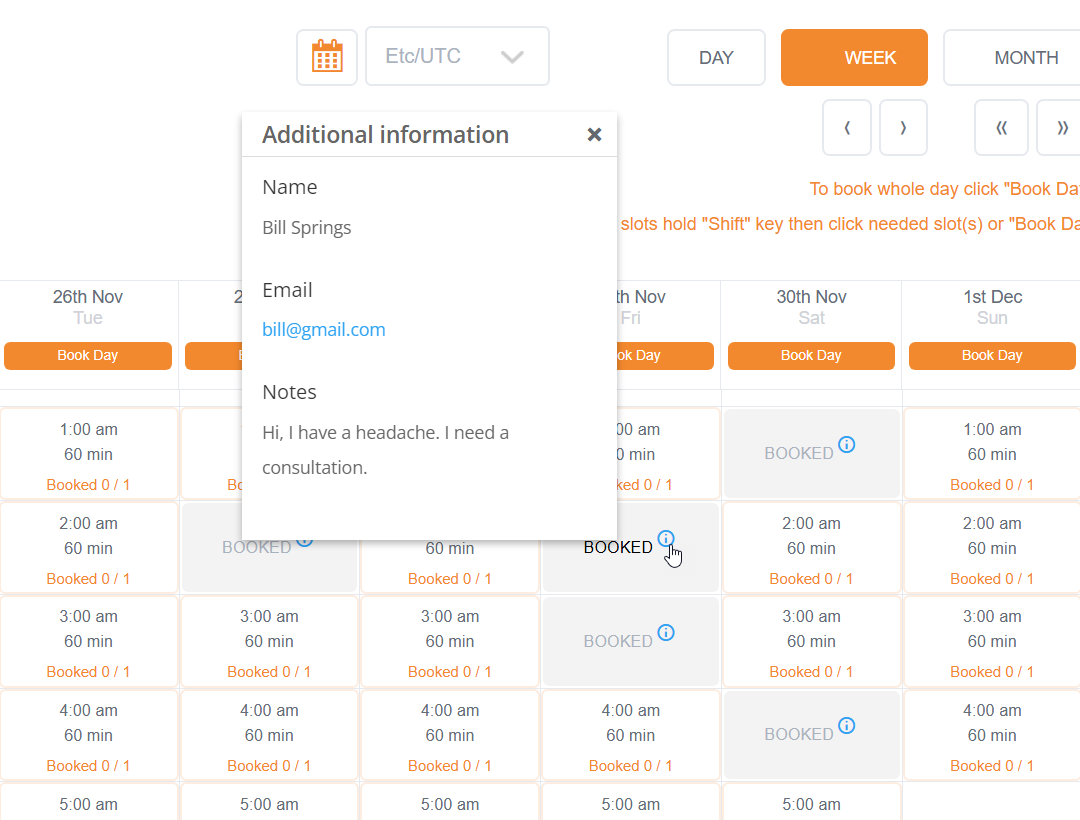
Front-end Example
Displaying info tooltips for booked slots - visible to all site visitors. Clicking on this tooltip will show a box with Additional Information - it will show the information the customer provided in the form when booking the appointment.
- Show tooltip with additional information for logged users - Enable this options to display short info about booked slots on the front-end for logged-in users only.
- Show tooltip with additional information for booking owner - Enable this option if you want only the admin and the customer who booked the slot to see a tooltip with the additional information.
Front-end Example
The info tooltips are displayed to the logged-in users only - they can see them for slots which they booked:
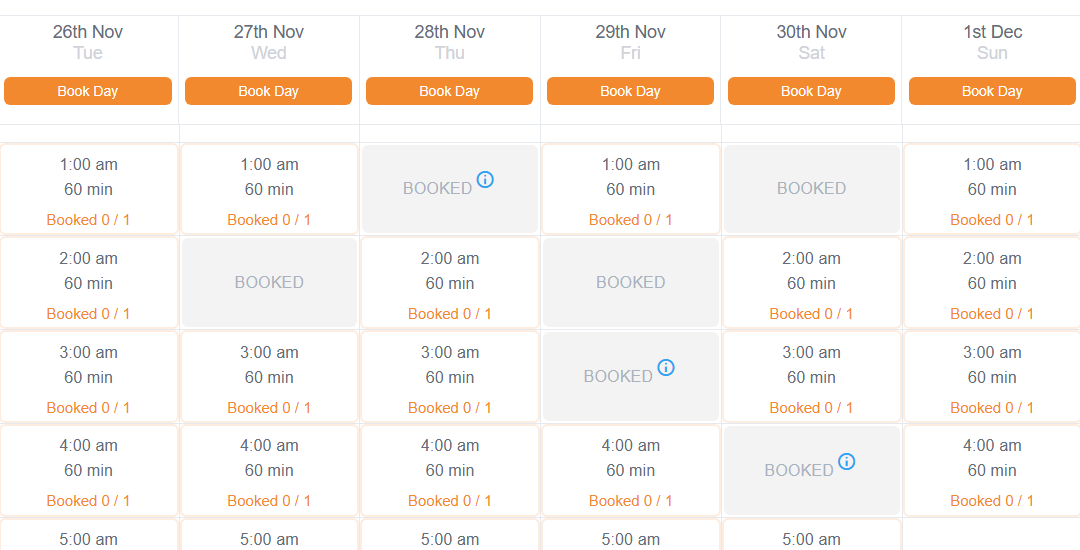
Note: the admin can see info tooltips for all booked slots.
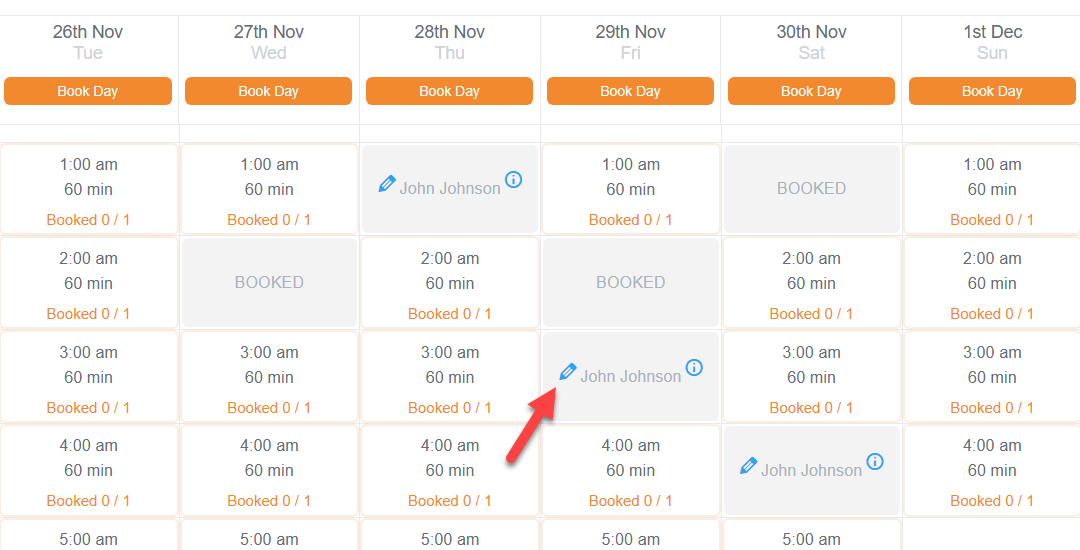
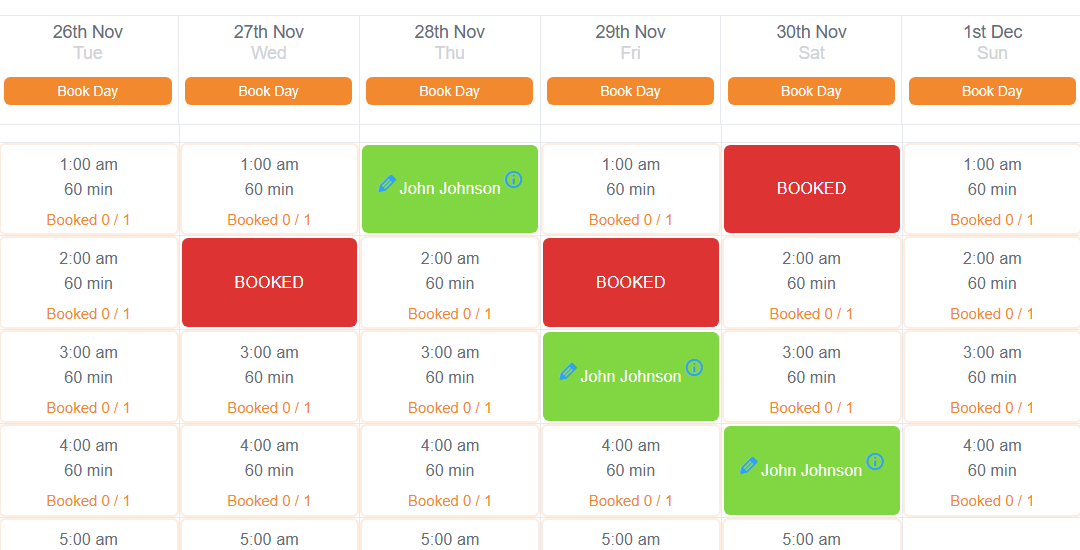
- Show Booked By - Enable this option to show the customer name instead of the label "BOOKED". The name will be displayed only to the admin and the customer who booked the slot (in case if he is registered on the site). Other users will see the label "Booked".
Front-end Example
The logged-in user can see his name on slots he booked:
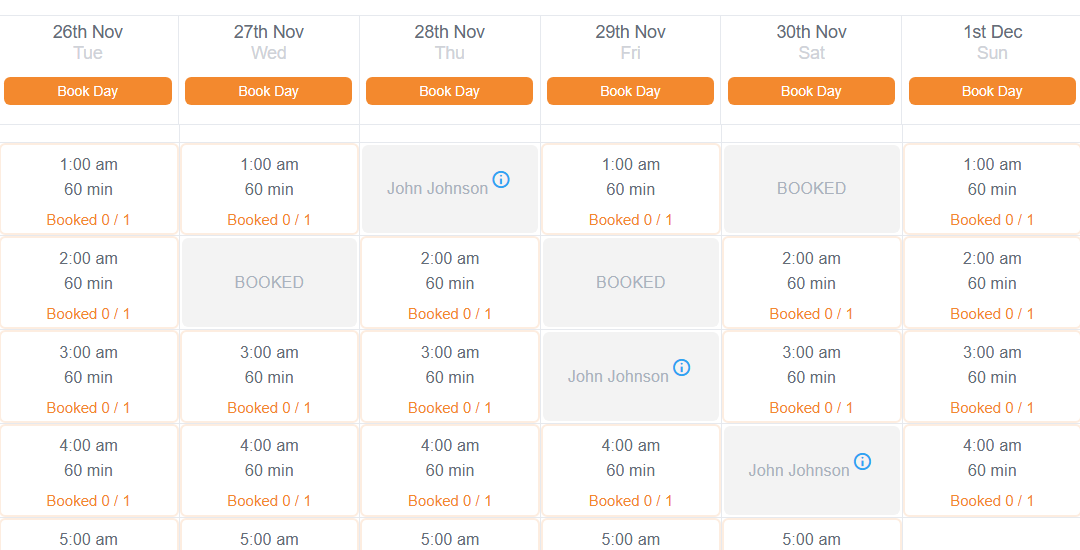
The admin can see user names for all booked slots:
- Show the front-end button to edit booking - Enable this option to let the customer edit the slot he booked form directly from the calendar. When the user is registered and logged-in, he will see a pencil icon on slots which he booked. Clicking on it will redirect the user to the discussion/cancellation form (the same which he can access using the link from the email).
Front-end Example
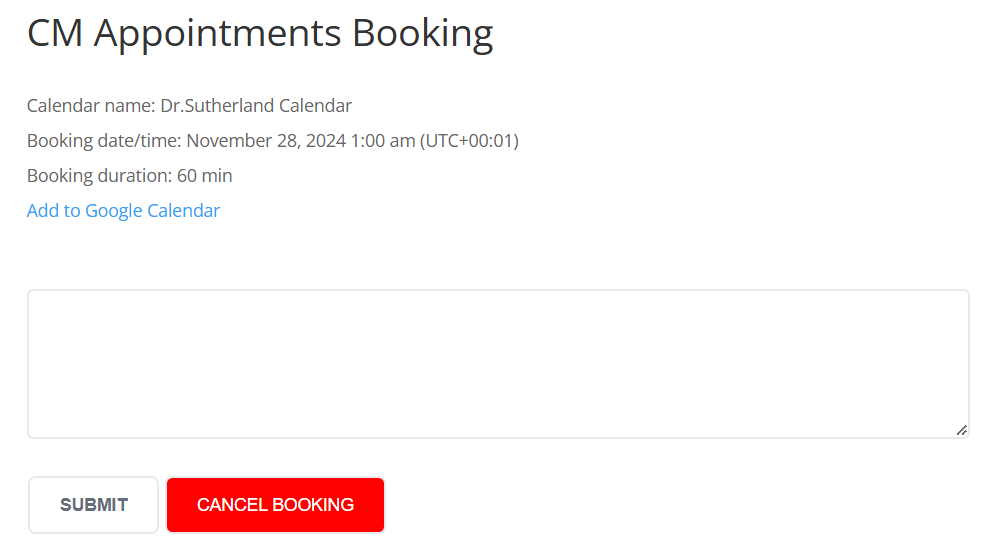
Clicking on the pencil icon will redirect the user to the discussion form:
It is the same form that the user can access from the link in the approval email:
Don't forget to save the settings after editing by clicking the button Update.
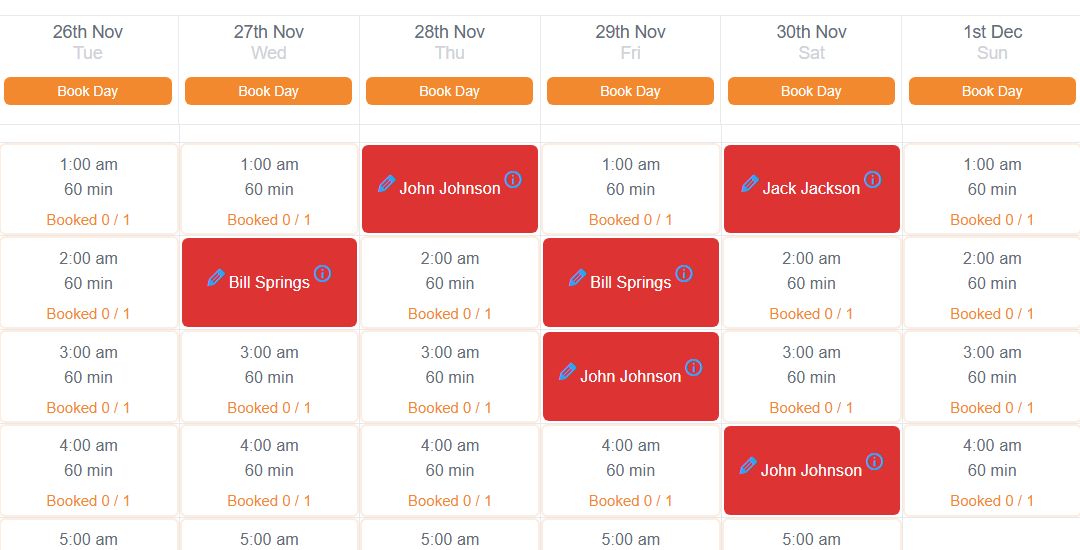
Colors
Additionally, you can set different colors for booked slots, so the logged-in user will see the slots that he booked with different color. The relevant settings can be found under the Appearance tab:
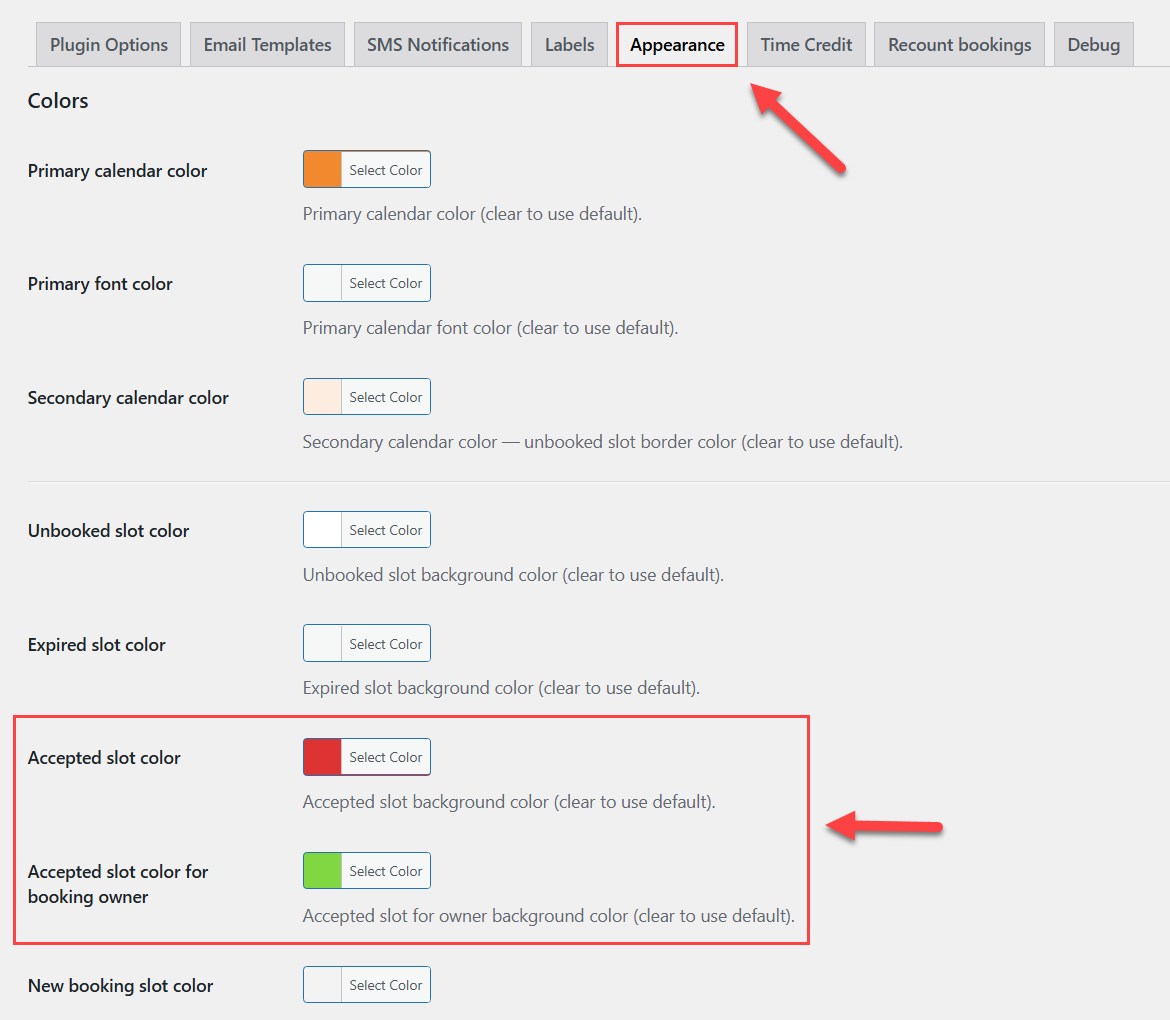
- Accepted slot color - Set the background color for booked slots.
- Accepted slot color for booking owner - Set the background color of how the booked slots will be displayed to the logged-in user who booked the slot.
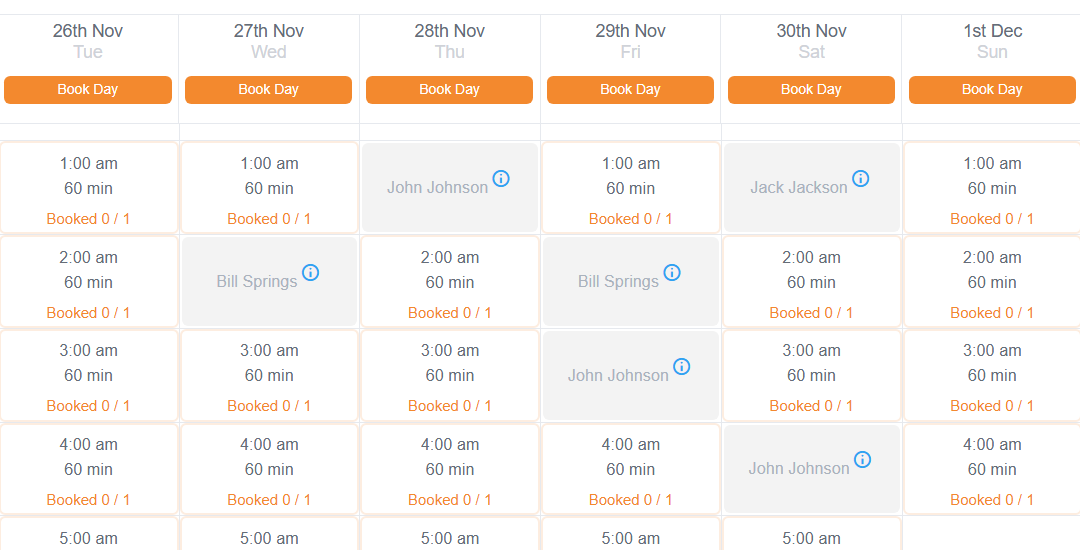
Front-end Example
The logged-in user can see slots he booked with the different color:
Admin View:
 |
More information about the Appointment Booking Calendar plugin for WordPress Other WordPress products can be found at CreativeMinds WordPress Store |
 |
Let us know how we can Improve this Product Documentation Page To open a Support Ticket visit our support center |