WordPress Two Factor Authentication (CMAUTH) - How To - Restrict User Login By Number of IPs
Restricting Users by Number of IPs
Restrict Accounts
By number of devices | By number of IPs | By login attempts from IP
What is This Feature?
With the WordPress Two Factor Authentication plugin you can choose how many IP addresses are allowed for each user role.
How It Works:
- You set how many IPs are allowed for each user role
- When a user logs in, his IP is registered. The admin can manage all addresses from the user edit page
- If the user tries to log in using a new IP and the IP quota is full, the attempt will be blocked
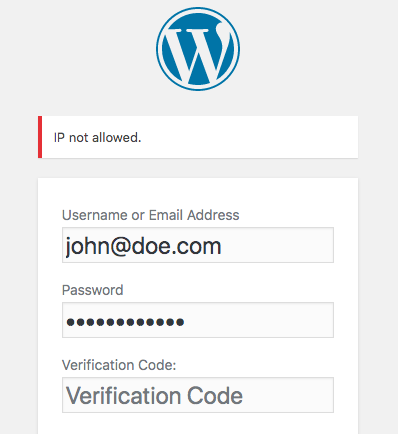
Use Case: Only One IP At a Time
Let's say John Doe has an Editor role and access to sensitive information. On top of that, it's important to prevent other people from accessing his account and overwriting his work.
You can:
- Enable "Restrict user IPs"
- Limit the amount of IP addresses for Editor users
- Set "Maximum number of IPs allowed to user" to 1
Now, John can only log in from one IP. The first time he logs in, his IP will be recorded and he only that IP will be allowed.
Settings
Head to Admin Dashboard → CM Secure Login → IP tab.
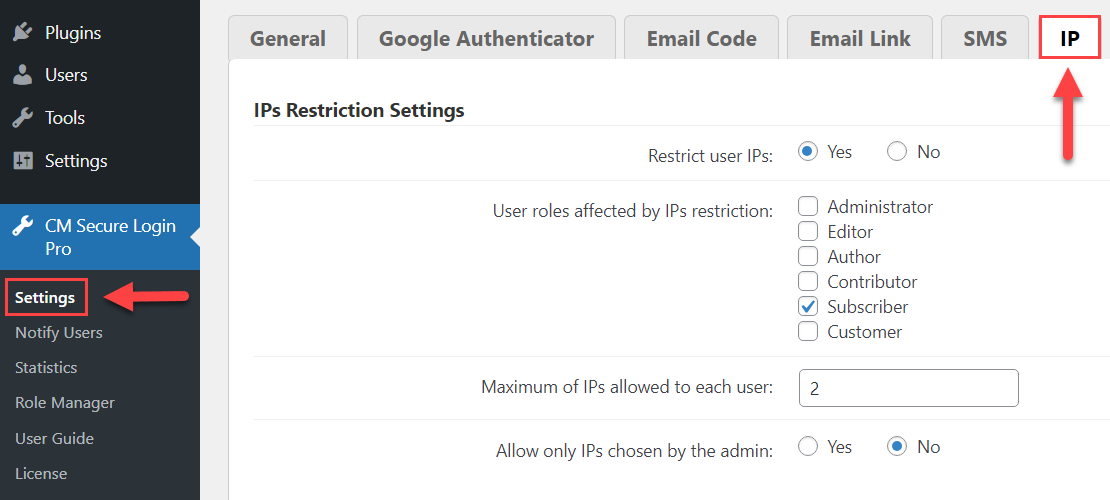
- Restrict user IPs - Enables the feature.
- User roles - Mark which roles will be affected.
- Maximum numbers of IPs allowed by users - Choose a number, 1 or higher.
-
Accept only admin IPs - Only allows logins from specific IPs defined by the admin per each user. This means that login attempts from other IPs will be blocked even if more IPs slots are available.
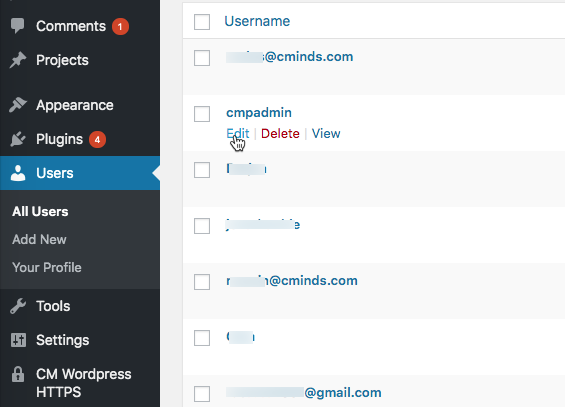
The IP list can be found while editing a user.

List of allowed IPs

Learn more below.
Specifying IPs For Each User - Details
You can also choose which IPs can log in to each user account.
Start by editing that user from Admin Dashboard → Users → All Users → Edit the relevant user.
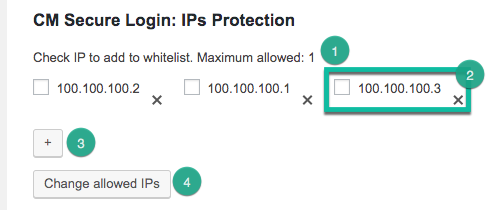
Scroll down to the "CM Secure Login: IPs Protection" section.
If Accept only admin IPs is enabled, addresses not in the list will be automatically blocked
You can:
- Check how many IPs are allowed
- Enable or disable specific IPs and delete them from the list
- Add a new IP
- Save the current selection of IPs.
Trying to enable an invalid number of addresses will result in an error:

 |
More information about the WordPress Two Factor Authentication plugin Other WordPress products can be found at CreativeMinds WordPress Store |
 |
Let us know how we can Improve this Product Documentation Page To open a Support Ticket visit our support center |