WordPress Travel Map Plugin (CMMRM) - How To - Custom Icons and Colors
Using Custom Icons and Colors
With the WordPress Travel Map plugin, it is possible to add custom icons to maps and to customize the color of the route.
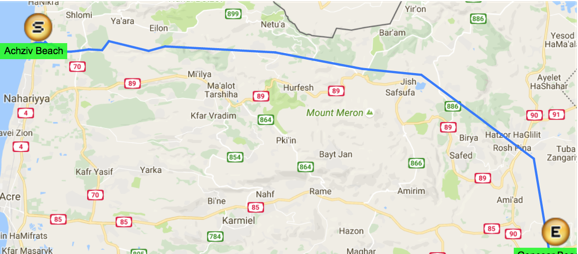
Setting the color of the route
Setting the color of the route can be done either upon first Creating the route or later through the Edit route.
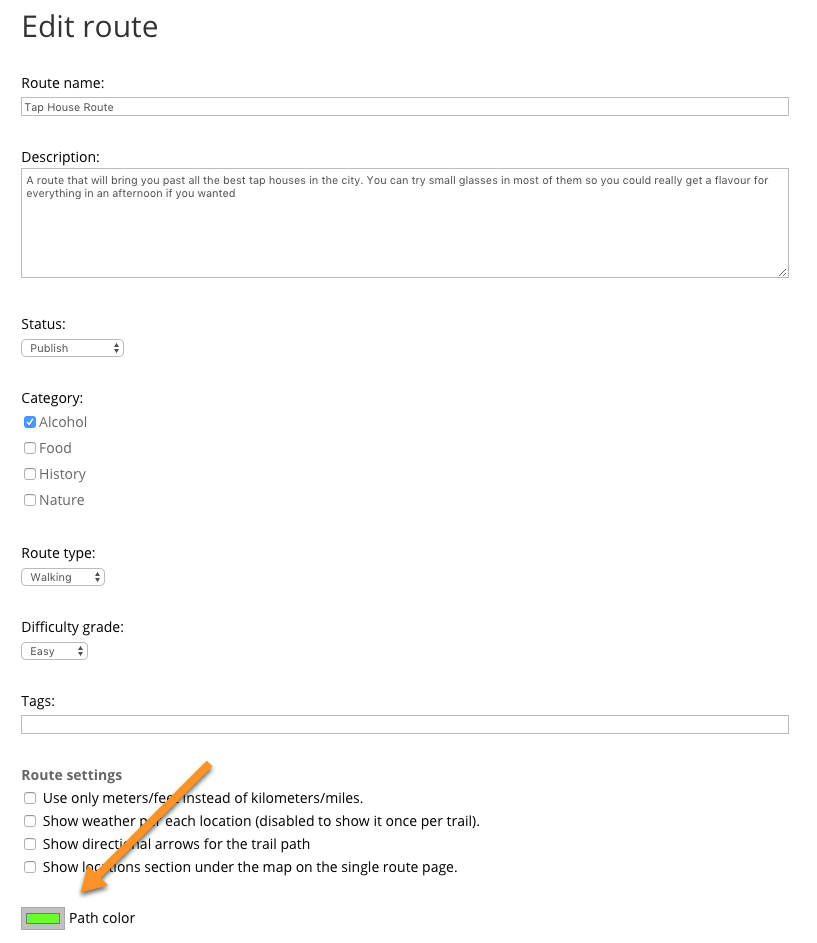
Custom colors can be set either using the color wheel, RGB sliders, entering RGB values, using hex color values, using color pallets, using the spectrum tool, or using the popular web colors shown in the pastel tab.

Setting Custom Icons
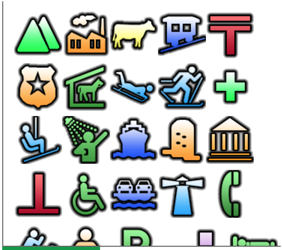
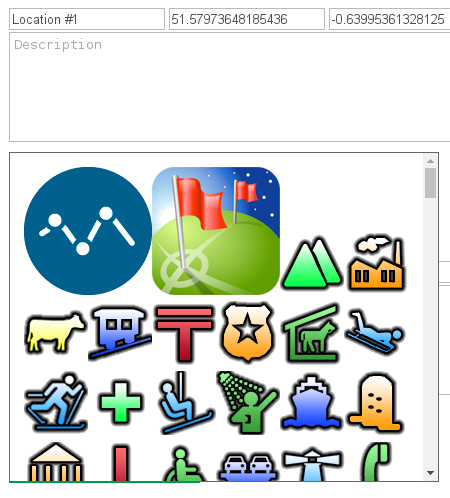
Custom icons can be chosen from a predefined list of icons available for each location you define on the map using the location icon selection.

After clicking on the Set icon button a long list of available icons will appear. These default icons are 64 x 64 pixels images.
Adding your own Icons
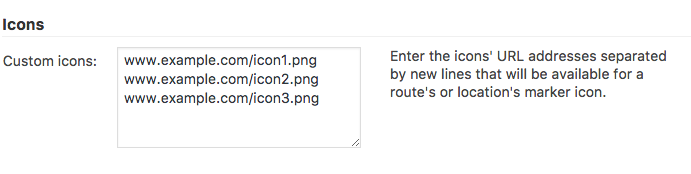
The admin can enter additional icons by adding their URLs. Navigate to Settings → General tab → Icons.
The admin needs to add each separate icon using a unique URL and add a new line between the icon URLs, as shown:
Additionally, make sure to enable the option to Enable custom icon per location which is found in Settings → Route Page tab → Appearance.
After adding the icons they will be found in the Add Icon dropdown menu, as shown below:
How the custom icons may appear on the map:

 |
More information about the WordPress Travel Map Plugin Other WordPress products can be found at CreativeMinds WordPress Store |
 |
Let us know how we can Improve this Product Documentation Page To open a Support Ticket visit our support center |