WordPress Interactive Map Plugin (CMML) - How To - Add Custom icons
Custom Icons
Settings
With WordPress Interactive Map plugin you can upload your own custom locations icon. To do this, navigate to the Admin Dashboard → CM Map Locations Pro → Settings.
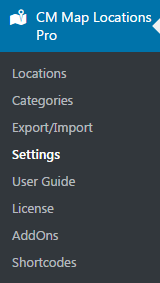
Click on the Appearance tab.

This is an icon we want to upload as the default icon. Upload image on the Media page.

Scroll down to the bottom of the Index Page section and place icon URL into the Default location's icon URL field. Save settings.

Creating a Location and map
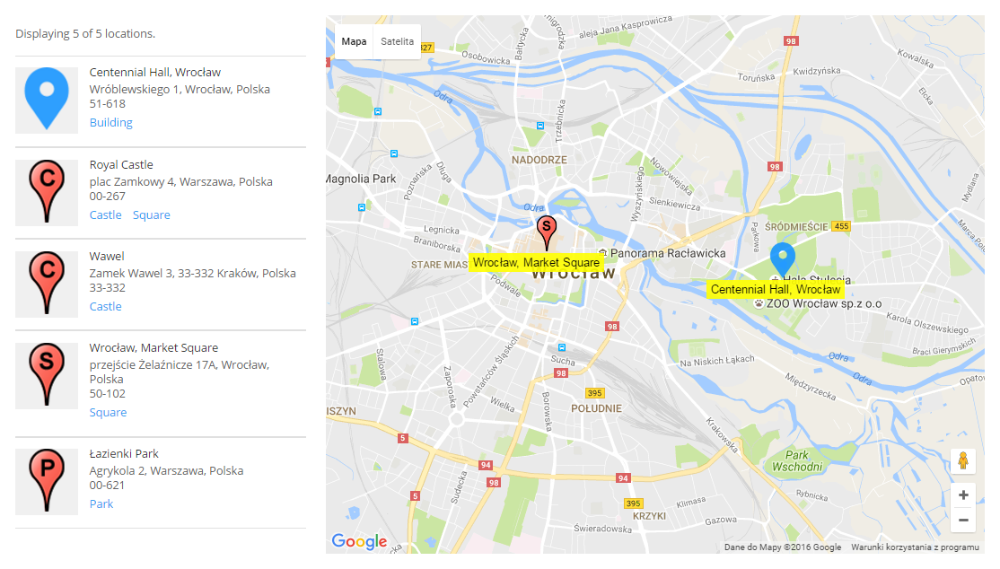
Now while creating a location you can see a new icon is used as a default icon. You can upload a new icon for this single location or choose from existed ones.

If the location hasn't its own icon, you will see the new default icon above the location title.
Below: Red icons were selected for locations, a new location on the right has default icon.
 |
More information about the WordPress Interactive Map Plugin Other WordPress products can be found at CreativeMinds WordPress Store |
 |
Let us know how we can Improve this Product Documentation Page To open a Support Ticket visit our support center |