WordPress Restricted Site Access (SAR) - How To - Redirect Users With Denied Access
Setting up the Access Denied Redirect
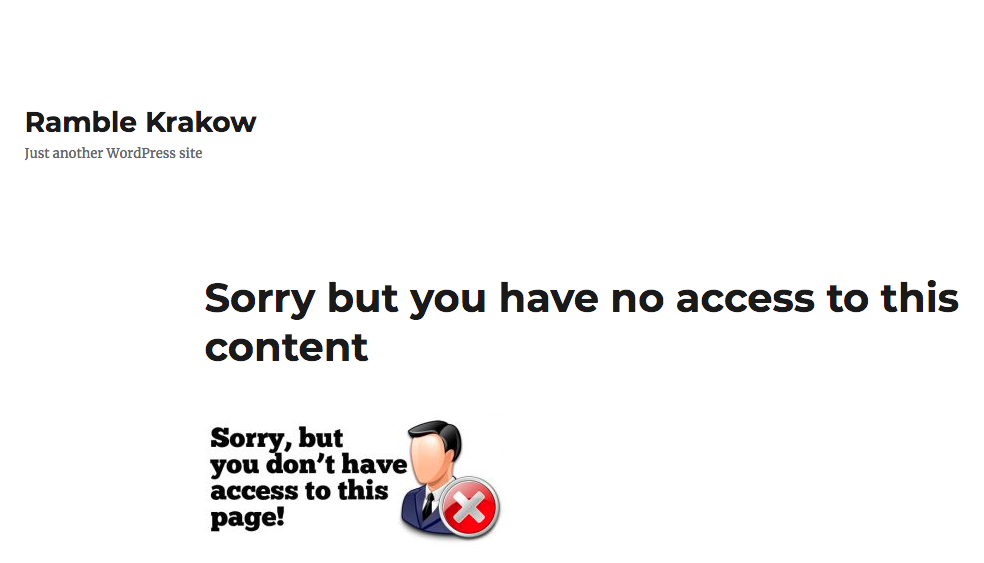
With the WordPress Restricted Site Access plugin, when the content on your site is not available to certain users, they can be be redirected to a page informing them of this. Example:
Creating the Access denied Redirect page
The Access Denied page is one which you must create yourself manually. Create a new page and add whatever graphics or text you would like to appear to inform visitors that they do not have access to the content.
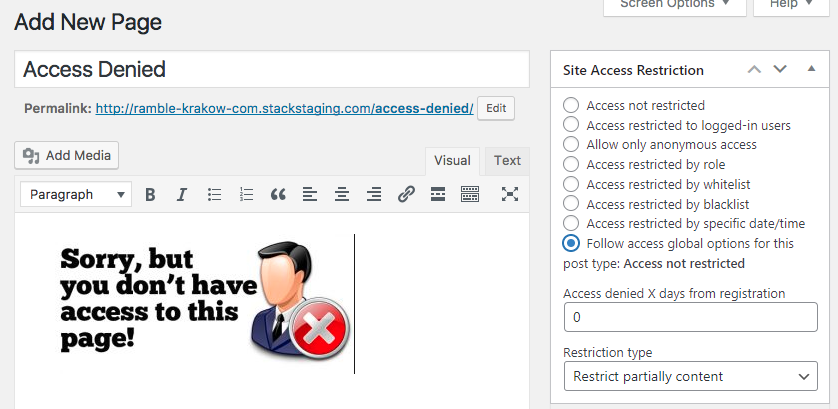
With the Access Denied page created and published copy the URL for the front-end view of the page.
Now navigate to CM Site Access Restriction Pro → Settings → General.
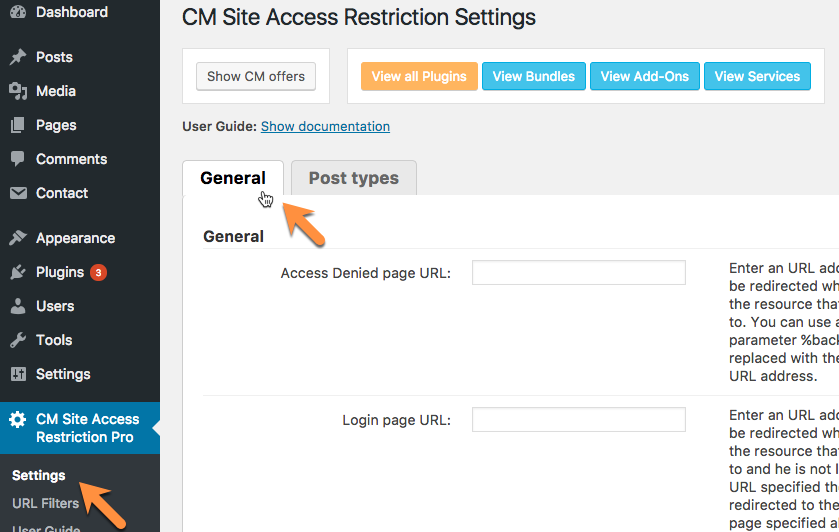
In the field labeled Access Denied page URL paste the link that you copied to clipboard for the Access Denied page.

Scroll to the bottom of the form and click Save to save the changes.
 |
More information about the WordPress Restricted Site Access plugin Other WordPress products can be found at CreativeMinds WordPress Store |
 |
Let us know how we can Improve this Product Documentation Page To open a Support Ticket visit our support center |