WordPress Table of Contents Plugin (CMTOC) - Getting Started - Basic Functionality
Adding Tables of Contents to Pages / Posts
Prefer a Complete Step-by-Step?
Check our use case guides:
The main function of the WordPress Table of Contents plugin is to comb through pages and posts, particularly long ones. Tables of contents are automatically generated based on their header contents. The generated Table of contents will get it's hierarchy from the type of header h1 < h2 < h3 etc.
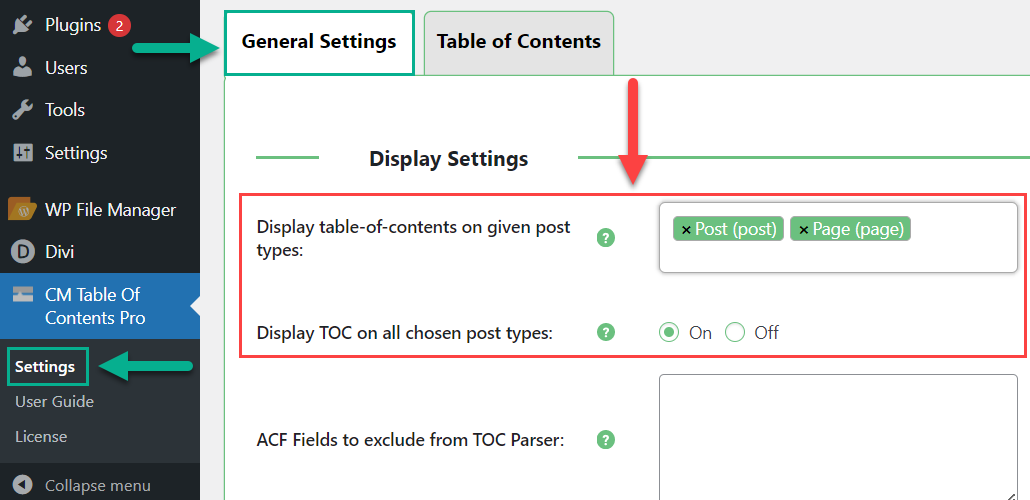
Start by going to the plugin settings. Navigate to Admin Dashboard → CM Table of Contents Pro → Settings → General Settings tab. There we need two options:
- Display table-of-contents on given post types - Choose post types where you want to display TOC.
- Display TOC on all chosen post types - Enable this option if you want to automatically display TOC on the chosen post types.
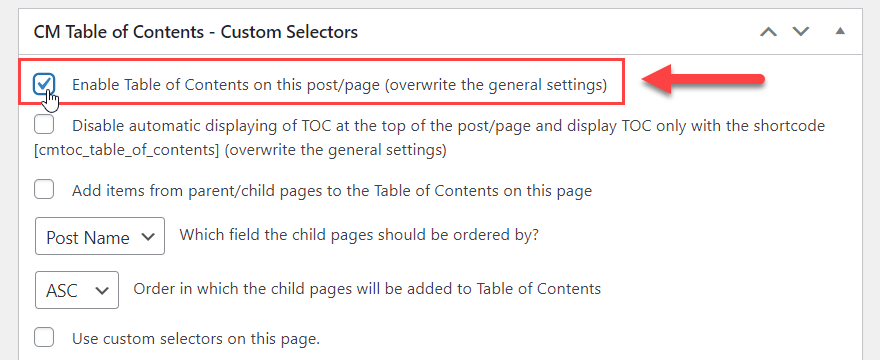
If the option Display TOC on all chosen post types is disabled, then you need to enable TOC manually for specific posts.
It can be done while editing page/post. Scroll down and find the CM Table of Contents - Custom Selectors section.
Check the box Enable Table Of Contents on this post / page (overwrite the general settings).
Scroll up a little to reveal the Update button and click it to save your changes.
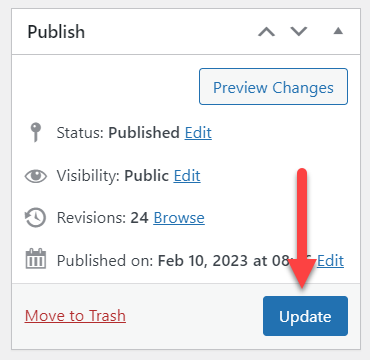
Once the Page has refreshed view the front-end to see the newly displayed Table of Contents.
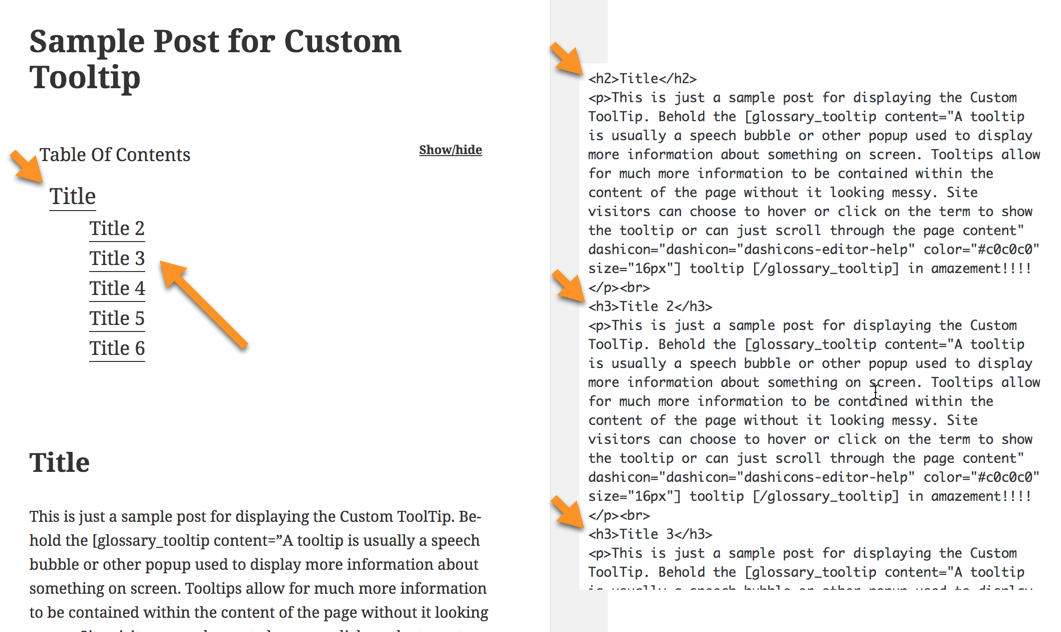
Notice how the h3 tags are indented further to the right and are a slightly smaller size.
Internal linking
The Table of Contents also links to the different sections in the content. Making it easier for readers to skip right to what they need on your page.
 |
More information about the WordPress Table of Contents Plugin Other WordPress products can be found at CreativeMinds WordPress Store |
 |
Let us know how we can Improve this Product Documentation Page To open a Support Ticket visit our support center |