WordPress Glossary Plugin (CMTG) - Extras - How to Customize a Term Page Using Divi Builder
How to Customize a Term Page Using Divi Builder
Note: this guide uses Divi version 4.5.3.
Introduction
It is possible to have a full control at customizing term pages in your WordPress Glossary plugin using Divi Builder. It can be done by creating a new template for glossary terms. You can create templates for:
- Terms - Specific or all terms. Note: available in Pro/Pro+/Ecommerce.
- Categories - All terms in a chosen categories. Note: available in Pro+/Ecommerce.
- Tags - All terms by chosen tags. Note: available in Pro+/Ecommerce.
- Languages - All terms by chosen languages. Note: available only in Ecommerce.
Creating Template
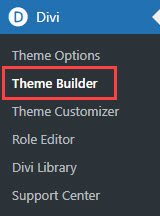
To do this, navigate to Admin Dashboard → Divi → Theme Builder.
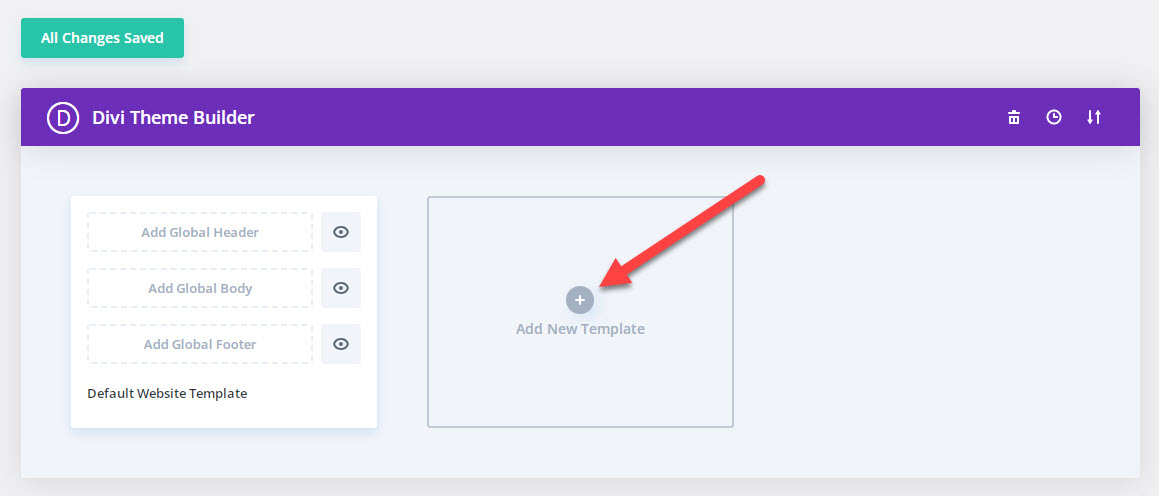
You will find there Divi Theme Builder. Click on Add New Template.
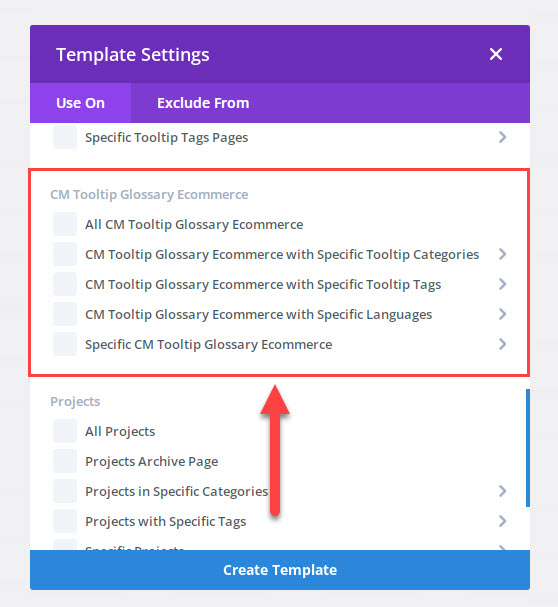
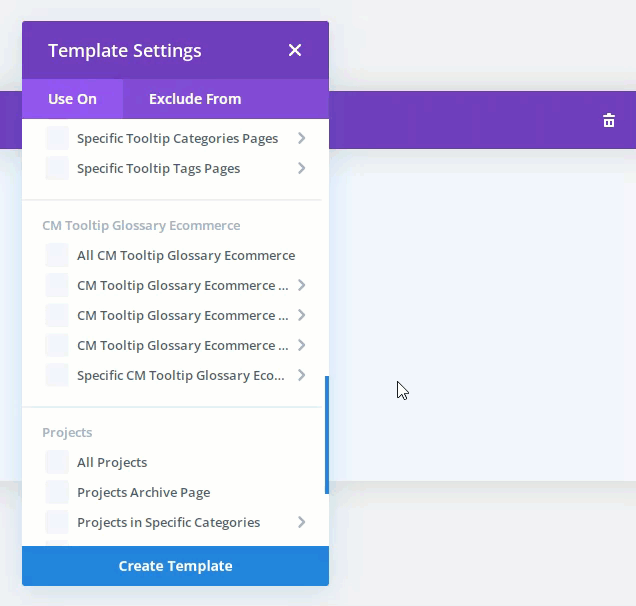
In the pop-up window find in the list the section CM Tooltip Glossary. There can be different options that we've told higher in this guide. On the example below you can see available options for Ecommerce version of the plugin: specific or all terms, categories, tags, languages. Let's create a template for all glossary terms by choosing relevant option.
Next step of creating a template - choose what to customize. You can choose between:
- Custom Header
- Custom Body
- Custom Footer
Let's customize the body, so choose the option Add Custom Body → Build Custom Body.

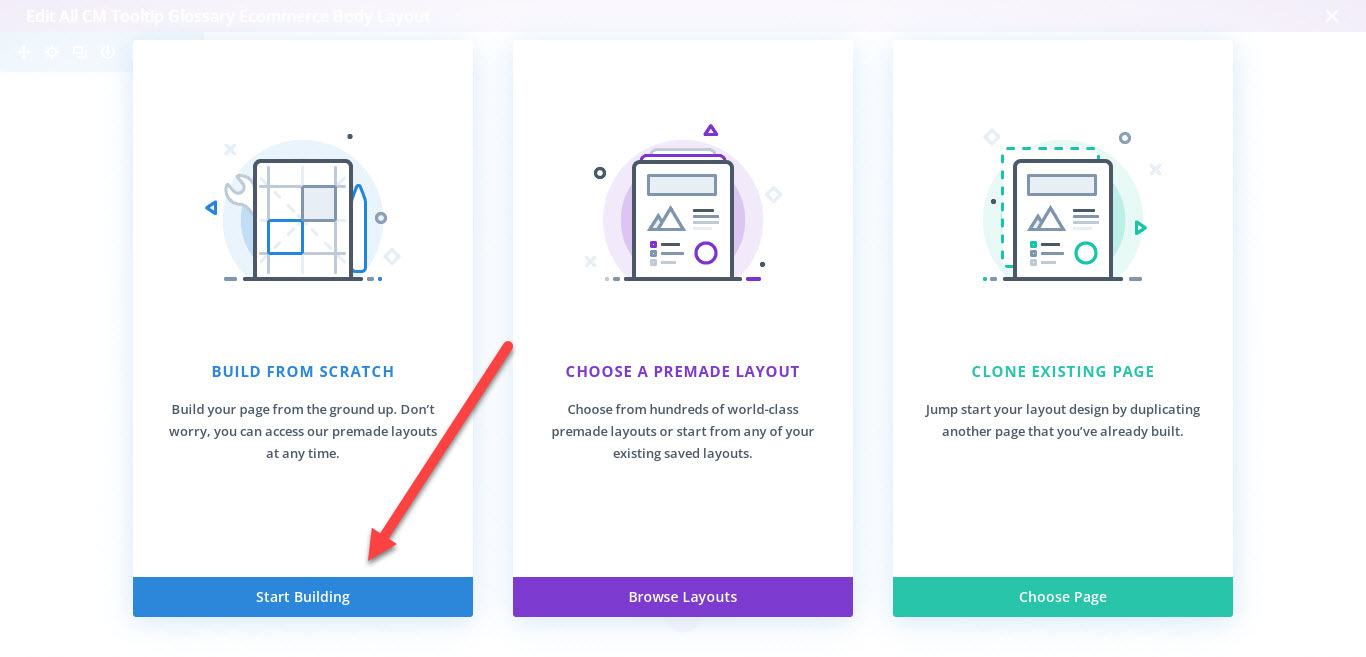
On the next step choose Build From Scratch → Start Building.
Next you need to add new row. Let's choose single column row.

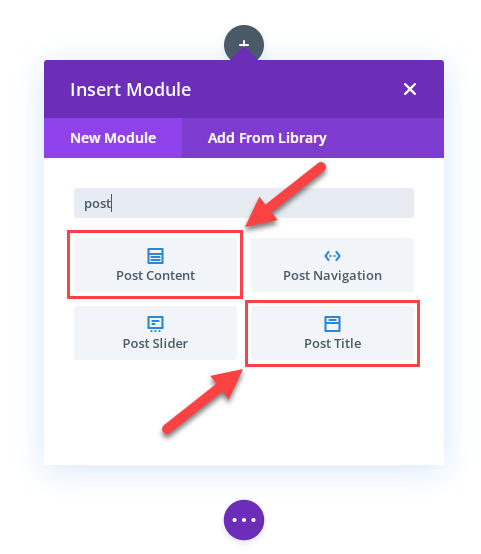
Then we need to add new module. There are two main modules that we need for a glossary term:
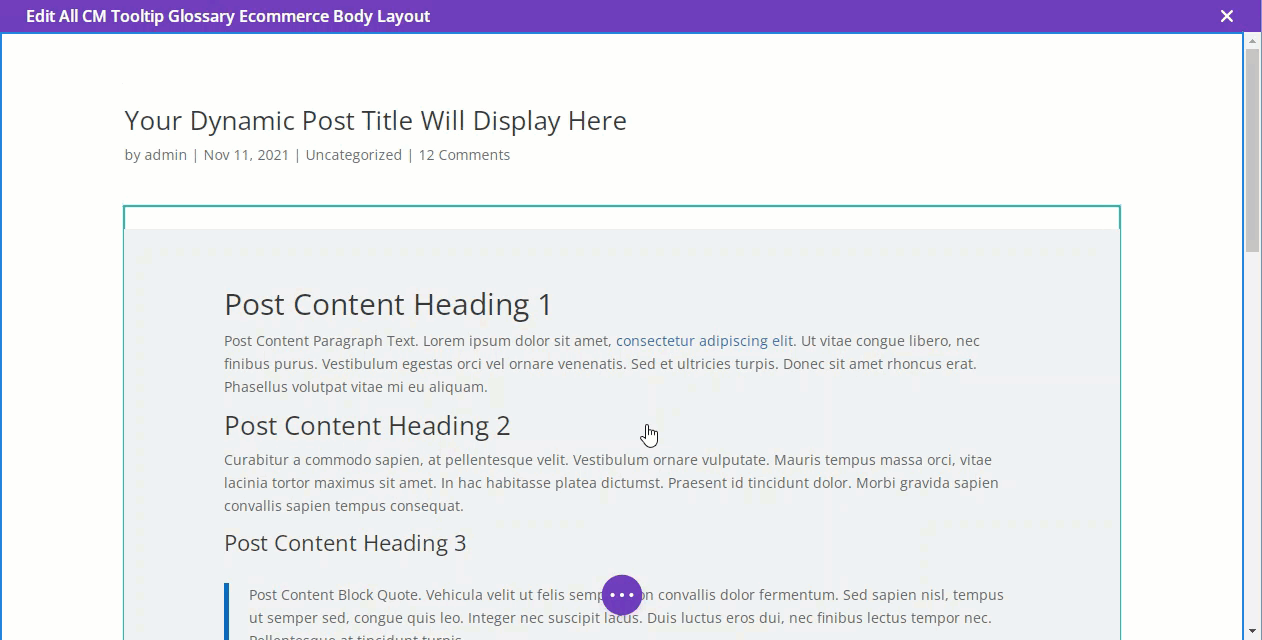
- Post Title - This module is responsible for displaying the title of a glossary term.
- Post Content - This module is responsible for displaying the description of a glossary term.
You can find these modules using the search bar. Let's first add the module Post Title.
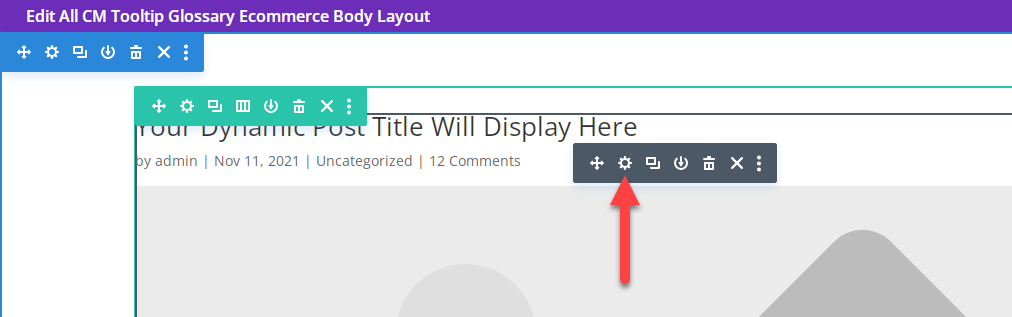
To edit the module, click on it and in the appearing toolbar click on the "gear"-icon.
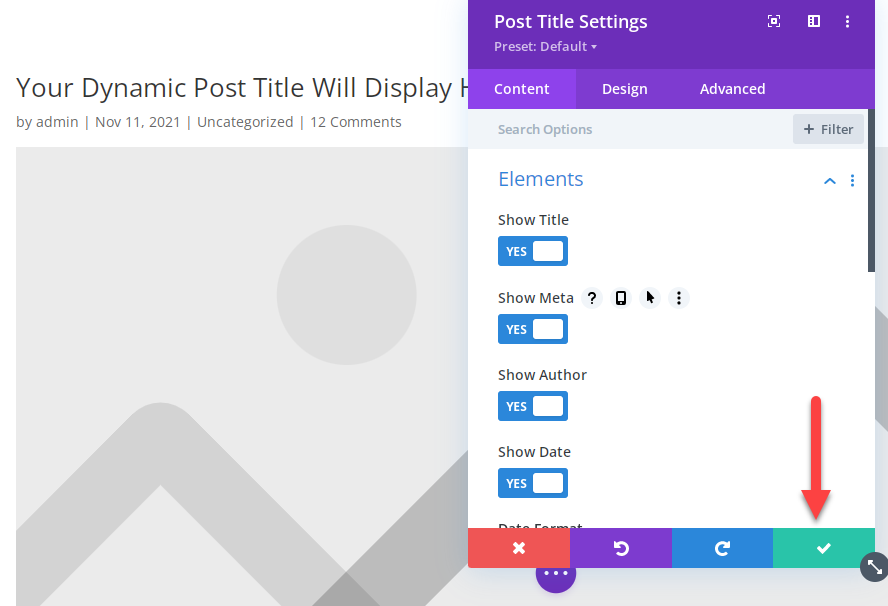
In the appearing pop-up window you can find lots of settings that allow you to configure some things like text, spacing, position and many more. Under the Elements section in the Content tab you can define what to display: Title, Meta information (author, date, category, comments count), Featured Image, etc. When you finish configuring the module, click the checkmark button.
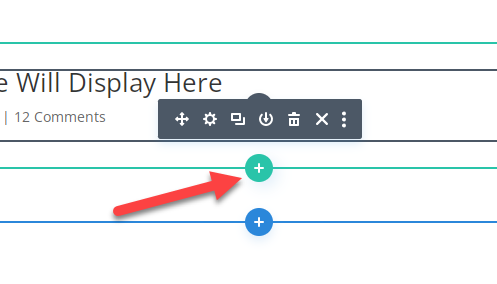
To add new rows and modules click on the green "+"-button.
The process of adding the Post Content module or any other is the same.
You can learn more about using Divi tools in their documentation.
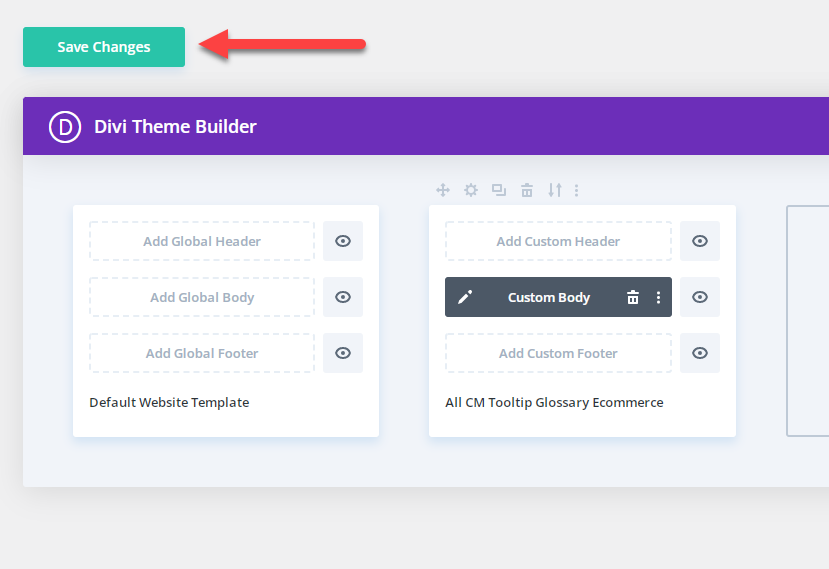
When you finish customizing the template, you need to save the template by clicking the Save button on the right bottom.
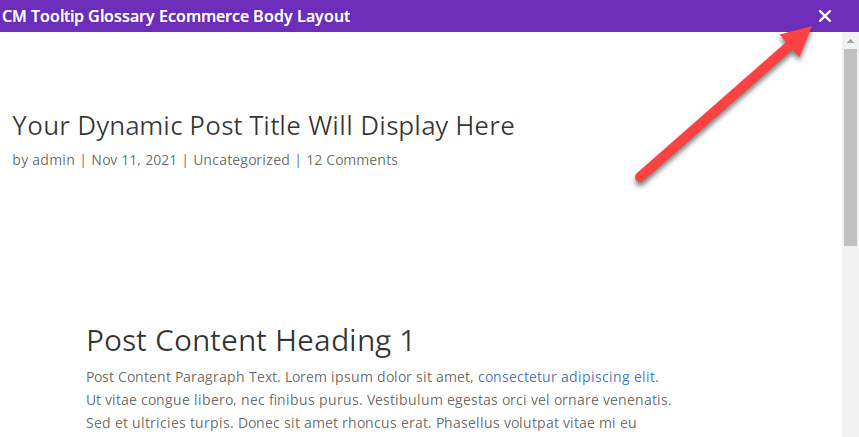
Then close the editing page.
And when you are back to the Admin Dashboard, you also necessarily need to click the Save Changes button there.
Conclusion
This way, you can easily customize the appearance of your glossary terms according to all your needs using Divi Builder.
 |
More information about the WordPress Glossary Plugin Other WordPress products can be found at CreativeMinds WordPress Store |
 |
Let us know how we can Improve this Product Documentation Page To open a Support Ticket visit our support center |