WordPress Ad Server (CMAC) - How To - Connect Remote Client Sites to the Server Side
How to connect Remote Client sites to the Server Side.
Note: This guide requires:
- WordPress Ad Server - This document uses version 2.0.4.
- Ad Changer Client - This document uses version 1.9.6.
Installation
The WordPress Ad Server consists of two plugins - the server plugin and the client plugin. Both plugins need to be installed for displaying ad campaigns. The client plugin can be installed on more than one website that you want to show ads on, depending on the number of licenses you have.
Important! Never install the client plugin and the server plugin on the same WordPress website.
The installation process of the plugins to your WordPress site is quite simple.
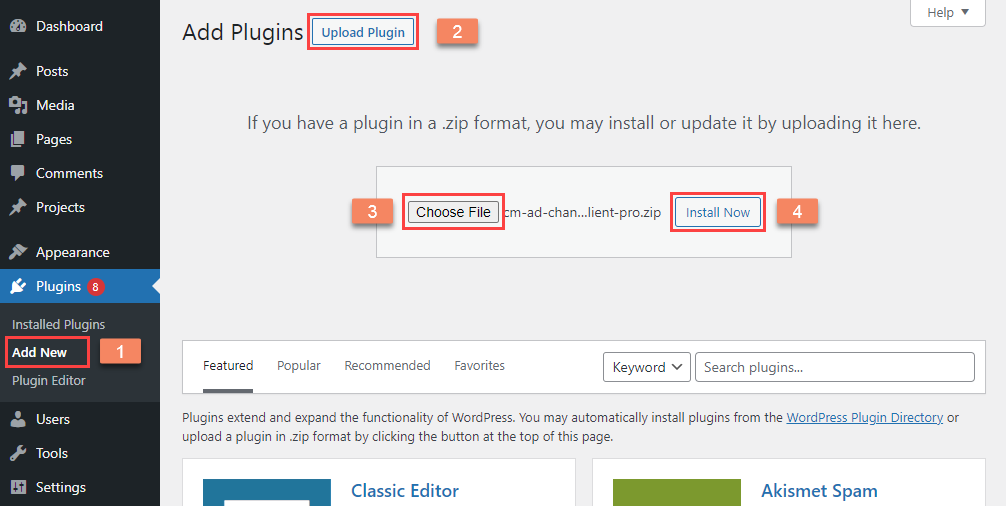
- Navigate to Admin Dashboard → Plugins → Add New.
- Click the button Upload Plugin.
- Then click the button Choose File to upload needed plugin.
- Click the button Install Now.
Then you need to activate the plugin - either at once after installation or later from the plugin list.
Connecting Remote Clients sites to the Server side demands configuring both sides. Let's start with the server side.
Note: in this guide we will consider only the options related to connecting server and client sides. If you want to learn more about creating ad campaign, please, check full step-by-step guide:
Server Side
While creating or editing the ad campaign on the server side, head to the Campaign Settings tab.

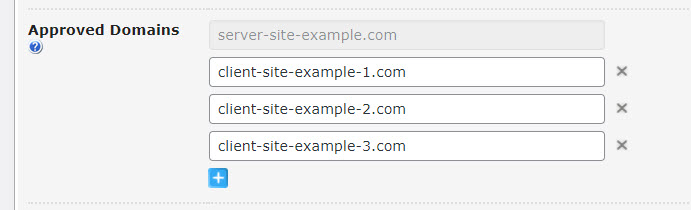
Find the option Approved Domains.

In the non-editable field you can see the domain of your server site (the site, where the WordPress Ad Server is installed). There is a blue "+" button under this field that you can use to add the clients sites, where the created ad campaign can be displayed. If you don't add any, then any site with installed Ad Changer Client can set your domain as a server and display this ad campaign.
If you add clients sites domains to the list, only these sites will be allowed to display this ad campaign.
The list of approved domains is defined separately for each ad campaign that you create.
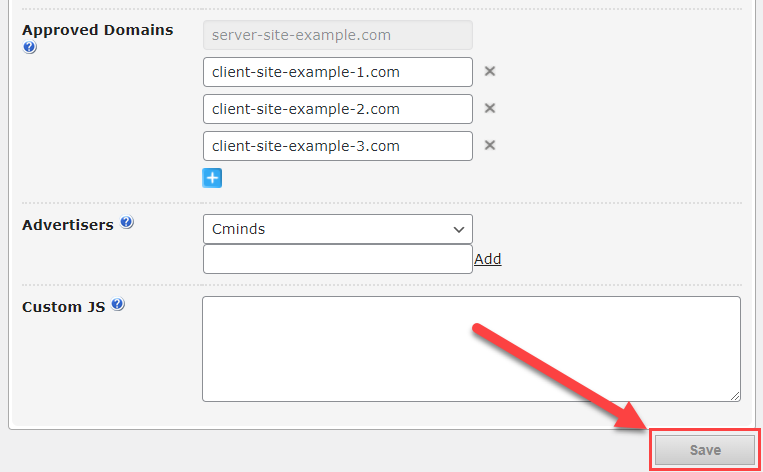
When you finish configuring approved domains and the ad campaign, don't forget to save the changes by clicking the button Save.
Client Side
When the creating/editing of the ad campaign is done, let's configure the client side.
Navigate to Admin Dashboard → Ad Changer → Settings.

The main option that is responsible for connecting with the server side is Ad Server domain - this specifies the URL address of the WordPress server plugin installation (i.e. where the WordPress Ad Server is installed). The address should include the protocol http:// or https://
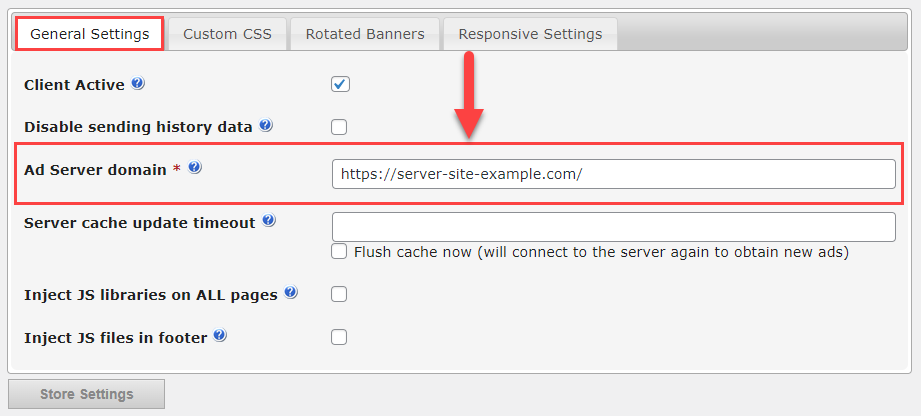
After configuring the settings click the button Store Settings under the settings. After that the client site will be able to display allowed for this site ad campaigns.
Extra - Check Server Connection
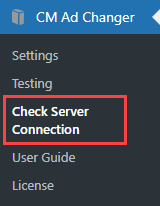
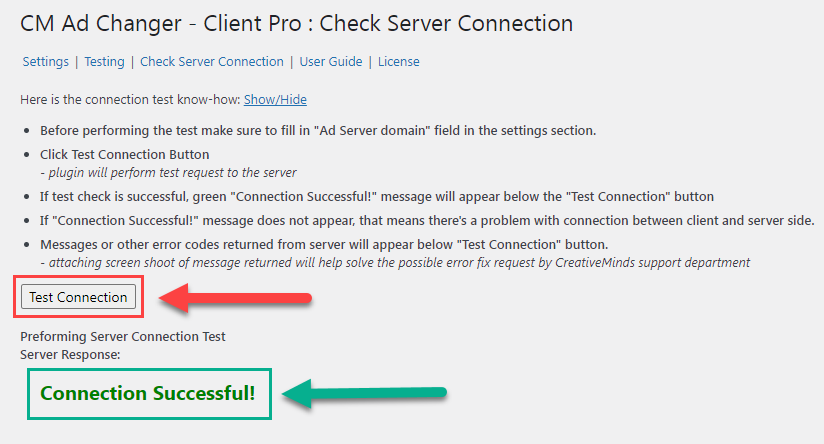
The client side can check the connection with the server. To do this, navigate to Admin Dashboard → Ad Changer → Check Server Connection.
Then click the button Test Connection. If everything is ok, you will see the message "Connection Successful", otherwise it will report an error.
 |
More information about the WordPress Ad Server plugin Other WordPress products can be found at CreativeMinds WordPress Store |
 |
Let us know how we can Improve this Product Documentation Page To open a Support Ticket visit our support center |