WordPress Interactive Map Plugin (CMML) - Settings - Taxonomies
Adding Custom Taxonomies
Since version 2.7.8 the WordPress Interactive Map plugin has the ability to define additional custom taxonomies.
Navigate to Admin Dashboard → CM Map Locations Pro → Settings → Taxonomies tab.
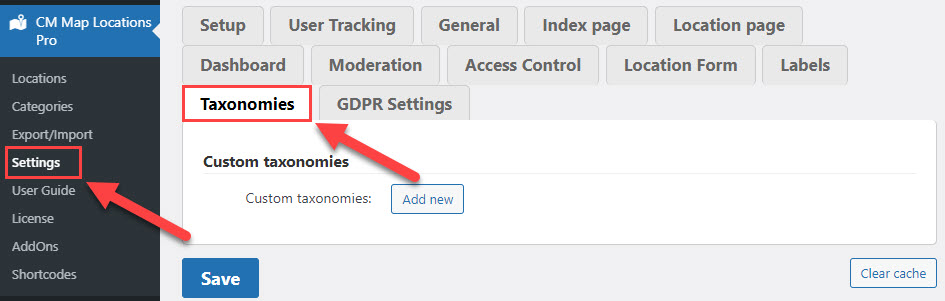
Adding a new taxonomy is simple. Just click on the Add new button and define the taxonomy fields.
You need to fill the following fields:
- Key
- Singular name
- Plural name
- Show filter on the index page for this taxonomy - Check this box if you want to add the taxonomy dropbox to the filtering option showing all the available locations in the locations index page.
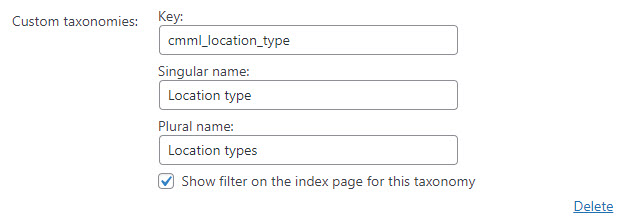
Then click the button Save.
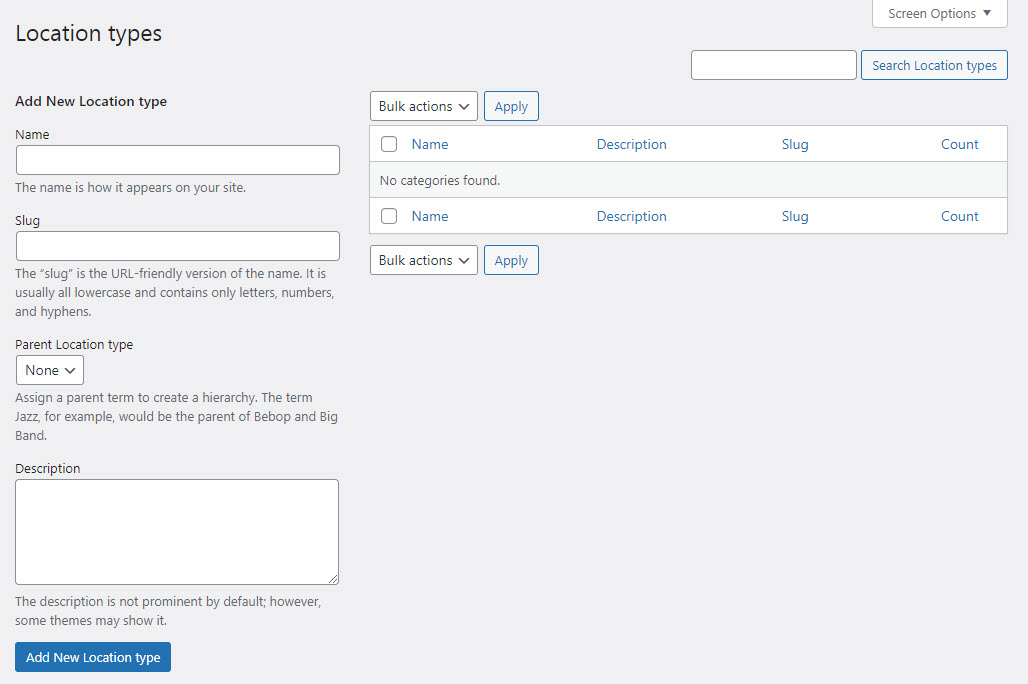
Each created taxonomy will be displayed in the admin menu.
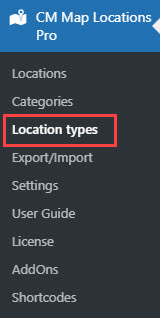
So you can define categories associated with this taxonomy.
 |
More information about the WordPress Interactive Map Plugin Other WordPress products can be found at CreativeMinds WordPress Store |
 |
Let us know how we can Improve this Product Documentation Page To open a Support Ticket visit our support center |