WordPress Invitation Code - Profile Fields
Profile Fields
Starting from version 1.4.0 of the WordPress Invitation Code plugin you can build a customized form for entering the invitation code that contains addiotion fields to gather information about users.
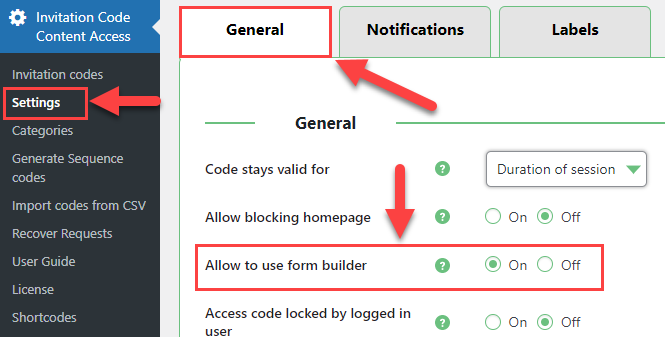
First thing you need to do is to navigate to Admin Dashboard → Invitation Code Content Access → Settings → General tab, and enable the option Allow to use form builder, then click the button Save Changes.
After that a new item Profile Fields will appear in the plugin menu.
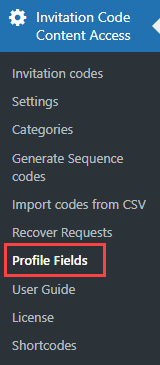
Click on Profile Fields. There you can find a form builder:
Form Builder
The editor provides the drag-and-drop area and the default fields next to the area. These fields are:
- Text Input
- Text Area
- Number
- Select
- Date Field
The admin can make each field required or not, add tooltips per field with more detailed information, edit CSS class, default values and more.
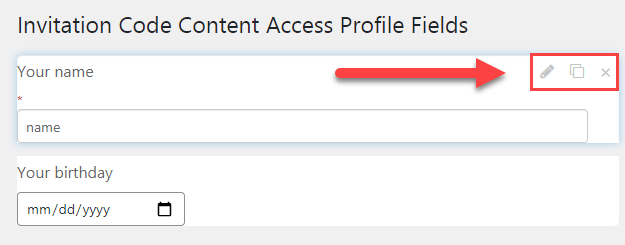
Edit, Copy, Remove
Apply the actions to each chosen field:
- Edit - click on the Edit icon and the field will be open.
- Copy - click on the Copy icon to add the same options.
- Remove - click on the Delete icon to remove a whole field.
Don't forget to click the button Save when you finished building the form.

Result on the Front-end:
Where the Data is Stored
1) You can find the information about the user who used the invitation code on the editing page of that invitation code:

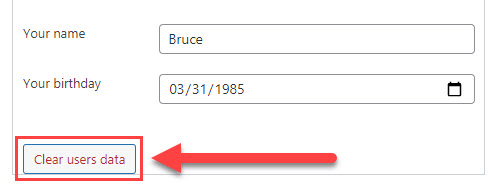
TIP: Clear Users Data
You can remove all users data by clicking on the button Clear users data under the section with users data. Note: This option was introduced in version 1.4.4.
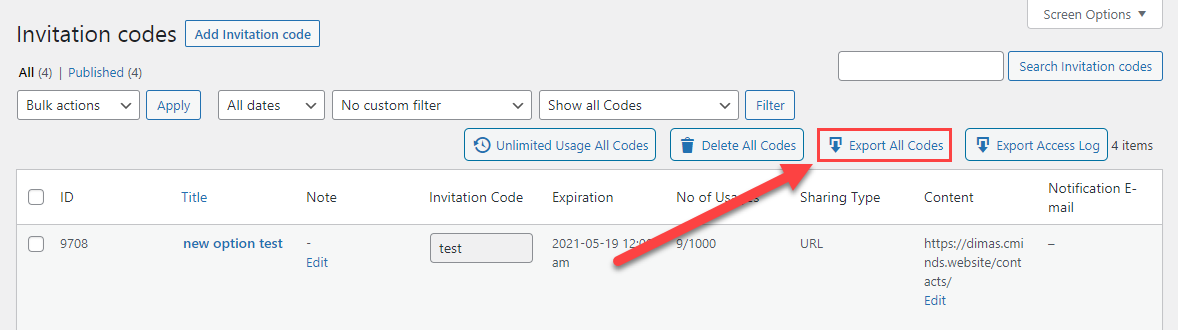
2) In the menu with invitation codes you can export the data about all codes with information provided by users in Profile Fields. To do this click on the button Export All Codes.
 |
More information about the WordPress Invitation Code Plugin Other WordPress products can be found at CreativeMinds WordPress Store |
 |
Let us know how we can Improve this Product Documentation Page To open a Support Ticket visit our support center |