CM Custom Reports (CMCR) - Free Version Tutorial
Free Version Tutorial
CM Custom Reports
Learn more about CM Custom Reports Pro
This article covers only features present in the free version of Custom Reports.
The plugin creates and auto-generates reports from user activity on your site. Free version includes 5 custom reports and PDF export of custom reports.
Example

Table of Contents
Installation guide
Here are the steps needed to install the plugin:
- Download - To manually install the plugin, you must first download it from WordPress.org to your computer.
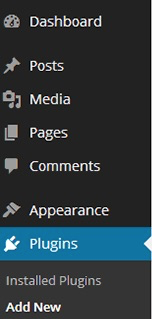
- Navigate to the Plugins tab in the WordPress Admin Panel to install the plugin.
- Activate the plugin.

TIP: Register for Benefits
If you like, you can register your plugin to receive information about updates and our latest offers. You can complete your registration at any time.
If you don’t want to register right away, you can select the Skip button. 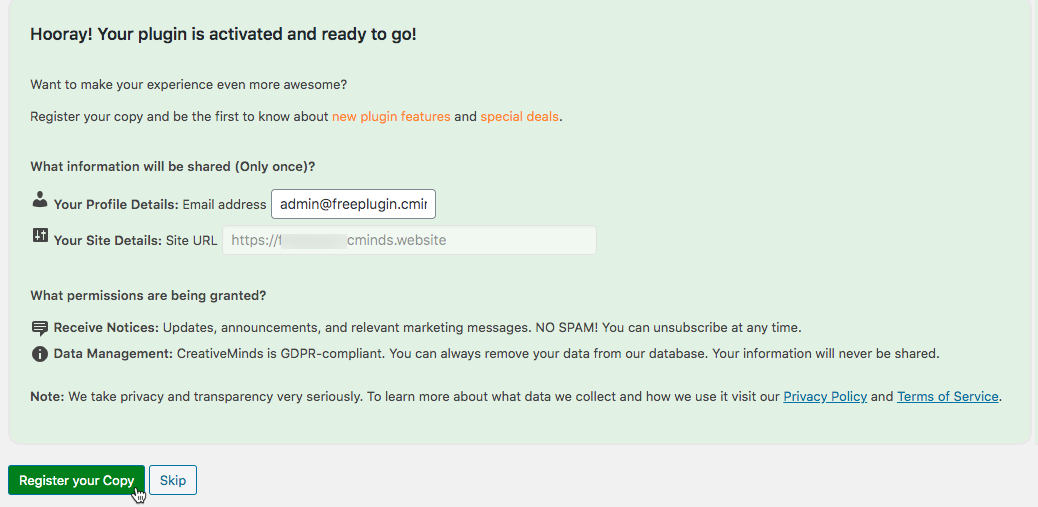
List of Features
CM Custom Reports
Learn more about CM Custom Reports Pro
Using the Free Plugin - Overview
How It Works: Available Reports
The free plugin has a single list with links divided into categories. You can have 5 categories:
- Comments
- Comments by Type
- Posts
- Posts by Author (all authors or single author)
- Posts by Type
- Users
- Registered Users
- Top Authors (by number of Posts)
Creating Reports
Once you install the plugin, the report are created automatically. To find them navigate to Admin Dashboard → CM Custom Reports → Reports.
 Favorites
 Favorites
If you click on the star icon next to the report you can add it to Favorites. Favorite reports are always displayed in the section above all other reports. If you wish to remove the report from favorites, you can just click the now highlighted star again.

Using the Reports
In each report dashboard you have the following options:
- Select the report type (Bars or Points. In some reports Pie is also available).
- Select the report time range.
- After the report was generated you can download it in a PDF format.

Some reports has also additional parameters which affect the information which is displayed on the report:

Plugin Settings
General
On this tab you have two options:

- Date format - Choose the format of the date - US (mm/dd/yyyy) or EUR (dd-mm-yyyy).
-
Span the report to selected dates - Select if you want to span the report to the dates selected with the filter.
- Yes - means that the report will display the dates from beginning/end of the period even when there's no data eg. If you didn't have any posts, for example, in 2013 yet, you select the dates from 01/01/2013 to 01/01/2021, the days from 2013 will be displayed with the values 0
- No - means that the report will only display the period within the selected timeframe containing some data. It means it has to start and end with some non-zero value.
To save changes, click the Update button at the bottom left.
Example: Span the report to selected dates
The chosen period is from 01-05-2020 to 01-05-2021
The option is turned to Yes:
The option is turned to No:

Labels

On this tab you can customize or translate the following labels:
- "No Data Found" label
- "Choose graph type:" label
- "Back to list" label
- "Unknown Author" label
- "Download Report as PDF" label
- "Download Report as CSV" label
- "Post comment" label
- "Unknown User" label
Don't forget to click the Update button after changing the labels.
 |
Get more information about the CM Custom Reports Plugin Find other WordPress products at the CreativeMinds WordPress Store |
 |
Let us know how we can Improve this Product Documentation Page Open a Support Ticket from our customer support center |